Camera Tool Function In Excel 2010
With Excel 2010 Camera tool, you will be able to take a snapshot of a selected datasheet portion. This enables you to place a live picture anywhere in the worksheet, you can apply different styles, colors, and designs over it. Apart from taking an exact screenshot of the highlighted data set, it also syncs the data with the image; whenever you make changes to the original data set, live image gets updated, showing you the latest cells values. You can easily copy the snapped data set to clipboard and share with others. Moreover, all image related effects can be applied over the data set snapshot. When you select the image, image tools tab appears on the ribbon, allowing you to change the orientation of the image and apply different styles. In this post, we will guide you through the process of enabling Camera feature on the quick access toolbar and applying different effects over the data set snapshot.
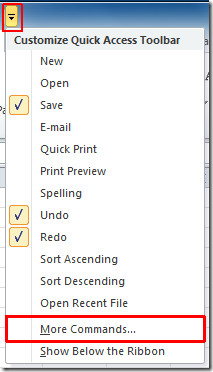
Launch Excel 2010, In order to use this feature, you need to make the Camera button appear on the Excel Quick Access Toolbar, because it is not present by default. Head over to Quick Access Toolbar and from the small drop down button, click More Commands.
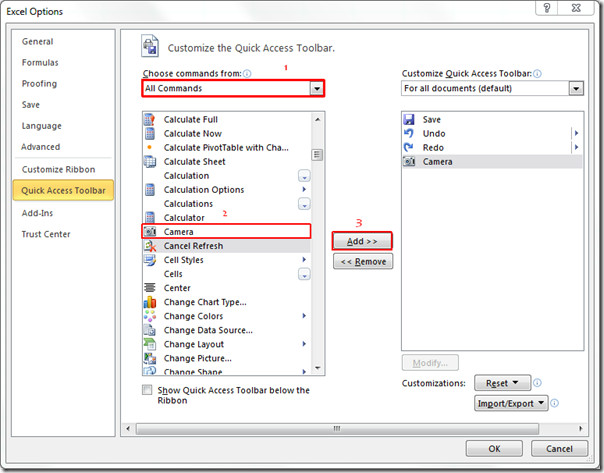
You will reach Excel Options dialog box. Hit drop-down button from right pane present beneath Choose commands. Click All Commands to show all commands that Excel contains. Now scroll-down the list and find Camera command. Select it and click Add (>>) to show it on Quick Access toolbar pane. Once added, hit OK.
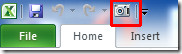
You will Camera button on the quick access toolbar.
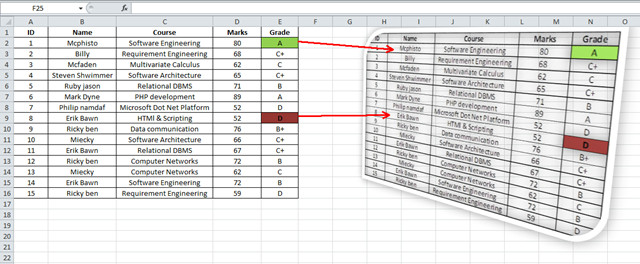
Now for using this feature, select the portion of the datasheet for which you want to take a snapshot of, and click the Camera button.

Now you are ready to take a snap, just click on the location where you want to show the image.

Now when you will select this image Picture Tools tab will appear, from where you can apply different styles and designs.

So apply design and styles which best suites your datasheet image. You can apply shadowing, 3d effects, rotation, colors etc.

Most importantly, it is not a mere image of the table, but it syncs with the table values on run-time, means on changing any value in the datasheet, reflection can be seen in the image. As you can see on changing value and color of the cell, changes appear in the image.
You may also like our previously reviewed guides on Using Payment Function & HLOOKUP Function.

HOW CAN I TAKE A PICTURE OF SAY 10 CELLS OF A SINGLE COLOM AND BREAK IT IN A SUCH WAY THAT IT BECOMES 10 IMAGES AND EACH FIT IN AT ITS RESPECTIVE CELL.
Can I use the snapshot in an Excel Web Access web part in SharePoint?
You can do the same via “copy” and then paste using “Linked Picture” in “other paste options”. I guess they hide the “camera tool” because they’ve incorporated the functionality into a special paste function. Thanks!
This is awesome. You saved me a lot of grief. I wish they’d publicize the Camera tool more. A thousand THANK YOUs!
From what I can conclude is that the different worksheet that is on your local LAN and the WorkBook with the camera image have to be opened at the same time for it to work
Can the image get updated from a different worksheet that is on your local LAN?
Thumbs up! for sharing such a wonderful tip