How To Edit Body Header Title In Visio 2010
Visio 2010 includes list of new Border & Title styles which give better look to the diagram but changing them can be irksome as most of times we overlook the new open background window, which allows us to change the title, border box shape, and size. In this post we will be guiding you through how to insert and edit Border & Title.
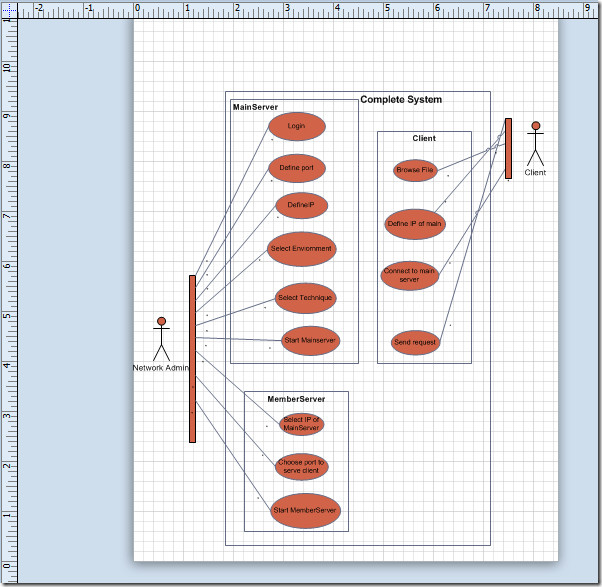
Open Visio 2010 Diagram on which you want to Insert diagram header.
To begin with, first we will add header from Visio 2010 inherent Borders & Titles list. Navigate to Design tab and from Borders & Titles, select desired border.

The specified border with title will show up, Visio 2010 doesn’t allow you to change border style and page title/header from main diagram window.
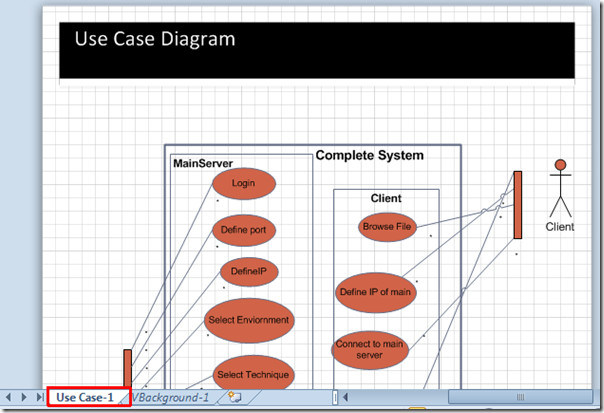
You will see a new diagram page tab at the bottom of the window, by the name of VBackground-1.
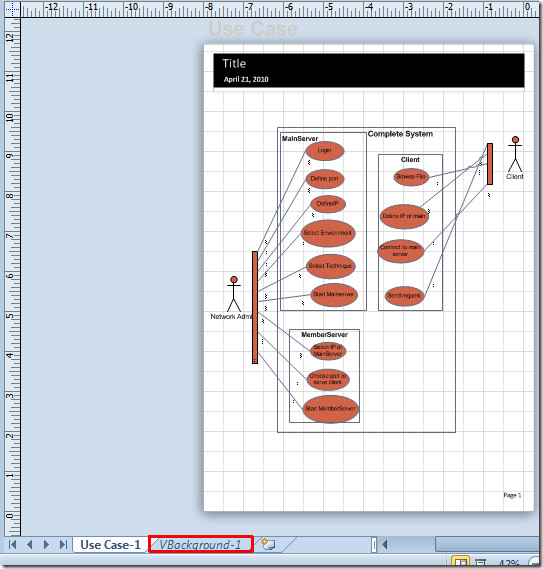
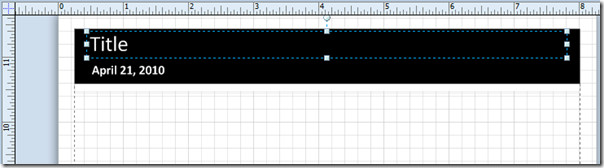
Now switch to background page, double-click the title to select the title box.
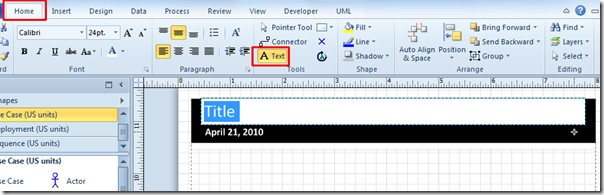
Navigate to Home tab and from Tools group, click Text. It will now allow you to edit the header. For removing extra boxes; date area and page number, select the box area and press Delete on keyboard.
Now switch to main diagram window to view the changes.
You can also check out previously reviewed guides on How to send Visio Drawing as Email Attachment in PDF & XPS format and How to Link Excel spreadsheet with Visio diagram.

And I was changing the title in the info section … silly me 😉
Thanks thats really helpful! Easy when you know how… 🙂
Thanks Brother!!
In Indonesian :
Mkasih bro!
thanks! this was driving me nuts
It was driving me crazy as well! Thank you very much
Thanks – helps a lot 🙂
Yeah, you actually need this information because the UI is so unintuitive that you’ll never figure out how to change a title on your own.
Crazy nuts here as well. Didn’t even see the new tab at the bottom. Thanks!
Thankz, all of us going Nuts!
It was driving me crazy too. Thanks.
Thank you!!
Thank you!
And @MicrosoftVisioTeam: WTF??
It helped a lot, Thanks
Same here and the help file was no help. Thank you very much.
was driving me crazy too.
Thnx for the post, i’m assuming this is straight forward and logical to the average user?
^^
😉
ditto what Allen said. Was driving me crazy as well.
thanks, this was driving me crazy, I just could not figure out how to edit the “Title”