Word 2010: Insert Line Number In Document
While working on Word 2010 document, sometimes you need to show line numbers with each line. Word 2010 provides a feature which lets you to insert line number in the desired portion of document. Showing line numbers would be very useful especially when you are inserting lines of code in the document. In this post we will let you know how to insert line numbers for different situations.
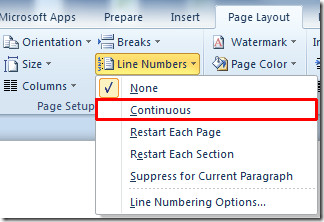
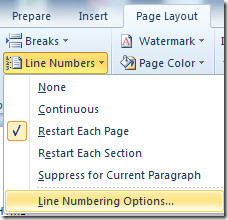
Launch Word 2010 and navigate to Page Layout tab, from Line Numbers options select Continuous.
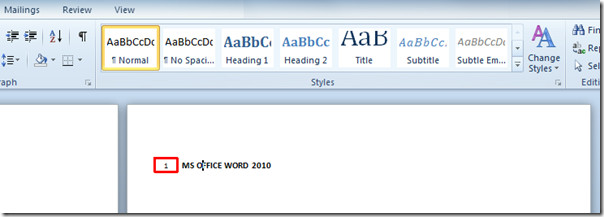
You will notice that while writing from new line, it will show line number, as shown in the screenshot below.

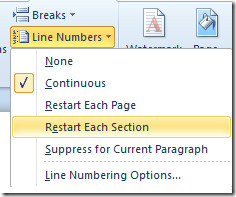
Now if you want to show line number from scratch on a new page, then from Line Numbers options select Restart Each Page.
On writing in new page, it will restart the line number count, and start showing line number from 1.
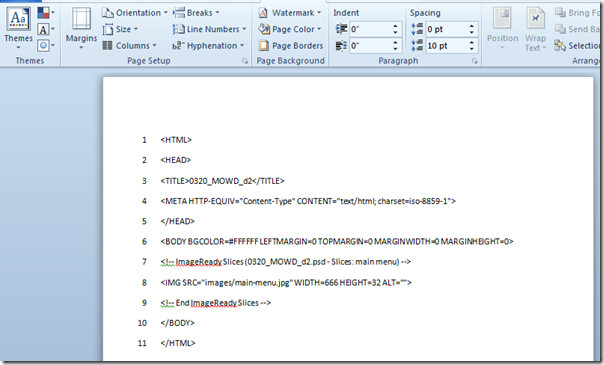
For inserting line numbers in existing document, select the document content and from Line Number options click Restart Each Page.
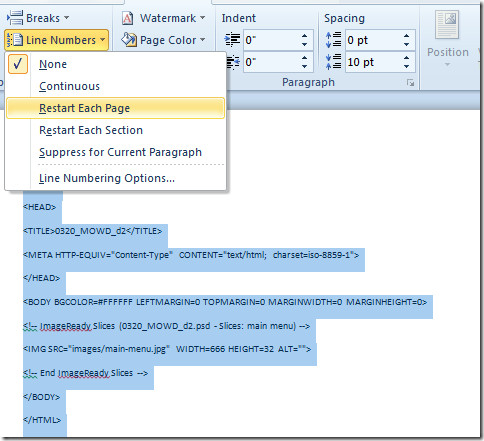
It will insert line numbers with each line of selected portion, as shown in the screenshot below.
For customizing the way line numbers appears, you can always go to Line Numbering Options from Line Numbers drop-down options.
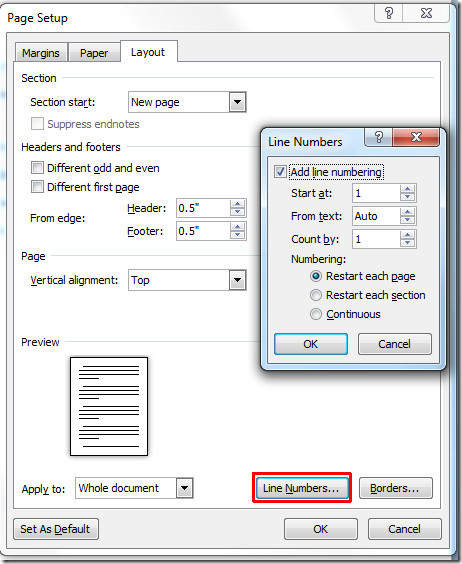
Upon click, you will reach Page Setup options, switch to Layout tab to change the layout of line numbers. Click Line Numbers button at the bottom of the dialog to configure advance line numbers options.
You can also check out previously reviewed guides on How to Insert and Embed Excel spreadsheet in Word 2010 & Adding Bookmarks in Word 2010.

How the numbered lines in Word form 1-2-3
How do you reference line numbers!!
To place them on the right I think you simple increase the distance from margin to about 15 cm
since the update, how do you insert line numbers from the first page to the last? It keeps dumping my running heading. Help! I have a paper due soon. Thanks
Is there no way to move line numbers to the right side of the text instead of the left or change their font? *sigh*
I have Excel 2010 and their is no “line number” on the “page layout” tab?
would be nice if you could make the line numbers a different color from the text.