How To Improve Audio Output & Experience In Windows 8
One of the things most people do after upgrading to Windows 8 is to check whether their devices are in working condition. In most cases, some drivers might be required. While some devices (like Audio) apparently start working without drivers, some might require drivers to be installed before they’re functional. But did you know that Audio is one of the things that require proper drivers in order to perform efficiently? Would you like to know how you can enhance the audio output on your Windows 8 computer? In what follows, we’re going to show you how you can make sure it delivers the best audio experience!

Update The Audio Drivers
If your Windows 8 was a fresh install (or even an update), you should ensure that you have the latest drivers for audio. You might ask why that is so important. Without the proper (and complete) audio drivers, you might be missing out on a lot of functionality. If you know about ‘Stereo Mix’, you might be surprised to know that it’s not available unless you install the audio driver.

In my case, it was the IDT audio driver. Installing it made quite a difference!

Use Output Enhancing Apps
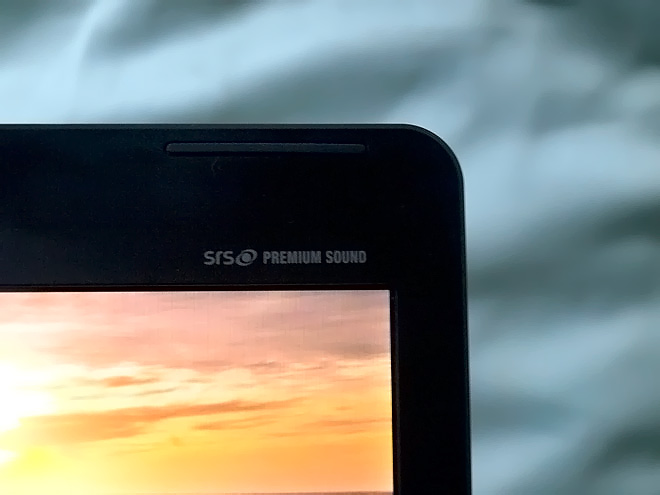
You might be able to find some apps provided by your PC’s manufacturer to help improve the overall audio experience. Ever heard of HP laptops with Beats Audio? Mine came with ‘SRS Premium Audio’, which is essentially the same thing as Beats Audio (or maybe it’s the other way around, since the SRS and Beats’ control panels look the same).

Installing the IDT audio driver and SRS Premium Sound has made my laptop sound better than ever.

It isn’t great in all cases, but it does improve output in most cases. So if your laptop supports such an extra functionality, make sure you try it at least once!
Ditch The Default Music App
You shouldn’t get rid of it totally, but you can avoid using it if you want. You might’ve noticed how mp3 and other audio files have the new music icon on them, and opening those files fires up the Music (Xbox Music) app. At first I thought Microsoft had ditched Windows Media Player, but it’s still there and there’s a very simple way of making it the default program for playing audio files. Currently, the default program for handling audio files is the Music app.

To change the default app to Windows Media Player, right-click an audio file, navigate to Open With, and choose Windows Media Player.

Choose Windows Media Player when the prompt appears.

That’s it! And notice how the file icon changes to a rather familiar one.

Use Keyboard Shortcuts
Here’s a question: how do you control the volume on your computer? Maybe when the music that’s playing decides to go louder, and you have to act before your ears get hurt. Fortunately, most laptops now come with hotkeys for controlling the volume (sometimes bundled alongside the ‘bloatware’ that’s shipped with the laptop), or sometimes, the option has to be installed manually after downloading from the manufacturer’s website. But apart from that, there’s a free utility you can use to get the same functionality. It’s called 3RVX, and what’s special about it is that it perfectly mimics the OS X (and iOS) on-screen volume indicator.

When you run 3RVX for the first time, it will ask you to select a language. Select the required language, and click OK.

Next, right-click the 3RVX icon in the system tray and select Settings.

There are plenty of options that you can set (like Skins, display position, etc.). We’ll discuss only a few here.
In the General tab, check ‘Run on Windows Startup’, because we intend to use this utility all the time, and it would be a hassle to open it every time you restart your computer. You might want to uncheck ‘Play Sounds’ in case you don’t like the sounds it makes when you change the volume using hotkeys.

Speaking of hotkeys, let’s set the hotkeys for increasing, decreasing, and muting the system volume. By default, these are set to the following.

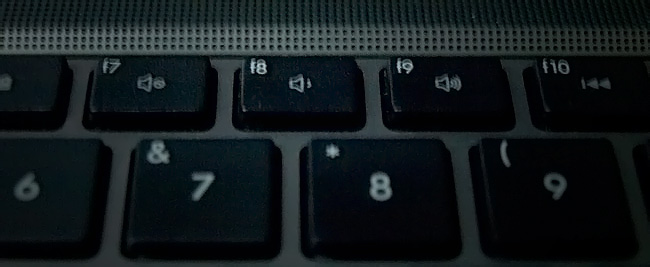
You could leave them untouched and memorize their keyboard combinations, but I’ll assign them to the buttons that correspond to Mute, Vol+ and Vol- on my laptop’s keyboard.

In order to do so, we’ll first delete all the hotkeys (just to avoid any conflicts).

Click the Action drop down and select Volume Up.

Now, click the empty button in front of Key Combination, and press the key (or combination of keys) that you want to use for increasing the volume.

Click Done to confirm the hotkey. Do the same for the other hotkeys.

Now try pressing the hotkeys to see if it works. Yes it does!

Although I set the hotkeys to F7, F8, and F9, remember since I don’t use these keys that much, I can afford to assign those keys to volume control. So make sure you select the hotkeys that you don’t use that often.
Last but not the least, get a good set of headphones or earphones. No matter how good your computer is capable of sounding, you won’t be able to enjoy it unless the output devices sound good as well!

are you aware IDT is out of business and HP won’t provide Beats audio drivers, also for HP beats audio is just a place on your hard drive and loses all sound functional ability on a regular basis
Did you know that beats is crap?