How To Set Up A Samba File Server On Ubuntu
When it comes to sharing files to multiple different operating systems, there is one piece of software that everyone turns to: Samba. It’s a file sharing protocol for networks that has been around for quite a long time. With this tool, it is more than possible to allow Windows users, Mac users, Linux users and even Android users to access and share files in a centralized location. In this guide, we’ll go over how to setup a Samba file server on Ubuntu and how to configure it and add a share.
What You Need
- A bootable USB stick
- The Ubuntu server disk image
- DVD or CD if your server doesn’t support USB booting
- The Etcher USB creation tool
Selecting Ubuntu Server Image
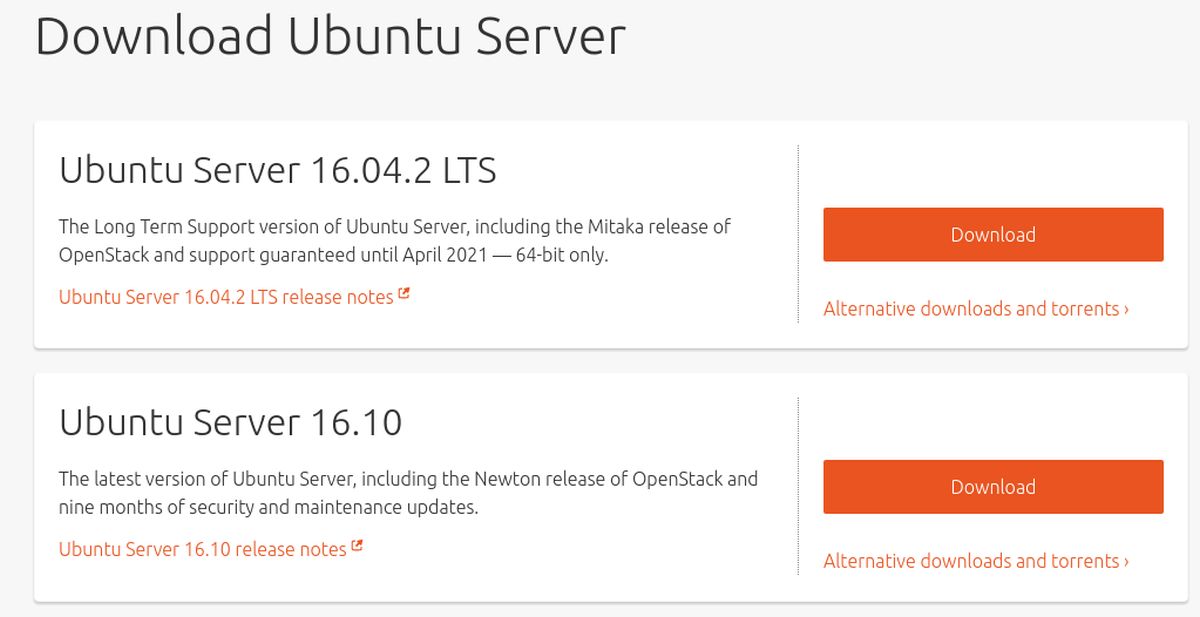
Ubuntu server has many different editions, and versions. Any version will do, and if you’ve come across this guide with Ubuntu server already set up, don’t worry. No re-installation is needed, as Samba is the same (for the most part) regardless of the version. For those looking for a stable server without the need to upgrade for 5 years, download Ubuntu Server 16.04.2 LTS. Want to live on the edge and get the latest updates? Download the latest version of Ubuntu server instead.

Making The USB Disk
Making the USB disk is an easy three step process. Run the Etcher tool. The program supports Microsoft Windows, Mac OS, and all versions of Linux. Plug in your USB drive, select the server image you downloaded, and burn it to the USB.
Installing Ubuntu Server
Installing Ubuntu server can take a bit of time, but the end result is worth it. Few other server operating systems based on Linux are as user-friendly, or as easy to get software up and running on it. To start off, plug the bootable USB stick into the computer to be used as a file server and turn it on.
From here, enter the PC’s BIOS. Keep in mind that each PC BIOS is very different. For some, the button to enter it may be F2, others DEL or ESC. It is best to look into the manual of the PC and figure this out on your own, rather than list it here. To start the installation, look for the option to change the boot order so that the USB stick loads first. With the order changed, save the BIOS, and restart.
As the PC starts back up, Ubuntu server will load, and the server installer tool will appear.

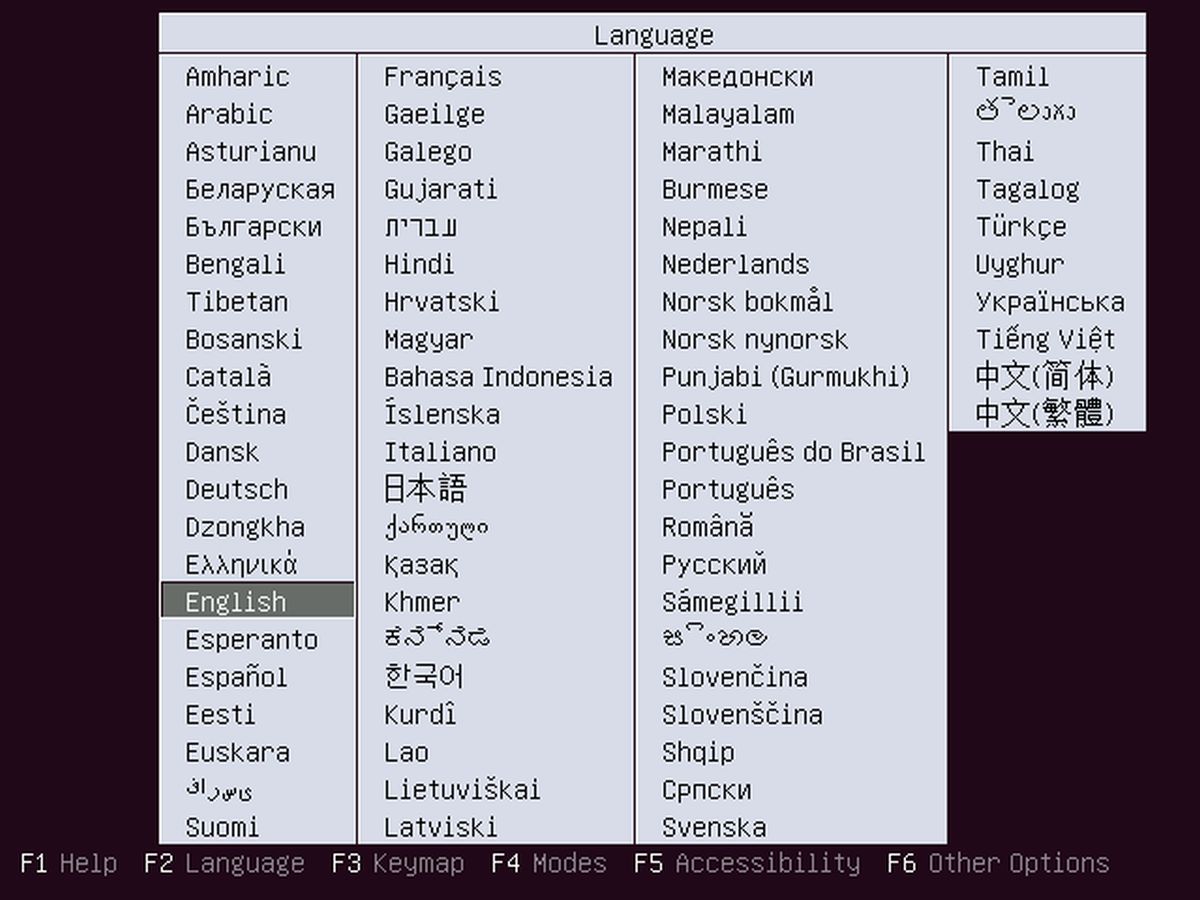
Select the correct language by pressing the enter key. On the next page, select “Install Ubuntu server”.

A few pages in, after the region selection pages etc., Ubuntu will ask the user to name the device, and create a new user. Enter the host name for the server.
The server has a name, now it needs a user. Create a new user with a password that’s easy to remember but not easy to guess.

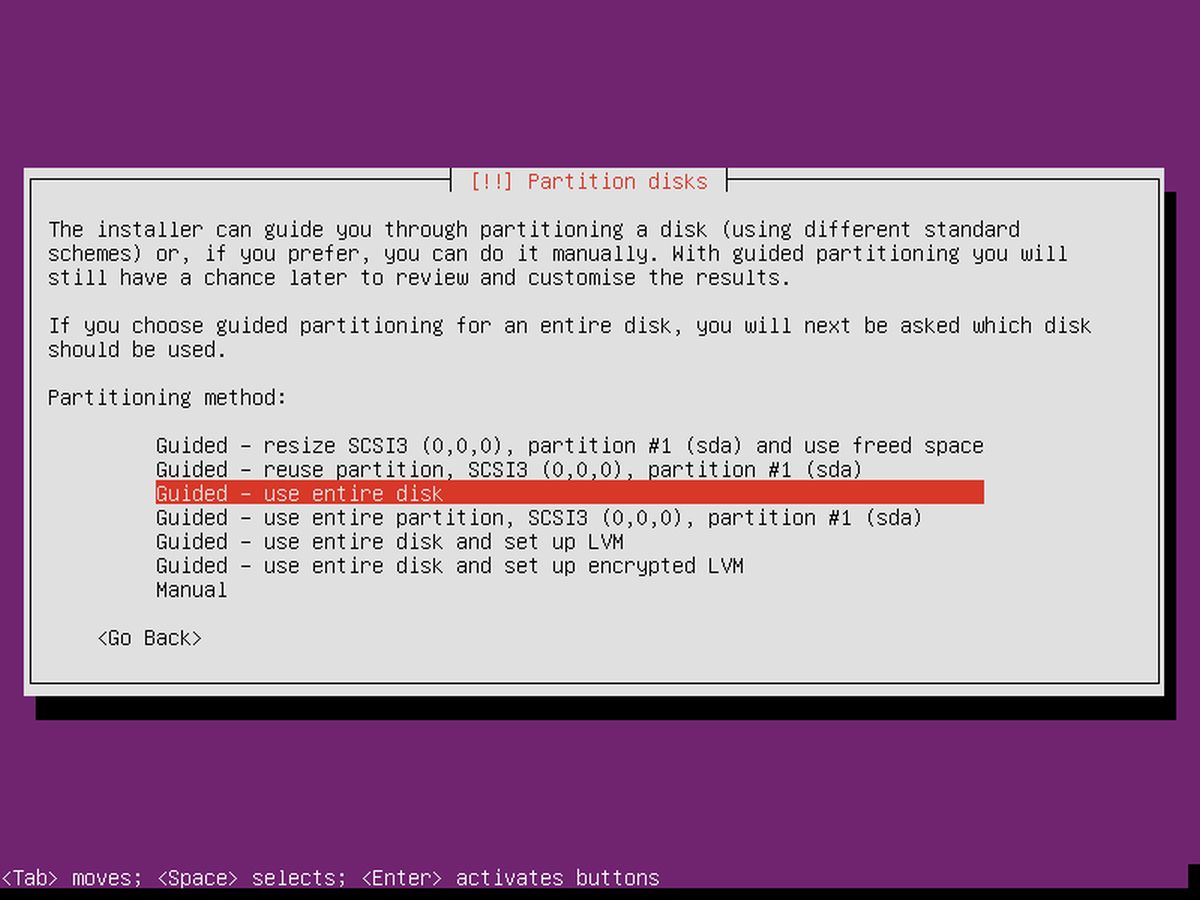
After configuring the setup, the installation can actually begin. In the partitioning menu, select the option ‘guided – use entire disk’. The installation process begins and may take some time. Be patient.
Installing Samba
Near the end of the installation process, Ubuntu server asks the user to select packages. As this server will just be a simple file server, only one or two packages are needed. Using the down arrow key, navigate down to “Samba file server” and press the spacebar to mark it for installation. Though it is not entirely necessary, remote access is great for maintenance. Use the arrow keys to navigate down to ‘OpenSSH server’, and select it with the space bar. When ready, select the “continue” button (using TAB), and finish the installation process. When complete, reboot the server.
Configuring Samba
You have now installed the Samba file server on Ubuntu but it needs shares configured in order for the files to be accessible. In the smb.conf file, many different types of shares can be set up with different permissions. Here’s how to set it up. To start off, back up the original configuration just in case anything happens.
cd /etc/samba

sudo cp smb.conf smb.conf.bak
This initial backup can be restored if anything happens when you modify the config file.
To set up a public share in Samba, start off by creating the directory.
sudo mkdir -p /var/shares/public

sudo chmod 755 -R /var/shares/
Then, open the text editor and add the share to the configuration.
sudo nano /etc/samba/smb.conf
Scroll all the way down to the end of the configuration file, and add the following.
[Share]

comment = Samba file share.

path = /var/shares/public/

browseable = yes

read only = no

guest ok = yes
Then, save the file with CTRL + O.

To test the edits to the configuration file, enter:
testparm
If any edits in the configuration file were wrong, testparm will print a warning. If this is the case, go back into nano and fix it.
Note: Samba has other types of shares. The best way to learn about them is to read the configuration file and look at the examples that the smb.conf file gives. Additionally, refer to the Ubuntu Wiki, and the Samba manual itself with the command: man samba.
Restore the backup
First, delete the Samba configuration file on the system.
cd /etc/samba/

sudo rm smb.conf
Next, make a copy of the backup file and save it as smb.conf
sudo cp smb.conf.bak smb.conf
Setting up a Samba file server can be a real pain if you don’t know where to start. The configuration file is daunting, and for some reason, the manual is just as confusing to newcomers. Luckily, with the help of this guide, getting an Samba file server powered by Ubuntu is easier than ever.
