How To Enable Or Disable Data Saver In Android 7.0
Apps refresh constantly in the background. Not all apps need to periodically fetch fresh data but some of the most frequently used apps are active in the background. Facebook and your email app are two obvious examples that come to mind. Background refresh makes it so that content loads faster when you open an app but it can tax your data plan. If you’re on the go and want to conserve data usage, Android 7.0 will let you restrict background data usage by apps. The feature comes in the form of a simple switch you can toggle on/off from the Notifications area. You can restrict apps from refreshing in the background and you can also white list the important ones. Here’s how.
Add Data Saver To Notifications Area
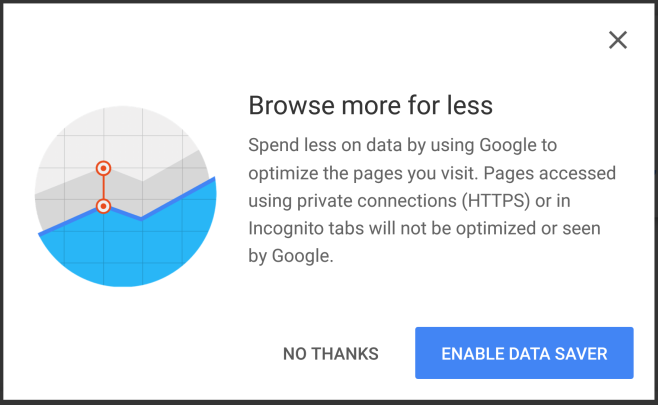
Data Saver can be turned on from the Notifications area and from the Settings app. If you open Chrome, you will be prompted to enable Data Saver. It’s likely some other apps might have a similar prompt.
Data Saver is a feature that you will want quick access to so Android 7.0 lets you add a toggle for it in the Notification area.
To add the toggle, pull down the Notifications area and tap Edit. It will expand to show additional tiles/toggles that you can add to the Notifications area. Drag & drop Data Saver on to the section above. Whenever you want to turn Data Saver on, simply tap the toggle. You will be asked to confirm if you want to enable Data Saver before it is enabled.


White List Apps In Data Saver
Data Saver will limit background refresh for all apps except, for some reason, Google Play Services. If you really need to be that restrictive with data, perhaps it’s best to turn cellular data off. If, however, you need certain apps like Gmail, Chrome, Facebook, and Twitter to still refresh in the background, you will have to white list them.
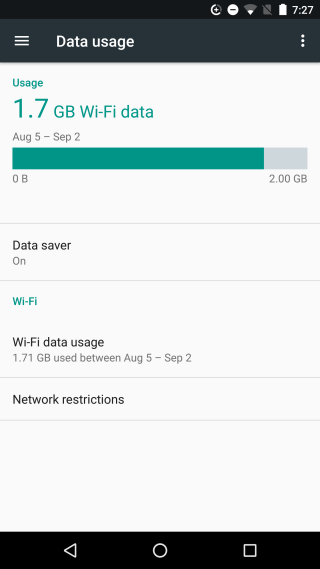
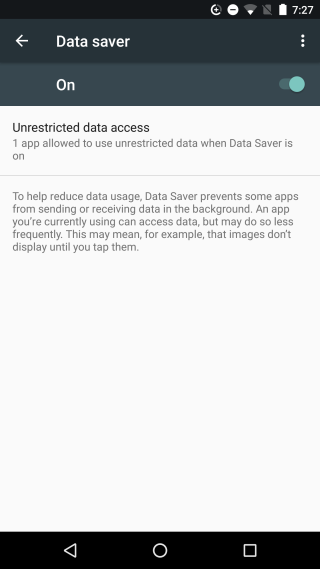
To do so, open the Settings app and go to Data Usage. Tap ‘Data Saver’. On the Data Saver screen, you will see a switch to turn it On/Off. Regardless if it is On or Off, you can still white list apps.
Tap ‘Unrestricted data access’ and you will be taken to a list of all apps installed on your device. Turn unrestricted data on for your essential apps. If you want to manage data access for system apps, tap the more button and select ‘Show system’ from the menu. System apps will now appear in the list as well and you can enable unrestricted data for them.
You can enable Data Saver on both a cellular connection and a WiFi connection.

Hii