How to flash SD card images on a Chromebook
If you’re a Chromebook user and need to flash an operating system image to an SD card, you’re in luck. As it turns out, you can use the Chrome OS recovery tool to flash custom operating system images.
This guide will show you how to use the official Chrome OS recovery tool to flash custom OS images to SD cards. Ensure you have an SD card reader and a compatible SD card to use with Chrome OS.
Why do you need to flash an SD card image on your Chromebook?
Chrome OS doesn’t come with a standard disk imaging tool. Worse yet, enabling Linux doesn’t solve the issue either, as the Debian container that Chrome OS uses doesn’t connect to USB devices or the internal disk drive, and no Linux SD card imaging apps can work.
However, every Chromebook does come with a “Recovery” tool. This tool is supposed to be used to flash official Chrome OS recovery images to SD cards and USB flash drives. However, it is also possible to use the recovery tool to flash custom images.
How to create a custom SD recovery image
To create a custom SD recovery image, start downloading the OS image. For example, if you need to flash the Lakka game OS to an SD card on your Chromebook, you’d download the OS image manually from the official website.
Most OS images come in TarXZ or TarGZ form. Sadly, Chrome OS cannot reliably flash images compressed in TarXZ or TarGZ format. So instead, you’ll need to extract the IMG file and re-compress the IMG file as a ZIP archive.
To extract your TarXZ or TarGZ file in Chrome OS, open up the “Files” app. Once it is open, locate the TarXZ or TarGZ file, and right-click on it.
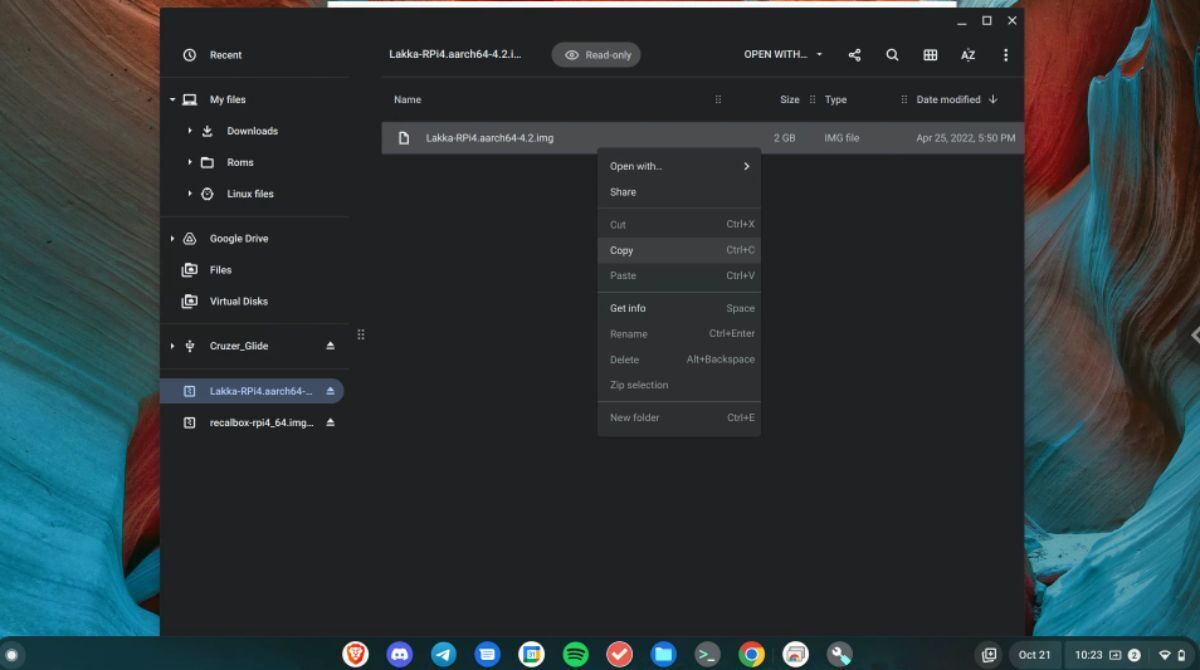
After right-clicking on the TarXZ/TarGZ file, select the “Open” option. Clicking on this will mount the archive in the Chrome OS files app. Next, copy the IMG file from the archive to the “My Files” folder in the Chrome OS files app.
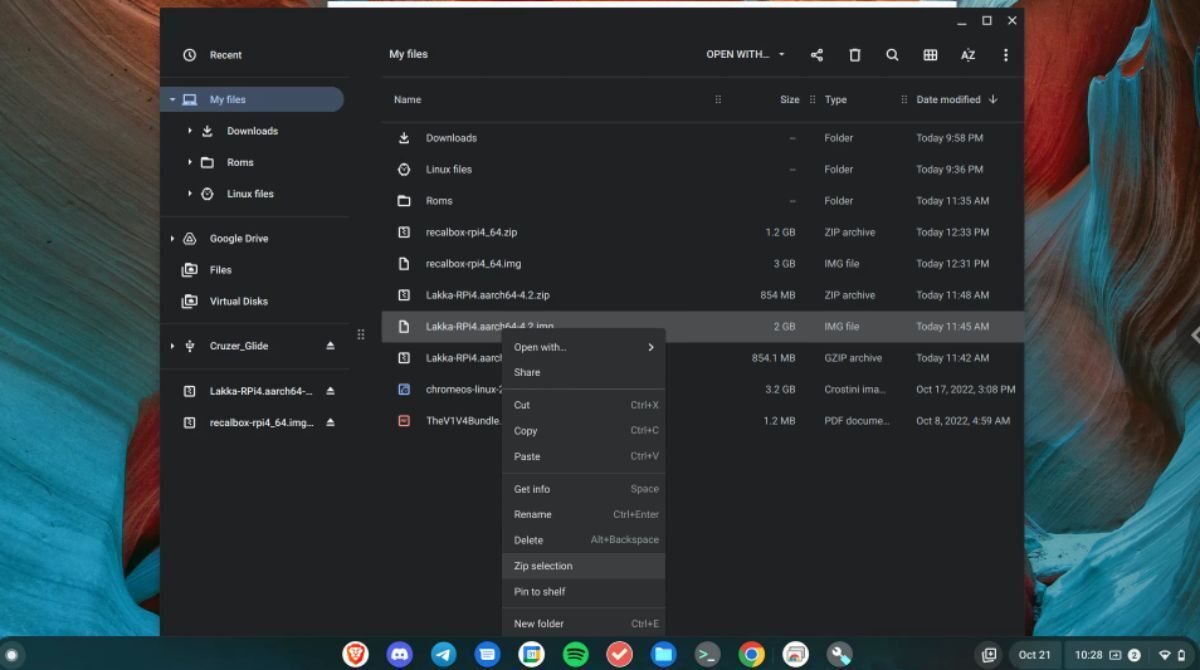
Once the IMG file is copied to “My Files,” right-click on it with the mouse and select the “Zip selection” option. Clicking “Zip selection” will compress your IMG file into the ZIP format, which is acceptable to the Chrome OS recovery tool.
How to flash your image to an SD card on a Chromebook
To flash your image to an SD card in Chrome OS, do the following. First, open up the Chrome OS app menu. Once it is open, search for “Chromebook Recovery Utility.”
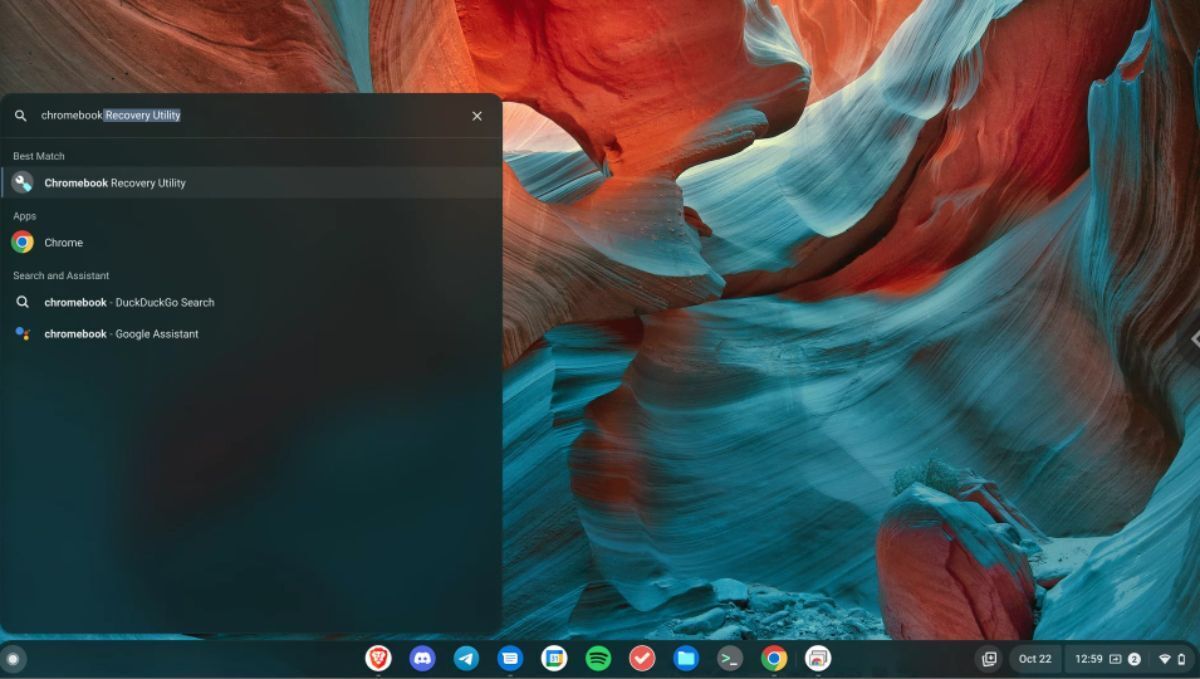
Once you’ve located “Chromebook Recovery Utility,” launch it to open up the app. Then, insert your SD card into the USB reader when it is open. After it is inserted, click on the gear icon. 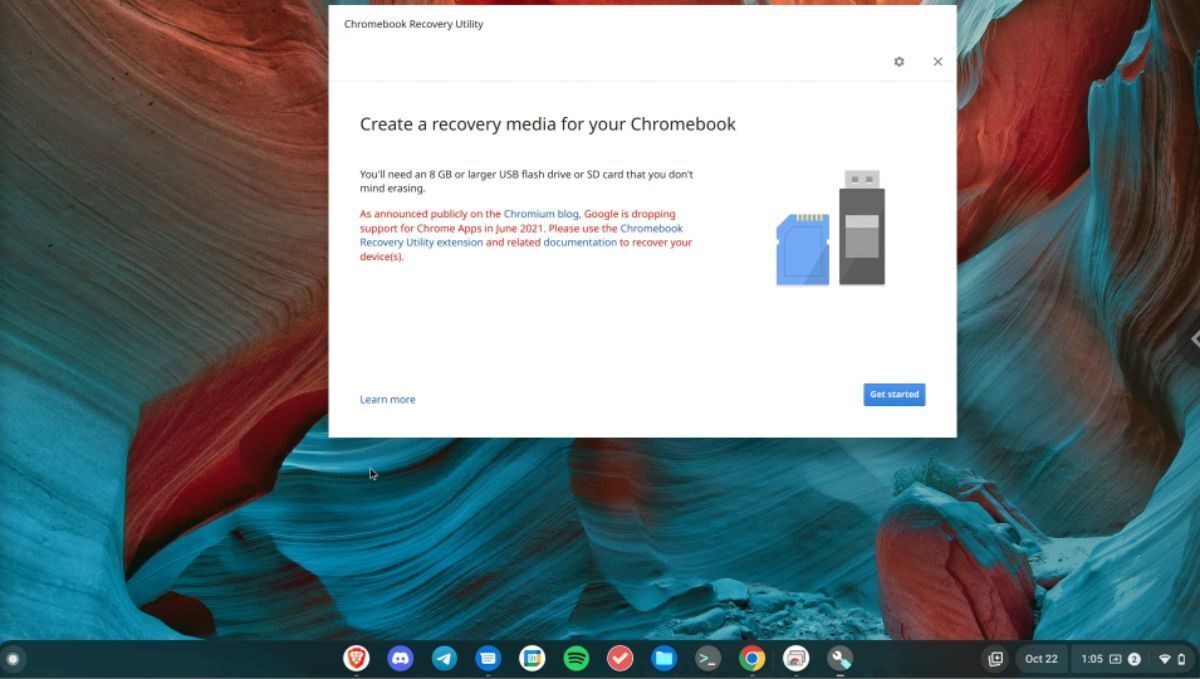
When you’ve selected the gear icon, click on the “Erase recovery” media option. Next, you must erase your SD card. Next, choose your SD card in the “Select the recovery media you’d like to erase” section. When done, choose the “Continue” button to move to the next page.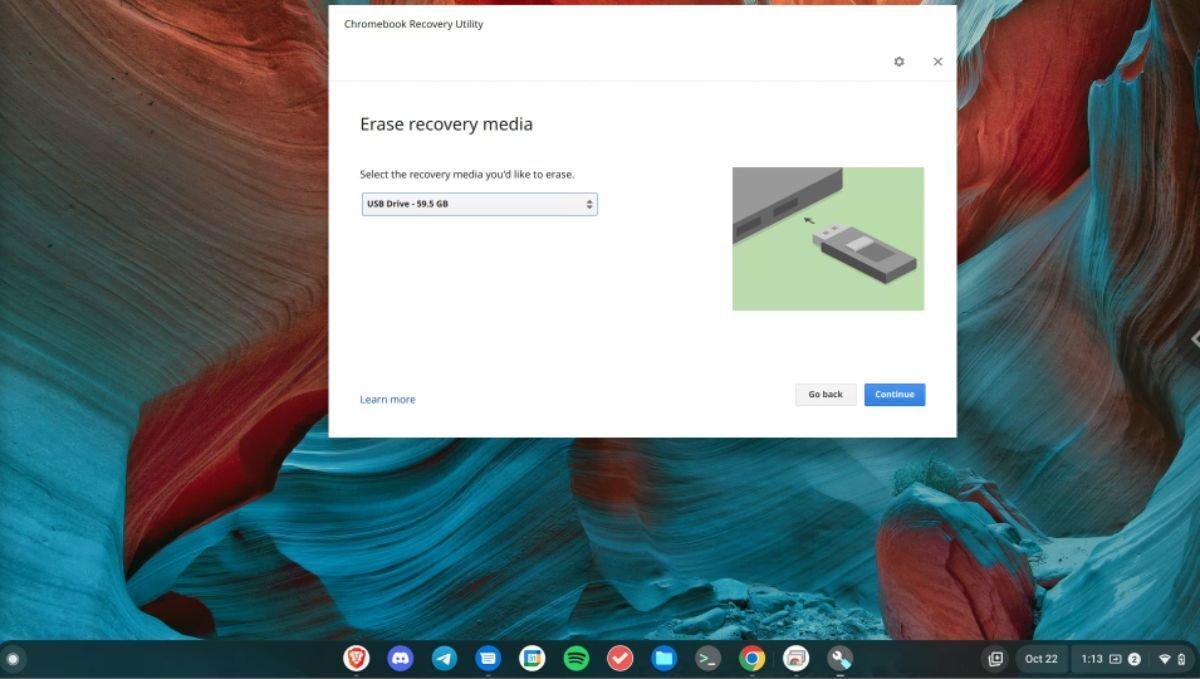
The Chromebook Recovery tool will inform you on the next page that “The recovery image and all partitions on your recovery media will be erased.” Select the “Erase now” button to erase it.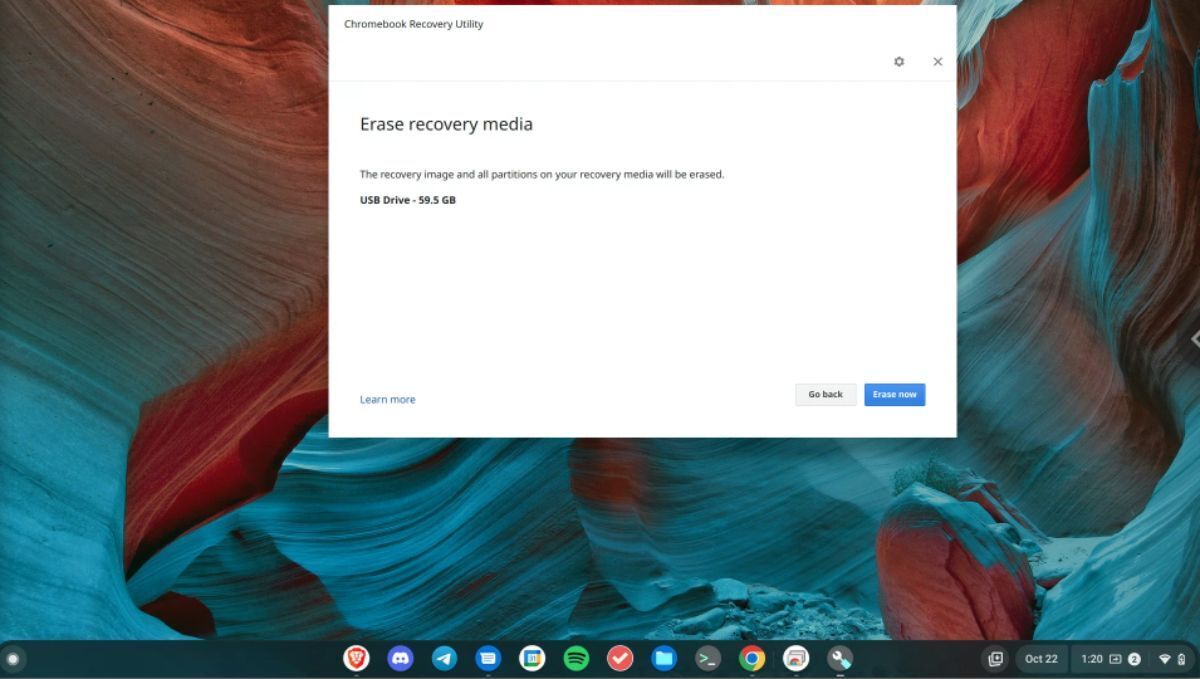
When your recovery media is erased, the app will inform you it is erased. Select the “Create another” button to go back to the start of the Chromebook Recovery Utility app.
Select the gear icon a second time. Then, select the “Use local image” option. A pop-up window will appear when you click the “Use local image” button. Next, browse for the ZIP archive you created earlier and select it with the mouse.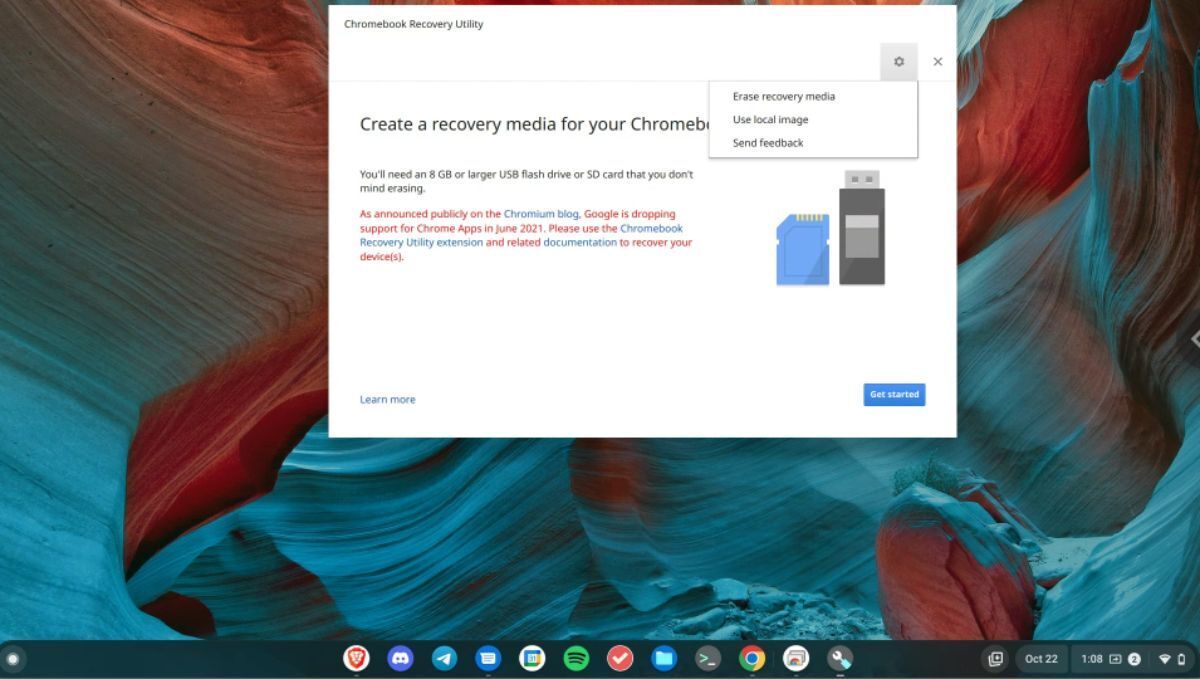
After selecting the ZIP archive you created earlier, you will be asked to choose media to use for the creation process. When you’ve chosen your device, find the “Continue” button, and click on it with the mouse.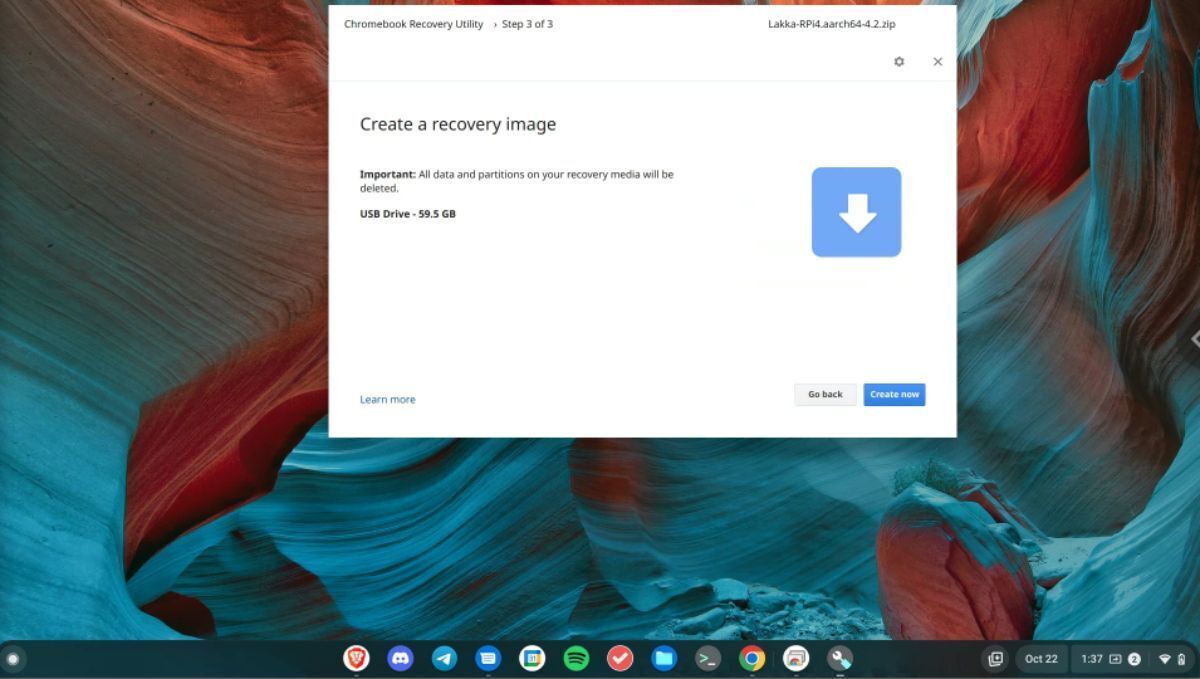
When you’ve selected the “Continue” button, a new window will appear. You’ll need to choose the “Create now” button in this window. Clicking “Create now” will begin the flashing process.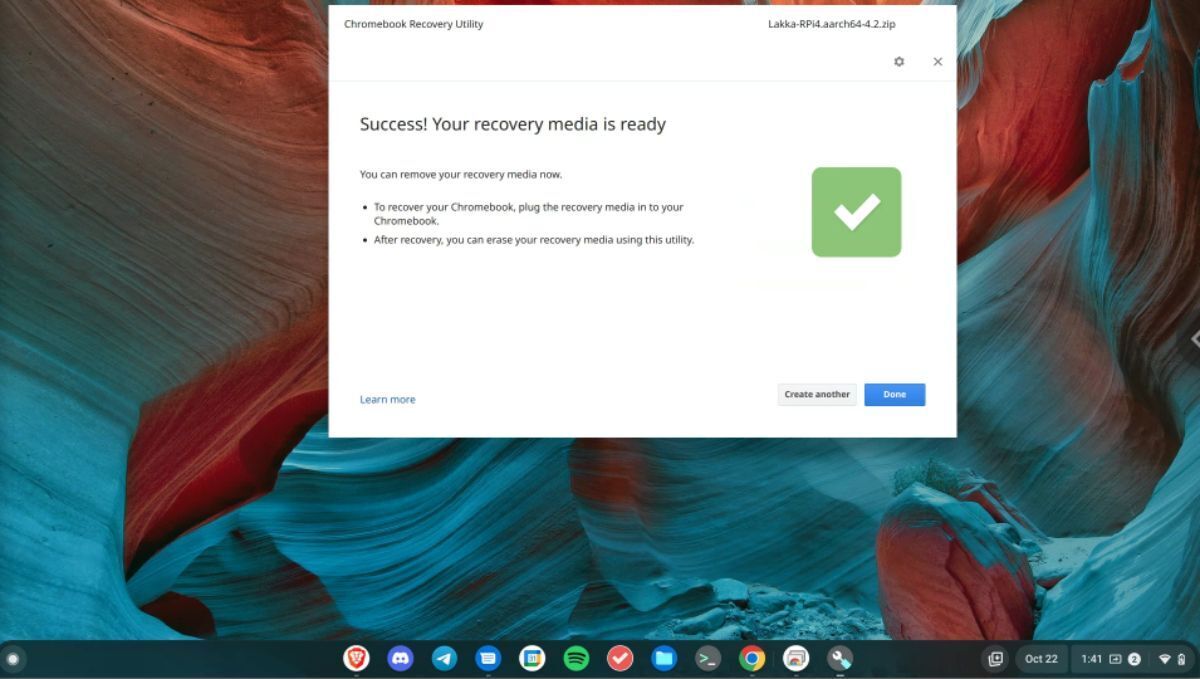
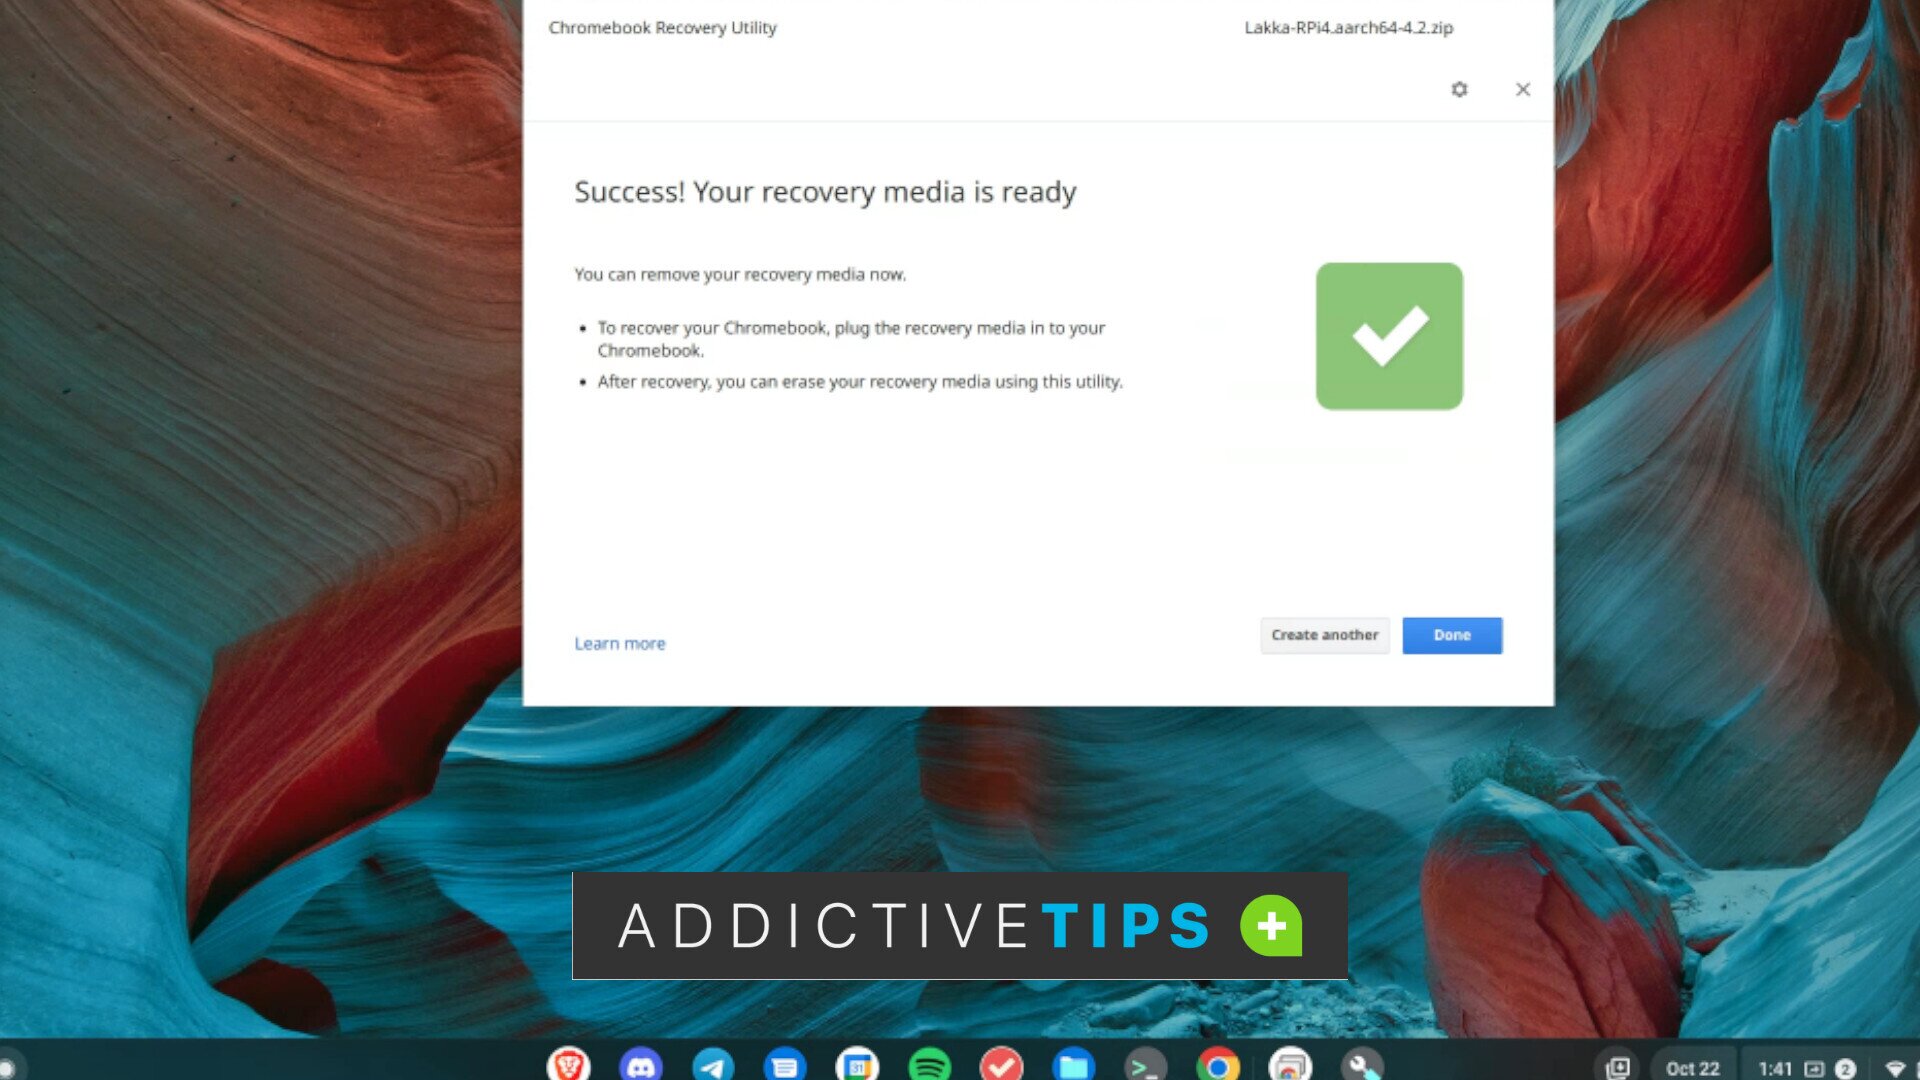
Once the flashing process is complete, you’ll see a message that says, “Success! Your recovery media is ready.” Click the “Done” button to close the Chromebook Recovery Utility program. Alternatively, select the “Create another” button to make a second one.
