How to Create Stickers on Snapchat: Step-by-Step Tutorial
Snapchat updated a few days ago and it added three new features. You can now select how long your snaps are visible to your friends, erase items from a snap, and create custom stickers in Snapchat. You create custom stickers in Snapchat from the objects in your snaps. If, for example, your snap includes a lamp, you can turn that lamp into a sticker. Like the default stickers in Snapchat, your custom sticker will be added to your library. You can add the sticker to all future snaps you take. You will need to update Snapchat to the latest version to create custom stickers.
Tip for best results: clear subject, good contrast, and plenty of light will give the cleanest cut-out.
Pick an object to photograph that will make a good sticker. Perhaps you have a cool looking plush toy or a funko pop figure that will look good. You can create custom stickers in Snapchat from any photo but you get better results if you plan your photo. Make sure there’s plenty of light and not too many dark or shaded areas in the photo. You can snap the photo using Snapchat or you can use any other camera app you have on your phone.
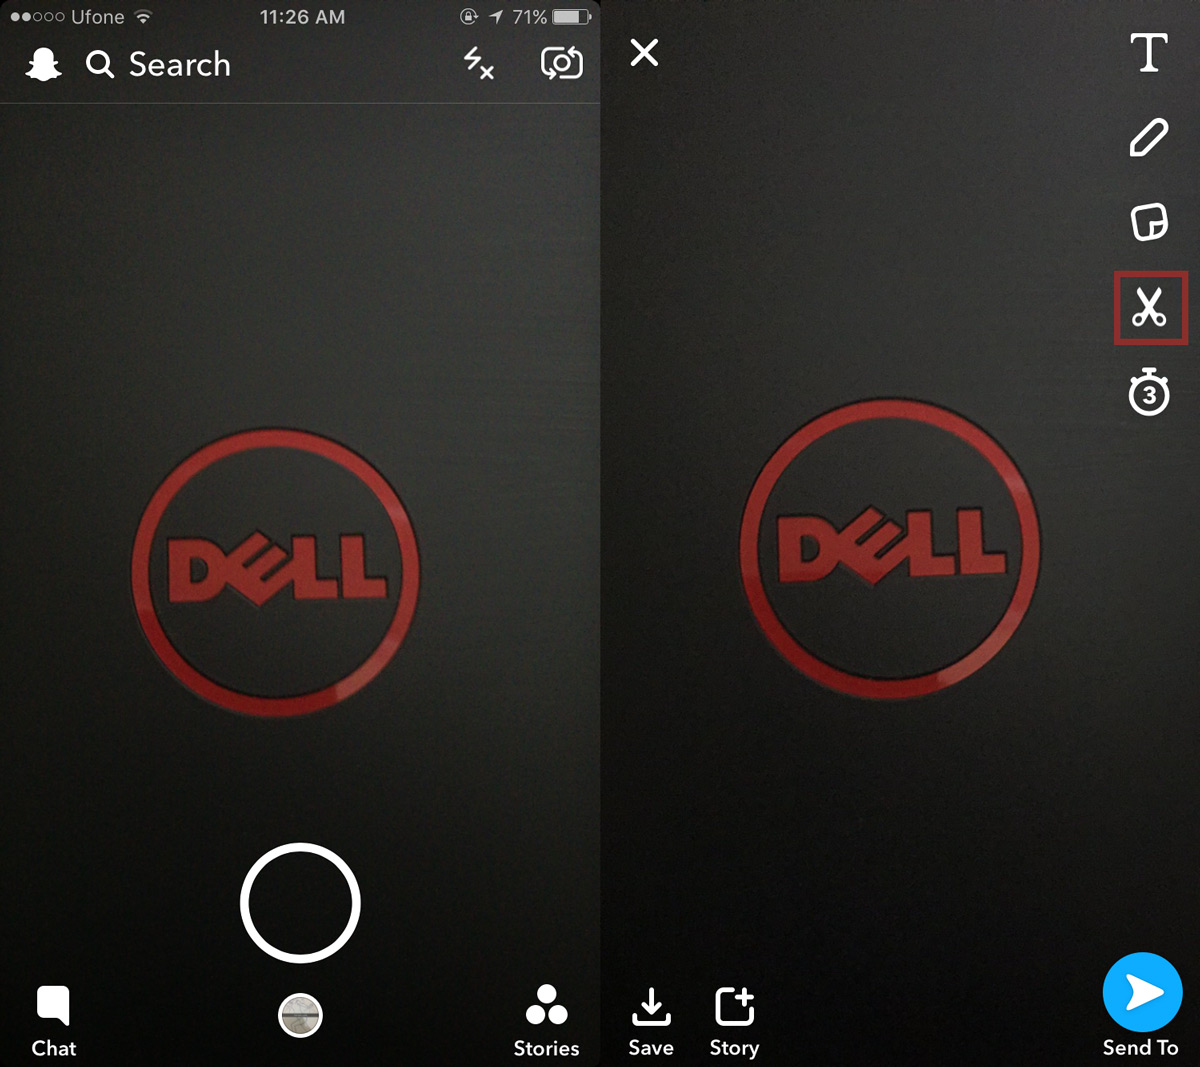
Once you’ve got everything set up, take the photo and proceed to the editing screen. The editing screen is a bit busier than it was before. To create a sticker tap the scissors icon.
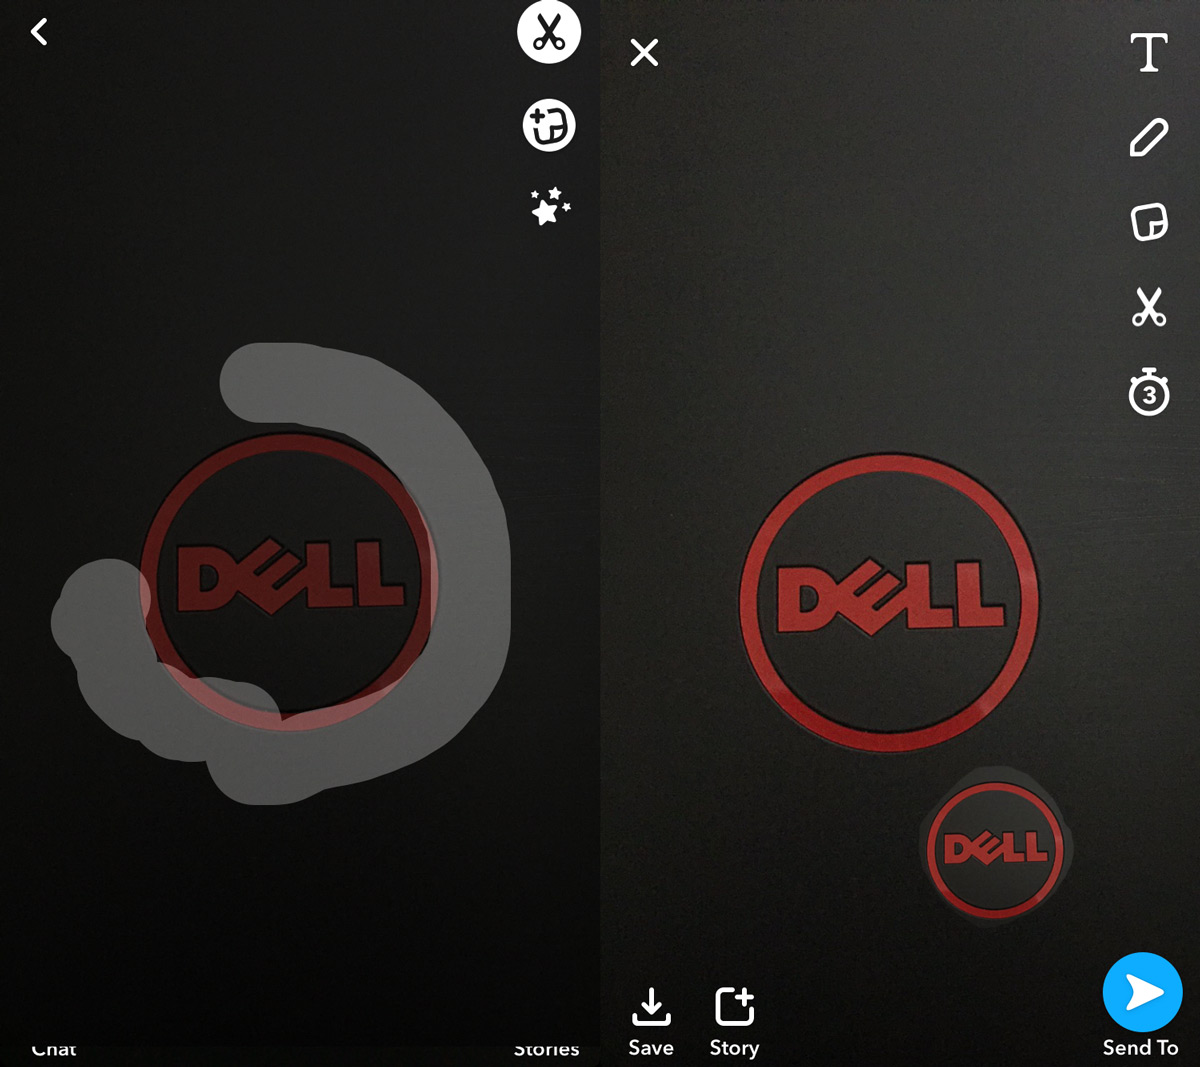
Trace outside the object you want to turn into a sticker. You can’t change the weight of your brush and there’s no way to erase a line you’ve already drawn. Make sure you complete the outline. The second you lift your finger from your screen, Snapchat will turn whatever you’ve outlined into a sticker. The sticker will automatically be added to the current snap. You can move it around and resize it like you can with the default stickers.
If you don’t want to use the sticker on the current photo, tap and hold on it. The sticker icon will turn into a trash can. Drop the sticker onto it to remove it from your snap.
Snapchat will add the stickers you create to your stickers library. The second you lift your finger from your screen, Snapchat creates the sticker and sends it straight to your stickers library. It doesn’t matter if the sticker is good or bad. It’s there. If you make multiple attempts to create a sticker, all the bad ones will continue to pile up in your library.
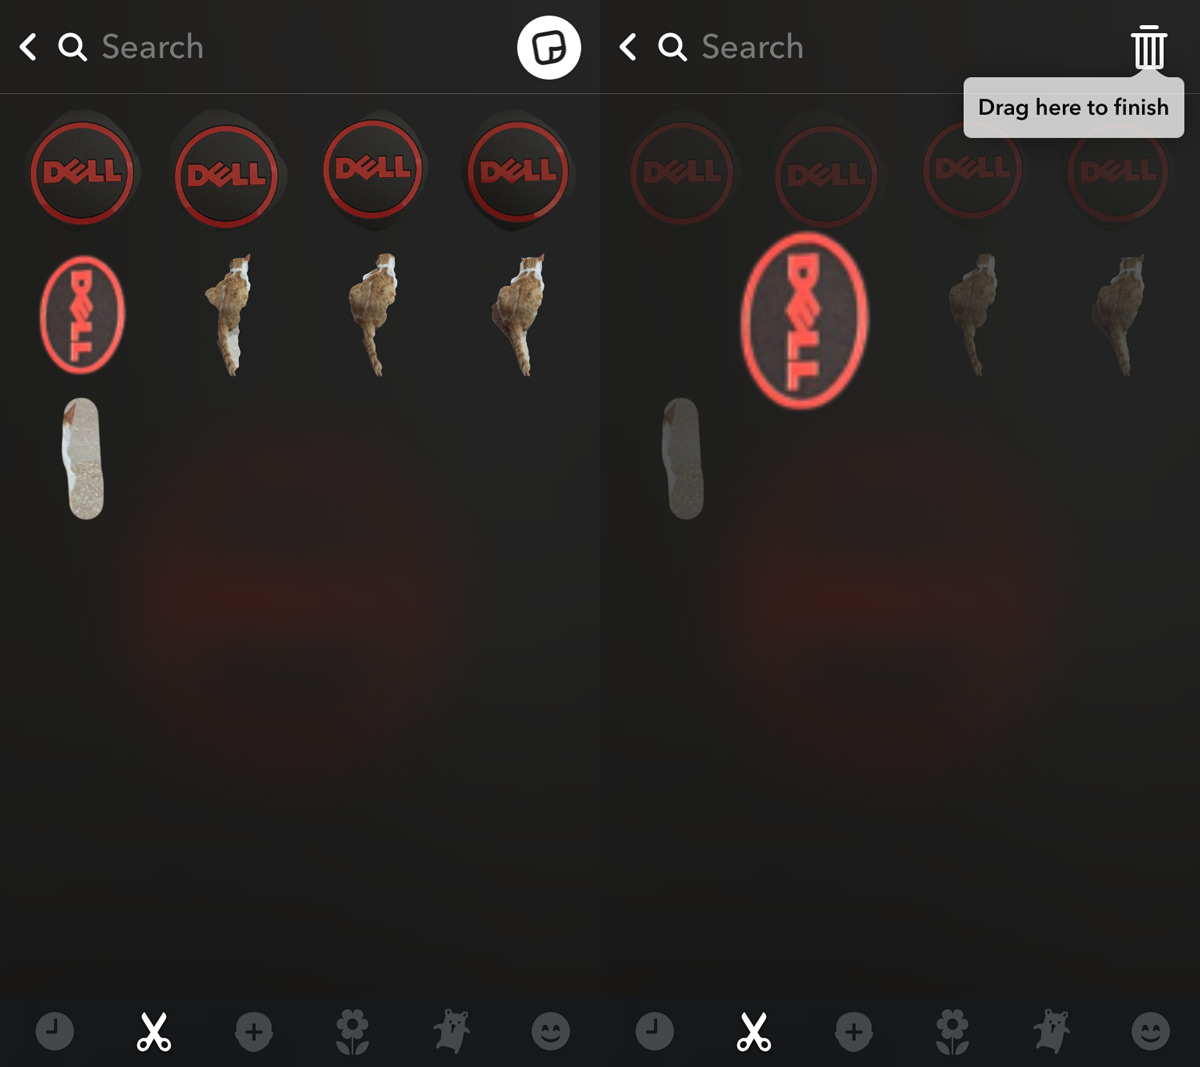
Fortunately, you can delete the custom stickers you’ve created. On the edit screen of a snap, tap the sticker button to open your sticker drawer. The sticker library is divided into tabs. Tap the scissors tab to go to your custom stickers library. Tap and hold the sticker you want to delete and drag it to the trash can to delete it permanently.
Also handy: your custom stickers are saved in the sticker drawer and can be added to Snaps or sent in Chat. You can resize (pinch), move (drag), and even pin a sticker to a moving object by pressing and holding on it. See how to add stickers and how to make custom stickers from Snapchat Support.
Create from existing photos: you can also make stickers from photos in Memories or your Camera Roll. Open the sticker drawer on a Snap, go to the scissors tab, and create from a saved image; or open Memories > Camera Roll, pick a photo, and use the scissors tool to cut out a sticker. If you want Snapchat to suggest recent cutouts automatically, enable Auto Stickers in the sticker drawer.
That’s all it takes.
