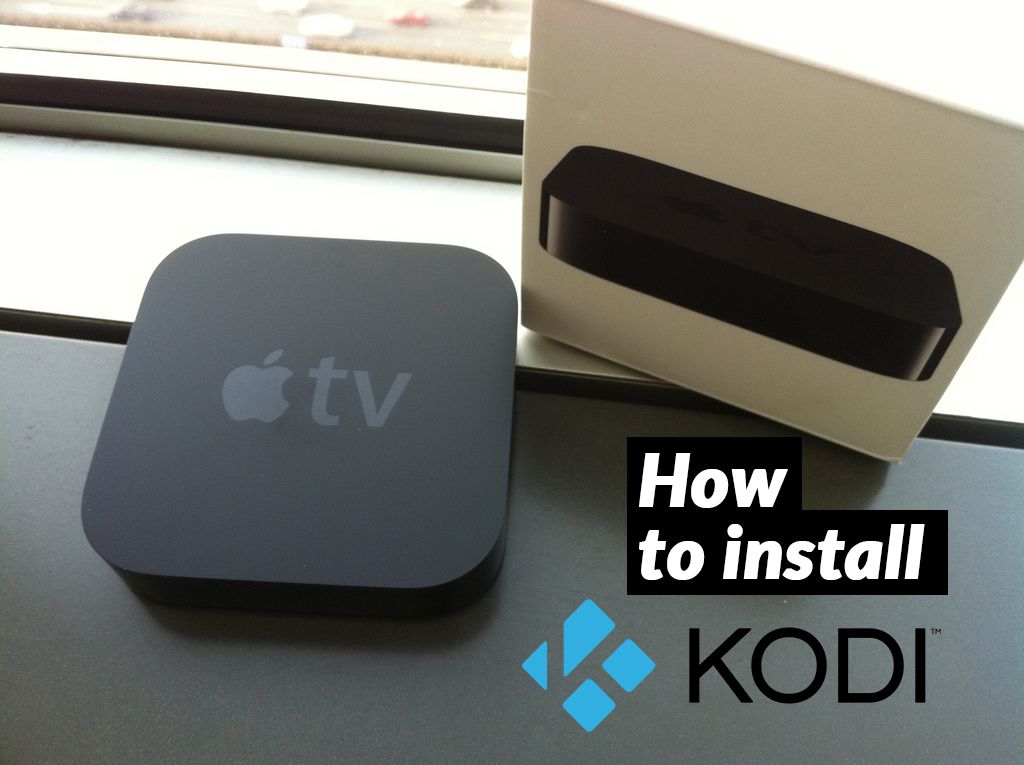
Install Kodi on Apple TV 4, 3 and 2: Detailed Process Tutorial
Kodi is one of the most popular online media players around. And for good reason. It is one of the most versatile and flexible media players on the market. That means that not only can it play pretty much any file format you can think of, but it can also be run on just about every platform and operating system around.
Kodi can bring all of your media content across different devices together, allowing you to view pictures and videos from your smartphone or tablet on your laptop and so on. For this reason, it has become particularly popular for people who want to view their content on their TV screens.
Much has been written about the popularity of Kodi on the Amazon Fire TV Stick, but this is not the only TV device which Kodi can be a great addition to. Another is the Apple TV. Both Apple TV and Kodi are purpose built to optimise media consumption so they are, in that sense the perfect pairing.
However, Apple has always been cautious and controlling over what software it allow users to run on its devices, and because Kodi is a piece of open-source software, which allows users to customize it and create software add-ons, Apple does not permit Kodi a place in its app store.
But that doesn’t mean Kodi and the Apple TV can’t be combined. It just means the process is a little bit more complicated than just downloading an app. But that is what this article is all about.
Quick reminder
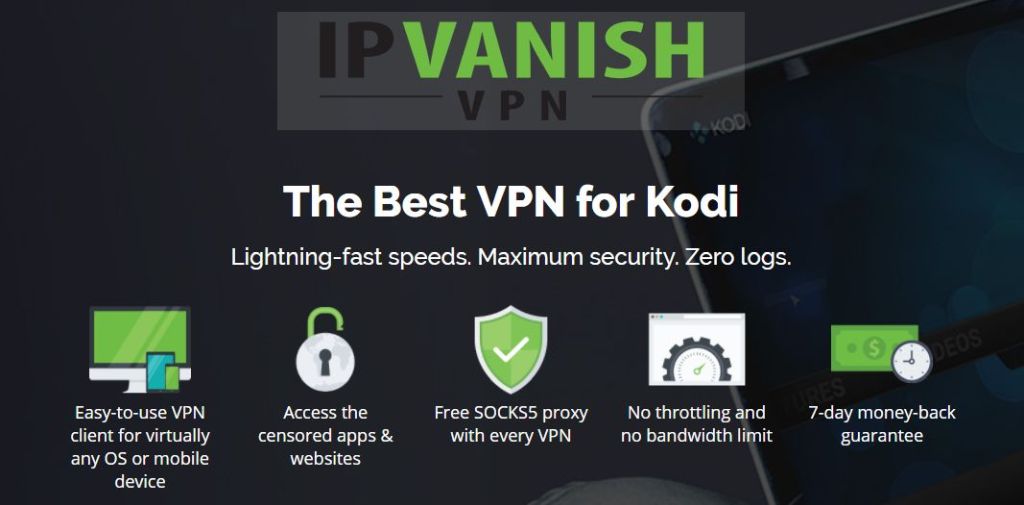
When using Kodi, we advise all users to always ensure they have a Virtual Private Network, or VPN, installed. (Editor’s note: do check our review with the best VPNs for Kodi)
A VPN is an online security and privacy tools which encrypts all of your online traffic and reroutes it via an external server. This process helps to protect your online data from hackers or other prying eyes by making sure that everything you do is encrypted, and not just conten on secure sites.
IPVanish is a reputable VPN that works with all Kodi add-ons we have tested.
Our readers are getting an amazing deal. Try it risk free for 7 days; if you like it you can save a massive 60% here on the annual plan.
It also helps to ensure your online privacy by hiding your IP Address (the data which tells a website or service where you are) from the sites you visit and the online services you are using. This in-effect renders VPN users anonymous online.
This is important for Kodi users for two main reasons:
- Kodi is open-source (see below section ‘Getting Technical’ for more on this) and therefore you are likely to encounter many unauthorised add-ons. Many of these are perfectly safe, but plenty more are not and with a VPN you are much more likely to keep yourself and your content secure when using Hulu.
- Kodi allows you to stream a lot of online content, but some of what’s available is a little controversial (again, read on to find out more about this). By rendering yourself anonymous online, you can be sure that no matter what you are viewing on Kodi, you shouldn’t experience any unpleasant repercussions.
Getting technical
We know that some our readers love to get technical, so here is the lowdown on what Kodi actually is and how it works.
Kodi is open-source software which was originally written in C++ code. Open-source means that the code which created Kodi is publicly available for any developer to play with, analyze, change, personalise, and improve.
This makes Kodi what is technically termed Free and open-source software (FOSS). That means absolutely anyone can play with the coding, with no permission or license from the creators of the software needed.
It is this which has made Kodi so massively popular. Because countless developers have given the software their own spin, creating different builds which give users numerous choices of how Kodi can look and what it can do.
They have also been able to create add-on software which allows users to stream pretty much every type of media content and TV channel they like. Kodi is great fun for software developers to play with, but it is also a wonderful media solution for users as well.
What can I do with Kodi?
Unlike most media players, there is not one, but numerous different versions of Kodi which can be downloaded and used. For security purposes, many experts advise users to download a clean version of the software directly from the creators and then download individual add-ons from trusted sources yourself.
They have actually just released their latest version – Kodi 18, also known as Kodi Leia in memory of the late actress Carrie Fisher.
But for many users that process can be too time-consuming and technical, so they prefer to download Kodi builds – versions of the software that have already been assembled with various add-ons and skins already installed.
Whichever option you choose, Kodi will allow you to enjoy just every media file you might ever encounter. Many internet users have experienced the frustration of downloading a video and then finding their media player doesn’t support it. With Kodi, that is a thing of the past as it will play pretty much every single file format you can mention.
This is why Kodi is so great as a media hub. It allows users to bring together multiple files made up of different formats and watch them together seamlessly.
Kodi can also network all of your online devices and their media content making it available on every device no matter where they are. With Kodi installed on all your devices, any audio or media file, and even photo files, are available on the other devices in your media network.
Kodi can also stream and record live TV, through some of the plentiful add-ons which can be downloaded for free.
What is Apple TV
I’m sure that the US tech company needs no introduction. Their founder, Steve Jobs, has become a legendary figure and through their iPhones and iPads, they have revolutionized the way people access the media and the internet like no other company.
Apple TV is the company’s digital media player micro-console. It is a device intended solely for the streaming, downloading, and playing of media content. It is HDMI compliant and has Wi-Fi capability. Content can be accessed via the iTunes store or from other Apple devices using their AirPlay technology.
Content can also be accessed through various apps which can be downloaded from the official Apple iTunes store. These include YouTube, Netflix, Hulu, and various other subscription and cable services (for which a subscription is of course required).
The device itself is a sleek and simple box with no external controls. It can be operated either through an app which is downloaded onto the iPhone or via an Apple remote control device.
Installing Kodi onto an Apple TV
As we have already noted, Kodi is not an approved Apple app. It is therefore not possible to simply download the Kodi app and use it on an Apple TV.
But that doesn’t mean it is impossible to install Kodi onto an Apple TV. It is just a more complicated process than it might otherwise be.
To date, there have been four generations of the Apple TV device and frustratingly, the process for getting Kodi installed is different on each one.
But worry not because we are going explain in simple terms exactly how you can install Kodi onto each generation of the Apple TV device. Just follow these simple steps and you will have access to the hours of media enjoyment that Kodi can offer on one of the best media devices around.
AddictiveTips does not condone or encourage any violation of copyright restrictions. Please consider the law, victims, and risks of piracy before streaming or downloading copyrighted material without permission.
How to Install Kodi onto an Apple TV 4
Before we begin the installation process, there are a few things you will need to have downloaded onto your Mac before you start:
- Apple Developer account (Sign Up)
- Xcode 7.2 or higher (Download)
- The Latest Kodi .deb file (Download)
- iOS App signer utility for Mac device (https://github.com/DanTheMan827/ios-app-signer/releases/download/r17/iOS.App.Signer.app.zip) Download
- A USB-C to USB-A cable (To connect your Mac and Apple TV)
Putting Kodi onto your Apple TV will be a much quicker and simpler process if you line up all of these ducks before you get going.
- The first thing to do is to connect your Apple TV to your Mac using the USB-C to USB-A cable.
- Then you should launch Xcode on your Mac. Once it is open select Create a new Xcode project? followed by Application under the tvOS section. Then click on Single View Application and choose next.
- This will open up a new Xcode project, which you will be invited to give a project name to and also provide an organization name. Complete this information and then click on next.
- Once this is done, Xcode will generate an error code which says matching provisioning profile. This is nothing to worry about. All you have to do is select Fix Issue and then wait while it resolves the problem. When it has been fixed, Xcode will create a provisioning profile based on your Personal developer account.
- Your Apple developer account is needed in order to fix this problem, so now you should sign into your Apple Developer account. Click on Add option and then enter your login credentials.
- Once these regulation issues have been resolved, you will need to select Apple TV 4 from the drop-down menu.
- Next, you will need to open iOS App Singer and choose the Signing Certificate option from that programmes drop-down menu. Do exactly the same with Provisioning Profile by choosing the name of the project that you have already created in Xcode.
- Next, you should choose the Input File and put the .deb file we downloaded earlier.
- After you have finished filling all of these details click on Start. This will then give you an IPA file.
- In Xcode, you then need to go to Windows > Devices and then select the Apple TV 4 device.
- On the left side of the screen click on the + button under the Installed apps section.
- Lastly, you will need to locate the IPA file which iOS Singing app created.
After you have done the above, Kodi Apple TV 4 should be ready to use on your device.
To the uninitiated, this might seem like a hugely complex process. But worry not. All you have to do is follow this process. There is no real need to understand it (although it won’t hurt if you do!). If you do precisely what is outlined here, you will have no trouble downloading Kodi onto your Apple TV 4.
How to Install Kodi onto an Apple TV 3
For those of you still using an Apple TV 3, the news is less good. It is not possible to directly download Kodi onto an Apple TV 3 device. Because it is not possible to jailbreak the device, installing non-approved apps is not possible.
But as always, there is a workaround to this problem. It involves running Kodi on another Apple device and then using Airplay to send the Kodi content to the Apple TV 3.
If you are a Mac user, all you will need to do is download Kodi onto your device. You can then mirror your screen to the Apple TV3 and watch as usual.
The only issue with this method is that you cannot use your device for anything else at the same time as using Kodi. If you want to do that, you will need to download AirParrot. AirParrot will allow you to mirror just one specific app, meaning you can continue to use other apps while your Apple TV 3 is still receiving content from the Kodi app.
If you are using a Windows PC, you can also download Kodi onto your device and use AirParrot in the same way. And if you are an Android device user, you can follow the same process again by downloading Kodi from the app store followed by the Mirroring360 App, which will serve the same purpose as AirParrot.
How to Install Kodi onto an Apple TV 2
The process to install Kodi onto an Apple TV 2 device is actually very straightforward, but to the untrained eye looks worryingly complex. Don’t fret. It really is simple and the only code you need to know detailed below.
But before you begin, beware. The latest versions of Kodi no longer support Apple TV 2. This means if you want to download it, you will need to get hold of an older version of the Kodi software.
One such version that still works is the Helix build, which includes all the main add-ons as well as an older version of the Kodi software. But be aware that this version will lack some of Kodi’s later features.
To install Kodi onto an Apple TV 2, all you will need is the Apple TV 2 device and a Mac.
- On your Mac, Open the terminal and type in or copy the Bellow command below:
ssh root@192.168.1.1
192.168.1.1 should be replaced with the IP address of your own Apple TV device. If this command works, you should then be prompted to input your password. If you don’t know the password for your device or haven’t changed it, try the default password which is
alpine
- Next, you will need to enter the following commands one after another:
apt-get install wget

wget -0- https://apt.awkwardtv.org/awkwardtv.pub | apt-key add –

echo ?deb https://apt.awkwardtv.org/ stable main? > /etc/apt/sources.list.d/awkwardtv.list

echo ?eb https://mirrors.kodi.tv/apt/atv2 ./? > /etc/apt/sources.list.d/xbmc.list

apt-get update

apt-get install org.xbmc.kodi-atv2

reboot
After inputting all of the above correctly, your Apple TV 2 will restart. Once the restart has finished, Kodi should be available and ready to use. As it is an older version of the Kodi software, you may find there are a few bugs and issues in the software, but it should still be usable.
How to Install Kodi onto an Apple TV 1
The first generation of the Apple TV is no longer available in shops or online. It was discontinued by Apple way back in 2010, and three versions of the device have since been released. But for those of you still using an Apple TV 1, it is also possible to install Kodi onto the device.
The Apple TV 1 is actually great to use with Kodi as the devices had a hard-drive with a capacity of between 40GB and 160GB, depending on the exact model you have. This means there is plenty of space to download content through Kodi’s various add-ons.
It also boasts a USB port which makes transferring content easy. It is also easy to upgrade the hard-drive and the video card.
But, by installing Kodi onto the device, you will lose all of the Apple TVs existing features and ecosystem. This is because Kodi has to be flashed directly onto the device, which you can do by following these simple steps:
- First, you will need to update your Apple TV 1 to make sure you are running OS 3.0.2
- Once the update is complete, navigate to the OS settings and then change the Audio & Video settings and then HDMI output to RGB High
- Then, connect the device to your network by using an Ethernet cable to plug the device into the router. At this stage, the Wi-Fi connection will not work because this process is changing the OS of the device.
- You will then need to use your Mac to create an OpenELEC Flash Drive. To do this, attach a USB drive to your mac and rename it as openelec
- Next, you will need to launch the Terminal app. Copy and paste the below mentioned command.
curl -O https://chewitt.openelec.tv/usb/install-hdd.img.gz
- Now you will find the USB drive. To do this, run below command.
diskutil list | grep -v disk0 | tail +2
- Once that is done, you will be able to see details of your thumb drive. Then you need to unmount the USB drive.
diskutil unmountDisk /dev/disk1
- Finally, you need to run the command.
gunzip -c install-hdd.img.gz | sudo dd of=/dev/rdisk1 bs=1m
This will take a few minutes to action and at the end, you will see an error message saying that the disk is unreadable. Don’t panic. That’s meant to happen and now is the time that Kodi can be flashed onto the Apple TV 1 device.
- To do this, first, remove the USB drive from your Mac. Then, unplug your Apple TV 1 from its power source and attach the thumb drive. Once that’s done, switch the Apple TV 1 back on again. After a few seconds, you should see the OpenELEC logo on the screen.
- Be sure your Apple TV 1 is connected to the internet using Ethernet cable. If it isn’t, it won’t be possible to download the latest version of Kodi.
- Once the Kodi download has finished, the installer will start. This again will generate some warning messages. Again, don’t worry about these, you can just ignore them. OpenELEC will automatically restart the system once Kodi’s installation has finished.
- Once that restart has taken place, you can remove the thumb drive and then once again restart the Apple TV 1. You will see OpenELEC logo again, but this time after a few minutes this should be replaced with the Kodi logo. Kodi will take a little while to start on the first load, but after that should function as normal.
With that, Kodi will be uploaded onto your Apple TV1 and ready to use for downloading, streaming, and media management as you see fit.
What is Kodi?
Let’s kick off with the basics and explain to the uninitiated what exactly Kodi is.
Kodi used to be known as the Xbox Media Center or XBMC. It was created by is a not-for-profit tech consortium, the XBMC Foundation back in 2002, and initially intended as a media player to be used with the Xbox Games Console.
Microsoft never formally approved its use on that device, but it was nonetheless popular amongst those users who jailbroke their Xbox. Jailbreaking is a term which means hacking a device to allow the installation of unauthorised software, such as XBMC.
XBMC’s remit back then was to provide users with a single hub through which they could access all of their media content. This remit remains unchanged to this day.
By 2014, and with XBMC now being used across multiple platforms, but rarely on the Xbox, the decision was finally taken to rebrand it and the name Kodi appeared.
Concluding thoughts
Some readers might look at these processes and think it is a lot of hard work to get Kodi onto their Apple TV and wonder if it is worth the hassle.
It is. Kodi is quite simply the best media player and management tool around right now. It is by far the most flexible and personalizable product on the market and it is also ideally suited to the Apple TV device.
These processes might look tricky, but follow the guides above carefully and you will find you have Kodi up and running in no time at all. And once you are converted to Kodi, you will never look back.
Don't miss this great deal
