5 Best Kodi Skins – How to Change Kodi’s Look and Feel in Minutes
One for the greatest things about Kodi, the popular media player software, is the amount of customization it allows. You can use Add-ons of all sorts to add functionality to Kodi. But did you know that with the use of Kodi skins, you can also change the user interface’s look and feel? And best of all, these skins are freely available.
Today, we’ll tell you how you can install and switch Kodi skins. You’ll be amazed at how simple that is, especially if you follow our step-by-step instructions. In addition, we’ve searched the Internet for the best skins out there. We’ll introduce you to our top 5 skins and show you what each has to offer. As you’ll see, it’s not always just about the look and different skins will sometimes offer different functionality.
For Added Privacy While Using Kodi, Use a VPN
Your Internet provider could be monitoring your activity to ensure you don’t violate their terms and conditions. And If they suspect you do, they might throttle down your speed, send you copyright infringement notices or even interrupt your service. To avoid all that, we strongly suggest you use a VPN whenever you’re using Kodi. A VPN encrypts your data, rendering it unreadable, thereby protecting your privacy. As a bonus, a VPN will let you access geo-blocked content by masquerading your location.
Choosing a VPN can be a daunting task. There are so many suppliers to choose from. Some important factors to consider when choosing a VPN are a fast connection speed for a smooth, buffering-free experience, a no-logging policy for the ultimate privacy protection, no usage restrictions for access to any content at full speed and software that runs on your device.
The Best VPN for Kodi: IPVanish
After testing several VPN, the one we recommend for Kodi users is IPVanish. With servers worldwide, no speed cap or throttling, unlimited bandwidth, unrestricted traffic, a strict no-logging policy and client software available for most platforms, IPVanish really has all you need.
IPVanish offers a 7-day money back guarantee which means you have a week to test it risk-free. Please note that Addictive Tips readers can save a massive 60% here on the IPVanish annual plan, taking the monthly price down to only $4.87 per month.
What are Kodi Skins, Exactly?
In simple terms, a Kodi skin is the user interface component of Kodi. But perhaps this is a bit too simple. Kodi was built from the ground up with a multi-component architecture. This is why you can download add-ons that add all sorts of functionality to your Kodi installation. The Kodi skin is the component you use to interact with your Kodi media player.
Even if you’ve never heard of skins and never installed one, you are using one. On the latest version of Kodi (Krypton), the default skin is called Estuary. The Kodi Skin is what provides the different available menus and submenus. For that reason, changing skins, while it won’t add or remove functionality to Kodi, could make some features appear, disappear or change location.
Some skins are targeting specific usages or hardware. For instance, there are skins that work best with a touchscreen. Other skins are designed to emphasize movies or TV shows while some put their focus on Live TV. But more than anything, skins are mostly used for their visual appeal. They will all change the look and feel of Kodi’s user interface and this is why most user will explore them. They want a prettier Kodi.
RELATED: Best Kodi Builds
How to Switch Skin and Download and Install Additional Ones
If you’re used to the relative complexity of installing add-ons with their source path, repositories and all, you’ll be amazed at how simple it is to install Kodi skins.
Switching Skin
From the Kodi home screen, click the Settings icon. It’s the icon that looks like a small gear at the top left of the screen.
![]()
From the Kodi Settings menu, click on the Interface Settings button.

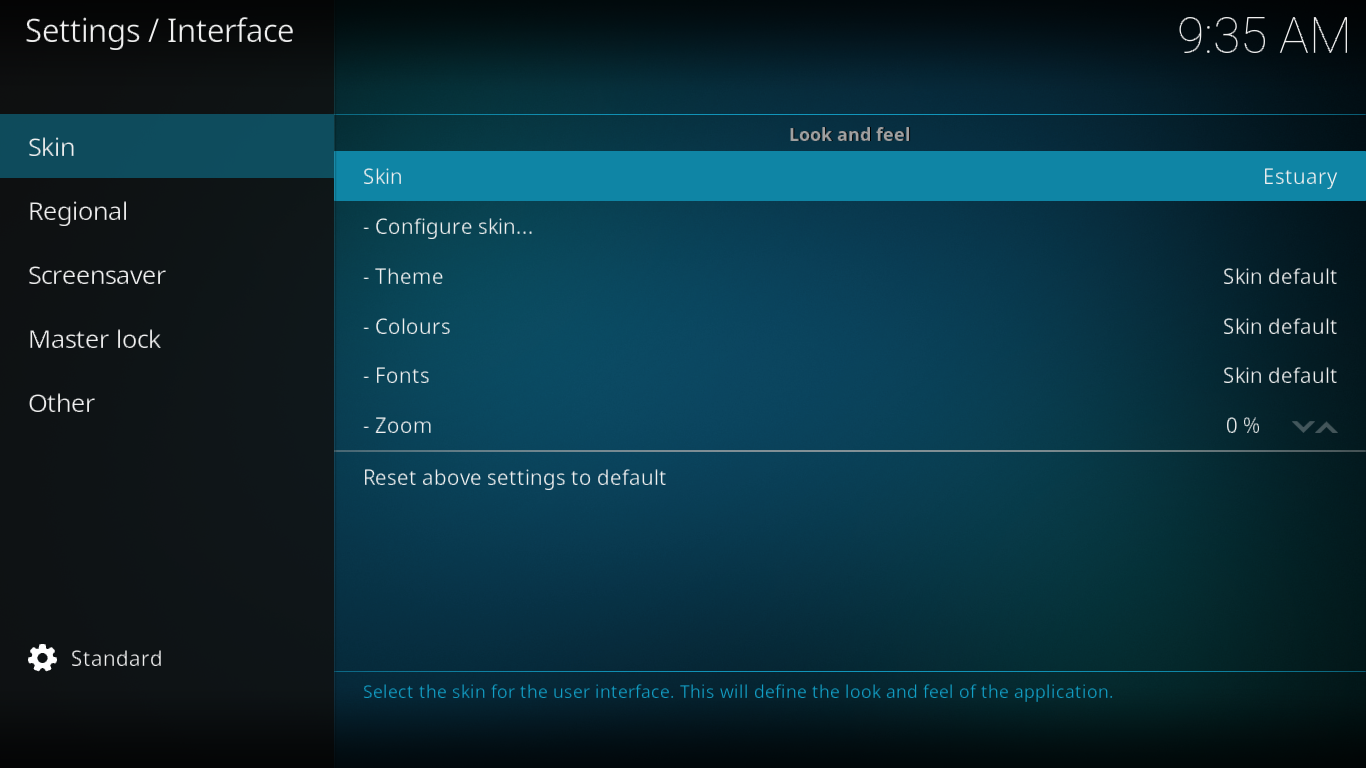
Make sure Skins is selected on the left pane (it should be by default) and click Skin at the top of the screen
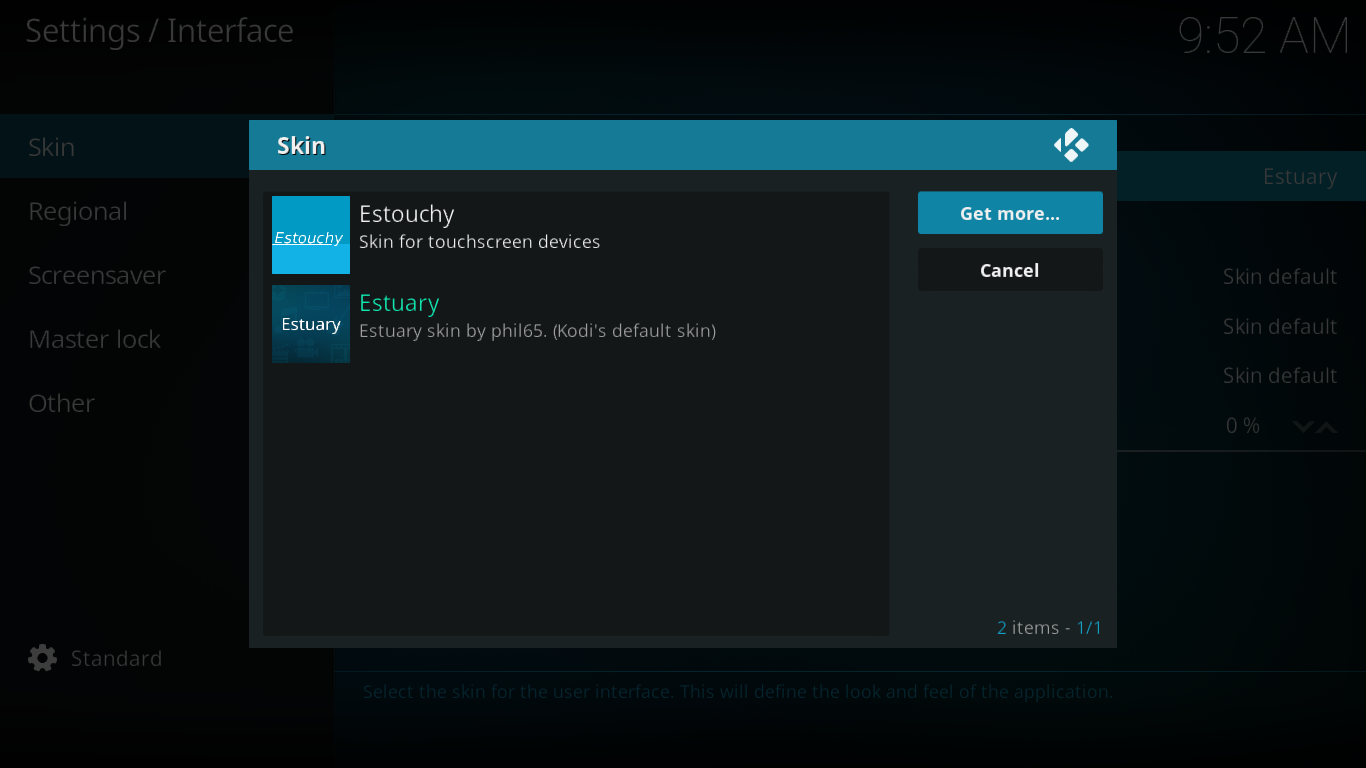
You’ll be taken to the Skin Selection screen where you can choose any of your installed skins.
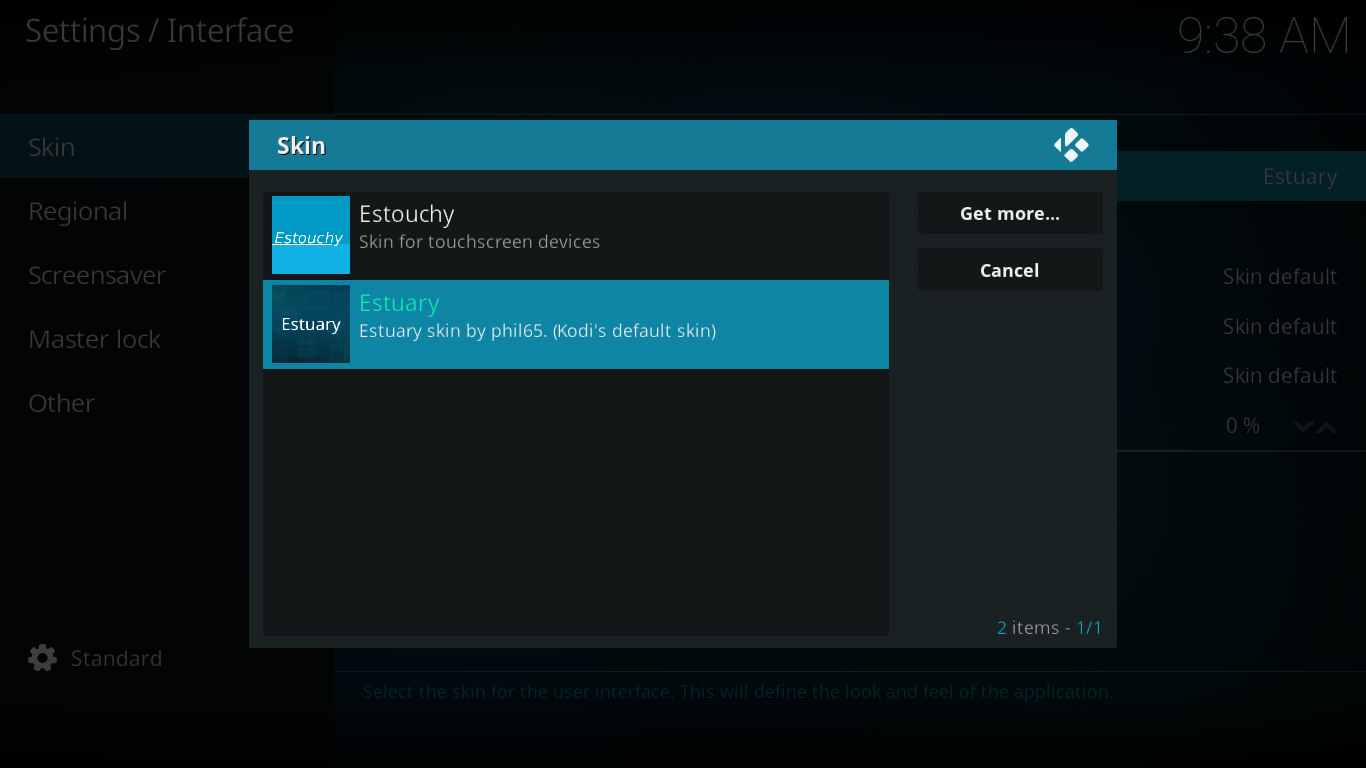
By default, only two skins are available. In addition to the Kodi default skin called Estuary, there is also Estouchy which is basically identical to Estuary but specifically targeting touchscreen devices.
To switch skins, simply click the one you want to use.
Downloading and installing additional skins
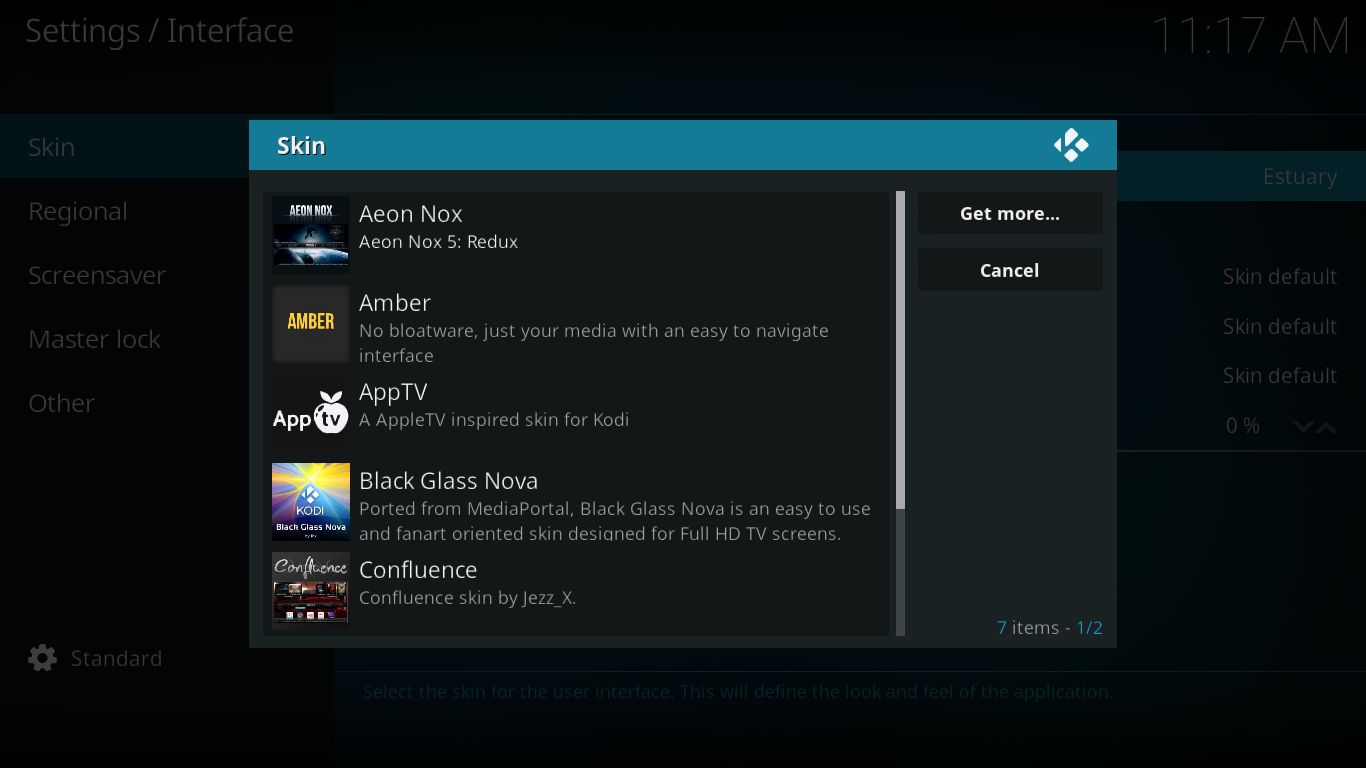
Adding more skins to your Kodi installation is not any harder than selecting them. From the list of available skins, just click the Get more… button.
This opens the skins selection list where you can install any of the “official” Kodi skins. There are over 40 of them.
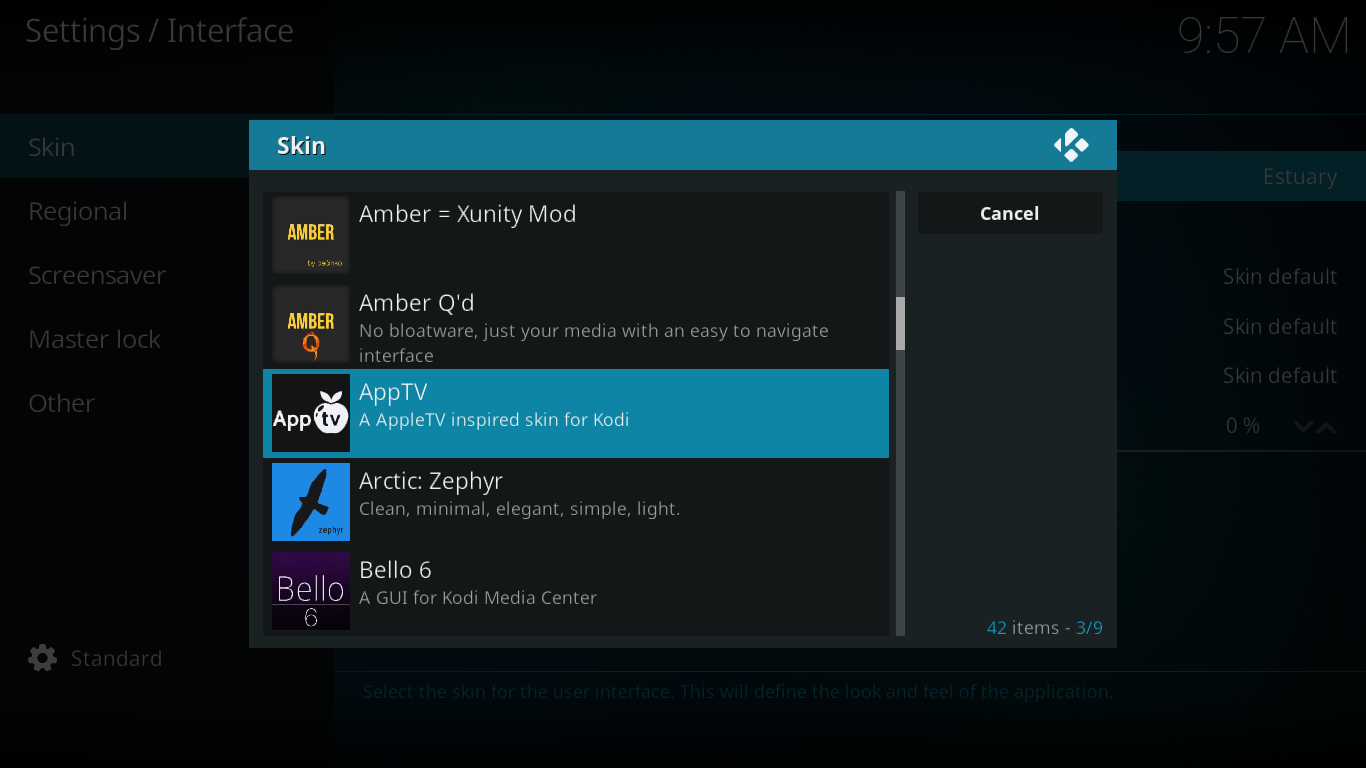
Simply click any of the available skins to install it.
Once the skin is installed, Kodi will switch to that skin and prompt you to confirm that you want to use it.
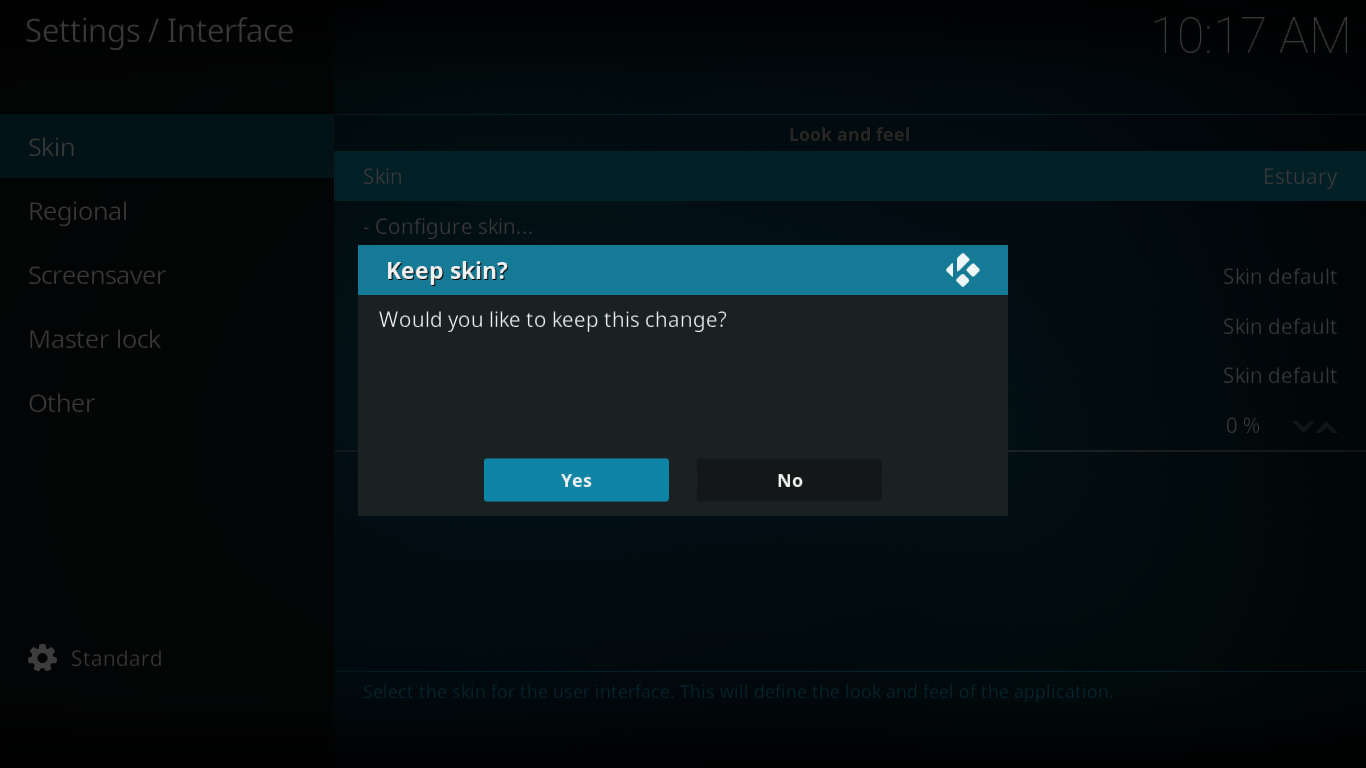
Click Yes to continue using the new skin or No to revert back to the previous one.
If you don’t click Yes within a few seconds, Kodi will revert back to the previous skin. This is very useful in case the skin is not responding to your input. That could happen, for instance, if you install a skin that only works with touchscreens on a device that has no such equipment.
Skins configuration
Switching skins will change the look and feel of Kodi but, in addition, most skins have several customization options allowing the user to adjust some parameters. Remeber the Skins section of the Interface Settings screen?
There are four parameters that are readily modifiable: Theme, Colours, Fonts and Zoom. Not all parameters are available with all skins, though. Some skins will offer multiple themes. Themes are sets of parameters that affect the look and feel of the user interface. They can include things such as color schemes, icon sets and other visuals, color schemes or font sets. What any given theme includes varies from skin to skin and you’ll have to experiment to figure it all out. The same is true of color schemes and fonts and the individual selection available can vary.
The zoom setting is the only one that is identical with all skins and it justs zooms the image in or out. We’re not sure of the usefulness of this setting as it can make the image so big that it no longer fits the screen, sometimes making it almost impossible to return to a more “normal” zoom ratio. Fortunately, the Reset above setting to default option, by virtue of being located at the center of the screen, should still visible, allowing you to get out of an extreme zoom situation.
There’s another setting we haven’t mentioned yet. It’s the first one in the list and it’s called Configure skin… What you can configure from there is very different from skin to skin. We’ll let you know about specific configuration options as we present each skin.
A Tour of Our Top 5 Kodi Skins
We’ve searched the web for the top Kodi skins. To be totally honest, this was close to an impossible mission. Skins are a very personal matter as they affect both the look and the usability of your Kodi installation. And with different people having different taste, the top skins list is different for everyone.
What we’re presenting you are the 5 skins that appeared to be the most frequently mentioned on the Internet. Does that mean they are better? We don’t know but they certainly are amongst the most popular. We’ll introduce each one and discuss what makes them unique in addition to discussing any important customization option each skin might have.
Confluence
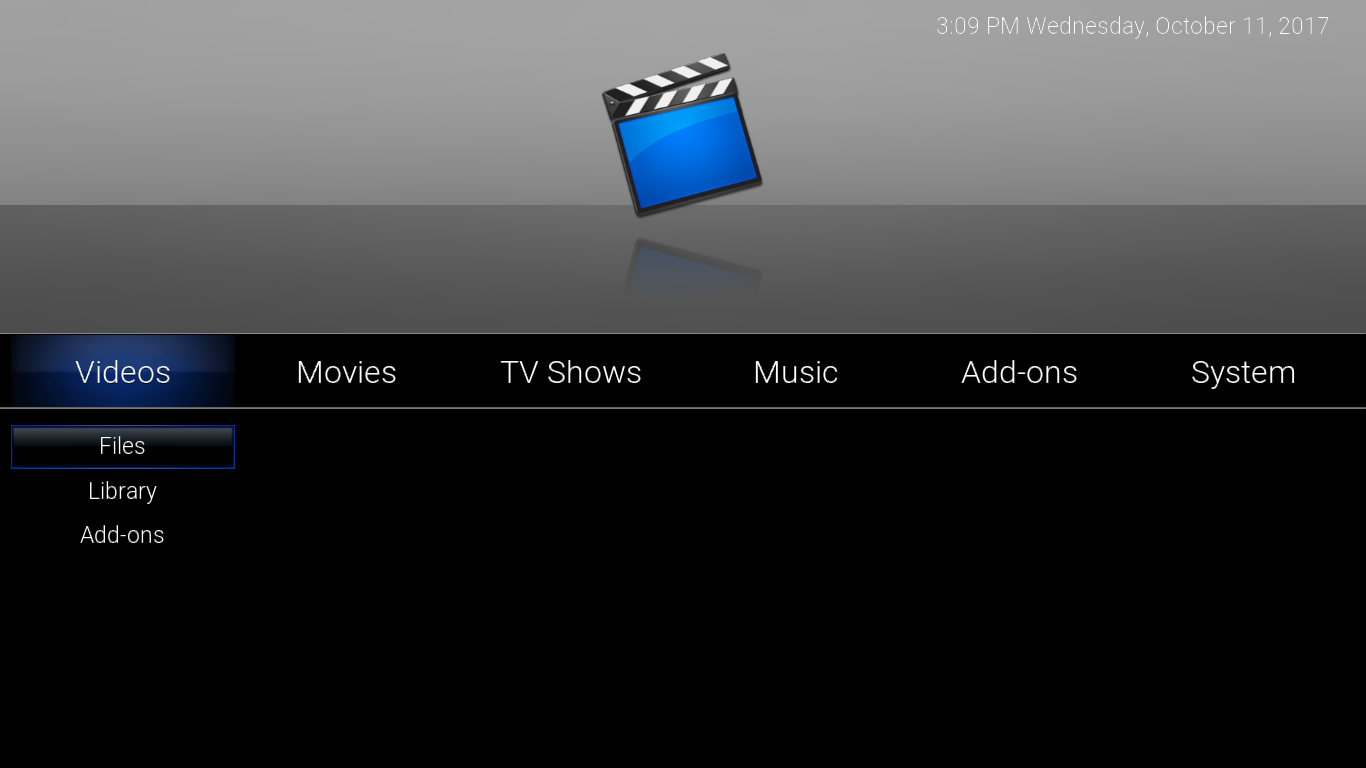
Confluence is possibly one of the oldest Kodi skins. It’s been around for years and was the default skin for a very long time until it was changed to Estuary with the latest major release of Kodi, Krypton. It has the same basic elements and functionality as the default Kodi skin but with a different look and feel. The main appeal of the skin will be to users of older versions of Kodi who prefer not to learn how to use the new user interface.

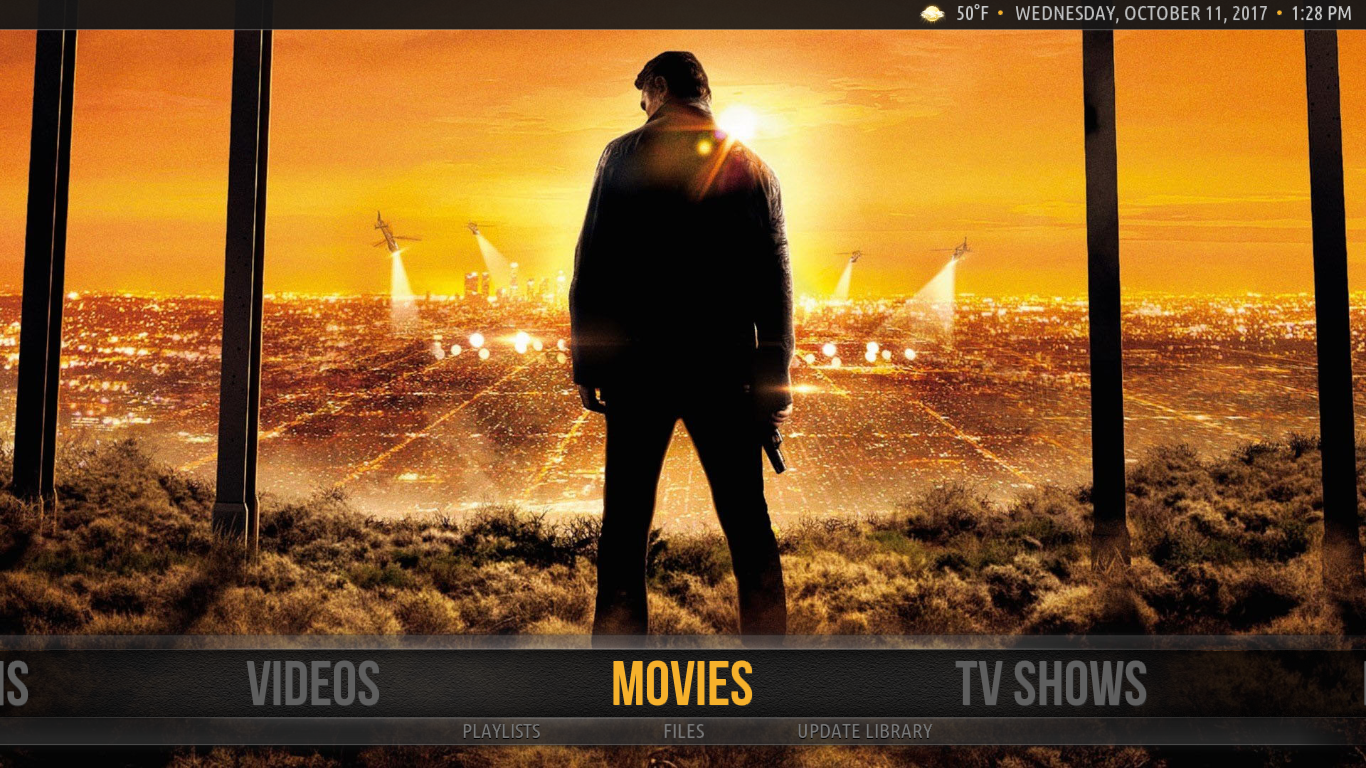
Accessing add-ons in Confluence is a bit different from what the default skin offers. Each add-on category is accessed from the corresponding menu. For example, to access video add-ons, you’ll select Videos from the main menu and then add-ons from the submenu that appears below it.
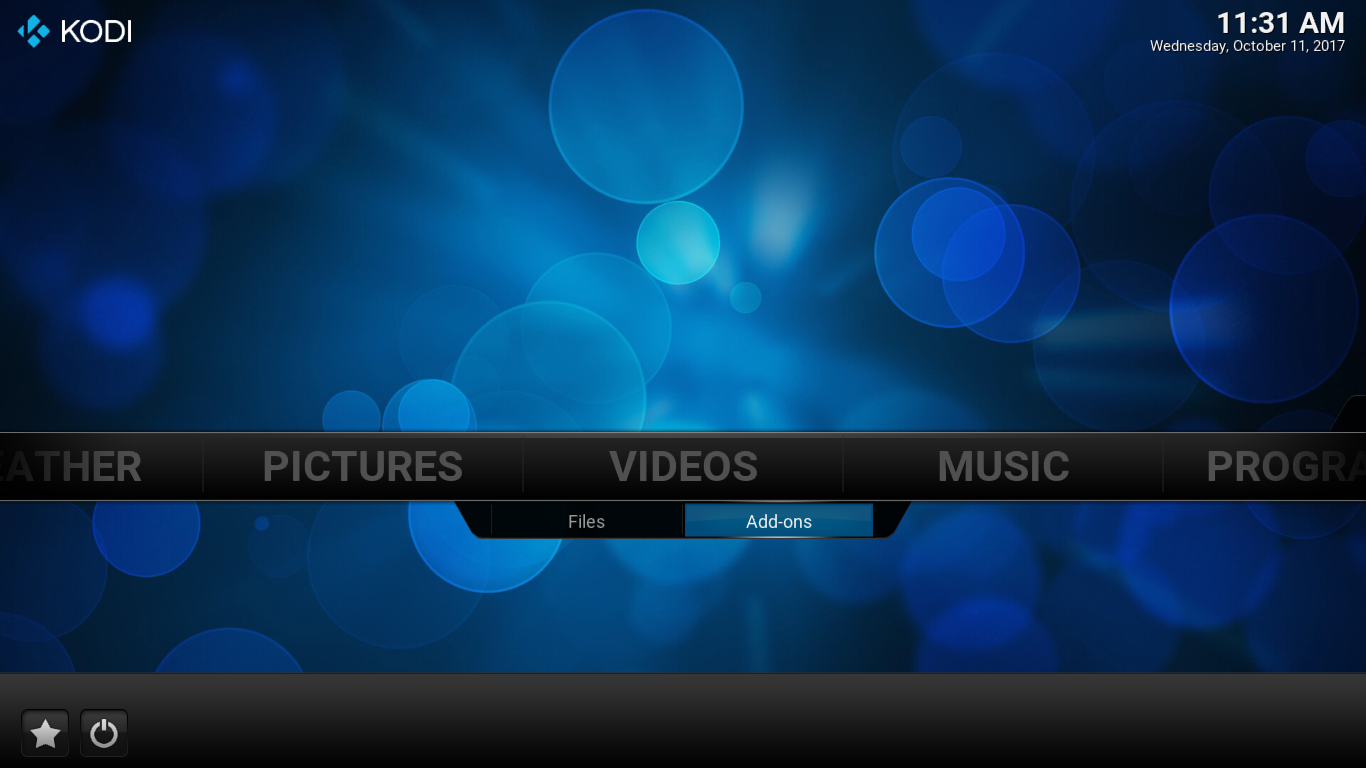
Similarly, the access to the pictures add-ons is under the Pictures menu and music add-ons under the Music menu.
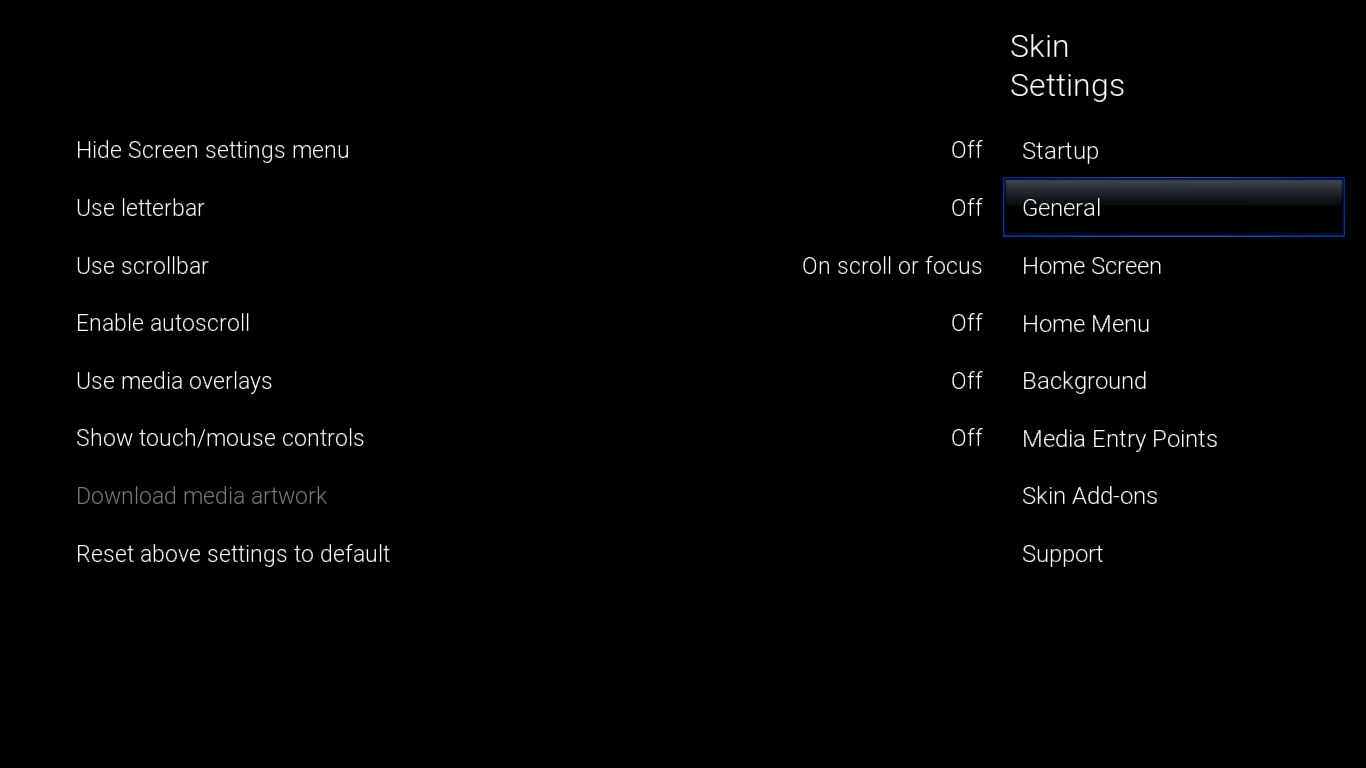
As for the Confluence customizations options, accessed via System -> Settings -> Interface, only Fonts are directly available but clicking Configure Skin reveals quite a few options.
One of the most interesting configuration options is found under the Add-on Shortcuts section of the skin settings.
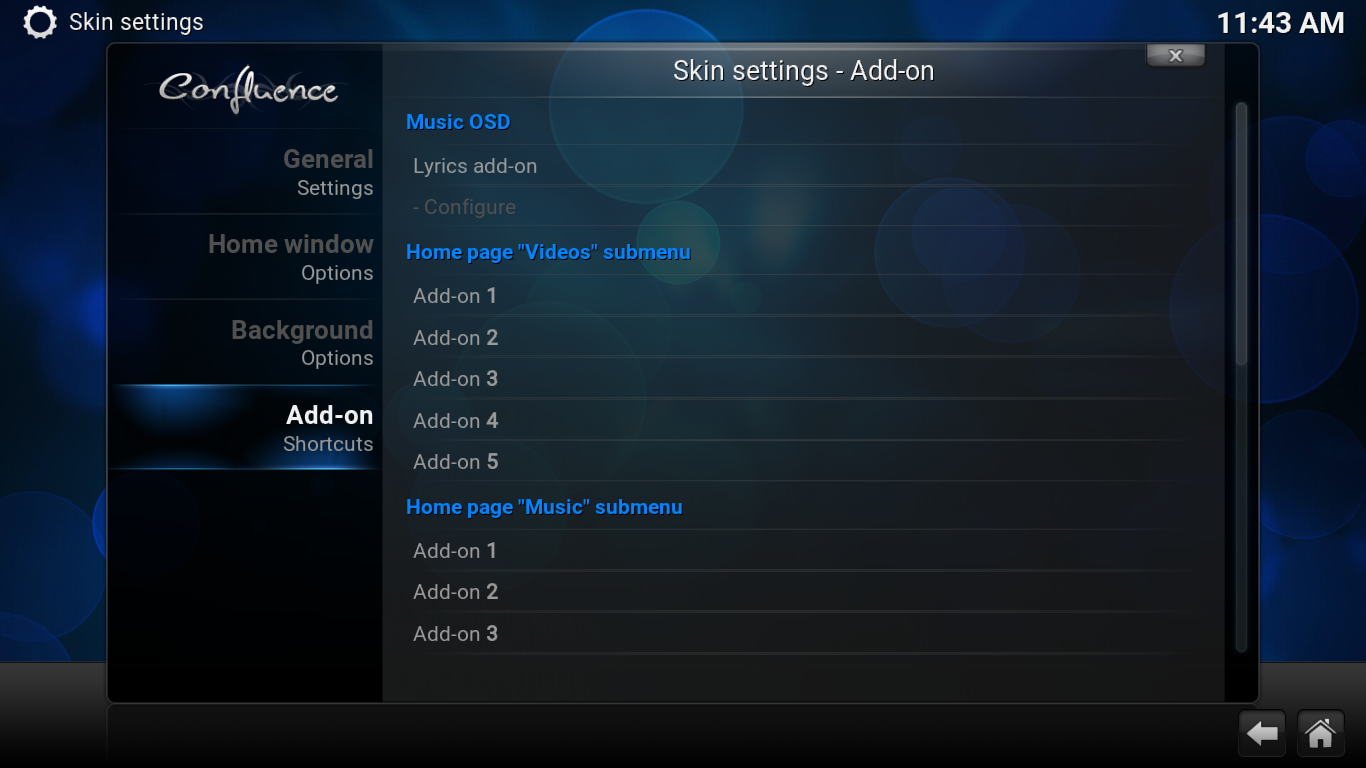
You can configure up to 5 video add-ons and 3 music add-ons that will be readily available from the main menu, as submenu items of the Videos and Music menus.
Amber
The amber skin is great skin with a more minimalist approach. It is a lightweight skin that runs smoothly on any device while still letting you customize a few features. You can, for instance, select between a horizontal or vertical shelf (where the content of the home menu appears). You can also customize the home menu to your liking, to a certain extent, of course.
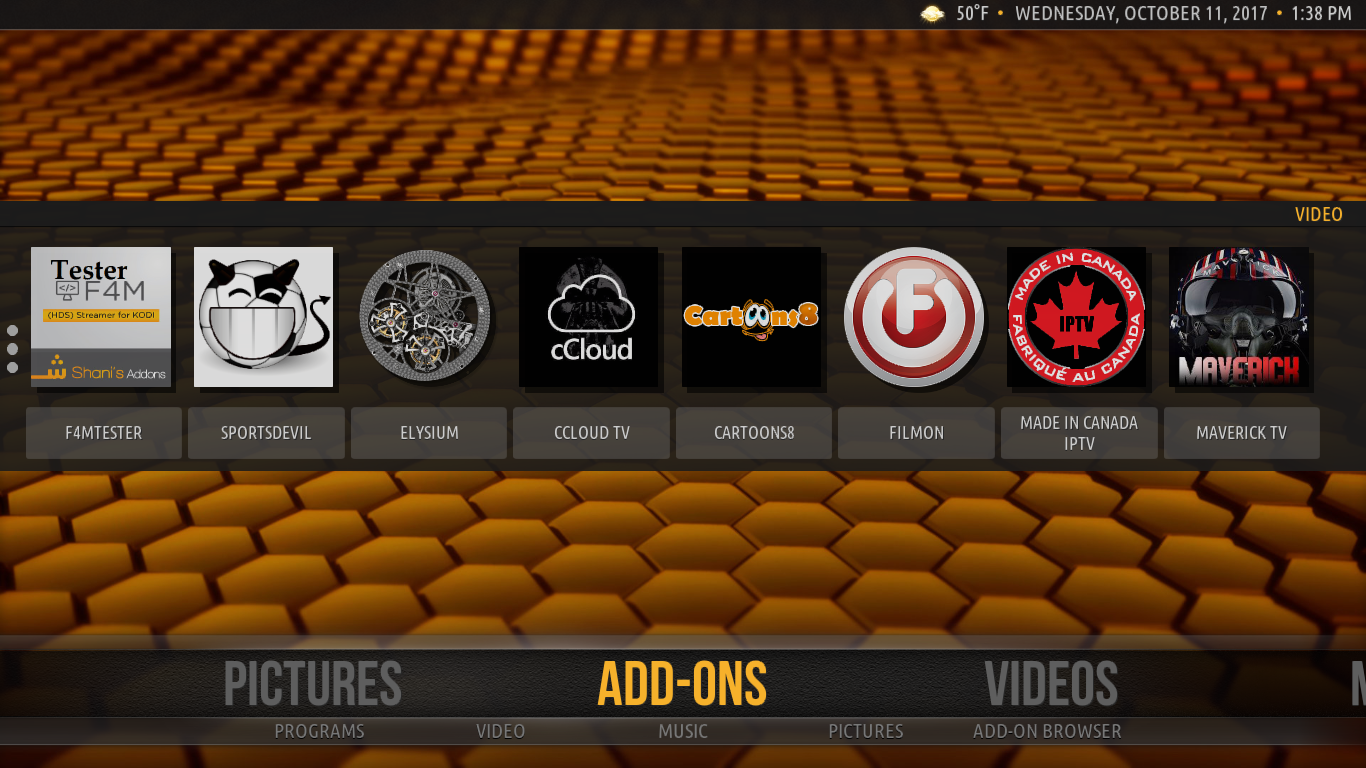
Accessing all your add-ons in with the Amber skin could not be easier. There is an add-on entry right there on the home menu. And once it is highlighted, all your add-ons appear on the shelf in an easy to navigate fashion.
As for customization options, accessing its Amber’s settings reveals six pages of configurable options, each dedicated to a specific type of tweak. No major look and feel changes can be done but several settings can be adjusted to your liking.
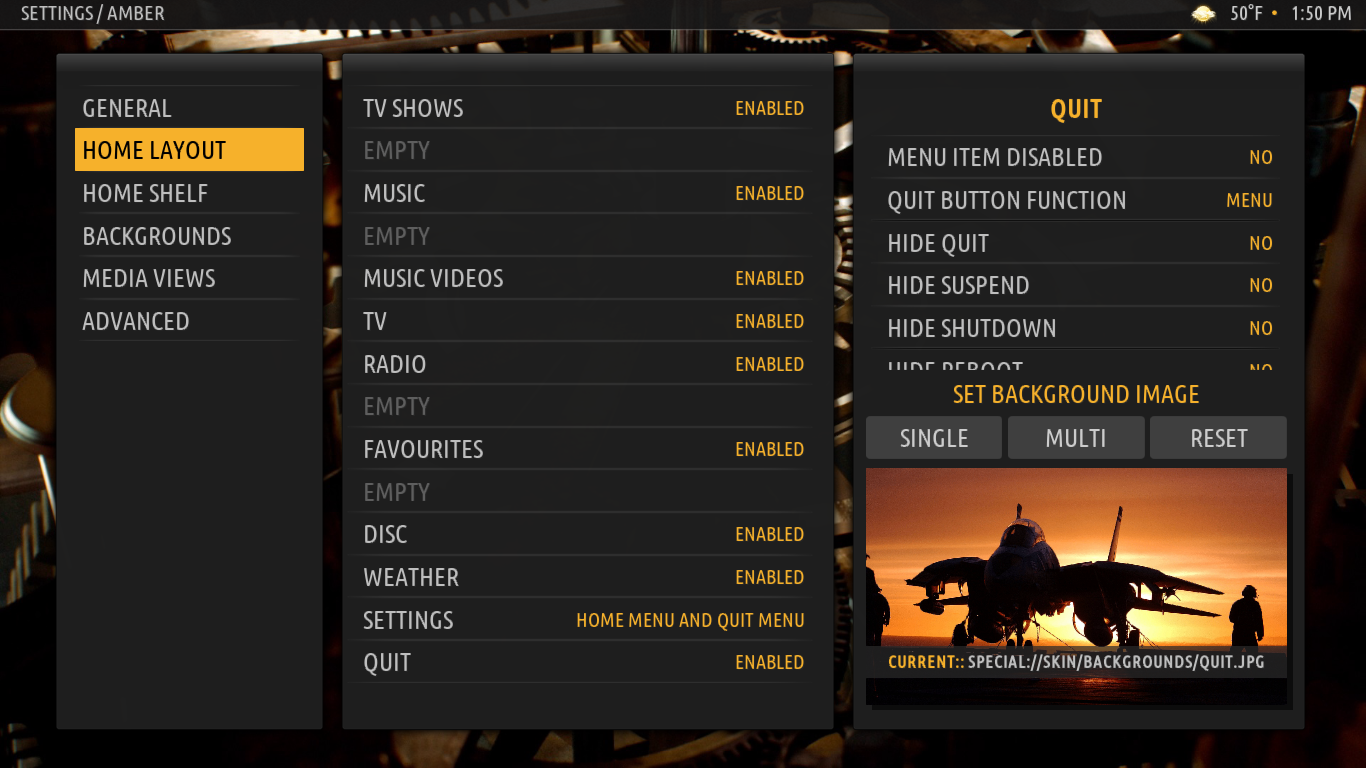
The most useful option is under Home layout where any of your Kodi favourites can be added as a Home Menu item.
Aeon Nox 5: Redux
Possibly one of the most recommended Kodi Skin second only to confluence, Aeon Nox 5: Redux works well with any device. It is a lightweight add-on that will not hang your system. Having been around for quite some time, it is both beautiful and highly customizable.
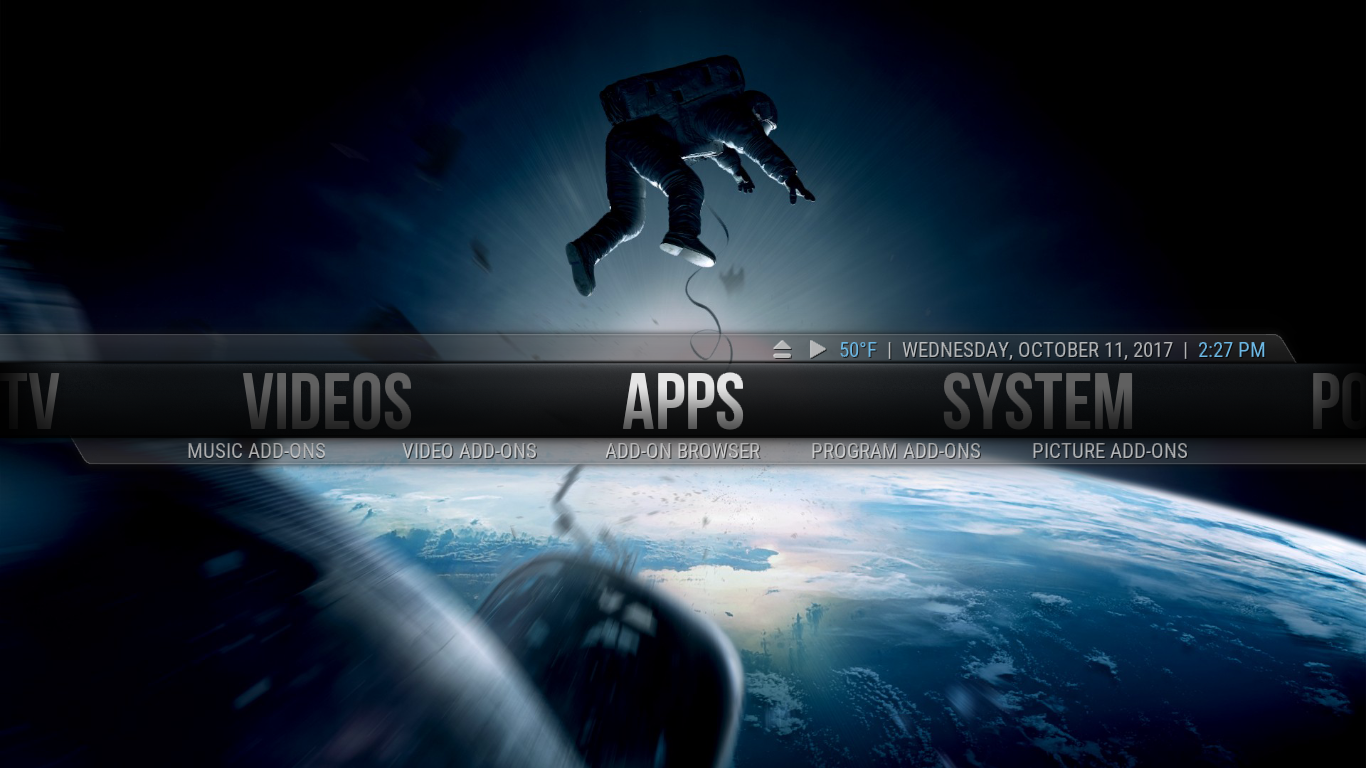
If you’ve used Kodi for any length of time, you should be right at home with Aeon Nox. Although it looks very different from the default skin, it is easy enough for anyone to find his way around it. One thing I particularly like about its main menu is that it is “circular”. When you reach an end of the menu, it continues scrolling from the other end.
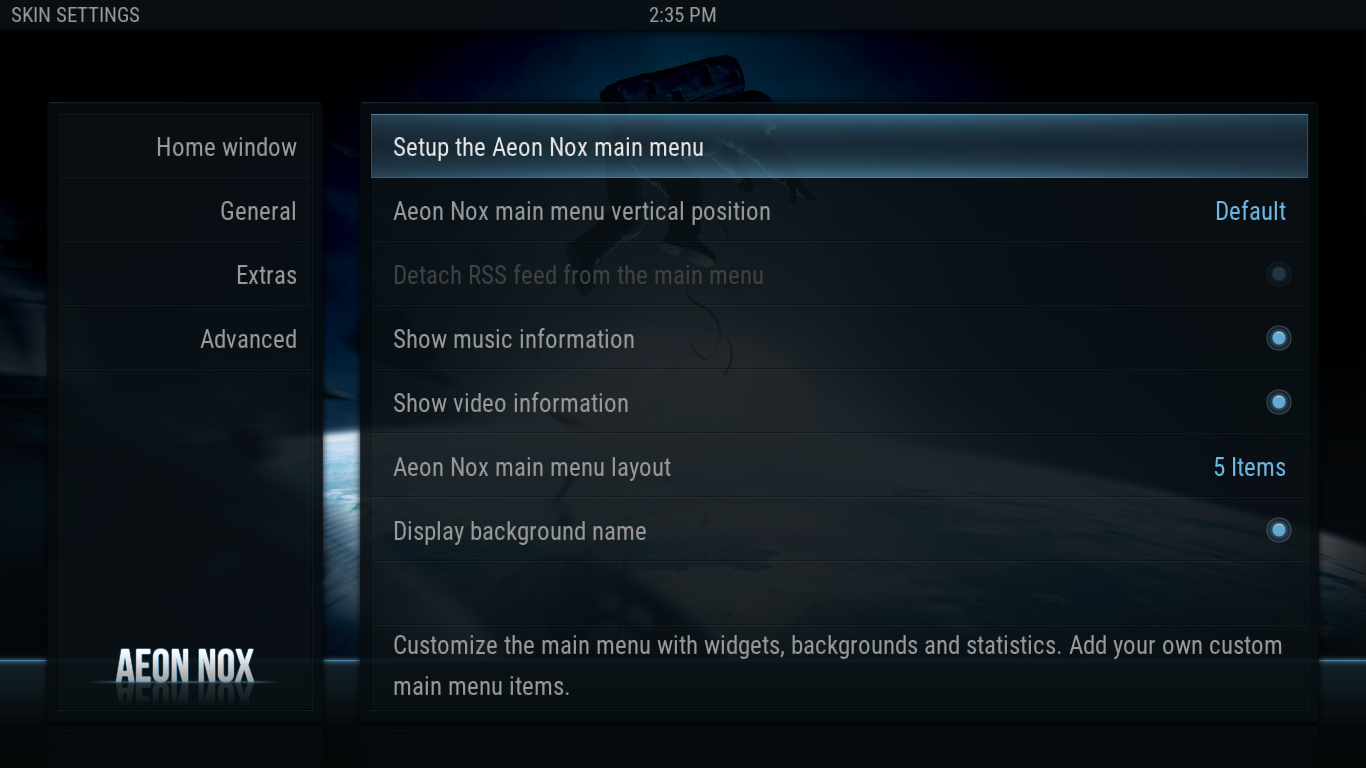
With less than 25 customizable options, Aeon Nox is certainly not the most customizable skin but it has one major feature, its main menu can be almost entirely configured to one’s taste. You can customize the main menu with widgets, backgrounds and statistics and you can add your own main menu items.
Black Glass Nova
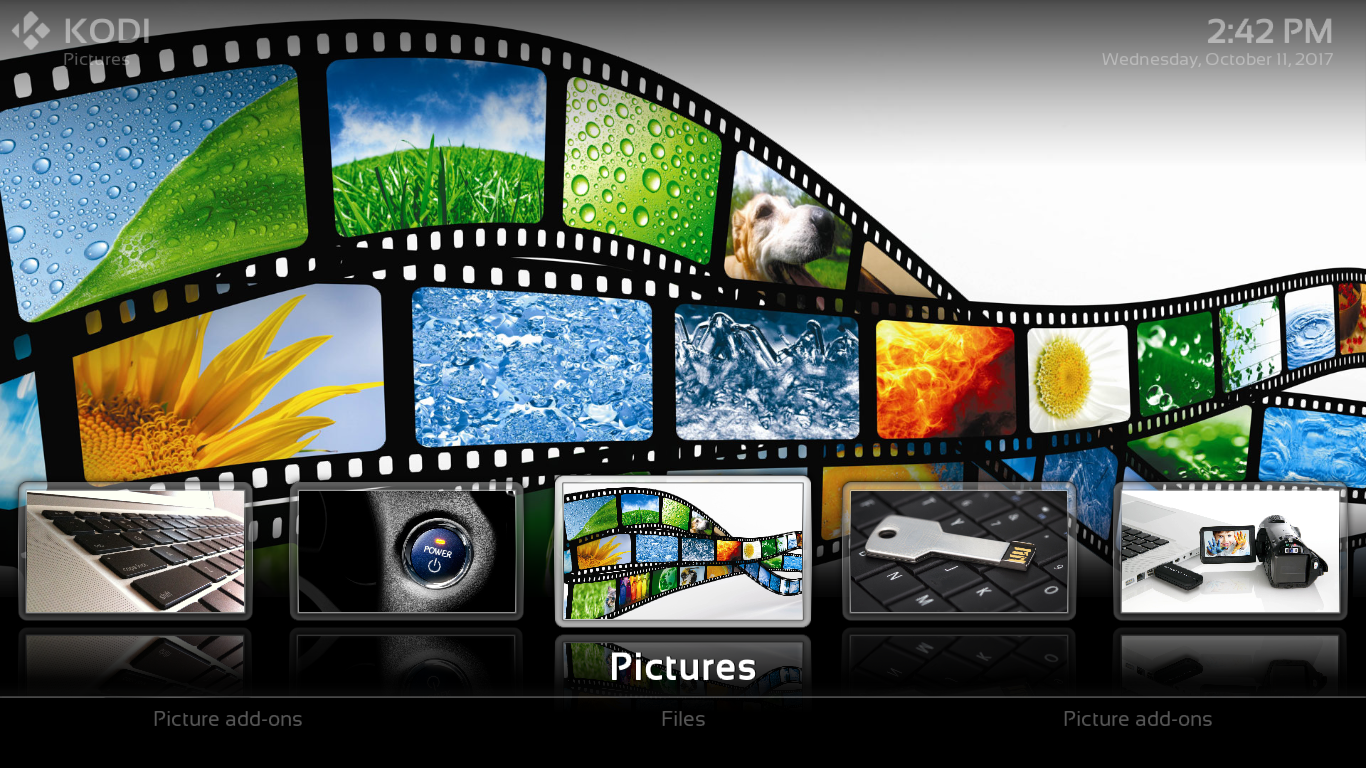
Black Glass Nova is probably the most visually appealing skin on our list. It has bright images and flashy icons and even the fonts it uses seem to have been selected for their good look. As for the skin’s functionality, everything you’d expect from Kodi is there and easy to find.
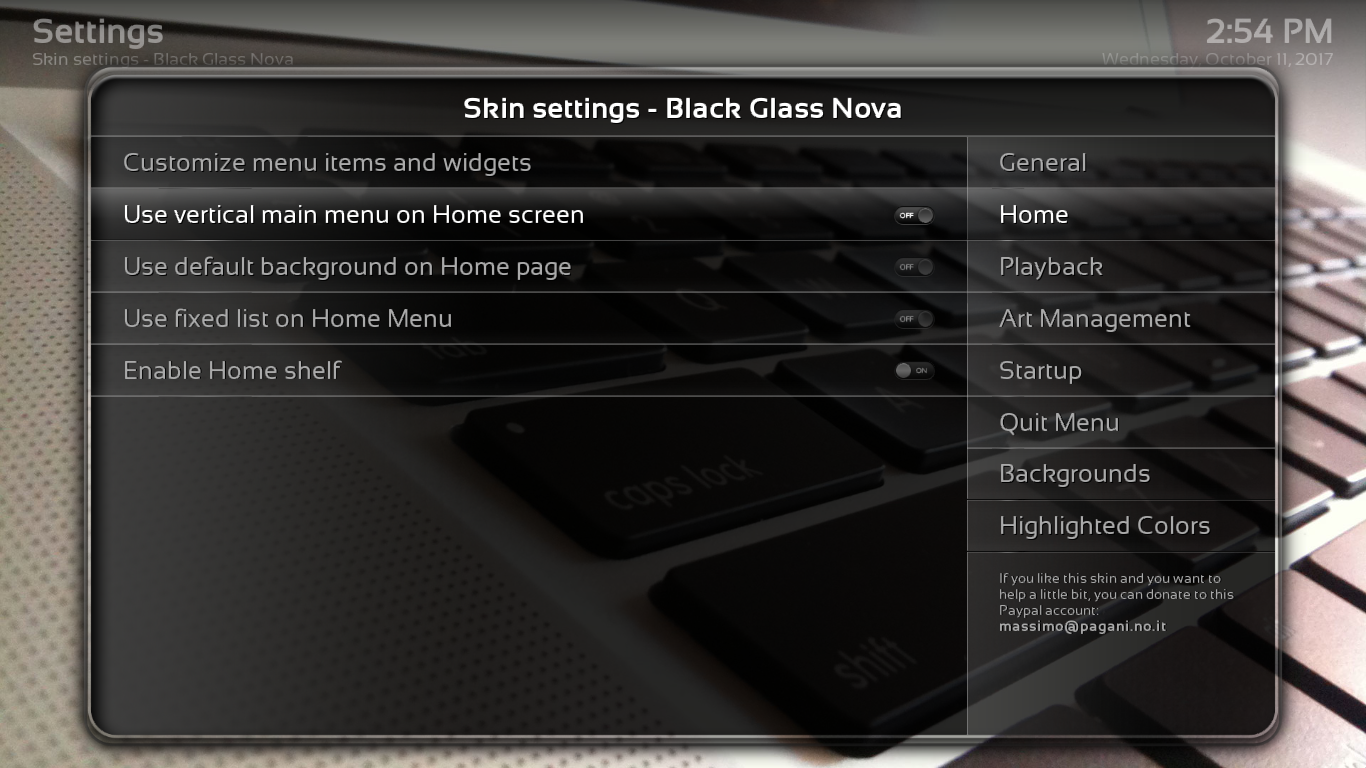
The only thing that can be a bit befuddling is some of its configuration screen where what we usually see on the left pane appears on the right pane. They work the same way but require a bit of time to get used to.
As for customizing the Black Glass Nova skin, one of the options is particularly worth mentioning. When you enable the Use vertical main menu on the Home screen option, the menu not only changes orientation but its look and feel changes radically as well, going from icons to text labels with the submenus hidden at the left of the screen.
Other than that, most options are minor tweaks that allow you to adjust some parameter to your personal preferences.
App TV
This list of the best Kodi skins wouldn’t be complete without mentioning the App TV skin. If you’re a fan of the Apple TV devices and want to have that same look and feel on Kodi, then this skin is for you. I personally have never used an Apple TV so I can’t say how realistic the look and feel is, but it certainly has that spartan look that we’ve come accustomed to from Apple.
And when it comes to customization, there are many available options but navigating the menu structure is certainly more complicated–and less entertaining–than with other skins.
What is the Best Kodi Skin?
There are no easy answers to this question. More precisely, there are exactly two answers to this question: None of them or All of them. Really, choosing a Kodi skin is, more than anything, a matter of personal taste. I’ve been using Kodi since it was called XBMC and ran only on modified first-generation X box game consoles. Never once have I used anything but the default skin. There is really no telling which one is the best and it is up to each user to make his or her own idea about it.
Conclusion
While there are close to 50 skins in the official Kodi repository, the five we’ve just presented are those that are mentioned and/or reviewed the most often. They are likely the five most-used skins or at least, the most well-known. As to which one is best for you, it’s up to you to find out and there is no better way than to try them. Fortunately, they are easy to install and switching between them is even easier.
Do you use a different Kodi skin from the default? Have you tried many before choosing one? What do you like best about the skin you’re using? We’d love to hear from you. Please, share our comments with us below!
Don't miss this great deal
