How To Control Kodi Over The Internet With The Kodi Web Interface
The Kodi Web Interface is a relatively under-utilized tool that makes your media library remotely accessible. Today, we show you how to properly control Kodi from any device capable of browsing the Internet. We also share a few tips on how to secure your Kodi connection with a VPN, so read on!
Kodi comes with an amazing feature that lots of people don’t know about: the web interface. Recently updated to a new version called Chorus2, the web interface is a great way to control the playback of media on your Kodi system from another device. If you have Kodi installed on your smart TV and you want to control it from your laptop, or if you have Kodi on your desktop and you want to browse your files from your phone, then the web interface makes this easy and you don’t even need to install any software.
Today we’re going to walk you through how to install and use this feature so you can lean how to control Kodi with the web interface.
Why You Should Get A VPN To Use With Kodi
We’re going to get into all the details of how to use the web interface in just a second. But first we wanted to talk about an issue of security when using Kodi. As you may know, the Kodi software is free, open source, and fully legal to use. However, lots of people like to use third party add-ons with Kodi, such as Covenant, BoB Unleashed, or MP3 Streams. Because these add-ons are developed by third parties, they are not officially approved by the Kodi devs and some of these add-ons may allow you to access copyrighted content illegally.
For this reason, it’s important to protect yourself if you’re going to use Kodi add-ons. Using these add-ons over an unsecured connection is not recommended as it is easy for your ISP to observe your internet activity. If you are caught using these add-ons to stream content illegally, you could face a fine or prosecution.
That’s why we recommend that Kodi users get a VPN to encrypt their web traffic. A VPN keeps you safe by encrypting all of the data that you send over the internet, making it impossible for your ISP to observe what you are doing online. With a VPN, no one will be able to see what sites you are visiting or whether or not you are streaming content. This protects you from legal problems when using add-ons for Kodi.
NordVPN – Best VPN for Kodi

NordVPN vastly enhances Kodi’s capabilities–and makes the service safe to use at all. We don’t mean that Kodi is a malicious app–only that ISPs and copyright trolls tend to aggressively crack down on Kodi traffic whenever they see it. But with NordVPN encrypting your connection, no third party will be able to surveil your activity online–not your ISP, government, nor local hacker.
The secret ingredient is NordLynx, a cutting-edge tunneling protocol that makes use of the 256-AES-GCM encryption cipher to establish secure connections to a network of over 5,800 servers in 59 countries. Thus, you can reroute your Kodi traffic to these nodes, which has a few major benefits. First, you cut your ISP out of the equation, stopping unfair throttling cold. Second, you can fool websites into serving you content as though you were physically in a different country.
So, more content, more speed; what else could a Kodi user want? NordVPN truly is the perfect complement, with sleek and intuitive apps available on all the most Kodi-friendly platforms like the Firestick and various Android TV boxes. It’s cheaper than a single cup of coffee per month, and even allows you to protect up to six devices with a single subscription. Did we mention NordVPN never logs your activity, either?
Read our full NordVPN review.
- Very affordable plans
- Different IP addresses aervers
- Allows up to 6 devices to be connected at once
- “Double” data protection
- Great customer service via chat.
- Apps can be a bit cumbersome to use.
How To Enable The Kodi Web Interface
Before you can start using the web interface for Kodi, you need to allow remote control of your Kodi system. Here’s how to do that:
- Open up Kodi and start on you home screen
- Go to System (gear icon)
- Go to Service Settings
- Click on Control
- Now enable the setting for Allow remote control via HTTP
- Check that the Web interface section has Kodi web interface – Chorus2 selected
Once this is done, you just need to find the IP address for your Kodi system. If you don’t know your IP address, here’s how you can find it:
- Start on your Kodi home screen
- Go to System (gear icon)
- Go to System Information
- Look in the Network section
- You’ll see all the information about your Kodi system. Write down your IP address (usually it looks something like 192.168.1.16) and you port number (which is 8080 by default)
Now you have everything you need to start controlling Kodi through your web browser. Here’s how to open the web interface in a browser window:
- Open your web browser (you can use Chrome, Firefox, IE, or another browser. It doesn’t matter which you use)
- Type in your IP address and port number into the address bar, in the format IP address:port. The address you’re using will usually look something like 192.168.1.16:8080
- Now you’ll see the web interface. You can bookmark the site so you can easily access the web interface later
![]()
- You can open up a web interface on as many devices as you want. This is handy when you have friends round and you want to let them control Kodi too, so that they can put on music or videos. Just get your friends to connect to your wifi network and give them the address of the web interface, and they can control your Kodi too
How To Use The Web Interface To Control Kodi
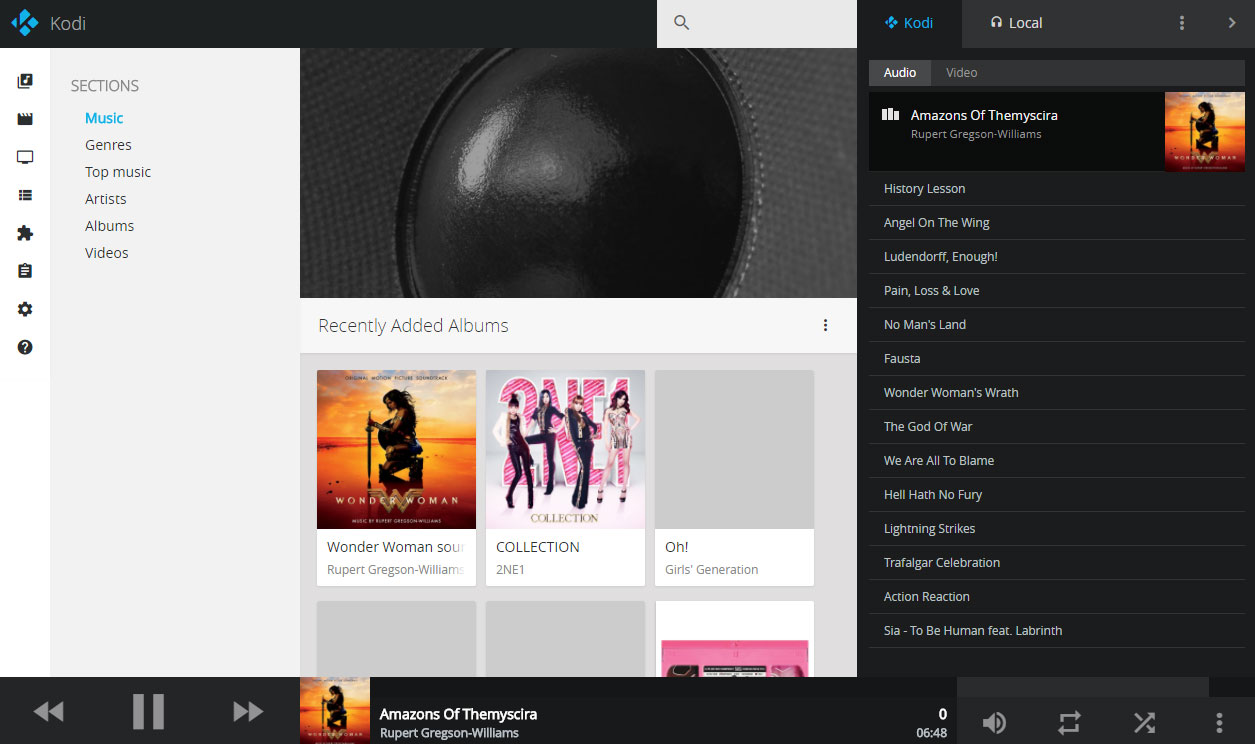
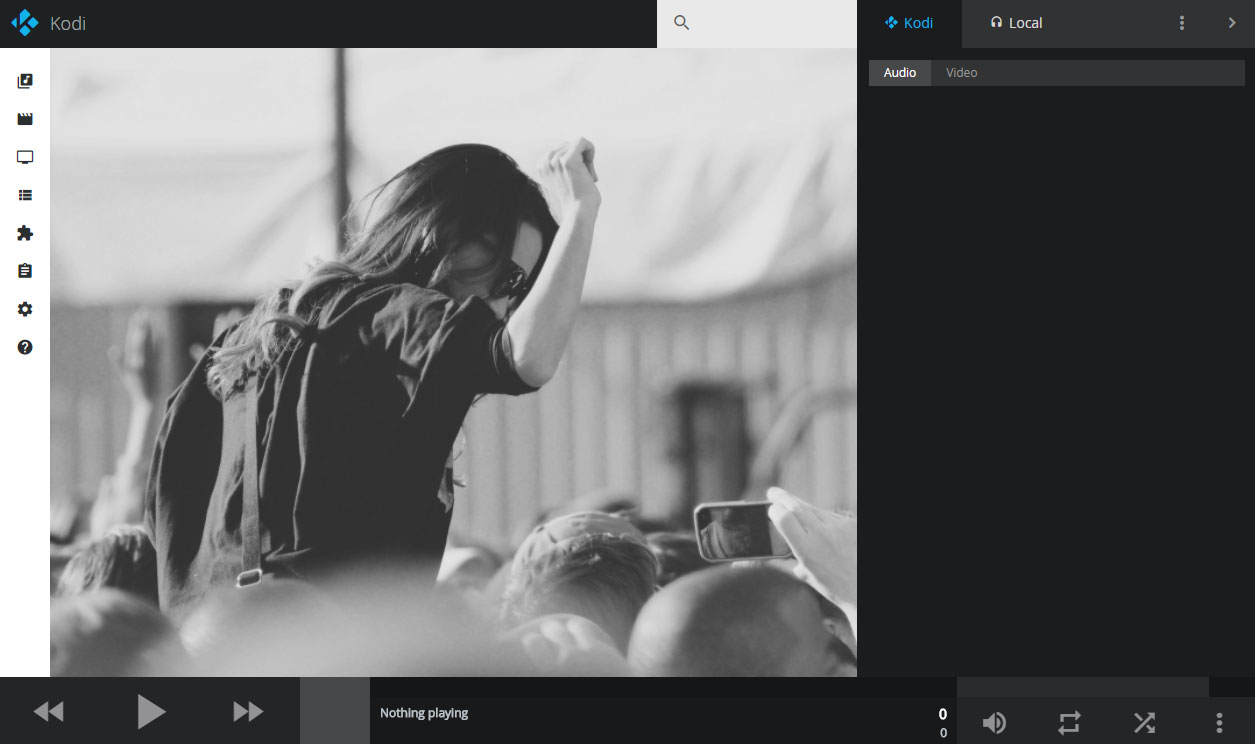
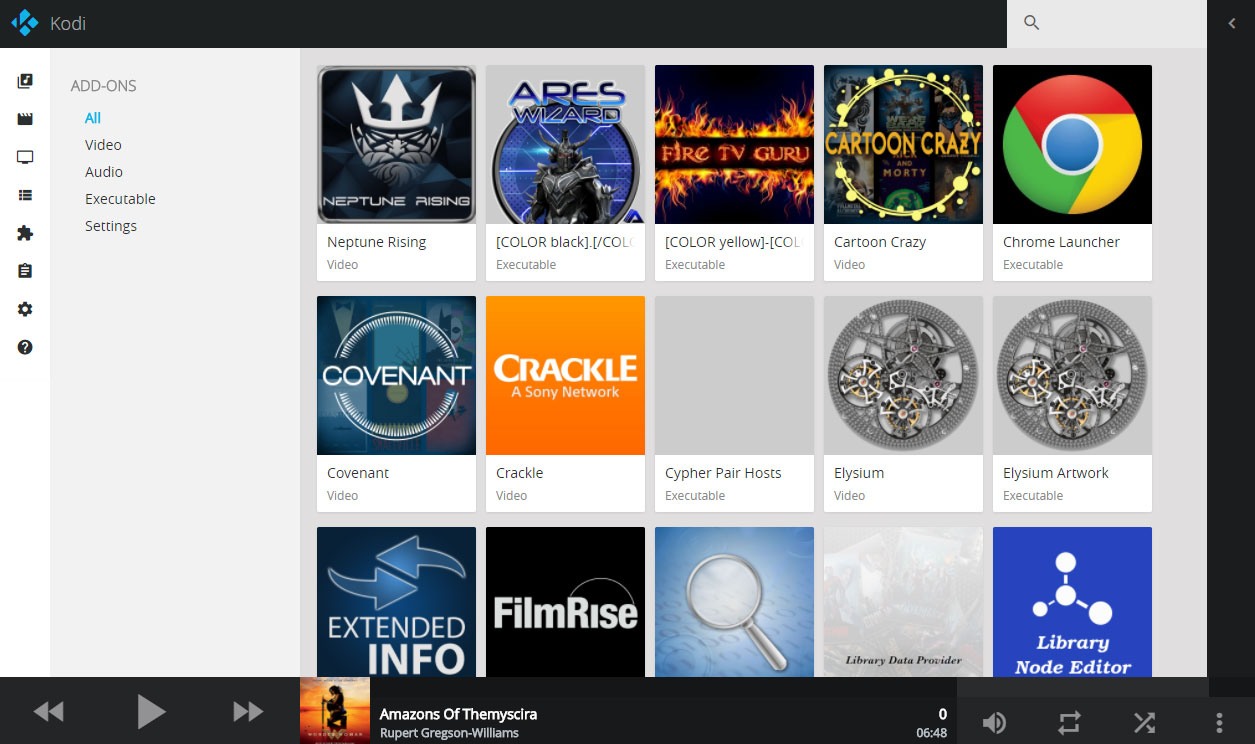
Once you’ve opened up the web interface, you can start using it to control your Kodi. First of all, you should look at the grey bar at the bottom of the screen. This is where information about currently playing media is displayed. You can use the back, forward, and play/pause buttons on the left to control what is currently playing. On the right, you’ll find control for volume, repeat, and shuffle. In the middle you’ll see a thumbnail and description of the currently playing media.
If you need to use a remote control – for example, you want up and down buttons to navigate through Kodi menus – just click on the thumbnail of the currently playing media. This brings up a full remote control with arrow keys, a select button, a home button, and more.
When you want to put on a new song or video, here’s how. Look on the far left of the screen, to the white bar down the side. There are icons here for music, movies, TV shows, browser, add-ons, and more. If you click the music icon, you’ll see your music collection displayed with a thumbnail for each icon. Here you can arrange your music by recently added, genres, artists, and albums. Once you’ve found the album you want to play, click the thumbnail to see album details and then click the blue Play button. This will start the music playing on your Kodi system.
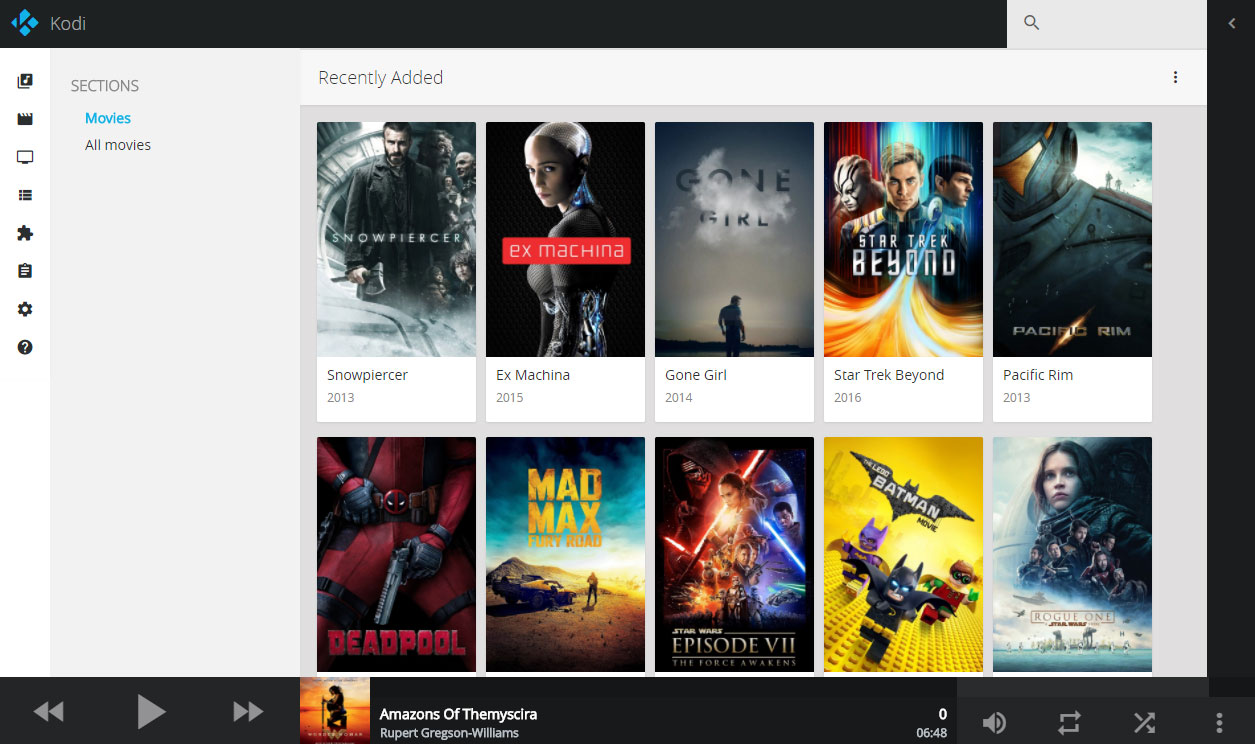
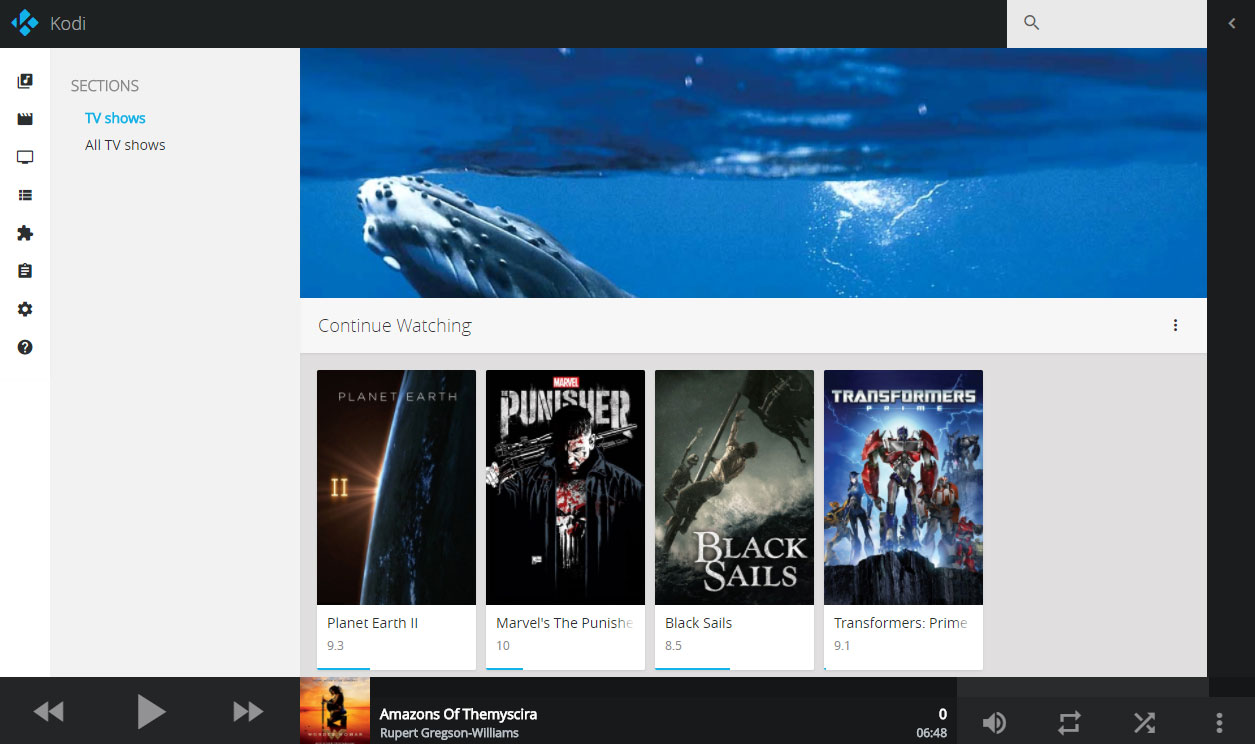
You can do the same thing to start playing movies or TV shows. In this case, just use the movie or TV show icons to browse through your video collections. Click a thumbnail to see more details of any film or episode and click the blue Play button to begin playback.
Finally, one very useful feature is the add-ons section. Using this, you can actually browse and open up files even from within add-ons using the web interface. To do this, start by clicking on the add-ons icon in the far left. You’ll see a list of thumbnails for all your add-ons. When you click on a thumbnail, you’ll be able to navigate the sub-menus of that add-on all from within the web interface. You can choose a new piece to media to start playing or change your settings from the web interface.
A few more handy features of the web interface that you should know about: in the top right is a search bar. You can use this at any time to search through your video and audio files, so it’s a great way to find something fast. In the far right is a black box which shows your current queue of upcoming items to be played. You can use the icon of three dots on top of each other to control this queue, like clearing or refreshing the playlist. There’s even an option to save the playlist for later if you like. Party mode is a way to play a random selection of your music on shuffle.
Finally, you can customise the web interface and change a lot of the settings for both the interface and your Kodi system using the settings icon in the far left. Clicking this will bring up the full settings menu for you to peruse.
How To Use The Web Interface To Play Music Over The Internet
Here’s one incredibly useful feature that even some advanced Kodi users don’t know about: you can actually play music and some videos from your Kodi collection to another device over the internet by using the web interface. What this means is that if, for example, you have Kodi installed on your desktop and you’re controlling it using the web interface from your laptop, then you can play the media that is saved in Kodi on your desktop on your laptop as well. Normally, this kind of playback requires complicated setup of media servers, but using the web interface it is dead easy.
Here’s what to do:
- Open up Kodi on your main machine
- Open up the web interface on your secondary machine
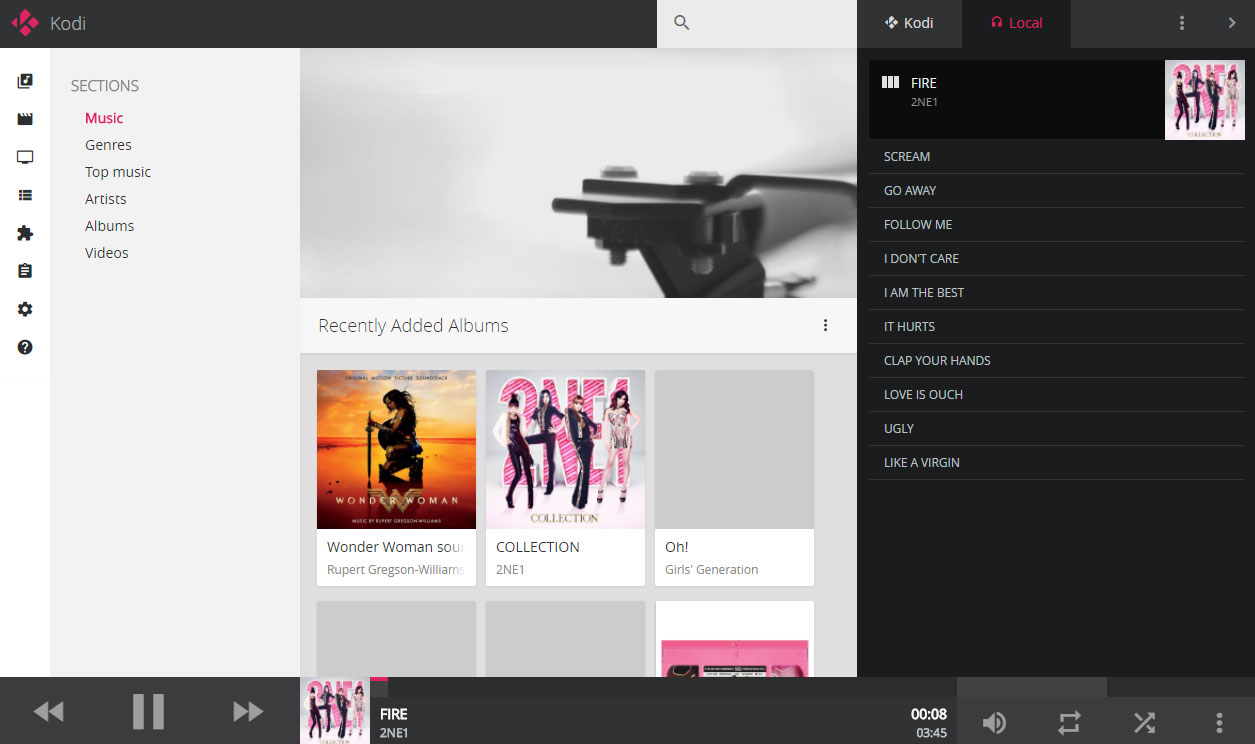
- In the web interface, you’ll see tabs saying Kodi and Local in the top right. Click on Local
- You’ll see that the colours of the interface change from blue to pink. Now you know you’re working on your secondary machine
- Browse through the music and video files on your main machine using the web interface. When you find a track or file that you want to play, just hit the play key in the web interface
- When you hit play, the media will start playing on your secondary device. You can see the queue of upcoming media items in the Local tab on the right, and you can use the pause, back, forward, and shuffle keys on the web interface to control playback
![]()
Conclusion
The web interface is a little-known but incredibly useful feature of Kodi. With it, you can fully control Kodi from another device, browse for files in your Kodi system, and even play back media from your Kodi onto your browsing device.
The interface can take a while to master, because it has so many features, but it’s very easy to enable and to start using. We highly recommend that you check it out!
Do you use the web interface for Kodi, or do you prefer to use a remote control program for your phone or browser? Let us know your thoughts about how to control Kodi in the comments below.
