Goodfellas 2.0 Add-on for Kodi: How to Easily Install and Use
Goodfellas 2.0 is the second major version of the Goodfellas add-on, developed and released by the folks at Team Goodfellas. This add-on provides free IPTV (Internet Protocol TV) services for Kodi users all over the world, allowing people to watch all of their favorite channels in real-time.
There’s plenty of variety in Goodfellas’ selection, too. Their streams appeal to a myriad of specialist audience, and include Audiobooks, Web Cam streams, Gamers and even a dedicated section for Vaping! In addition to sheer variety in streaming content, the Goodfellas team themselves seem to have a lot of other offerings as well. They run their own Live Shows and a news show on their YouTube channel. They also have a presence on other social media platforms, like Facebook and Twitter.
Perhaps most interestingly, they offer a premium service that offers things like unlimited usage and direct tech support. While they offer multiple-tiered packages, the features seem to be mostly the same across all three, with the main difference being the number of logins allowed per account. Regardless of whether you’re a free or VIP user, you’ll still be able to utilize their core services to stream live TV once you’ve followed the tutorial below.
Before You Download: Get a Good VPN
The prospect of nearly unlimited streaming from any device you own is truly enticing. However, you run the risk of infringing on copyright law with some streams, which could have consequences ranging from interruption of your internet service by your ISP to harsher legal repercussions. Before we continue with the Goodfellas 2.0 tutorial, let’s take a moment to learn about how a VPN can secure your traffic and data away from prying eyes.
A VPN, or Virtual Private Network, will encrypt your online traffic and route it through proxy servers located throughout the world. This makes it impossible for anyone to snoop on your digital doings or track where your traffic originates. As a Kodi user, you’ll be shielded from copyright claims being levied against you, and you’ll be able to bypass geographically restricted content with ease.
Who’s the best?
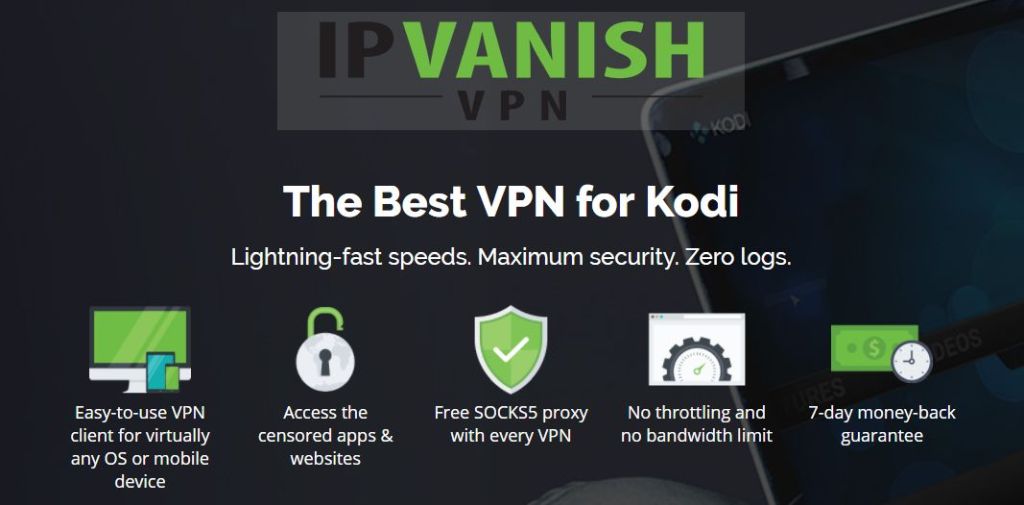
Team Goodfellas themselves recommend IPVanish as the VPN to be used alongside their Kodi add-on, and we couldn’t agree with their assessment more! This is because IPVanish prioritizes your privacy without sacrificing on performance, and does it all for an incredible price. With 256-bit AES encryption, automatic protection from DNS leaks, and a transparent no-logging policy, you’ll be hard-pressed to find a VPN better suited to your media streaming needs.
IPVanish offers a host of other attractive features, including:
- A vast network of over 850 proxy servers located in 60 countries allows you to sidestep geographical content restrictions, as well as government censorship like the Great Firewall of China.
- 24/7 customer support for when things go wrong and you need help fast.
- Unlimited bandwidth, zero speed caps, and no restrictions on traffic.
- Snappy, easy-to-use software for PCs, laptops, tablets, smartphones, even Chromebooks.
And it works with all Kodi builds, repositories or add-ons.
IPvanish offers a 7-day money back guarantee which means you have a week to test it risk-free. Please note that Addictive Tips readers can save a massive 60% here on the IPVanish annual plan, taking the monthly price down to only $4.87/mo.
Enable Unknown Sources (Third party) Add-on Installs
Since this repository comes from a non-official source, make sure that you have this option enabled in Kodi. Otherwise, the rest of this guide will be not work!
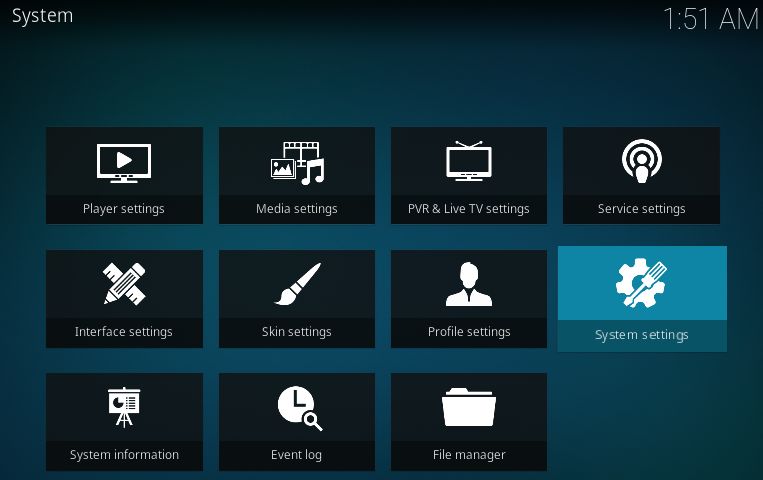
In Settings, select “System Settings.”
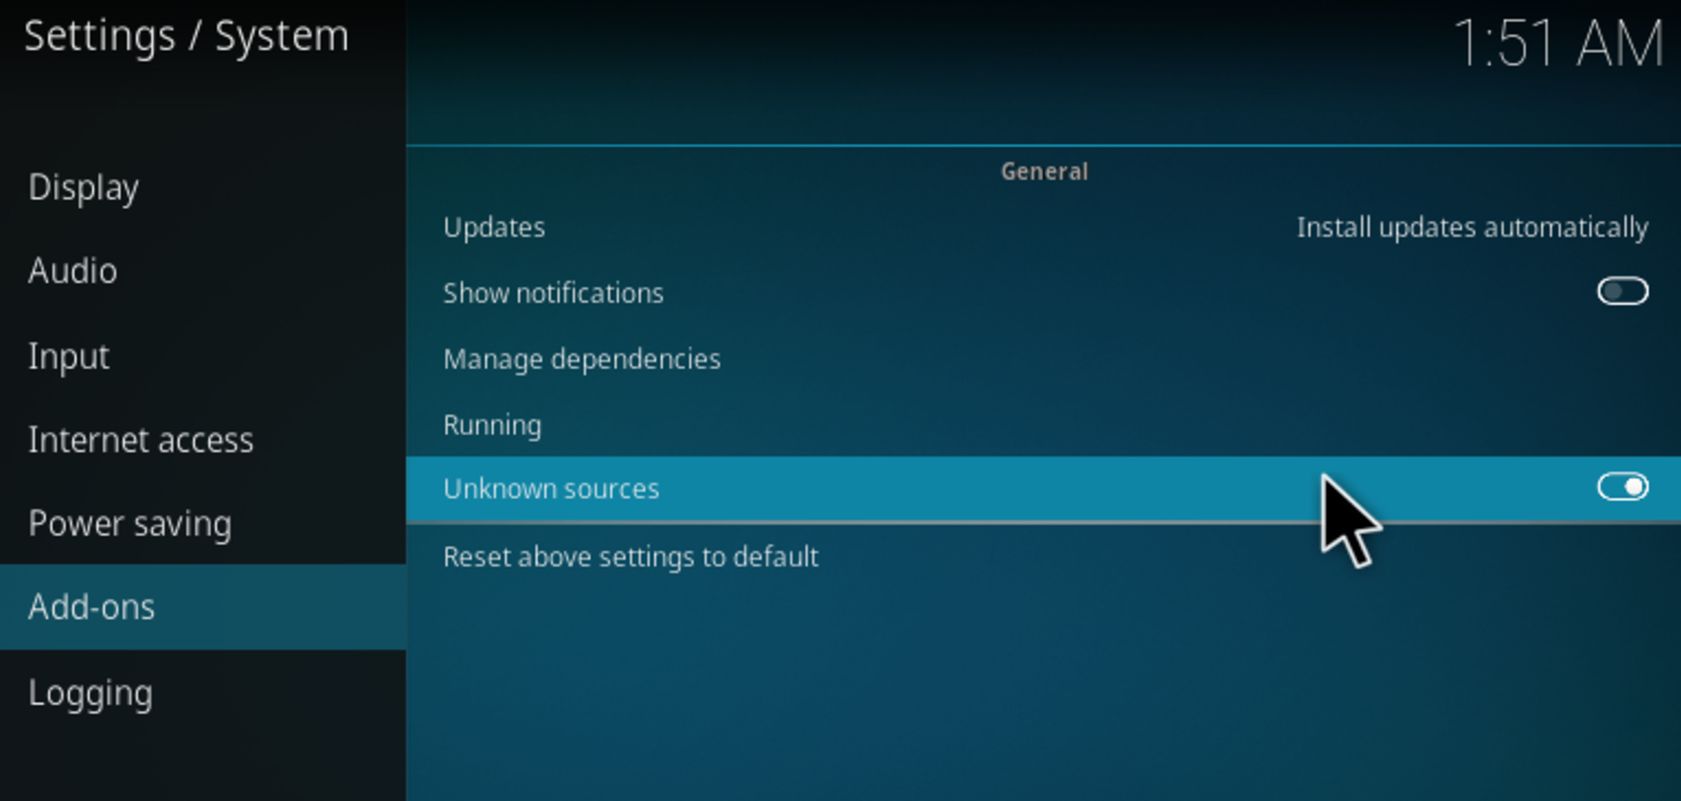
Now, select “Add-ons,” and make sure that “Unknown sources” is enabled, like below.
Goodfellas 2.0 Add-on Install Guide
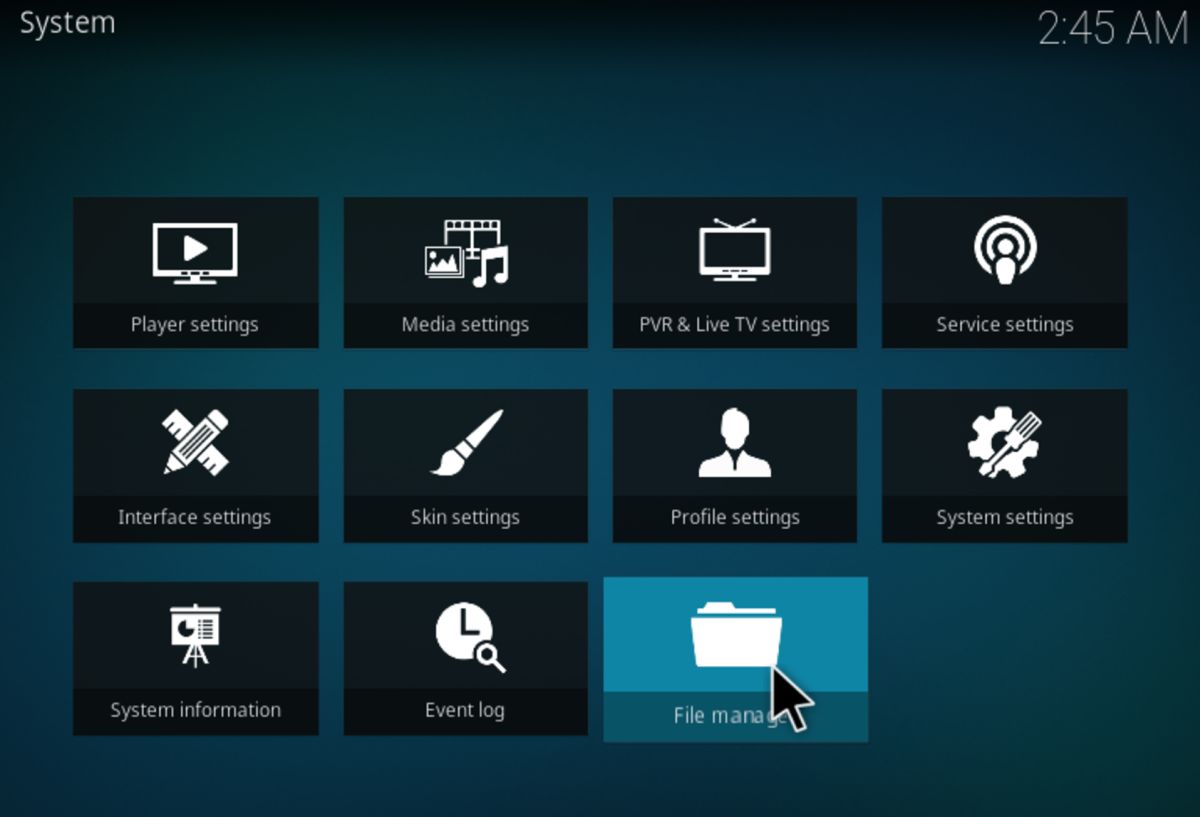
To begin the installation process, start by opening your Kodi app. Then click the gear icon in the top-left of your main menu.
![]()
Now that you’re in the System Menu, find the File manager icon and click it.
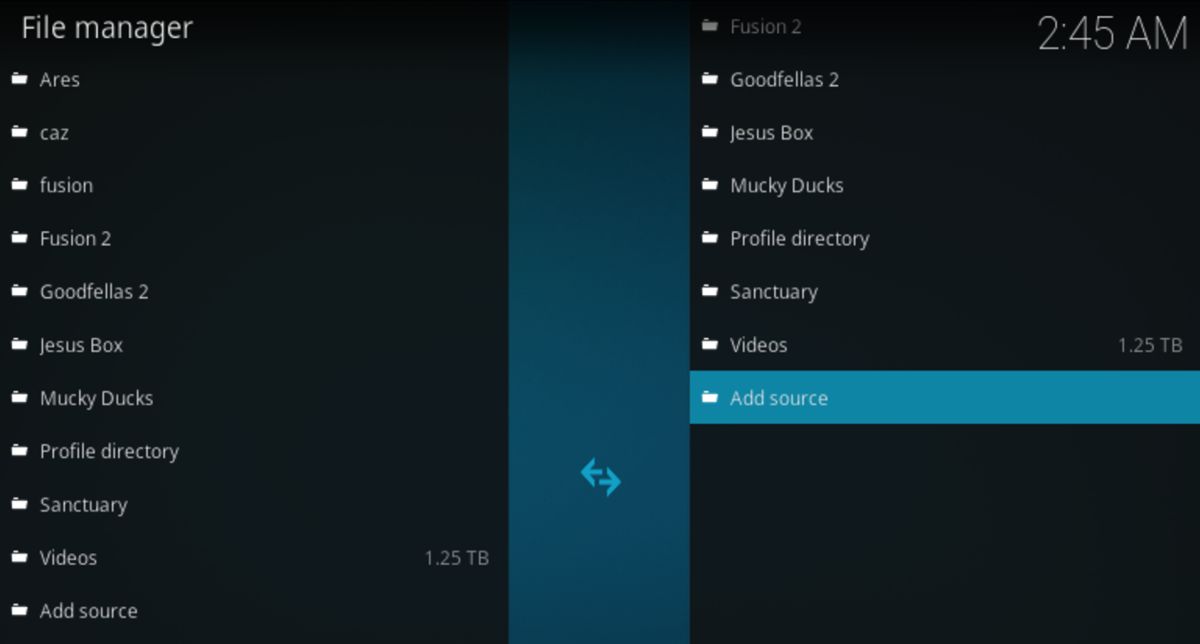
In File Manager, double-click “Add source.”
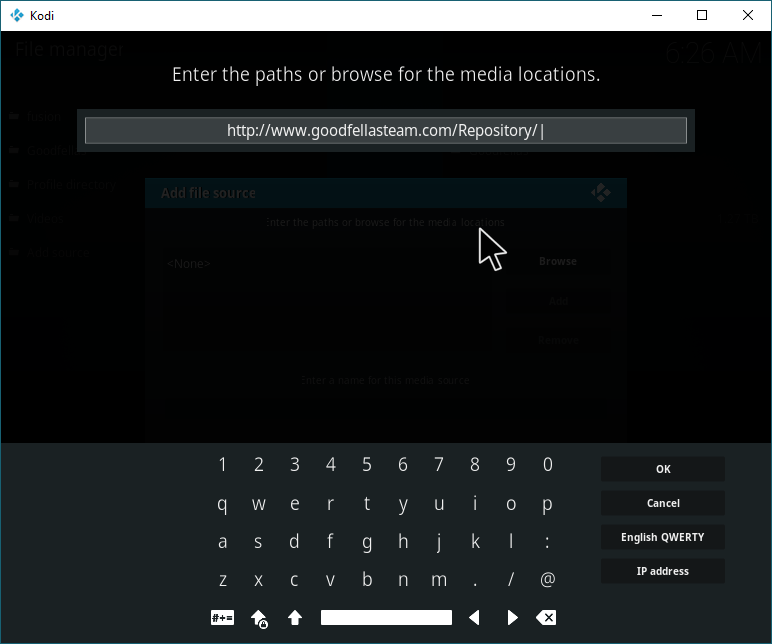
Click the “<None>” and you’ll get a popup that will allow you to enter the path for your new media source. Paste the https://www.goodfellasteam.com/Repository/ URL into this window, as shown below.
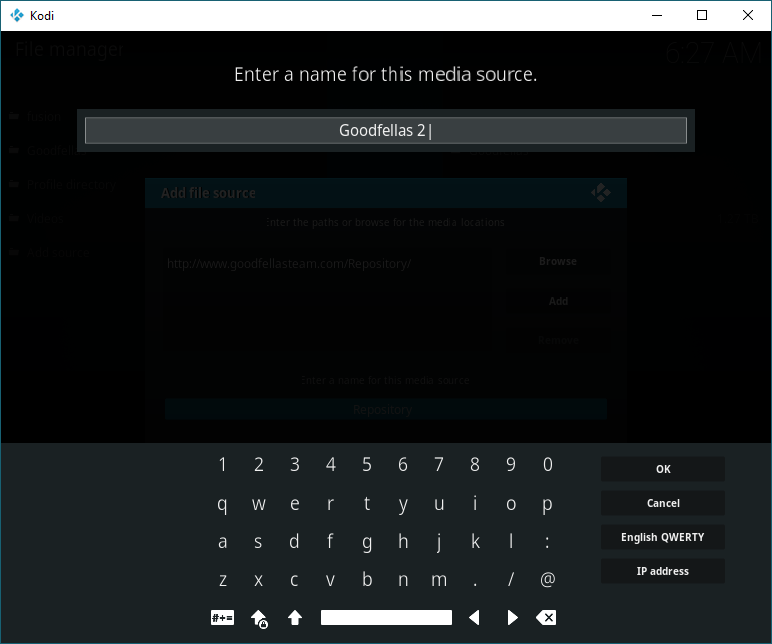
Now, you can name this media source whatever you want. I opted to name it “Goodfellas 2,” but you can type anything you like here, as it’s solely for your reference.
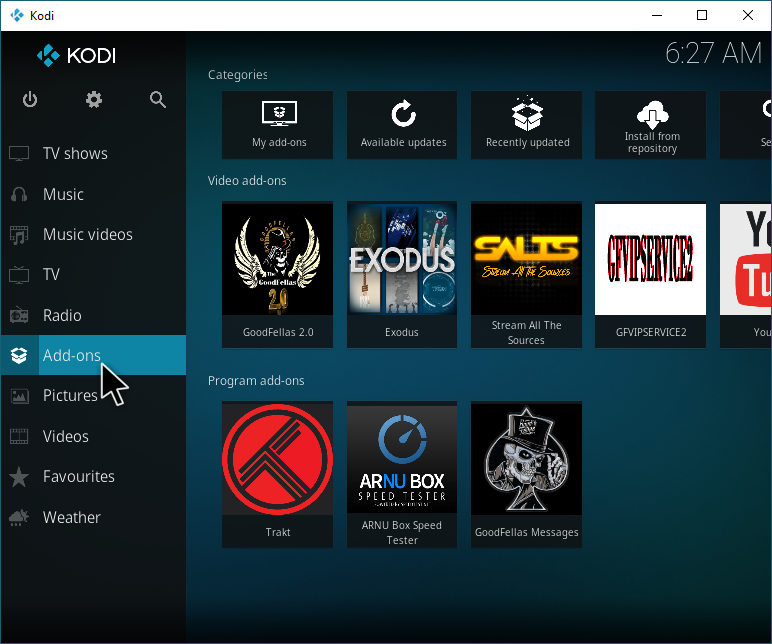
Now that you’ve added the media source, head back to the main menu and click “Add-ons.” Once you’ve reached add-ons, click the “My add-ons” button at the very top of the window.
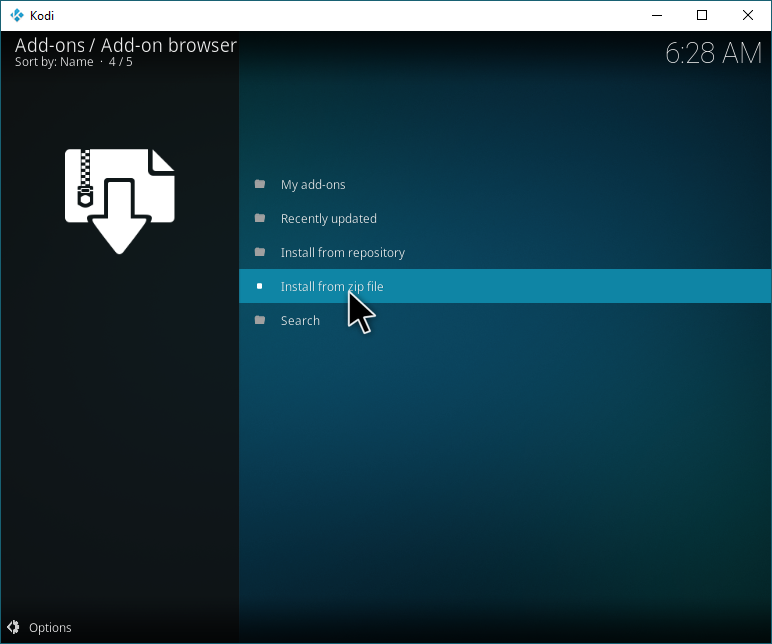
Now that you’re here, click “Install from zip file.”
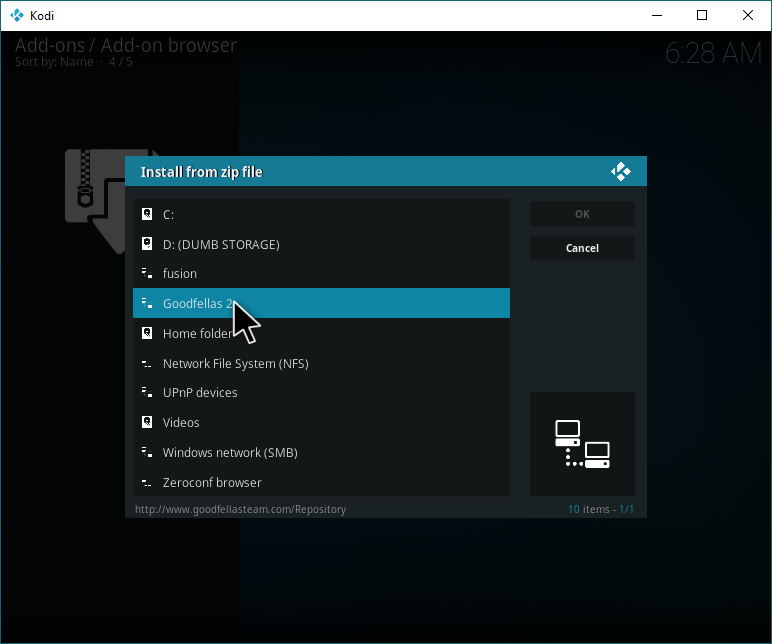
Click the Goodfellas media source that you created earlier in the tutorial.
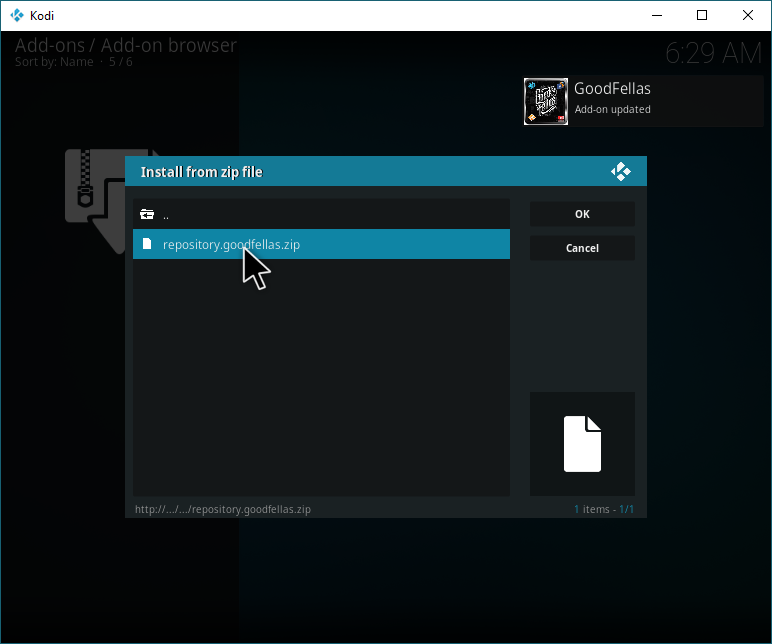
Now that you’re in, you should see the repository zip file within Kodi. Select this and allow the repository to install.
Now that you’ve installed the repository, go back to the previous screen and click “Install from repository” instead of “Install from zip file.” There should be a “GoodFellas” repository now–click on this.
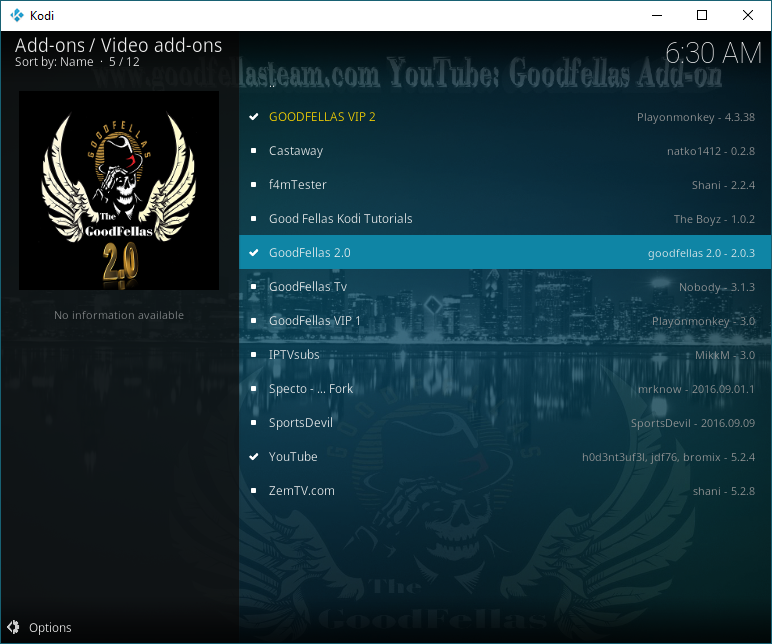
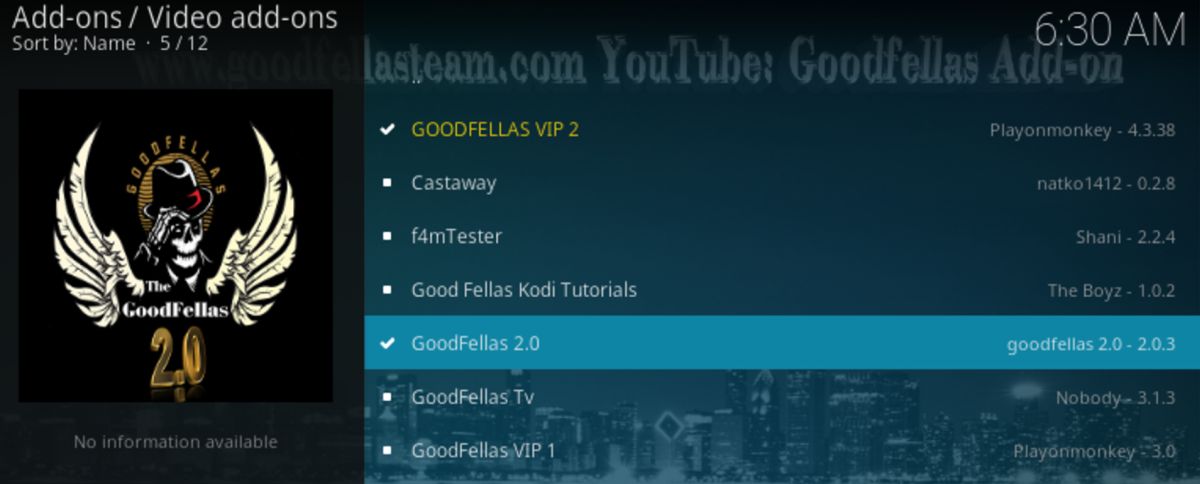
Within the Goodfellas repository, there will be a number of add-ons to install. You’ll definitely want to install Goodfellas 2.0. Some of these will install and some won’t–give each one that you want a shot. Your choice of add-ons will shape your Kodi experience by opening up access to collections of related channels (for instance, installing SportsDevil will open up access to sports channels you couldn’t otherwise access).
You may also notice a Goodfellas VIP add-on. You’re welcome to install this as well, but it won’t be of any use to you if you don’t have a VIP plan, which you can purchase here.
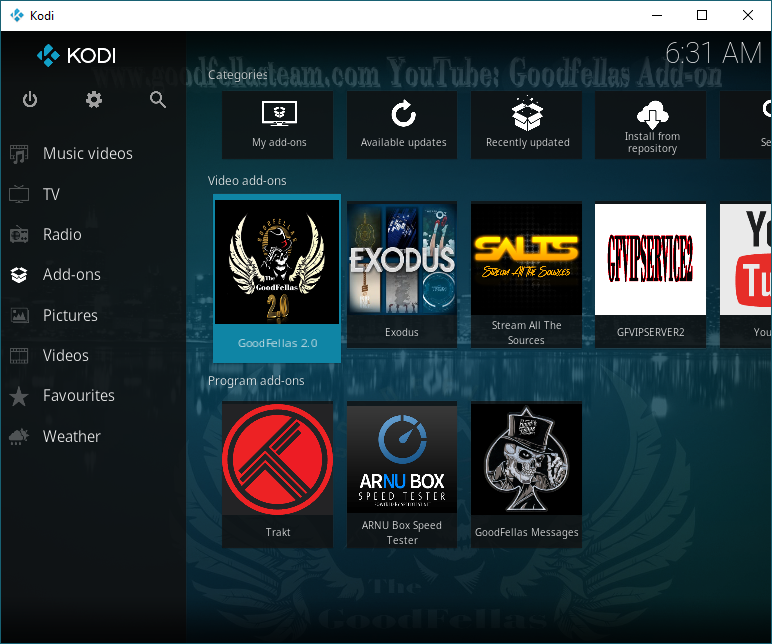
Now that you’re done, GoodFellas 2.0 should be visible in your Video add-ons. You’re welcome to start using it now–browse the various categories and hop onto your favorite live IPTV streams with ease!
Conclusion
That just about wraps it all up. We hope that this tutorial answered any questions you might have had about installing and using Goodfellas. Once you’ve followed this tutorial properly, you’re free to watch all of the streaming IPTV that you can handle!
If something goes wrong, you need help, or you just want to recommend another tutorial, feel free to comment below! We’re always here to help.
Don't miss this great deal
