Quest Media Build For Kodi — Installation And Quick Tour
Kodi builds are a great way to quickly get your Kodi media player outfitted with great add-ons as well as custom skins, user interface components and tools. The Quest Media build, from Supreme Builds, has gained an excellent reputation for being both lightweight yet complete. It includes over 50 of the best Kodi add-ons and offers an excellent variety of content.
In this article, after briefly introducing the Quest Media build, we’ll dive right into the installation process. It is a tad more complex than most add-on installation yet a lot easier–and quicker–than installing everything it contains separately. And once we’re done installing the build, we’ll take you on a guided tour of its most interesting features
For Better Privacy, Always Use A VPN Along With Kodi
Internet Service Providers have been known to monitor users’ online activity in order to ensure they’re not violating their terms and conditions. And when they even just suspect one might be, they can react by throttling down their speed, sending them infringement notices or even interrupting their service. To avoid the scrutiny of overzealous ISPs and the annoyance of their reactions, one should definitely use a Virtual Private Network when streaming content.
A VPN protects your privacy by encrypting all data in and out of your computer using strong encryption algorithms that make it virtually impossible to decipher. Anyone intercepting your traffic wouldn’t be able to see where you’re going and what you’re doing online. As a bonus, by choosing appropriately located servers, a VPN also allows users to bypass geographic restrictions.
With so many VPN providers to choose from, finding the best for your purposes can prove to be a daunting task. There are many factors to consider. Among the most important, a fast connection speed will reduce–perhaps even eliminate–buffering, a no-logging policy will further protect your privacy, no usage restrictions will let you access any content at full speed and software for multiple devices will ensure the VPN can work with all equipment you own.
The Best VPN For Kodi, IPVanish

At addictivetips.com, we’ve tested most VPN providers. The one we’d recommend with no hesitation for Kodi users is called IPVanish. With servers worldwide, no speed cap or throttling, unlimited bandwidth, unrestricted traffic, a strict no-logging policy and client software available for all popular platforms, IPVanish meets our criteria and offers excellent performance and impressive value.
IPVanish offers a 7-day money back guarantee which means you have a week to test it risk-free. Please note that Addictive Tips readers can save a massive 60% here on the IPVanish annual plan, taking the monthly price down to only $4.87/mo.
The Quest Media Build In A Nutshell
The Quest Media build for Kodi is a lightweight build from Supreme Builds that’s fully functional. Among its most remarkable features is the high quality of the user interface with its unique skin and beautiful artwork. Despite its relatively small size, at less than 400 MB it comes with lots of up to date add-ons and offers an easy to navigate user interface which provides a no-nonsense way of accessing content. It has movies, TV shows, live IPTV (both free and subscription-based), sports, kids content, music, and more. It even has a password-protected adult section. Its interface is quick, responsive and well-organized.
The Quest Media Build Installation Step-By-Step
If you’ve installed Kodi builds before, you won’t have any surprise with this installation. And even if you’ve never done it before, we’ll make sure that our detailed step by step instructions let you complete it without any issue.
The build, which is from Supreme Builds is installed from their Supreme Builds Wizard which we’ll first install from the Supreme Builds repository, after adding the proper media source to the Kodi file manager.
Enabling Unknown Sources
Before installing any third-party add-on, repository, or build on Kodi, you must first enable Unknown sources.
Fron the Kodi home screen, click the Settings Icon. It’s the small icon that looks like a gear at the top left of the screen.
![]()
Then, from the Setting screen, click System settings. This will take you to the system settings screen.
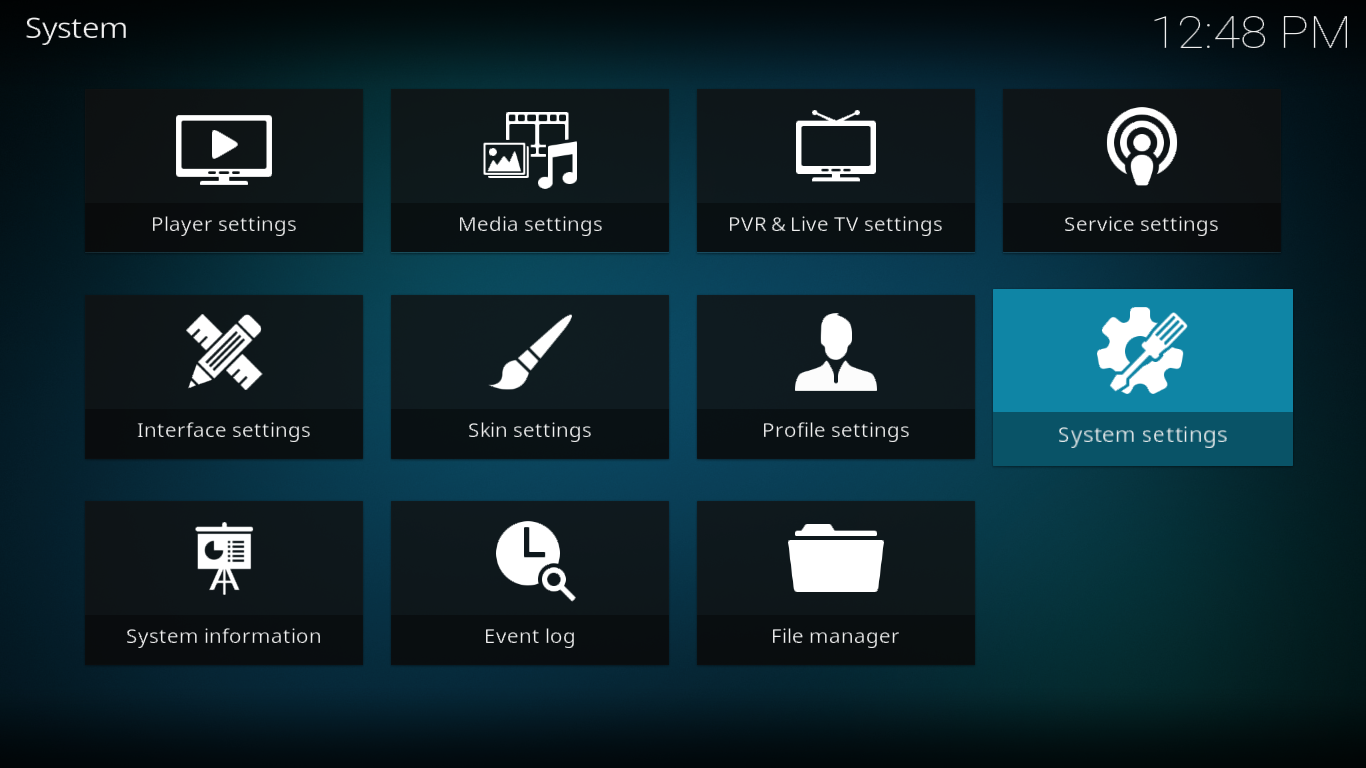
Click Add-ons on the left side and then, on the main screen. click the line that says Unknown sources to enable them.
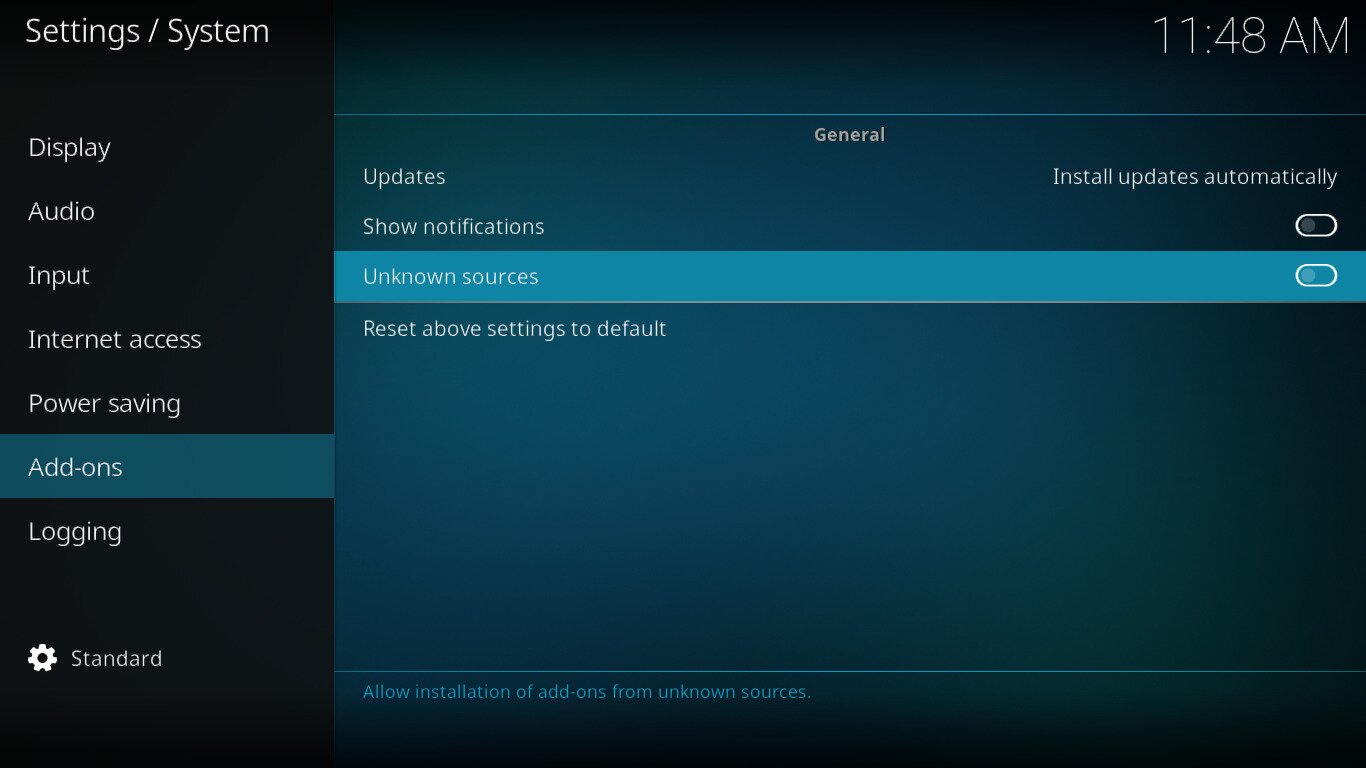
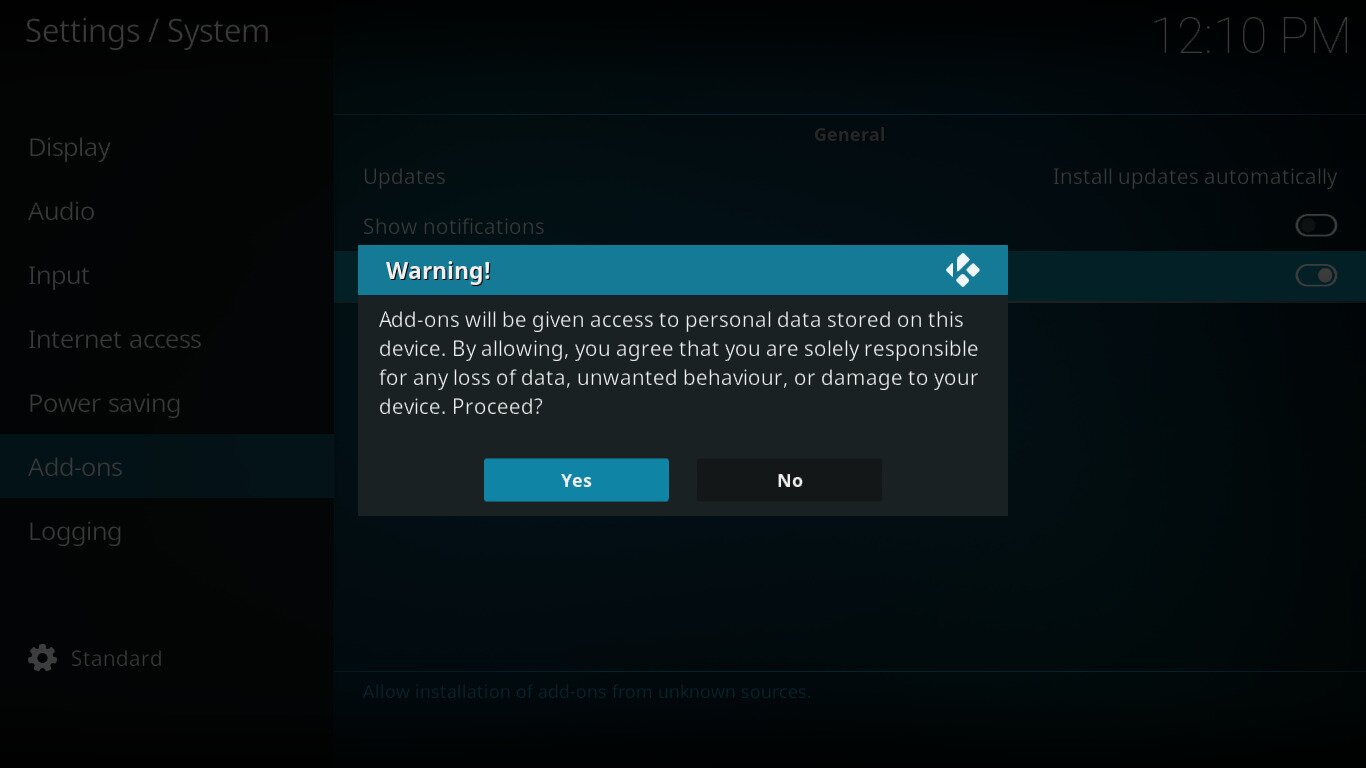
A message box will pop up. Read the Warning and click Yes to close the box.
Adding The Media Source to The File Manager
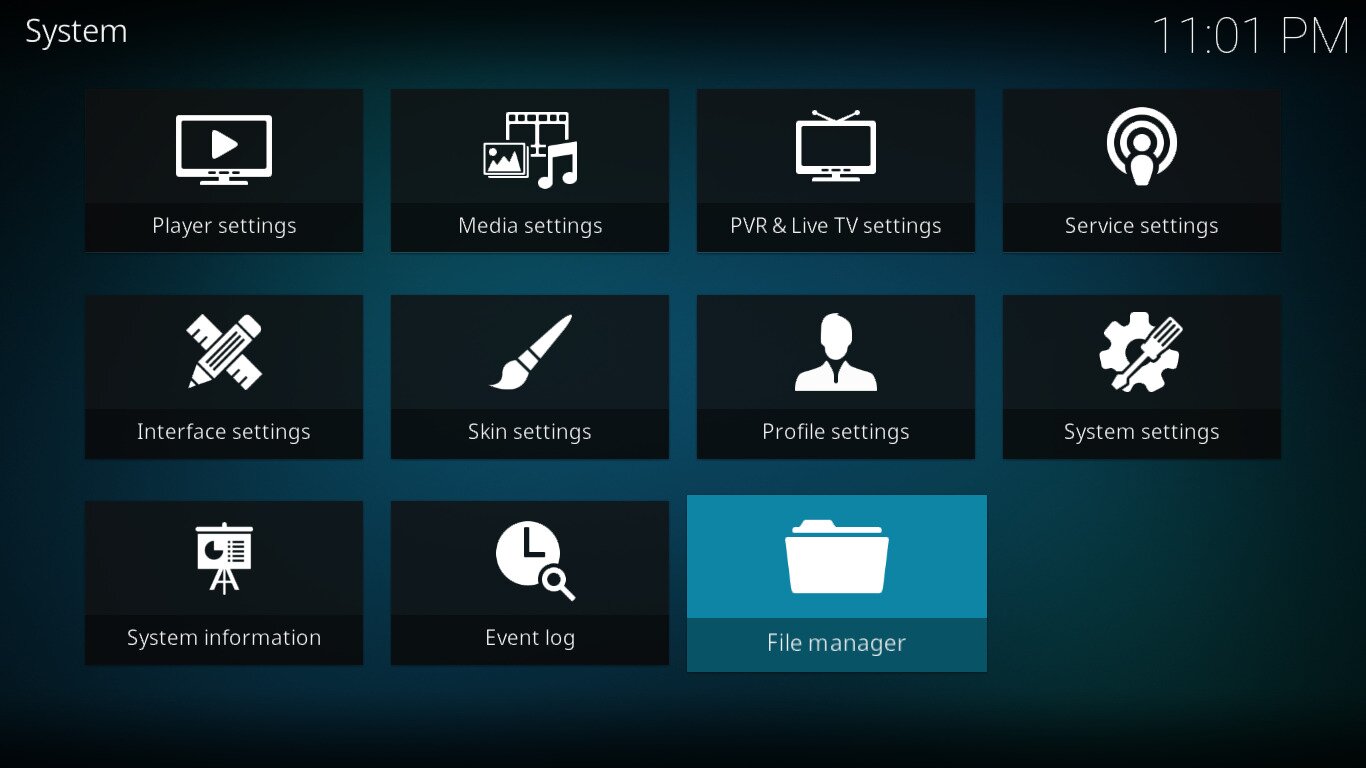
Again from the Kodi home screen, click the settings icon once more. This time, click File manager.
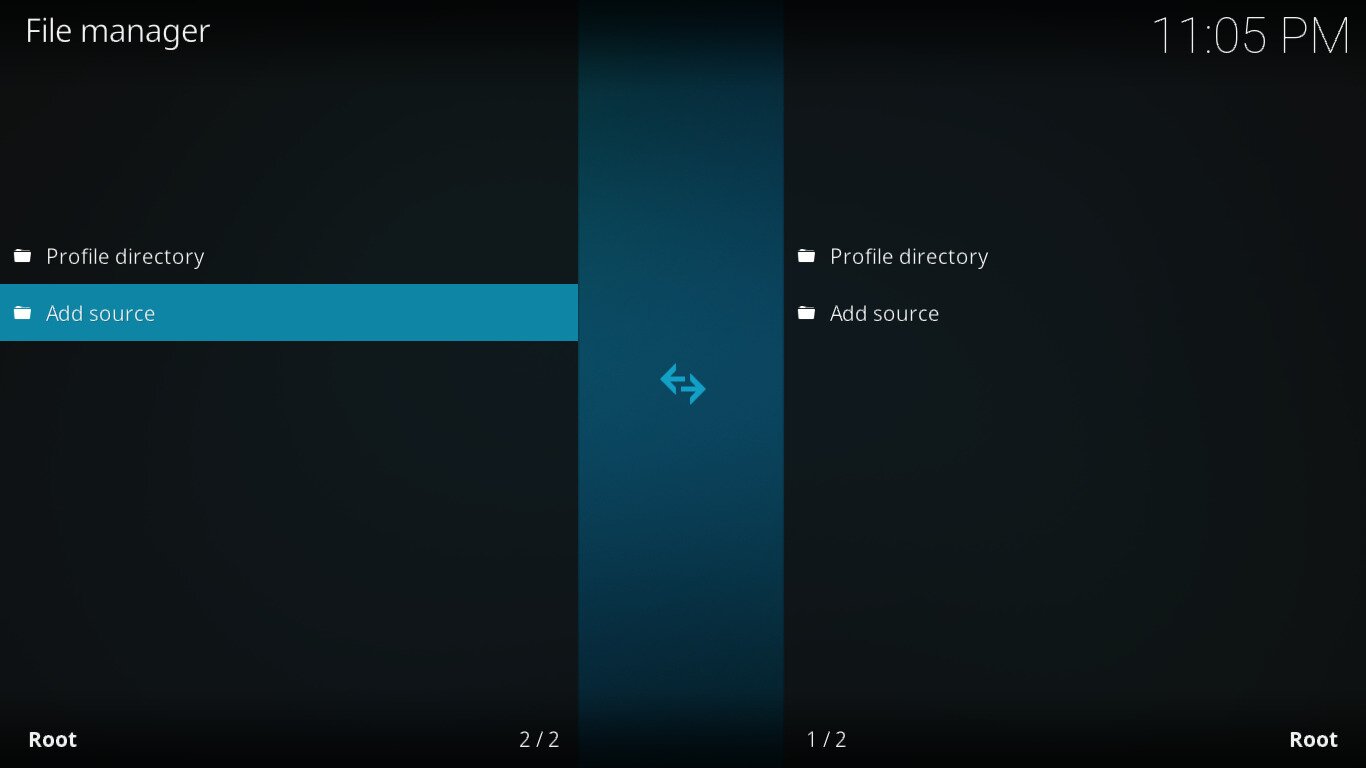
From the file manager screen, double-click Add source on the left side (or select it and hit the Enter key).
Click the line that says <None> and, on the next screen, enter the source path exactly as follows: https://repo.supremebuilds.com/ and then click OK.
Back to the Add file source screen, click the text box below “Enter a name of this media source” and type in the following name: SupremeBuilds.
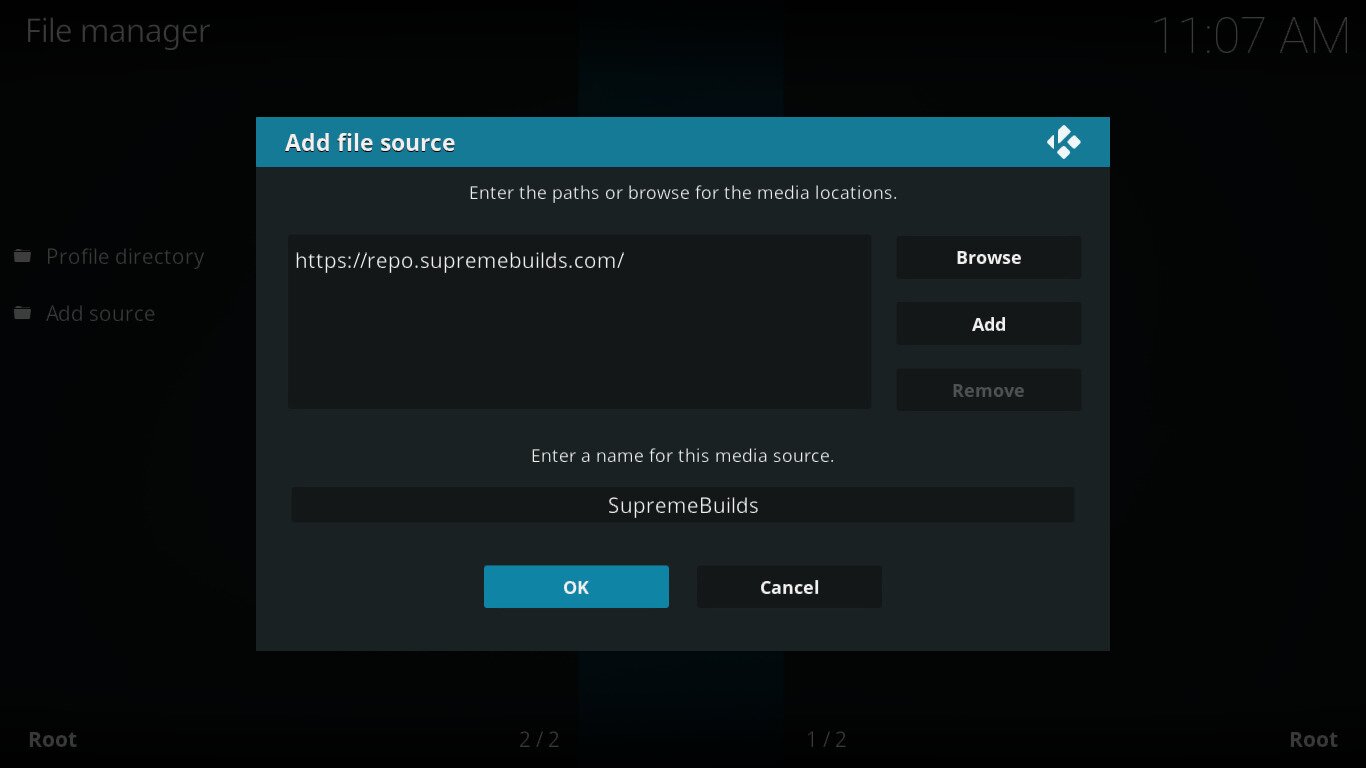
Make sure everything appears to be correct and click OK to confirm the addition of the file source.
Installing The Supreme Builds Repository
Go back to the Kodi home screen and click Add-ons on the left-side menu. Then, click the Add-on browser icon at the top left of the screen. This one looks like an open box.
![]()
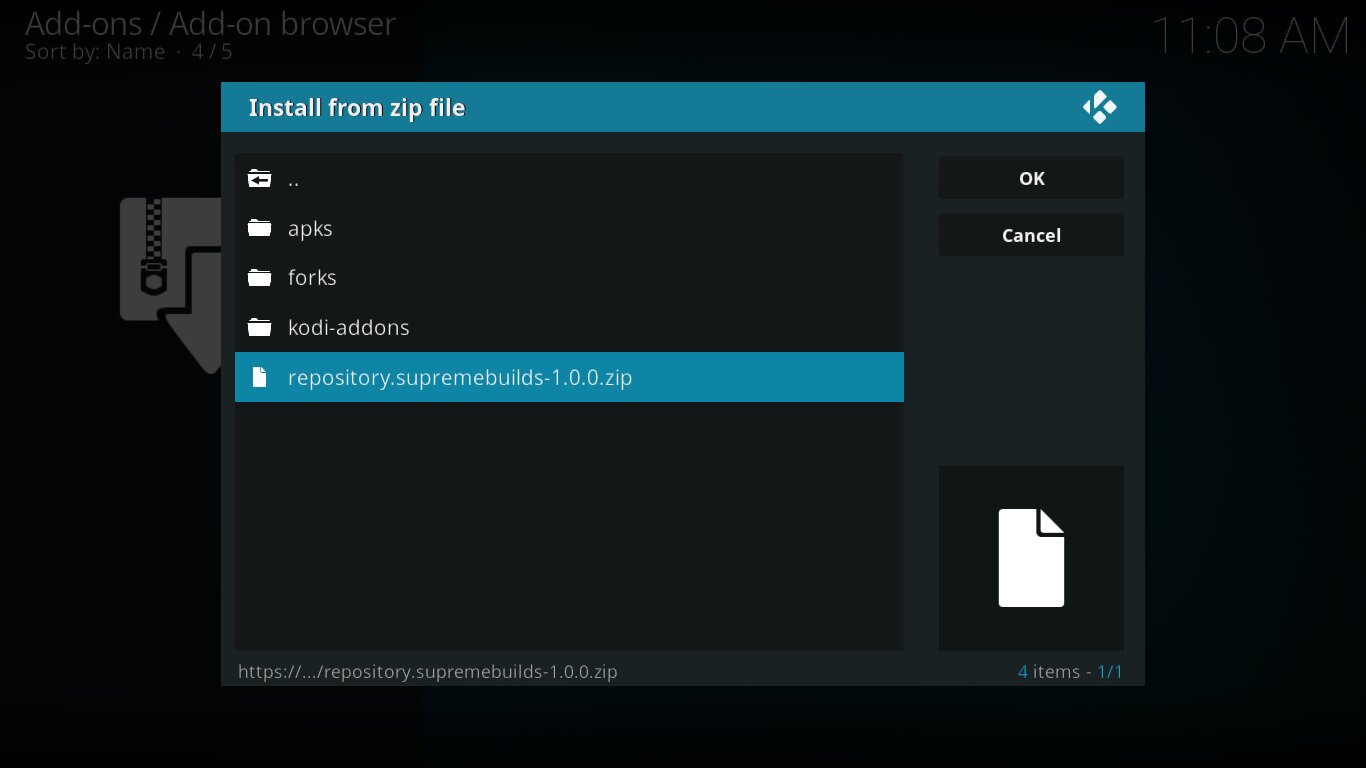
Next, click Install from zip file and then click the SupremeBuilds source that we just added in the previous step. Finally, click repository.supremebuilds-1.0.0.zip.
This will lunch the repository installation which will quickly be confirmed by a message at the top right of the screen.
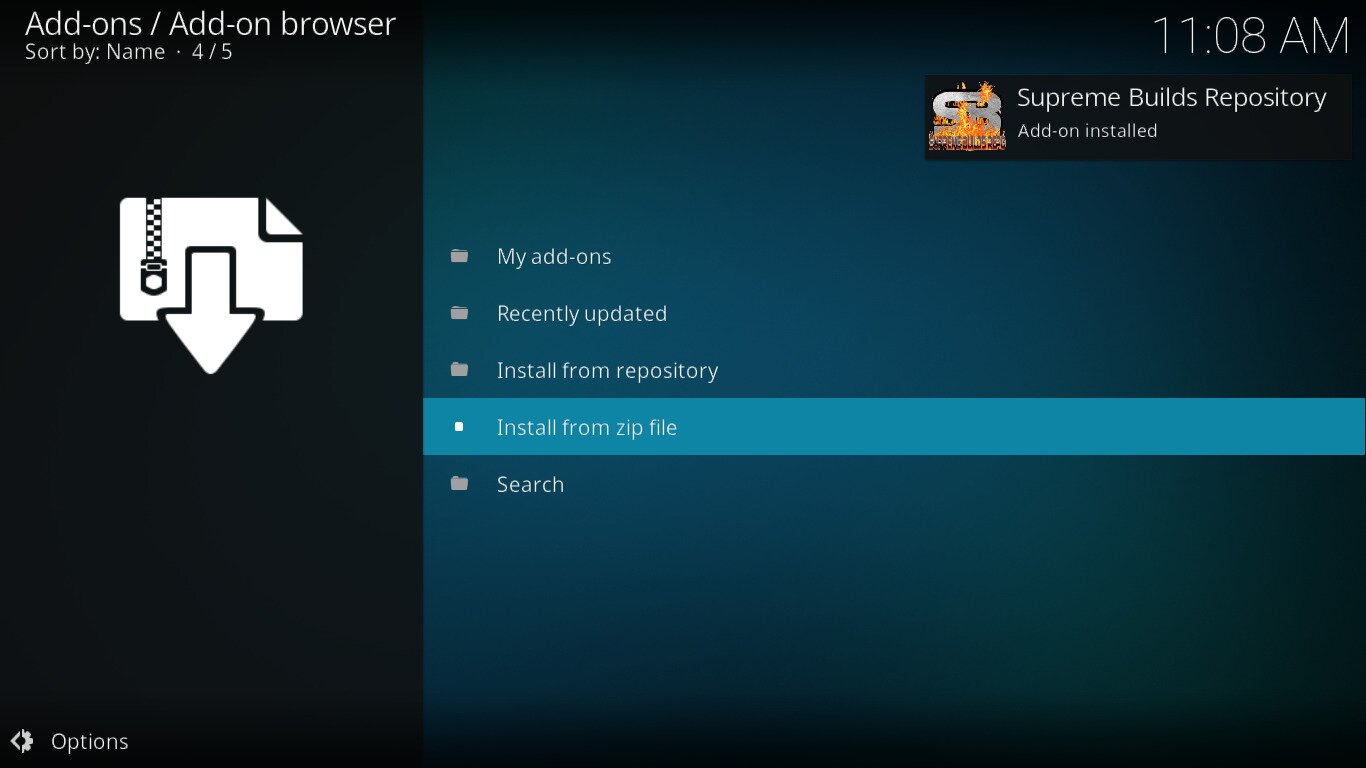
Installing The Supreme Builds Wizard
You should still be on the add-on browser screen from the previous step. Click Install from repository this time.
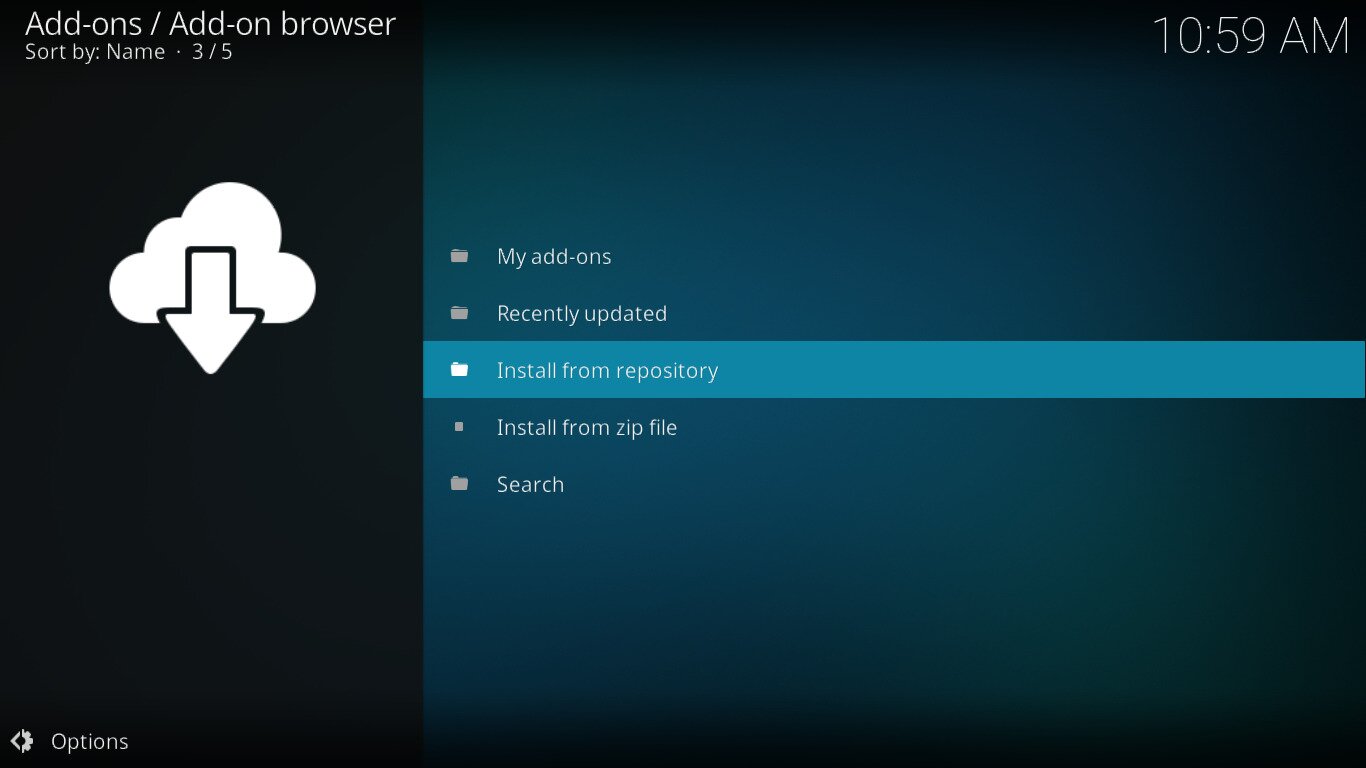
Next, click Supreme Builds Repository followed by Program add-ons and finally, click Supreme Builds Wizard.
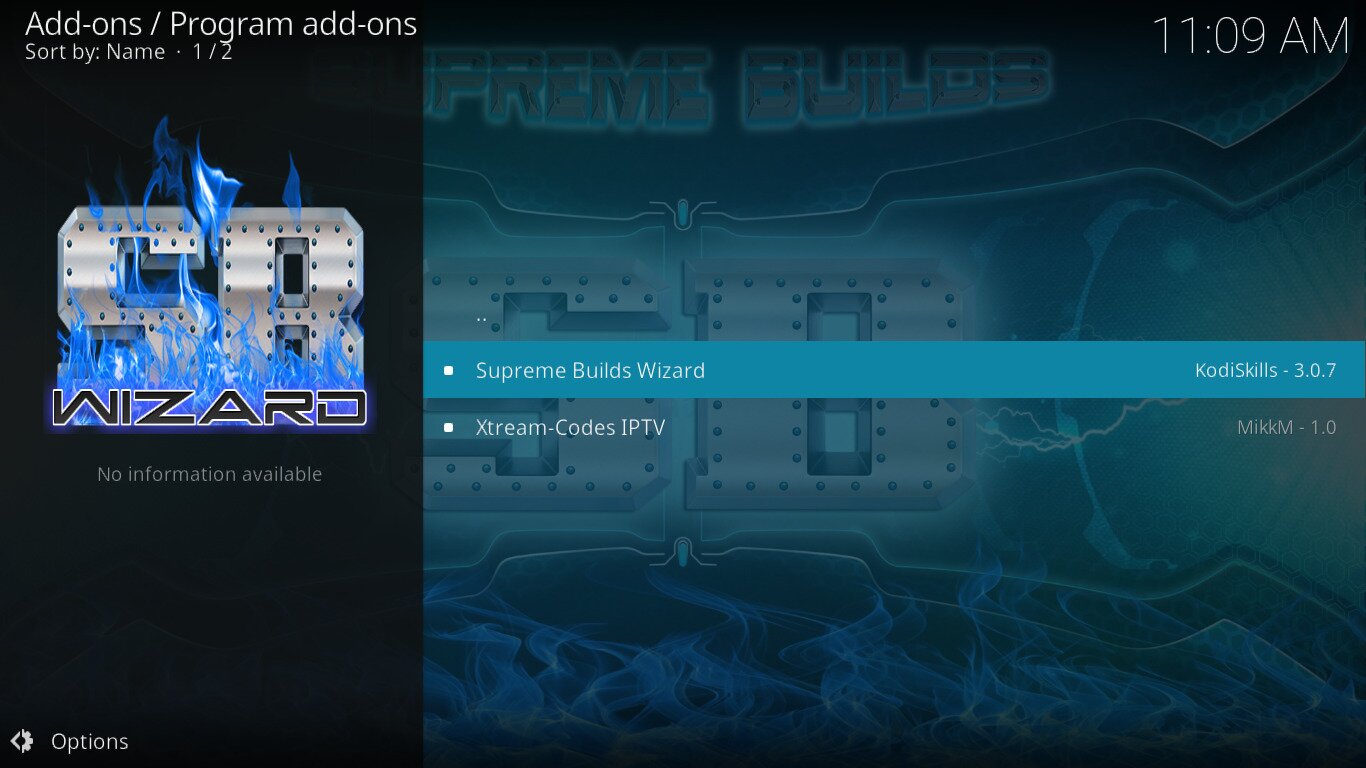
The Supreme Builds Wizard Information page will be displayed. Click the Install button at the bottom right to launch the Wizard’s installation.
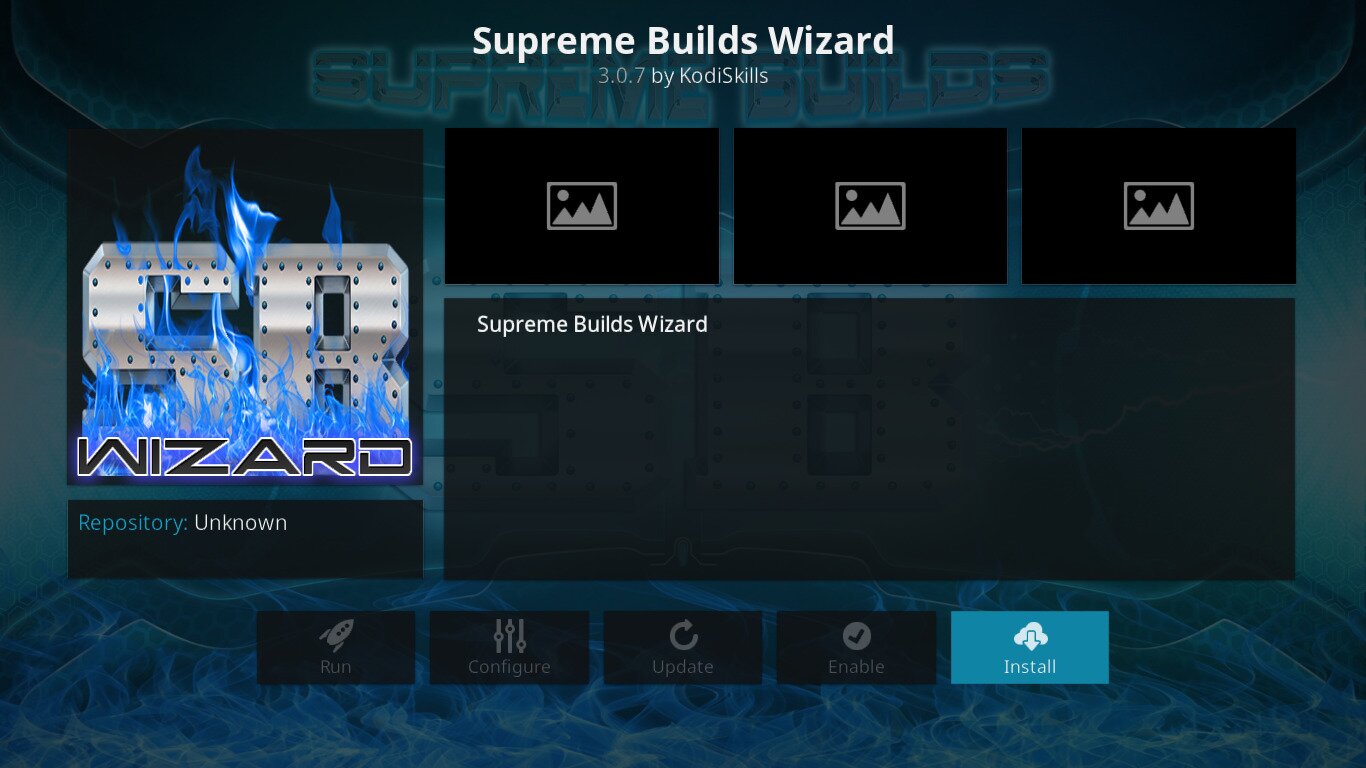
The installation completes quite rapidly, as confirmed by yet another message at the top right of the screen.
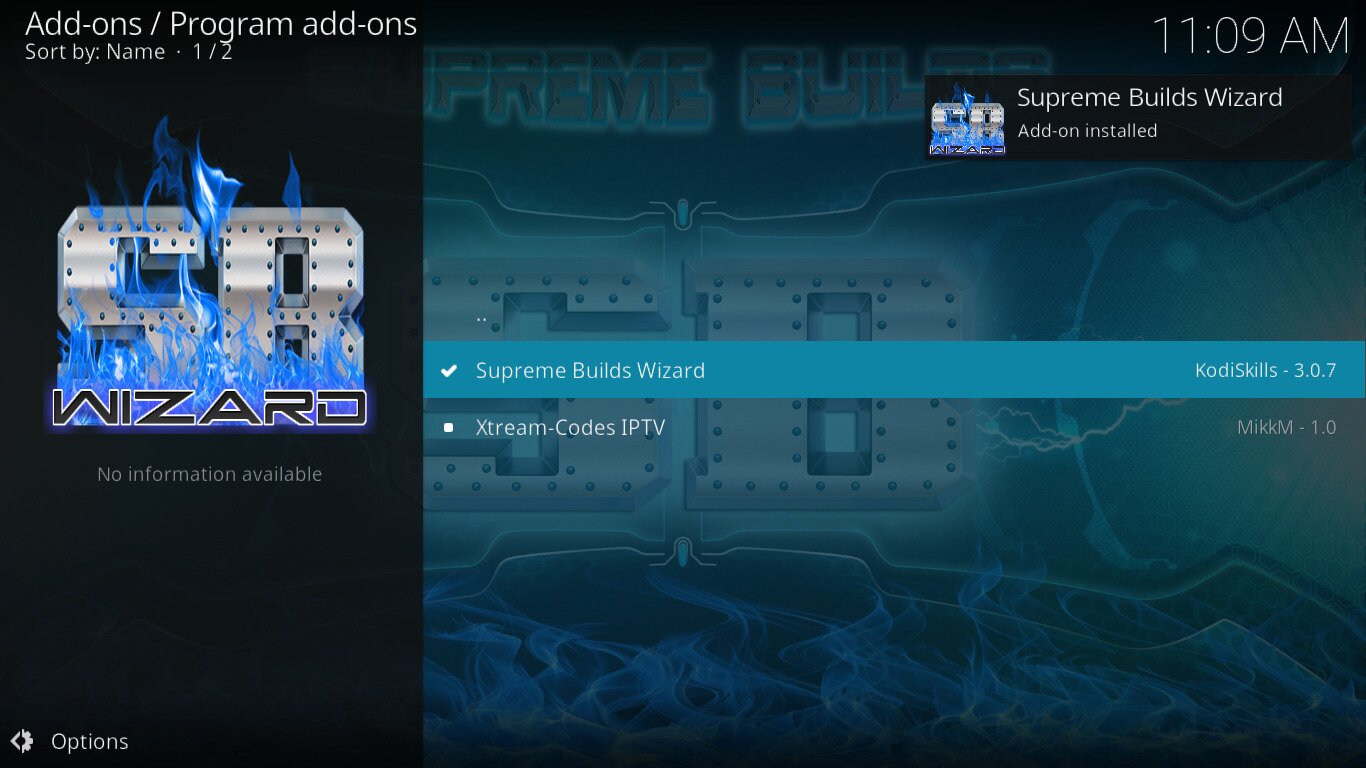
As soon as the Wizard’s installation completes, it will be started, ready for you to proceed to the next step.
Installing The Quest Media Build
Once the Wizard starts, it will display its welcome page.
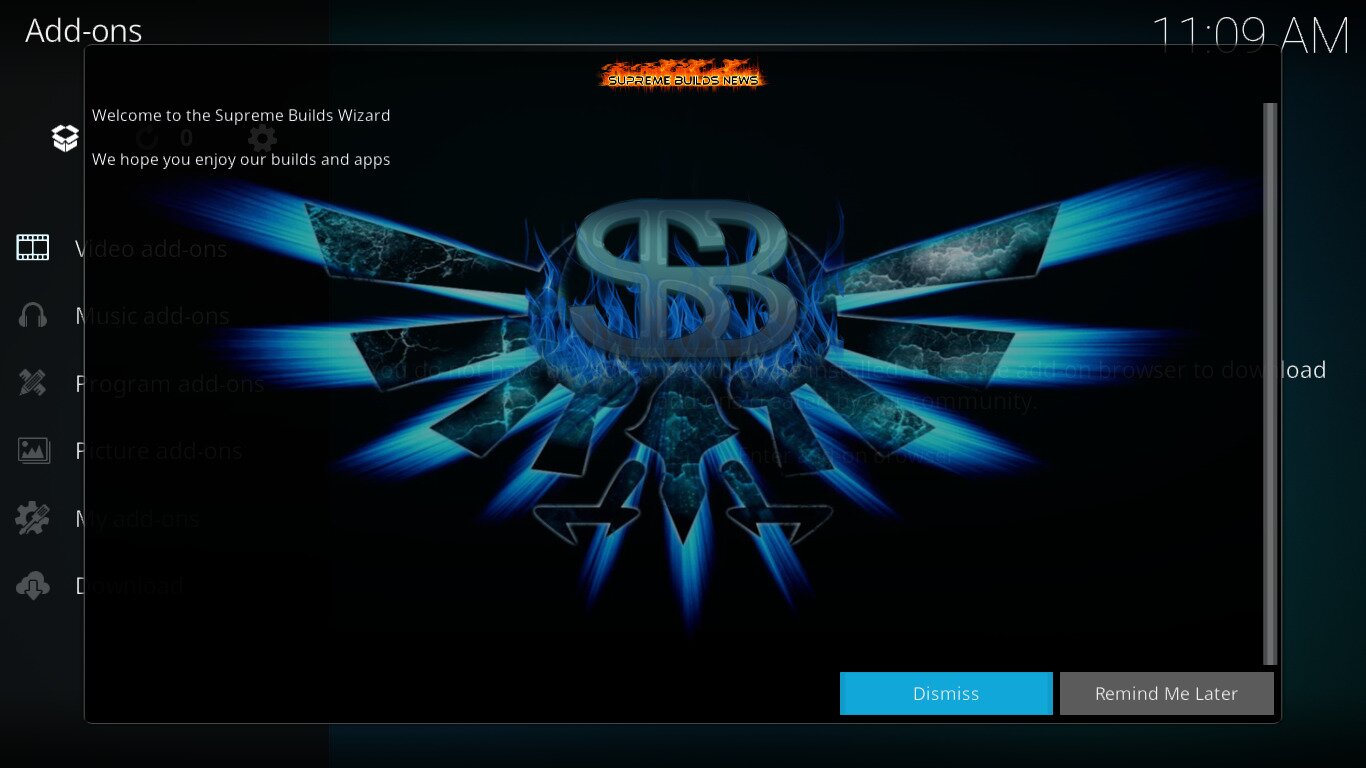
Click Dismiss to close the page as there is nothing to be reminded of later.
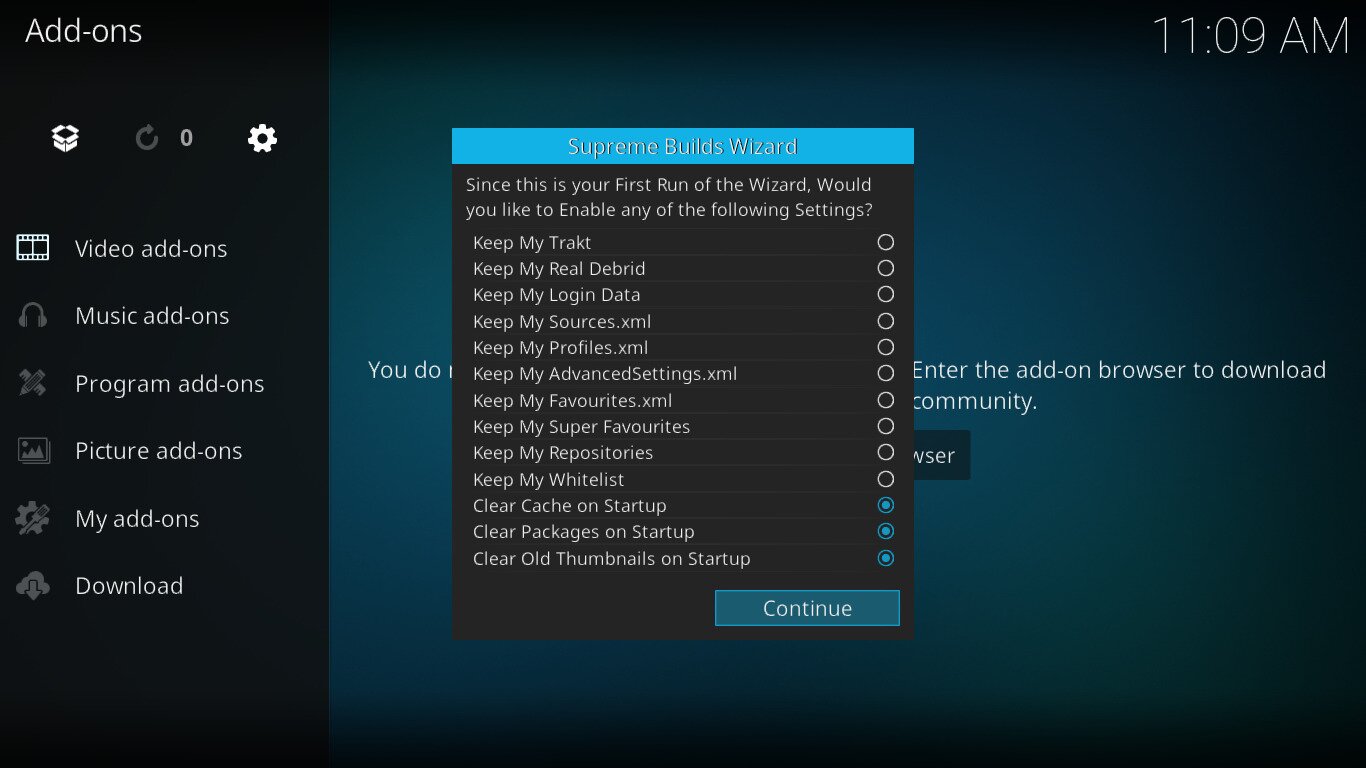
In the next step, the Wizard will offer you to set some options. For the sake of simplicity, just leave the default selections as is and click Continue.
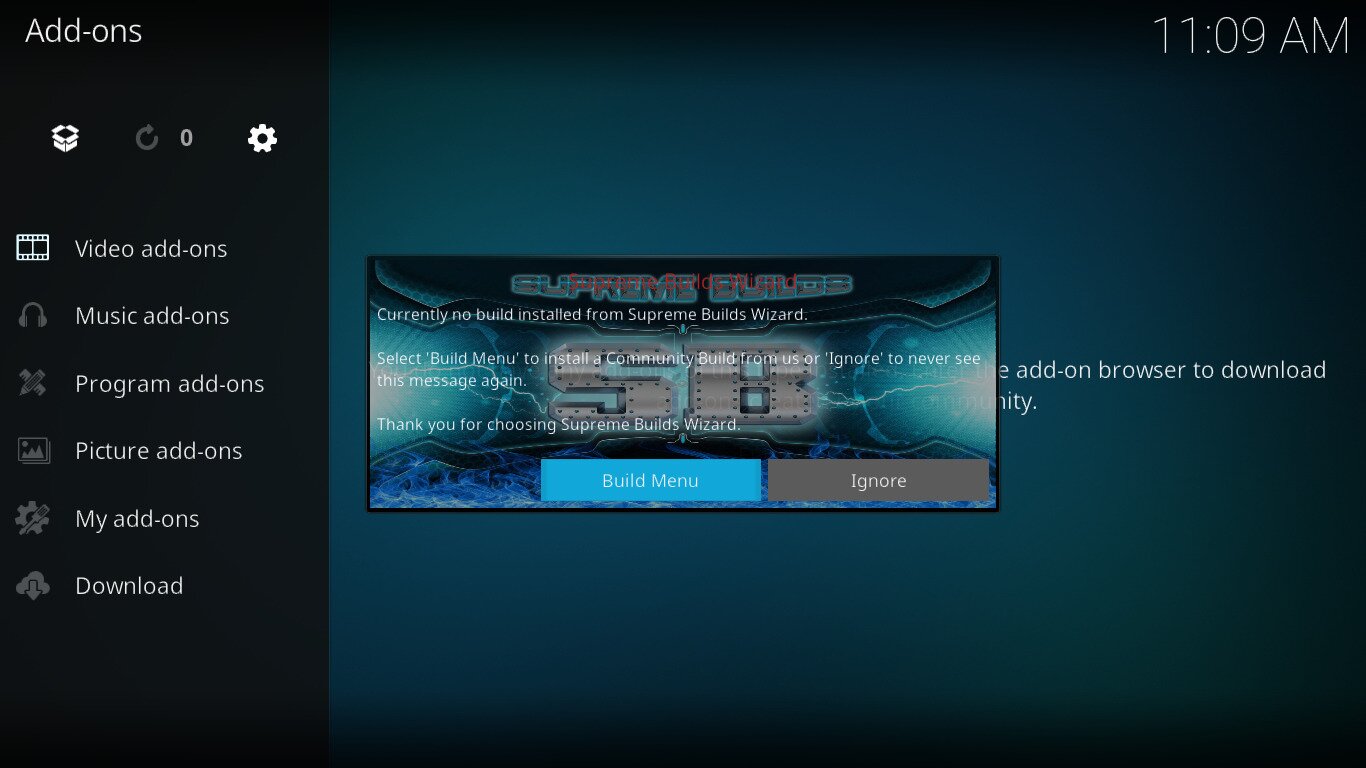
Since the Supreme Builds Wizard’s primary function is to install builds, it will then offer to take you straight to the builds menu. Just click Build Menu.
Once on the Build menu, take note that you can only download twice from each server per 24 hours period.
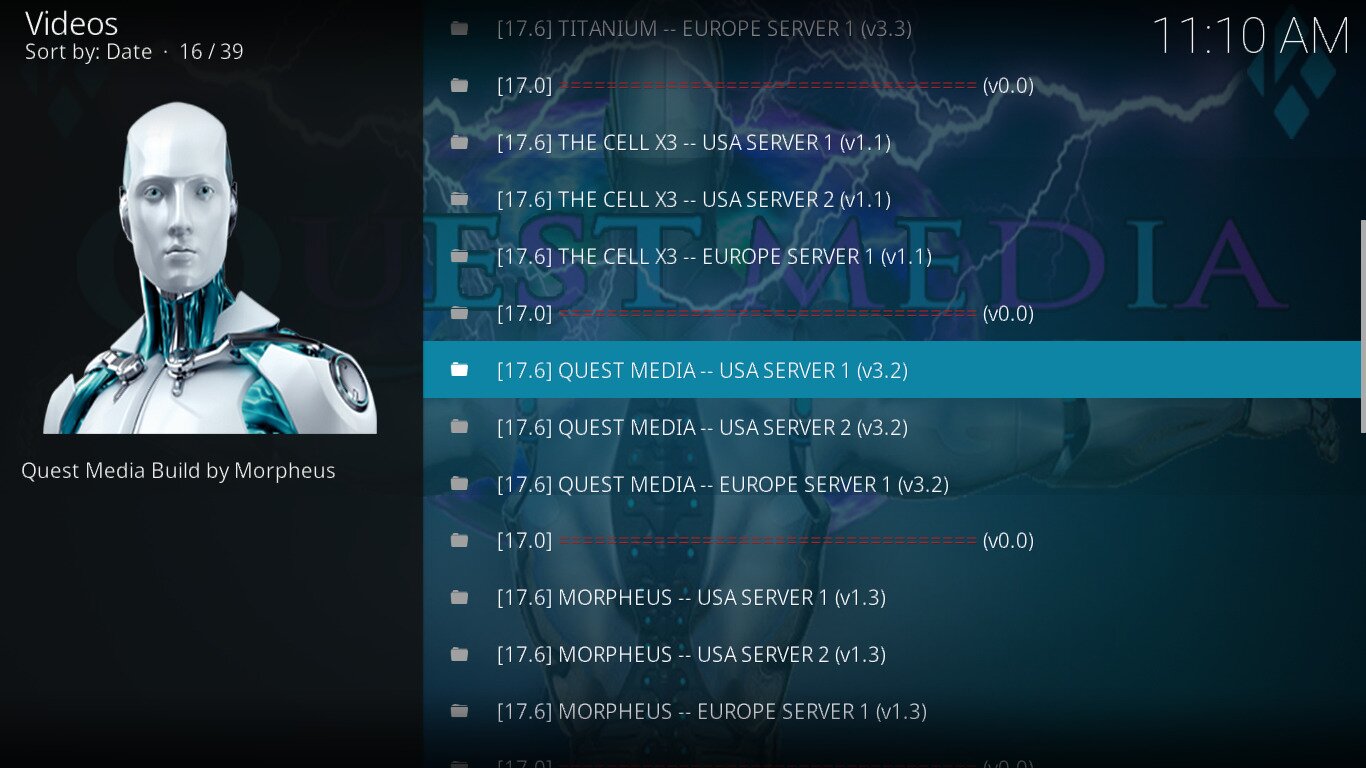
Scroll down, select one of the three Quest Media options (USA 1, USA 2, or Europe) and click it. This will take you to the build installation menu.
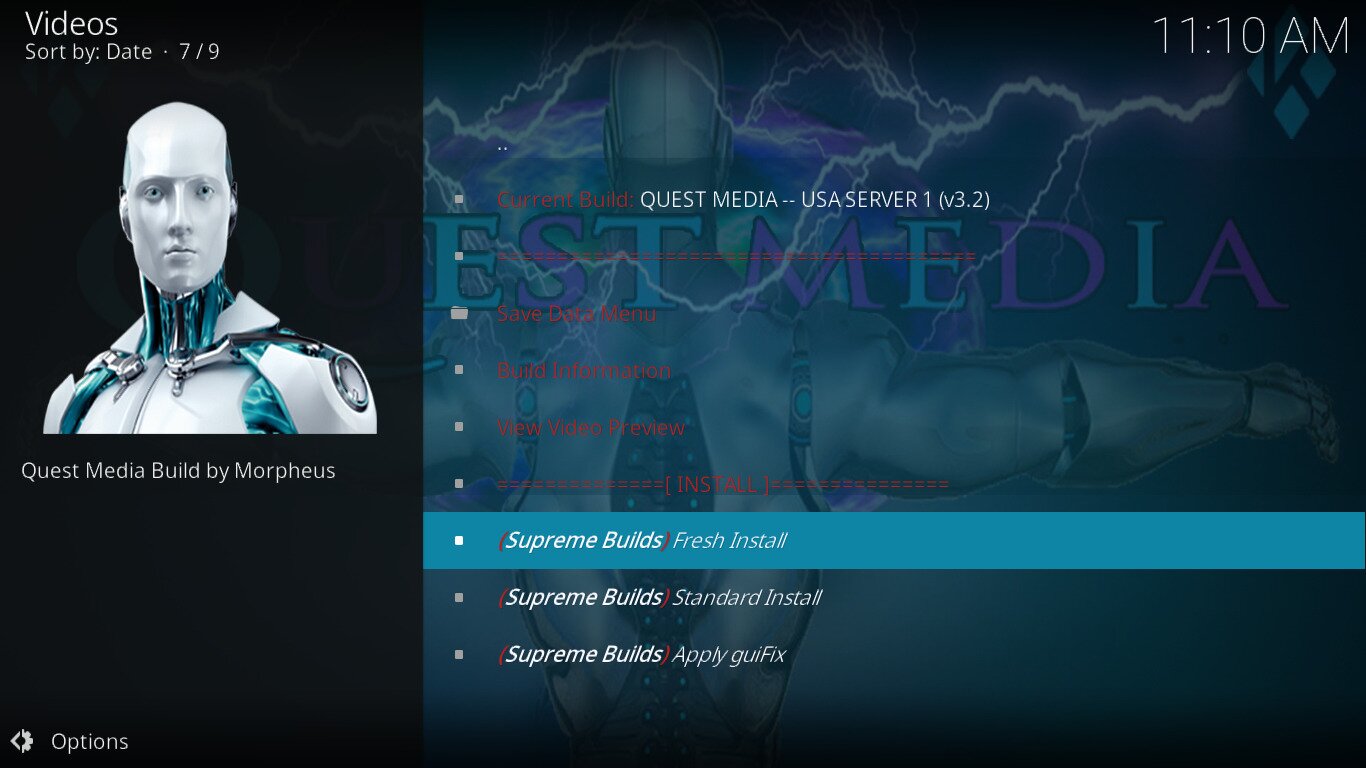
To wipe your current Kodi setup and start anew, click Fresh Install. If you’d rather keep your existing add-ons, repositories, and other settings, click Standard Install. We chose to click Fresh Install as we wanted a clean slate.
If, like us, you click Fresh Install, you’ll be asked to confirm the restoration of the Kodi default settings. Just click Continue.
The build installation will start right after the configuration is reset. It is a two-part process. The build will first be downloaded–which can take several minutes, depending on your Internet speed–after which it will be installed.
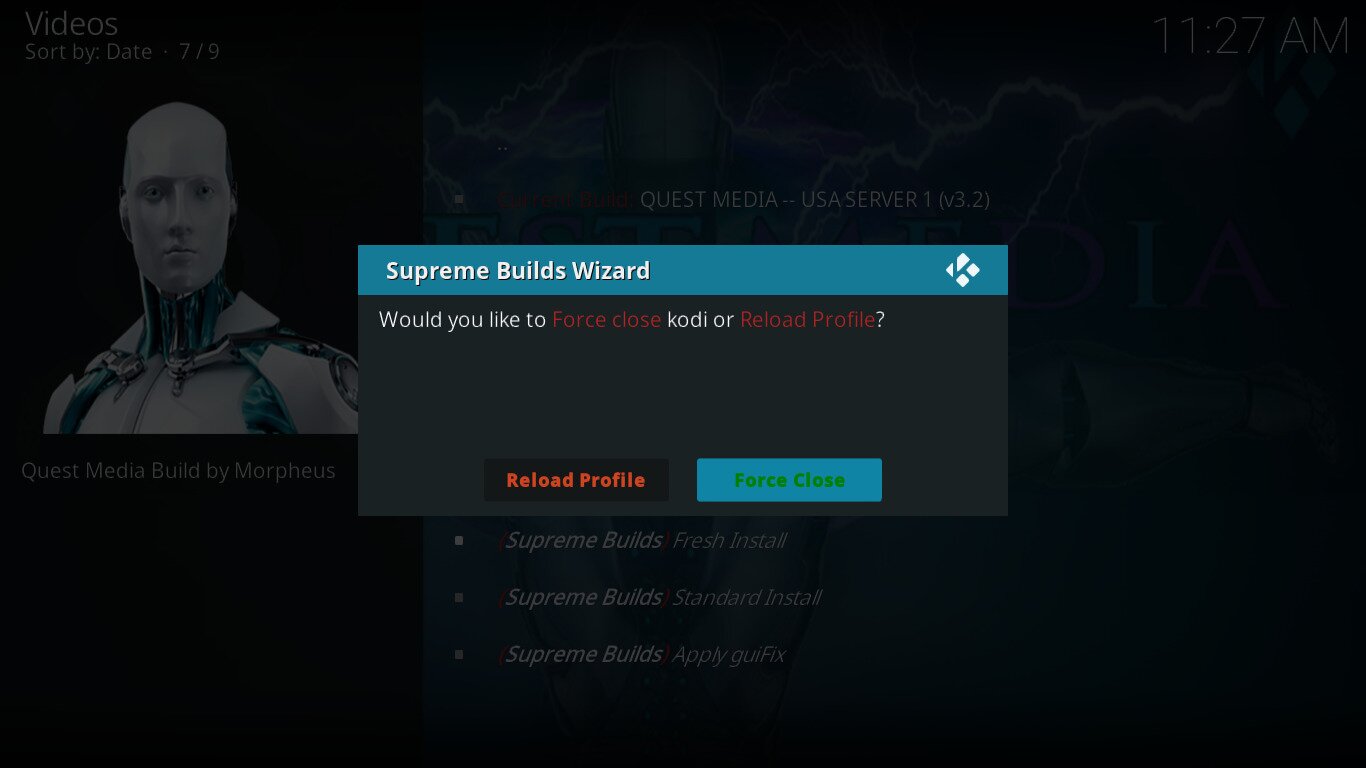
Once the installation completes, you’ll be asked whether to reload the profile or force close Kodi. We suggest you click Force Close.
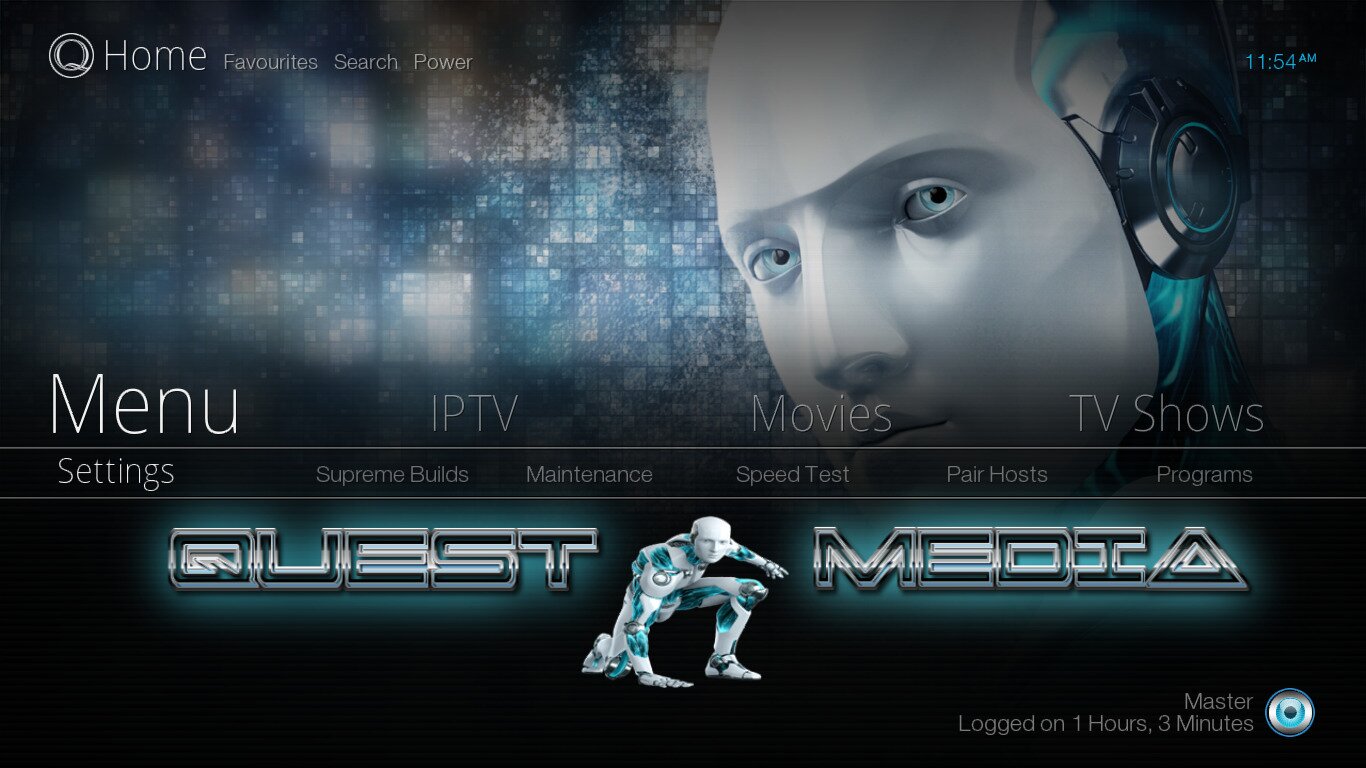
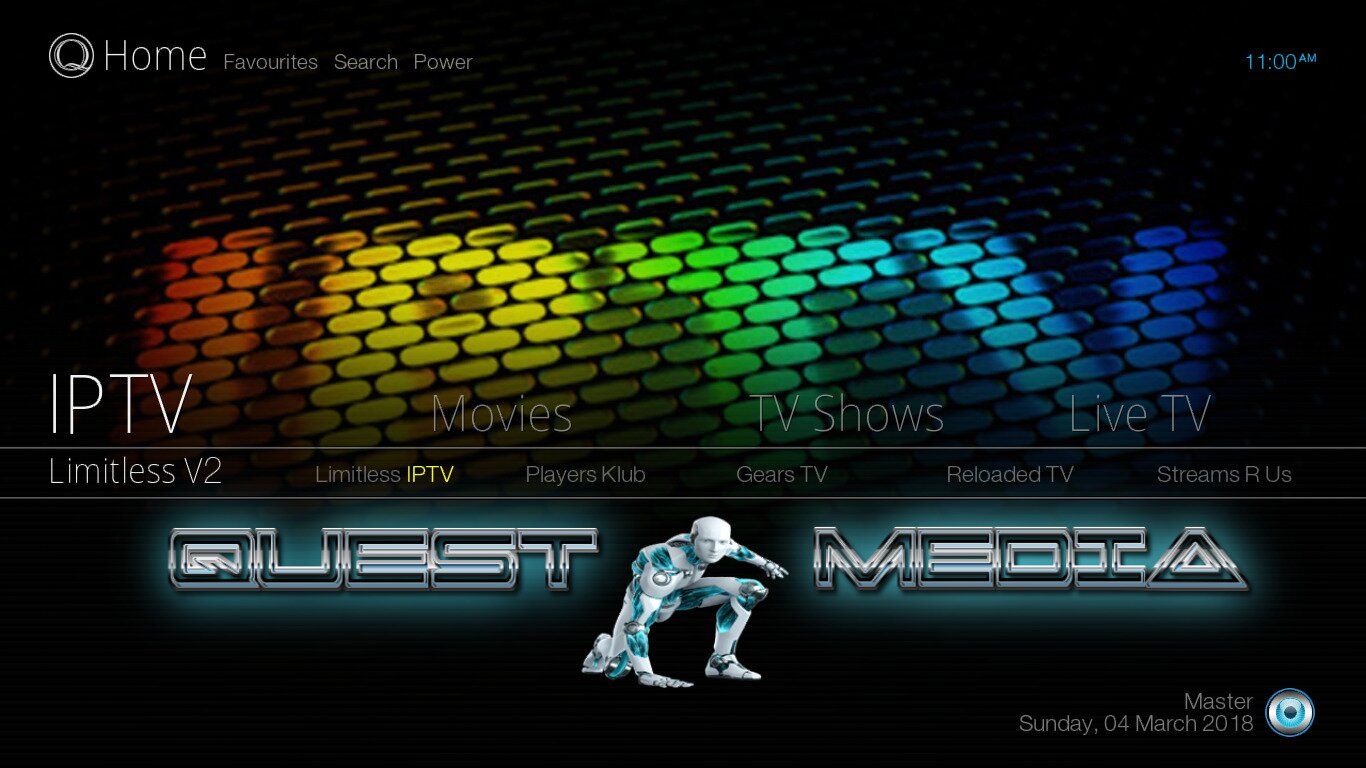
Once you manually restart Kodi, you’ll be greeted by the Quest Media Build user interface instead of the familiar Kodi interface.
Let’s have a look at how the build operates and some of the best it has to offer.
A Guided Tour Of The Quest Media Build
Like most Kodi Builds, the Quest Media build has a lot of varied content. Too much to present it all in this article. We’ll try to concentrate on the best and most interesting features but we invite you to spend some time with the build to discover everything it has to offer.
The build’s user interface and screen layout are very intuitive and well organized. When first started, you’ll see the Menu section. Oddly enough (though this is possibly the add-on’s only oddity) the main menu has an item called Menu. More about it later. Note that the user interface is clearly made to be used with a remote control or a keyboard. Navigating it with a mouse is a bit cumbersome.
The main menu appears on a ribbon across the center of the screen. Using the left and right arrows lets you move from one item to the other. Pressing the up-arrow key reveals the current menu item’s widgets. Once on the widget line, the left and right arrows let you select and start a widget. Pressing the down-arrow key from the menu ribbon displays the submenu. Its items are different for each main menu item, we’re about to see that as we explore each one.
Menu
The main menu’s Menu section is where you can access the add-on’s settings and tools. This is also where you’ll find all add-ons and where you’d go to access the Adult Quest section.
The section’s widgets are shortcuts to about 40 or the build’s most useful add-ons. Clinking any widget starts the corresponding add-on, albeit with a Quest Media skin so you might not readily recognize it.
IPTV
The IPTV section is where you’ll find subscription-based IPTV services as opposed to the Live TV section where you’ll find free IPTV add-ons.
The section has no content shortcuts but instead only shortcuts to launch several IPTV add-ons. There are nine of them, to be exact. There’s Limitless and Limitless V2, Gears TV, StreamsRUs, Reloaded TV, The Players Klub, IptvSensation, Flawless TV, and RedhoodTV. There’s also Mayfair Guide Pro, another subscription-based service that is not an IPTV add-on per se but rather a TV guide provider.
I don’t have a subscription to any of these services so I can’t really judge if they are any good. We’ve done some research, though and they all appear to have a pretty good reputation. You might end up using only one or two of them, especially if you already have a subscription but it’s nice to know that, if need be, you have plenty of options.
Movies
The Movies section is where many people will spend a lot of time. And they won’t be disappointed with the selections that can be found in here. The widgets above the menu bar–accessed with a simple press of the up arrow–reveals a good selection of recent and not-so-recent films of all genre. The only thing they have in common is their popularity. The selection is from the Neptune Rising add-on.
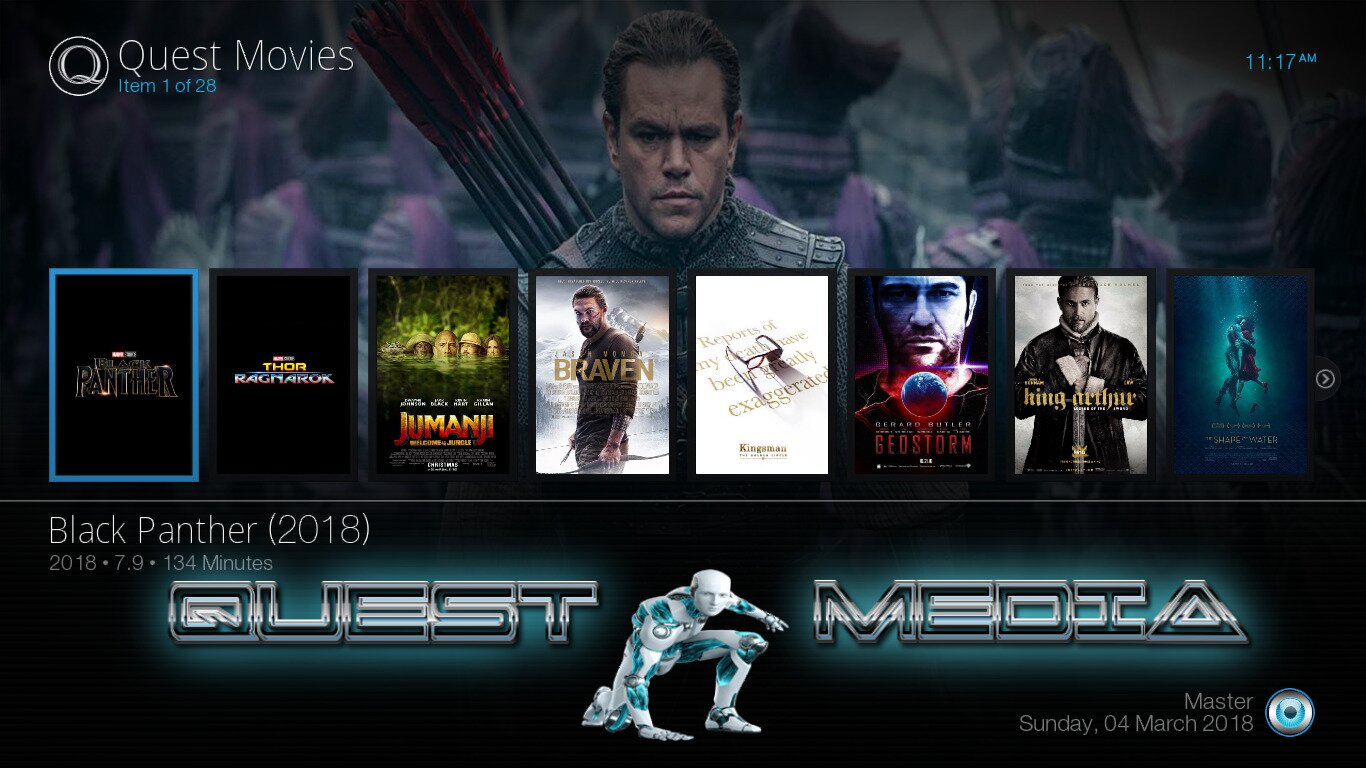
The section’s submenu if quite extensive with over a dozen items. There’s a mix of add-ons, genres and categories. Let me explain by giving you a couple of examples. New Movies, Trending, and In Theaters are categories that will bring up corresponding playlists from various add-ons. The Fix, Placenta, or Not Sure, will simply launch the add-ons and Western or Horror Movies will show playlists from a specific genre.
TV Shows
TV fans will most likely find something they like in the TV Shows section. The Quest Media build relies on some of the best add-ons to provide an excellent selection of TV shows. Between the upper widgets that let you quickly reach the most popular TV shows’ episode lists and pick one for playback and the lengthy submenu, you can spend hours in this section.
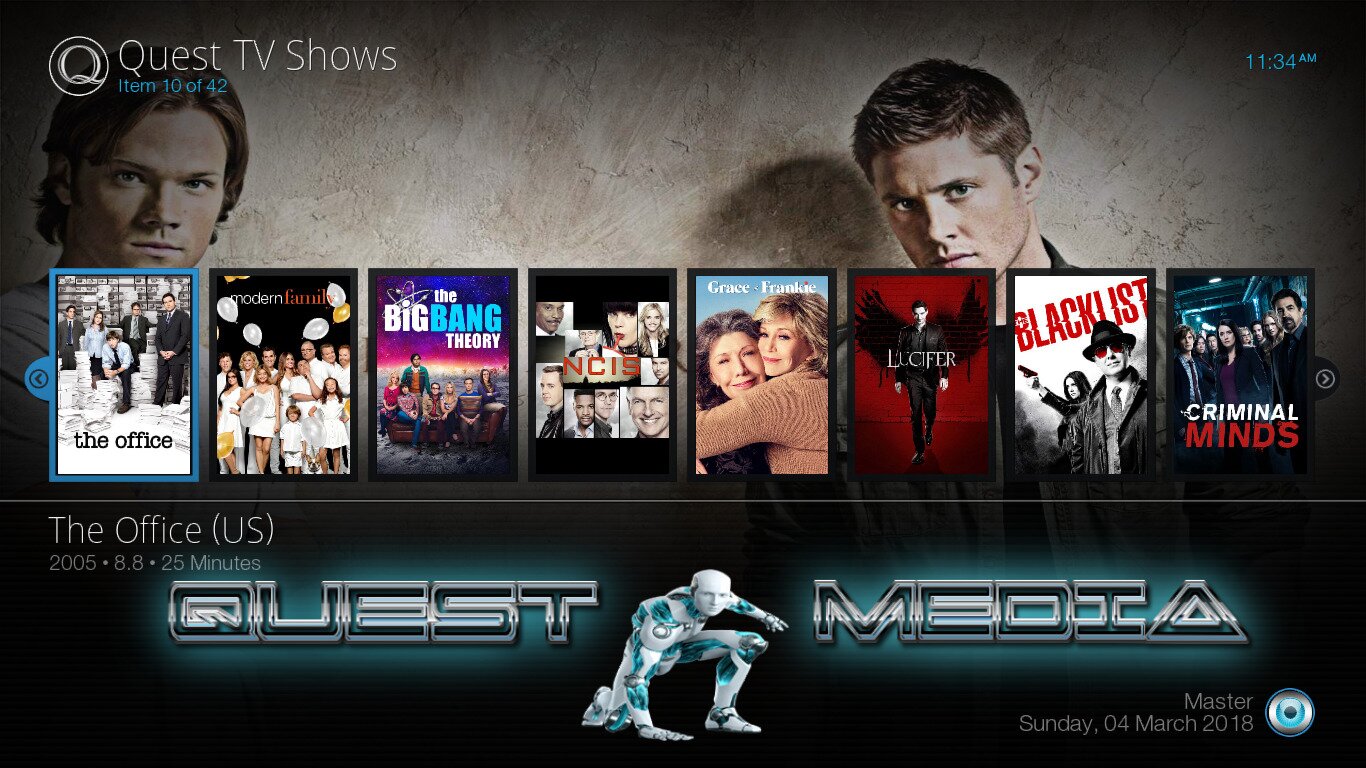
Talking about the submenu, somewhat like its movies counterpart, it combines selections that launch add-ons that are famous for their TV Shows content and categories that take you directly to some subsections of various add-ons. There are, for instance, entries for the Placenta, Atriox, Incursion, or Neptune Rising add-ons. There are also entries for TV Today, which will give you a list of what’s on TV on this day, Networks, which will let you browse TV shows by the network that airs them or Genres that lets you browse them, you would have guessed, by genre.
Live TV
The Live TV section is somewhat like the IPTV section but with free live TV providers. The content selection and the video quality might not be as good as with subscription service but still, the variety of content available is impressive.
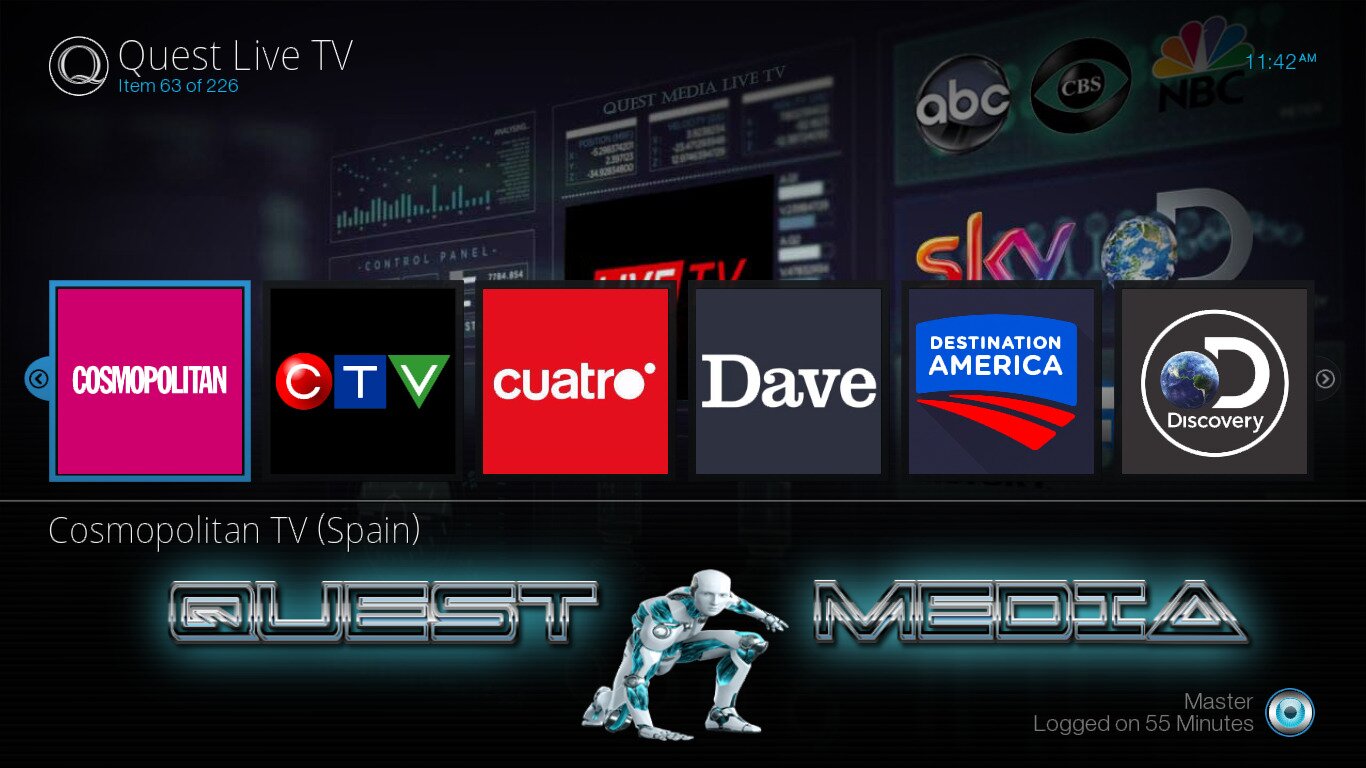
Impressive is also the organization of this section. In particular, we loved the widgets above the menu bar which let you quickly and easily access the most popular Live IPTV channel. The list of widgets has a few hundred elements, neatly organized in alphabetical order. You won’t have any trouble locating content.
As for the section’s submenu, the various selections let you browse different playlists of live IPTV streams taken from various add-ons. Some are geo-centric like the USA & UK or Australia lists while other, like News, are genre-based.
Sports
Like most of the build’s sections, the Sports section reveals a ton if interesting sports content of all types. Between its widgets bar and its submenu, you’ll be able to access some of the best sports content.
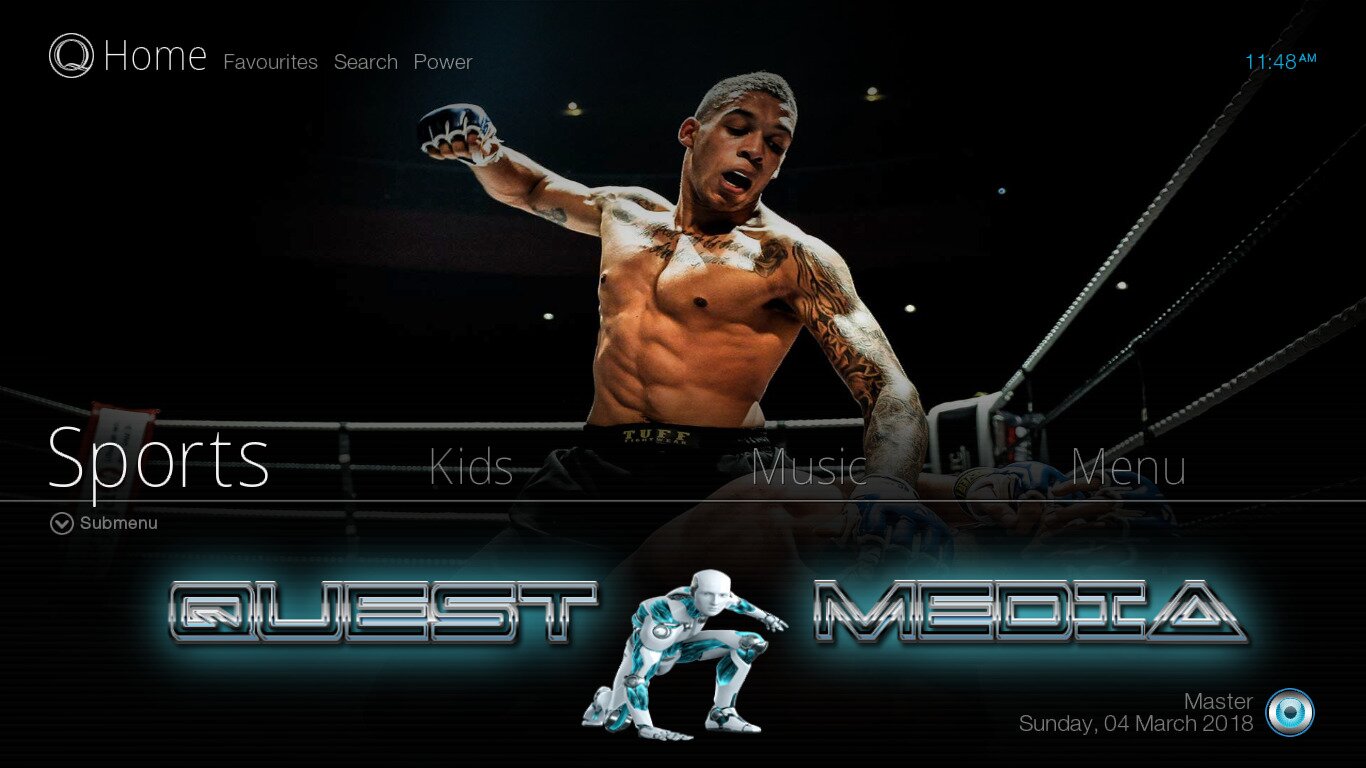
The section has a combination of live IPTV sports channels and recorded on-demand content. Organization wise, it is unfortunately not the best section of the build but that won’t stop you from finding great content. You’ll just have to search perhaps a bit more to locate it. There’s also a big European flavour to this section which is particularly apparent when looking at the widgets. You’ll have an easier time locating football content that hockey, for example. But overall, there still a great selection of content.
Kids
If you have kids–or if you’re a kid at heart–you’re bound to love the Kids section. This section is very similar to the Movies and TV shows sections but with a focus on children’s content. And they have some of the best.
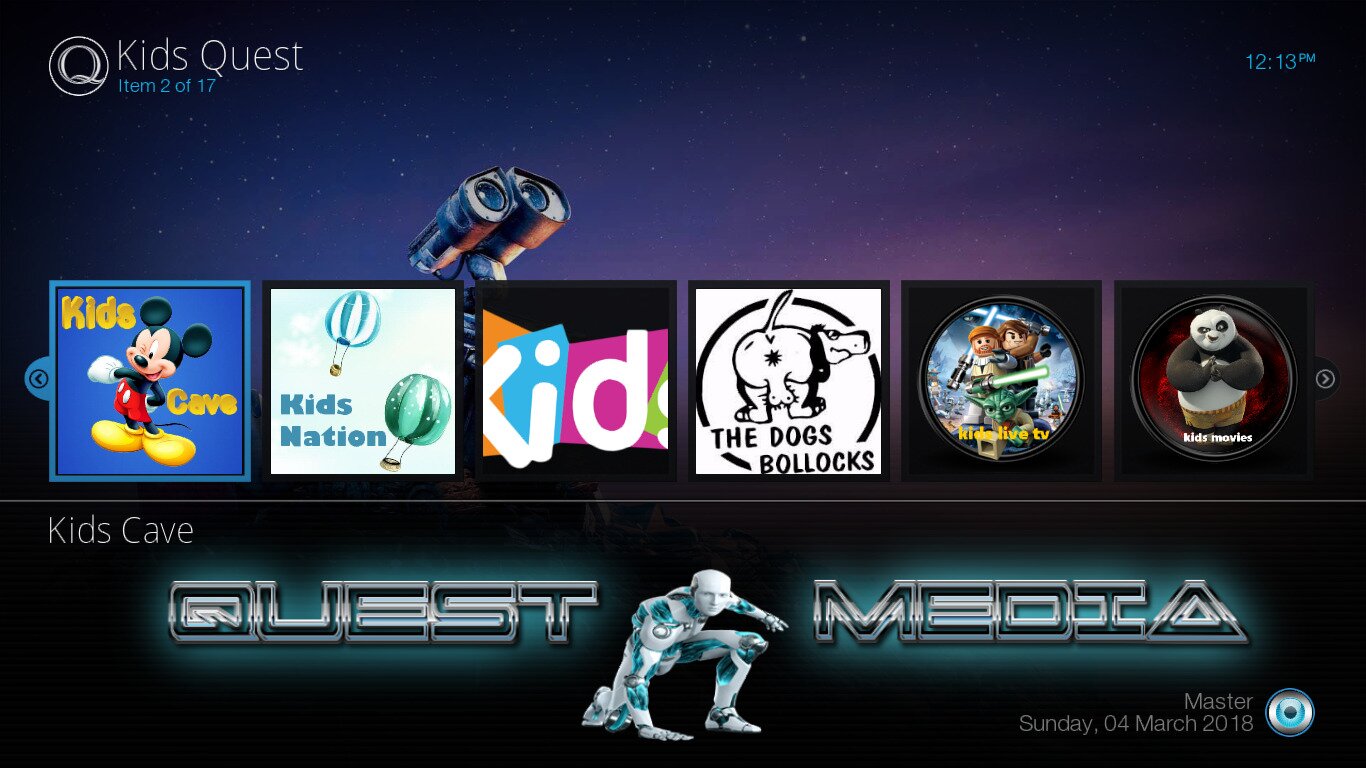
The top widgets section has almost 20 of them, each providing a quick access to the best kids section of many add-ons. Some will let you access live IPTV feeds while other will instead bring you to on-demand content playlists. To give you a few examples, the first widget, Kid’s center will take you directly to the Kid’s Center section of the Not Sure add-on. Similarly, Kid’s Movies take you to the corresponding section of the SkyNet add-0n.
As for the submenu, it gives you more–a lot more–of the same. We particularly liked the Marvel’s Movies and DC Movies sections. And the Dreamworks section will let you access some of the best recent animation movies.
Music
Last but not least is the Music section. And when we say music, we really mean it. There are a few subsections where you’ll find music videos or recorded concerts but most of what’s in there is just sound. But like with all other sections in the Quest Media build, this one is loaded with content.
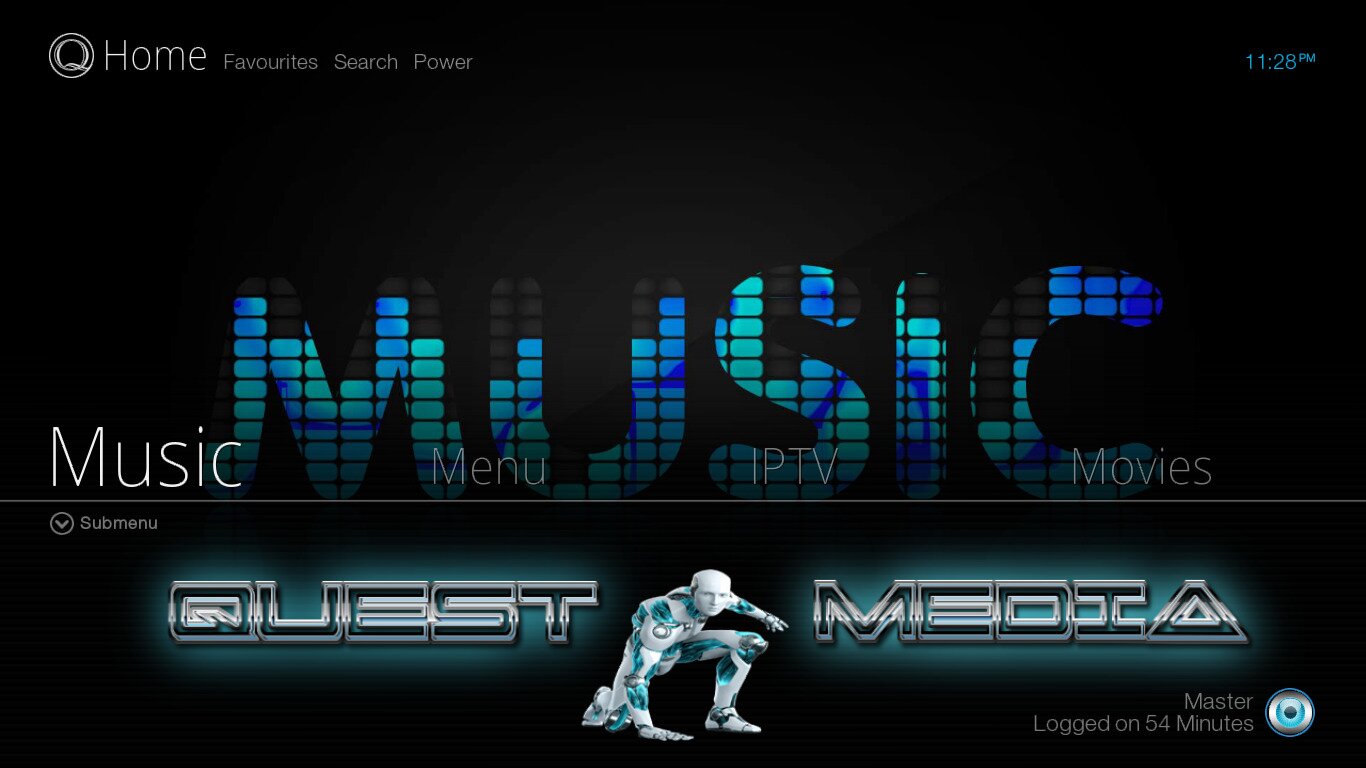
Unfortunately, there appears to be more broken content on that section than on the others but don’t let that stop you from finding great music for any genres and all periods. Three subsections, in particular, Search Artist, Search Album and Search Song make finding something specific really easy.
To Conclude
We were quite impressed with this build, The quality of its user interface is amazing and so is its variety of content. And considering its small footprint and the fact that it’s easily controlled with a simple remote, it would make an ideal build for limited devices such as the Amazon Fire TV Stick, for example. This build is definitely worth trying.
Have you tried it? What do you like best about the Quest Media build? Did you encounter any issues installing it or using it? Use the comments below to share your experience.
Don't miss this great deal
