How to create a bootable Windows 11 USB on Linux
WoeUSB is the best way to create a bootable Windows 11 USB on Linux. It takes care of the formatting, flashing, and other configuration settings. All the user has to do is provide a Windows 11 ISO.
The WoeUSB app isn’t installed on any Linux operating systems by default. Thankfully, you’ll be able to set up the app using the commands below.
Ubuntu
Sadly, Ubuntu doesn’t provide WoeUSB in their official software repositories, and past PPAs are no longer available. As a result, Ubuntu users will need to get it working with the Python3 package tool.
You must set up the dependencies required to run the software to start. Using the apt install command down below, set up the packages.
sudo apt install git p7zip-full python3-pip python3-wxgtk4.0
With all of the packages set up and configured, use the pip3 install command to download and install the latest version of WoeUSB on your Ubuntu system.
sudo pip3 install WoeUSB-ng
Debian
Like Ubuntu, there is no way to get the WoeUSB app through official software sources, so it must be installed via Python. Use the apt-get install command and set up the latest dependency packages.
sudo apt-get install git p7zip-full python3-pip python3-wxgtk4.0
Once all of the packages are configured and installed on your system, you can install the latest version of the WoeUSB application on your Debian Linux system.
sudo pip3 install WoeUSB-ng
Arch Linux
The WoeUSB application is available in the Arch Linux Community software repository. However, this version doesn’t ship with a GUI. To get the GUI version, install WoeUSB with the commands below.
wget https://builds.garudalinux.org/repos/chaotic-aur/x86_64/woeusb-ng-0.2.10-1-any.pkg.tar.zst

sudo pacman -U woeusb-ng-0.2.10-1-any.pkg.tar.zst
Fedora
The WoeUSB application is in the official Fedora Linux package repositories. However, the Python version of the app works much better. Install the dependency packages using dnf install and set up the app using pip3 install to get it set up.
sudo dnf install git p7zip p7zip-plugins python3-pip python3-wxpython4

sudo pip3 install WoeUSB-ng
OpenSUSE
To get the latest version of WoeUSB working on your OpenSUSE Linux system, head over to the WoeUSB-ng page on the OpenSUSE build site. Then, select your operating system, and choose the “1 Click Install” button to install the software to your system.
Generic Linux
If you’re using a Linux OS not covered by the instructions in this guide, you’ll still be able to install the software through Python 3. However, you’ll first need to set up the package dependencies.
Creating a bootable Windows 11 USB on Linux
To create a bootable Windows 11 USB on Linux, follow the step-by-step instructions below.
Step 1: Open up the app menu and launch “Woeusb-ng.” When you launch the app, you’ll be asked to enter your password. Using the keyboard, enter your password to access the app.
Step 2: Once the Woeusb-ng application is open, you must download Windows 11. Head over to the Windows 11 download page and find “Download Windows 11 Disk Image (ISO).”
Step 3: After locating “Download Windows 11 Disk Image (ISO),” find the “Select Download” menu and choose “Windows 11 (multi-edition ISO),” and click on the blue “Download” option to download the ISO file.
Step 4: Once the Windows 11 ISO is done downloading, go to WoeUSB and find the “From a disk image (iso)” area. Click on the “None” button to bring up a pop-up window.
Step 5: Use the pop-up window to browse for the Windows 11 ISO you downloaded previously. Then, find “Target device” and select your USB flash drive. Finally, click on the “Install” button when you’re ready to begin.

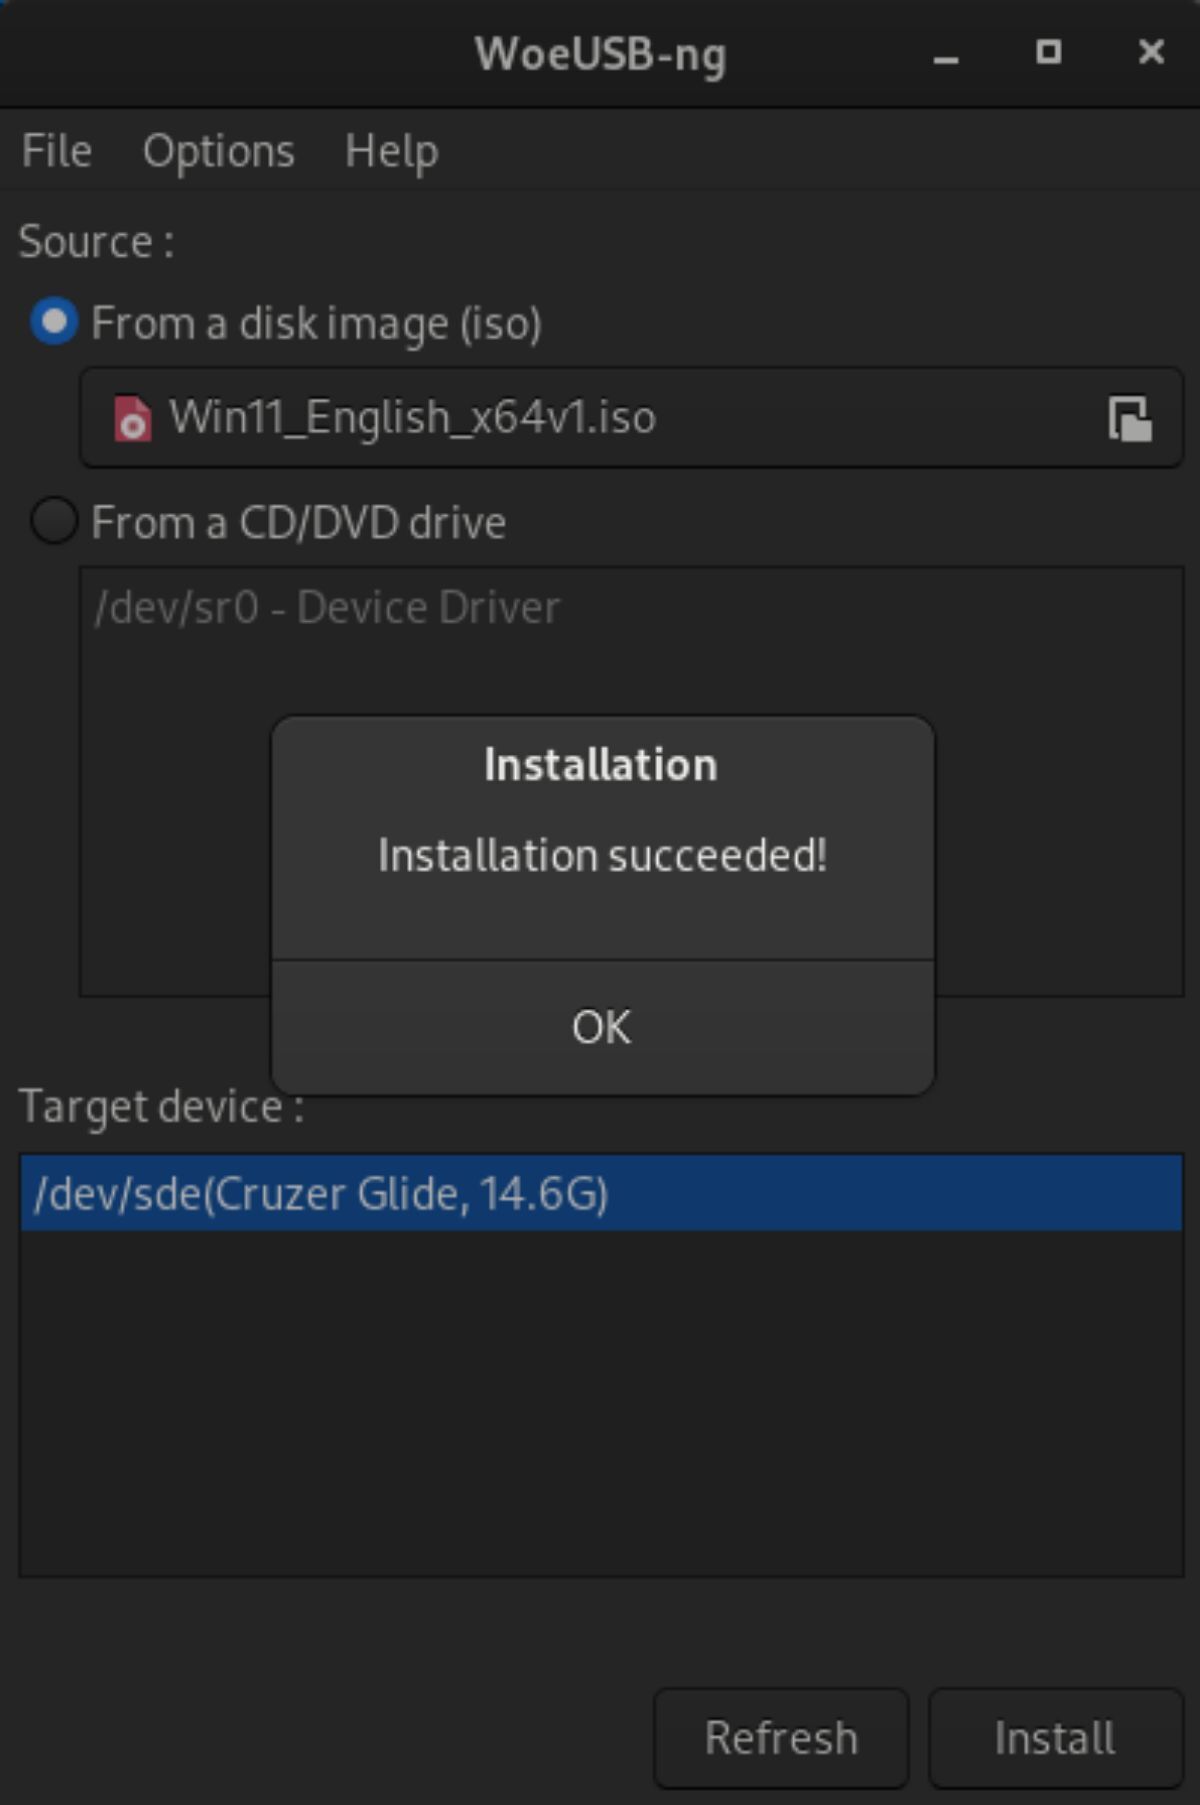
Step 6: After selecting the “Install” button, WoeUSB will present a message. This message states, “Are you sure? This will delete all your files and wipe out the selected partition.” Click the “Yes” button to continue.
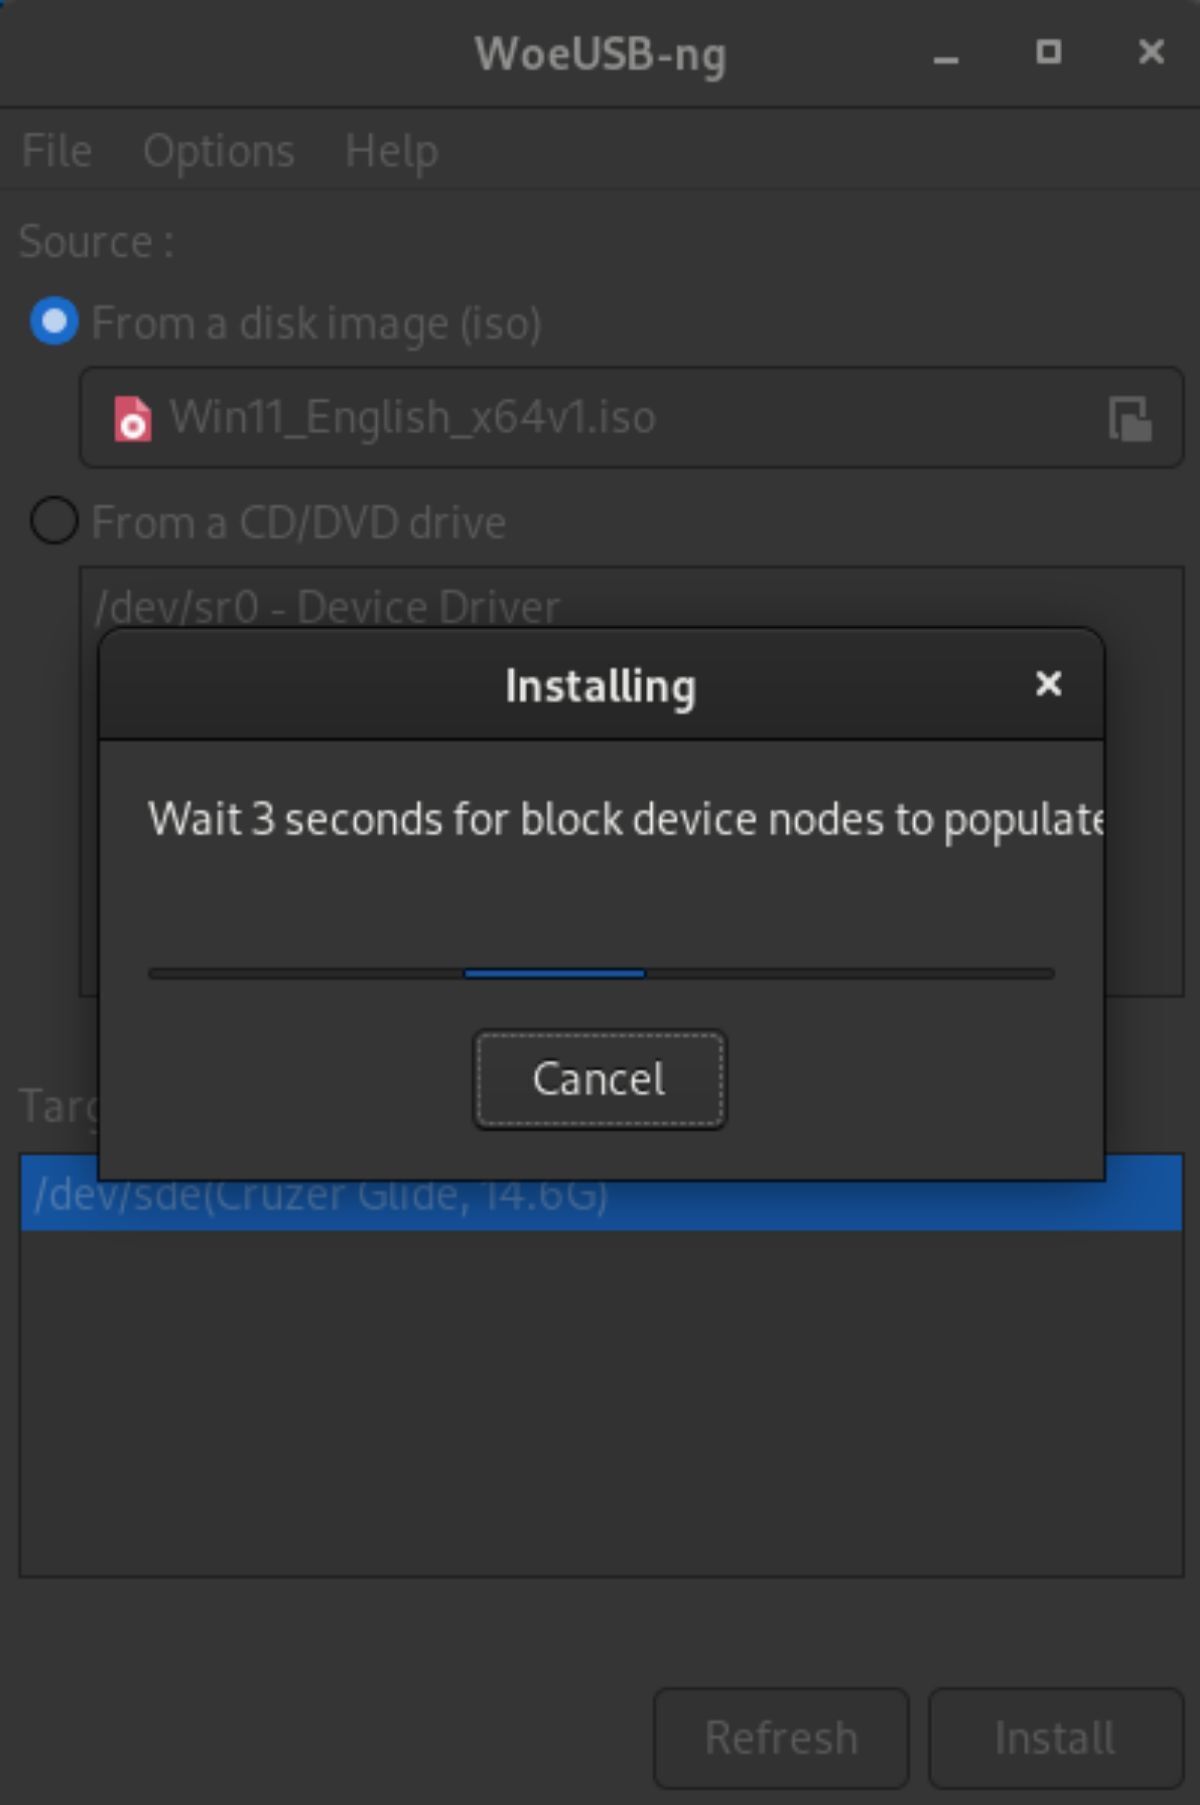
The installation process will take time to complete, as the Windows 11 ISO file is enormous. When the process is complete, you will see “Installation succeeded!”
Other ways to create a Windows 11 USB on Linux
While the WoeUSB app is undoubtedly useful, it isn’t the only way to create a live Linux USB. It is also possible to create one by hand by following the step-by-step instructions below.
Step 1: Head over to the official Windows 11 download page, find “Download Windows 11 Disk Image (ISO),” and download your ISO.
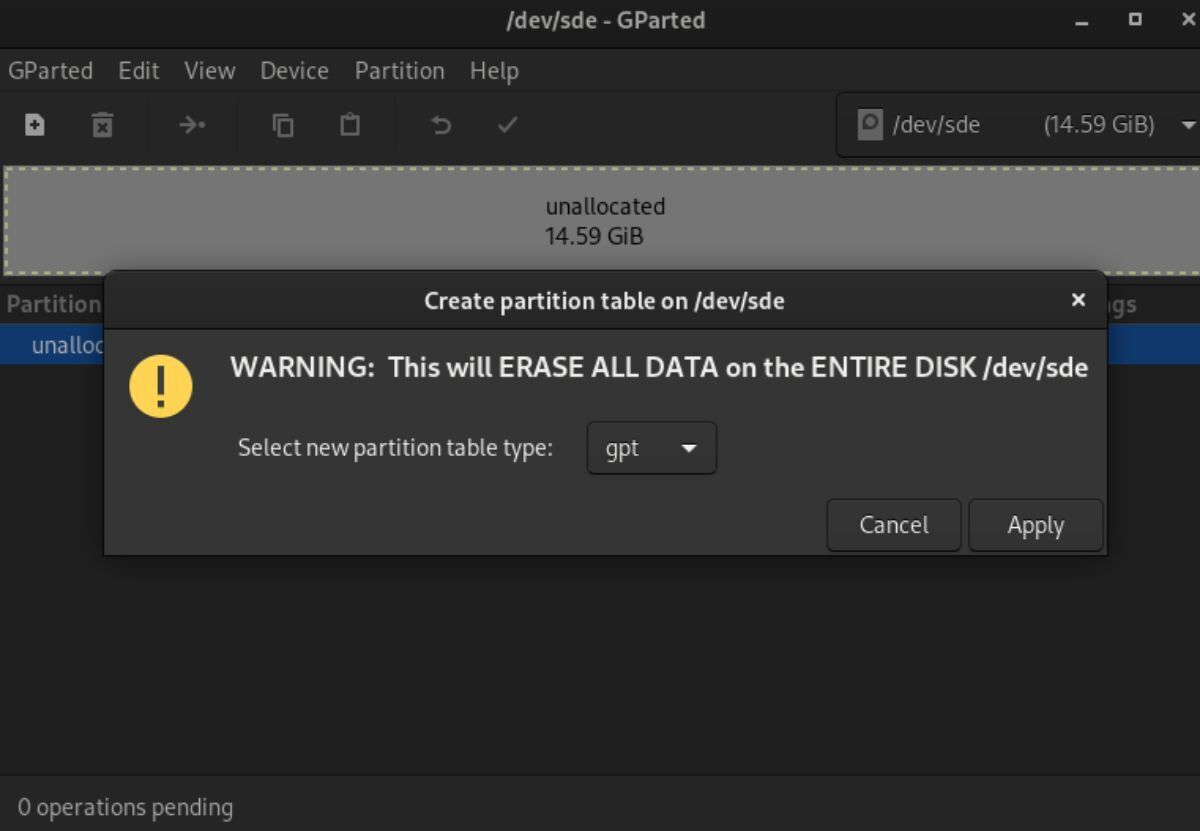
Step 2: After downloading your ISO file, install the gparted app, plug in your USB flash drive, and open the Gparted application.
Step 3: Select your USB flash drive inside of Gparted. Then, click on the “Device” menu. Next, select “Create Partition Table,” select the “Gpt” option, and click “Apply.”
Step 4: Right-click on “unallocated” and select the “New” option in the right-click menu. Create a new Fat32 partition with 1024 MB in size.
Be sure to label it “BOOT” in all caps.
Step 5: After creating the Fat32 partition, right-click on the unallocated space, select the “New” option and create a new NTFS partition with the remaining space left over. Be sure to label this partition “INSTALL.”
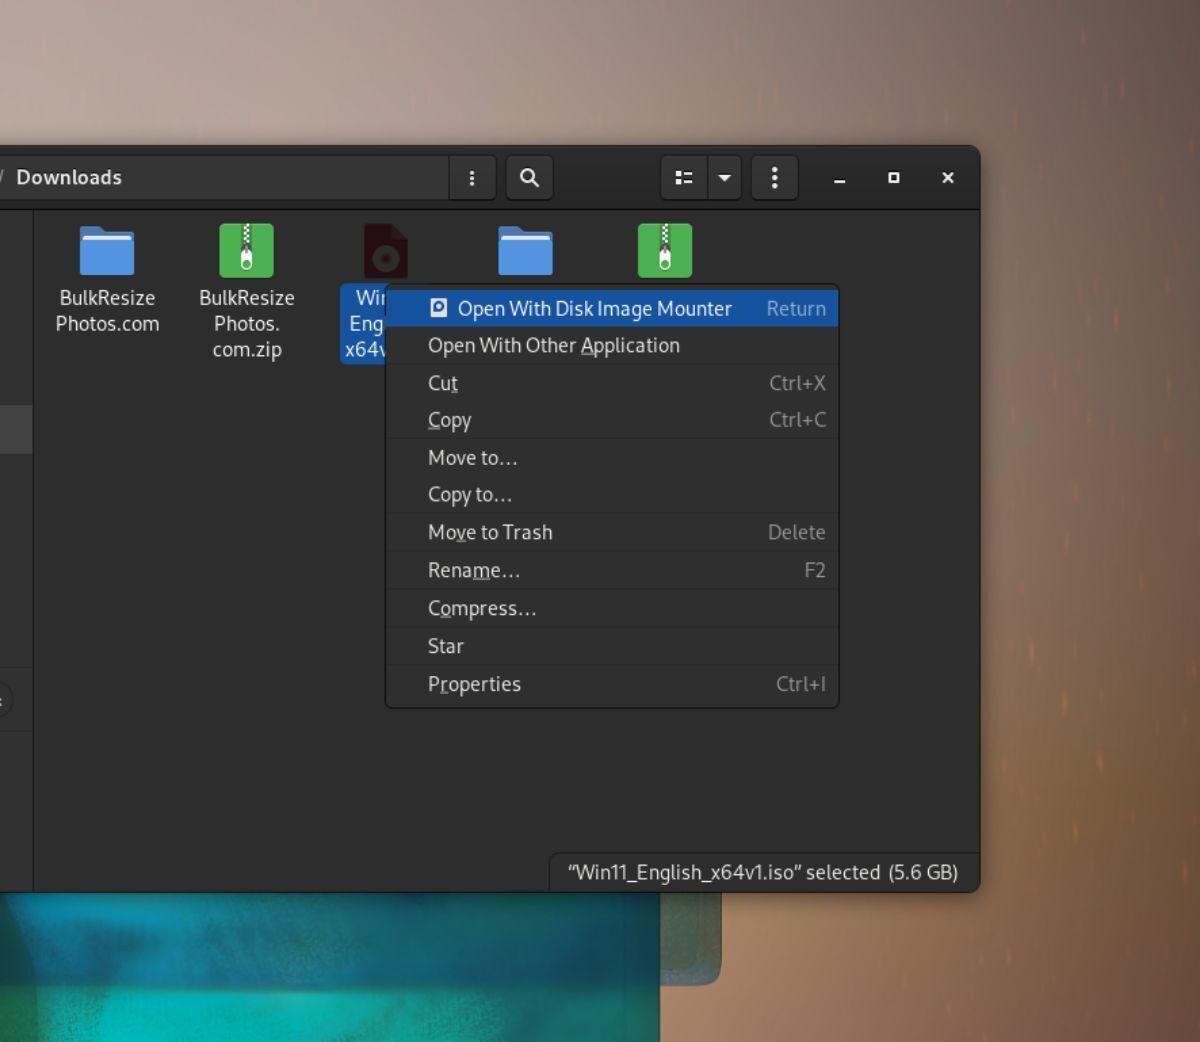
Step 6: Open the Linux file manager, select downloads, and right-click on the Windows 11 ISO file. Select “Open with disk image mounter.”
Alternatively, you can mount the ISO with the following commands.
mkdir -p ~/win11iso/
sudo mount -o loop ~/Downloads/Win11_English_x64v1.iso ~/win11iso/
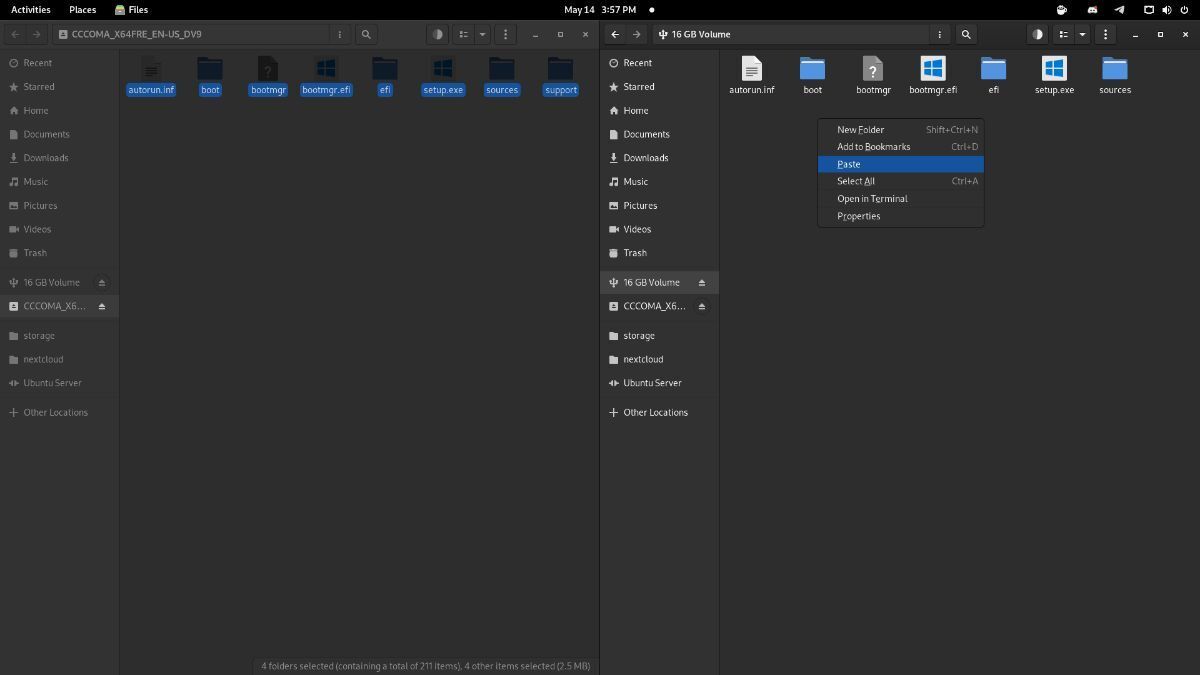
Step 7: Once the image is mounted, copy all files to the flash drive to create your Windows 11 live USB.

It’s no longer necessary to use these complicated techniques. Just use Ventoy then you can copy the ISO to your USB and boot it. Any ISO. You can put a whole bunch of ISO’s on one USB and boot any of them as needed.
I agree, its hilarious how many helpful and detailed steps are in this article and then the author just falls of the planet of logic. Honestly its suspect…
This is simply no good. The current Windows 11 ISO contains a 4.8 gigabyte file, which cannot be placed on a fat32 partition because of the file size limit.
Step 7 is ambiguous. Once you’re done creating the BOOT and INSTALL partitions and mounted the ISO image in loop back mode:
WHICH FILES GO TO WHICH PARTITION ???
Right click the iso and then choose open with disk image mounter. That worked for me.