How to install Linux Mint 21.1
Linux Mint 21.1 is out, and with it comes a brand new version of the Cinnamon desktop, updated drivers, and much more. This guide will show you how you can get Linux Mint 21.1 working on your PC.
How to download Linux Mint 21.1
Like every release of Linux Mint, version 21.1 is available for download on the Linux Mint website. To download it, head over to LinuxMint.com. Once there, you’ll see the Vera announcement message on the page.
Below the announcement, you’ll see the download button. Select the download button on the download page for Linux Mint 21.1. Then, look through the different editions of Linux Mint 21.1, and choose the one that works best for you (we suggest Cinnamon).
Once you’ve decided on what edition of Linux Mint to download, find the “Download” button, and select it with the mouse. When you select this button, you’ll be taken to another page. Scroll down and locate “Download mirrors”.
In the “Download mirrors” area, download your release of Linux Mint 21.1. Be sure to select a link geographically close to you, otherwise, your browser will take a long time to download the ISO file.
How to create the Linux Mint 21.1 installation USB
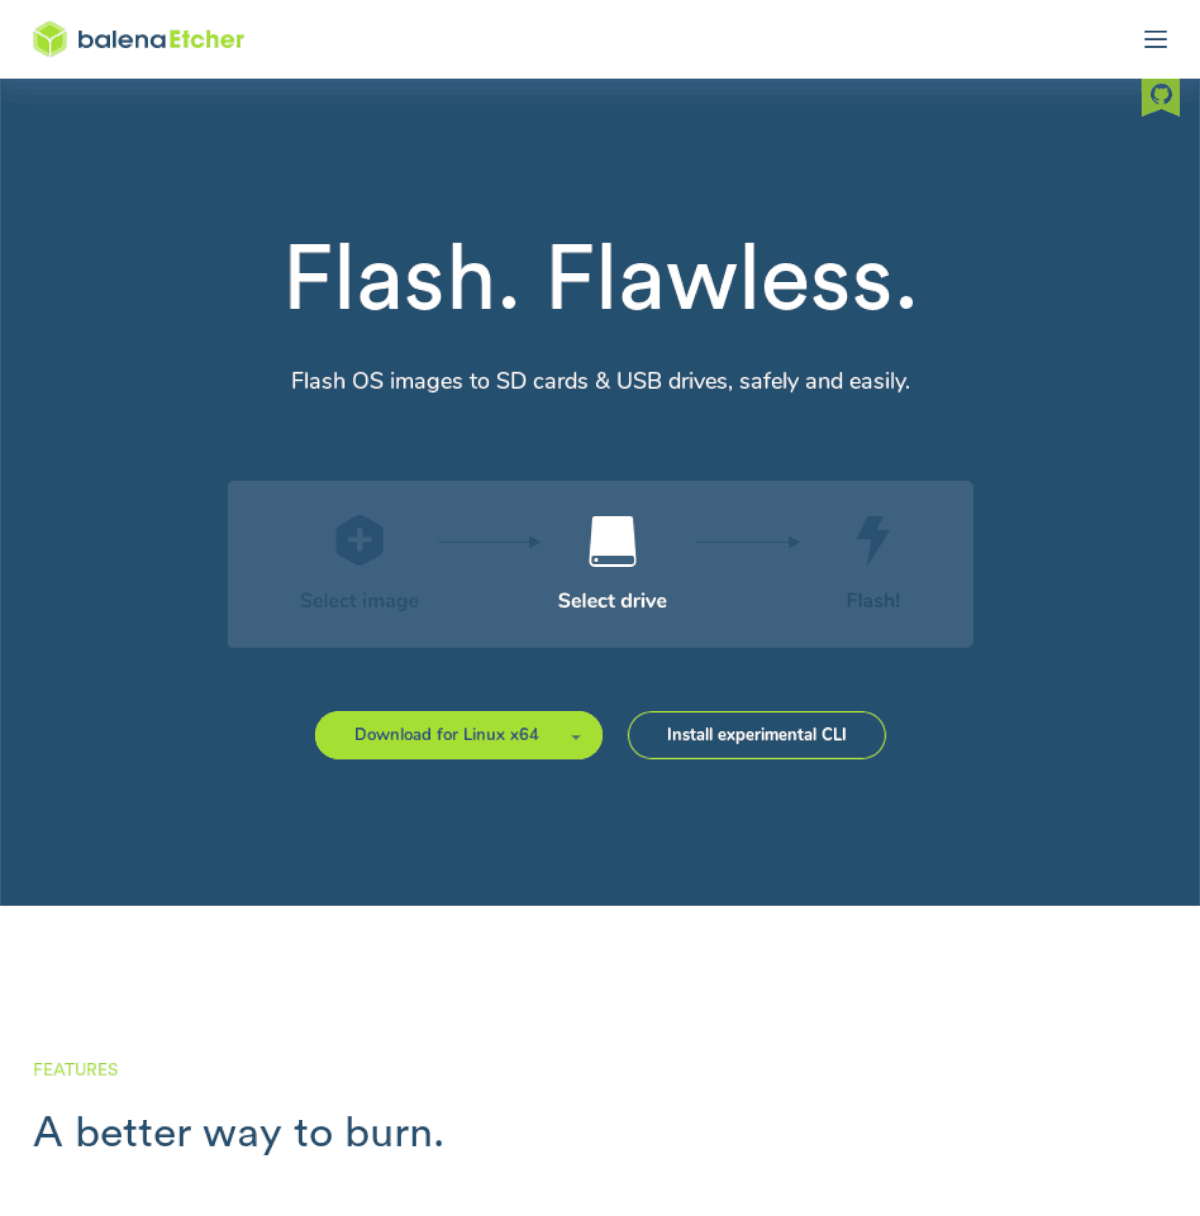
In order to install Linux Mint 21.1 on your computer, you must create an installation USB. To do this, you’ll need to download a USB creation tool. There are many USB creation tools for Linux. This guide will focus on Etcher, as it is cross-platform.
Download Etcher by heading over to the Etcher download website. After you’ve downloaded the app, launch it on your computer. Once the Etcher app is open, follow the step-by-step instructions below to create a Linux Mint 21.1 installation USB.
Note: if Etcher will not launch on Linux, try the following commands.
cd ~/Downloads/

./balenaEtcher-*.AppImage --no-sandbox
- With the Etcher app open, find the “Flash from file” button, and click on it with the mouse. Then, browse for the Linux Mint 21.1 ISO file downloaded previously.
- After adding the Linux Mint 21.1 ISO file to Etcher, insert a USB flash drive, then find the “Select target” button, and click on it. Select your USB flash drive in the pop-up menu.
- Find the “Flash!” button, and select it with the mouse. When you click the “Flash!” button, the USB creation process will begin. It will take some time to complete, so be patient.
When Etcher is done creating your Linux Mint installation USB, reboot your computer and log into your PC’s BIOS. Then, configure it to boot from the USB so that you can access the Linux Mint installer.
How to install Linux Mint 21.1
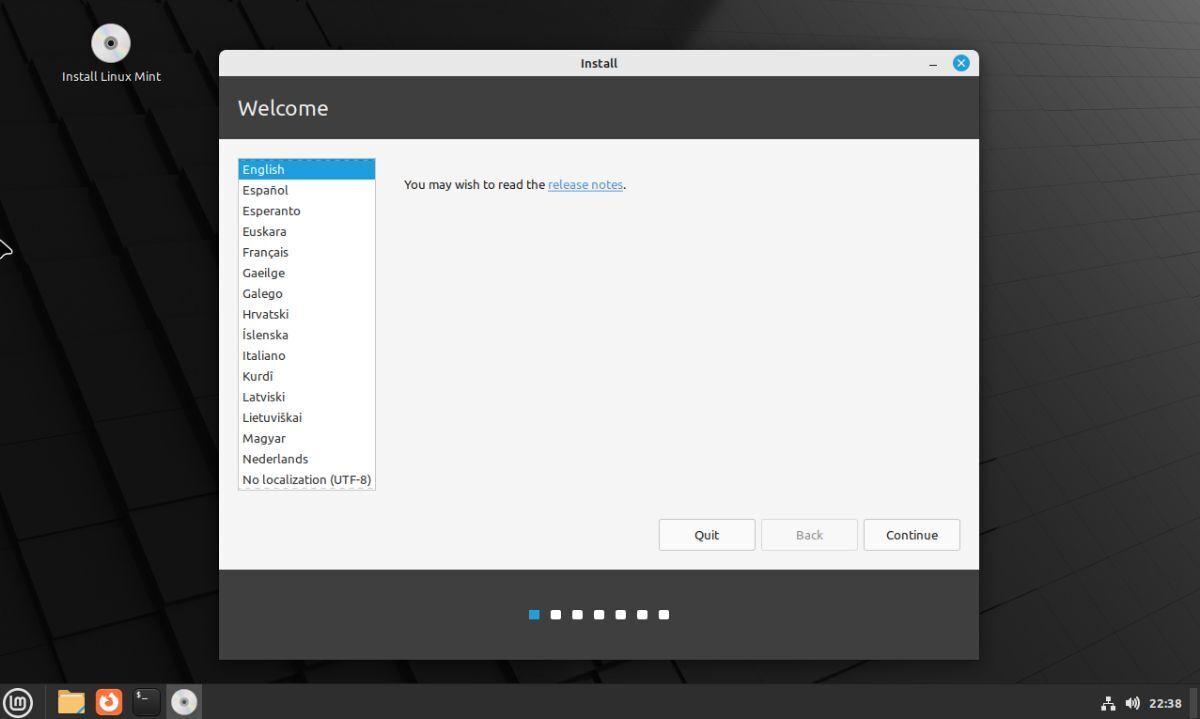
When the Linux Mint 21.1 installer opens, you will see a welcome message. From here, click on the “Continue” button to move to the next page in the installer. Alternatively, click on “Release notes” to read the Linux Mint release notes.
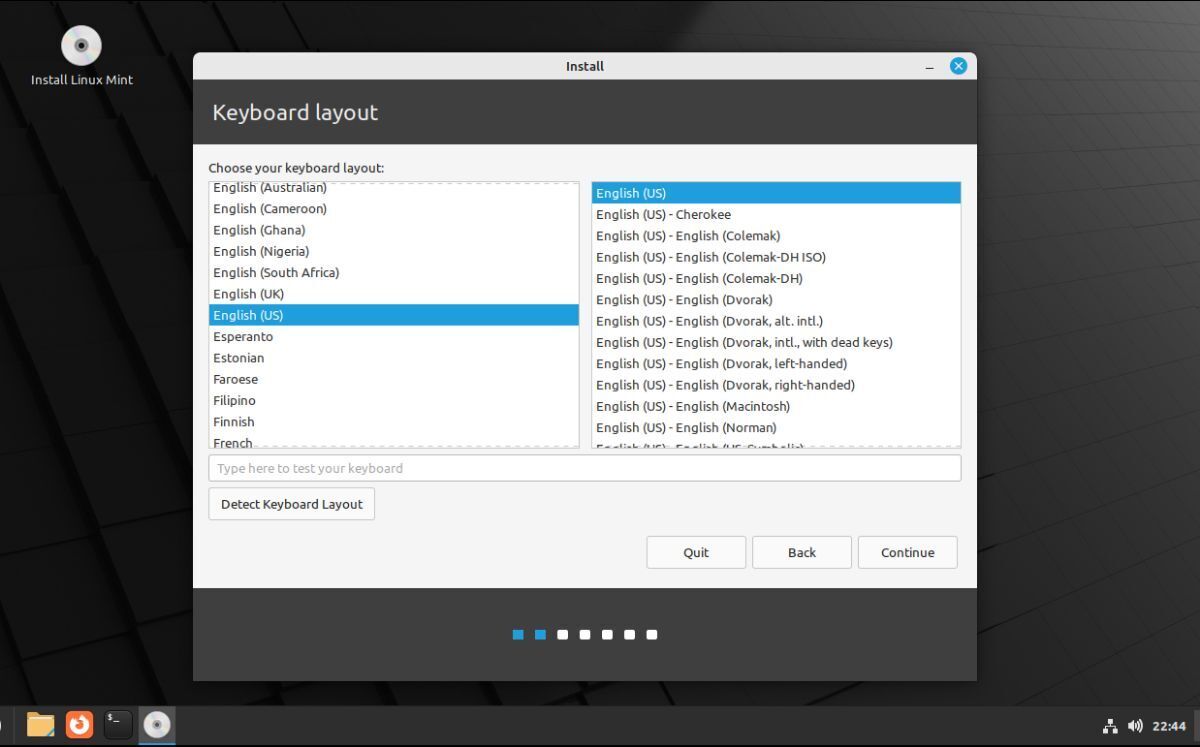
After the “Welcome” message, they will ask you to choose a keyboard layout. Mint should automatically detect it, however, if it doesn’t, you can look through the layout list and choose your preferred keyboard layout.
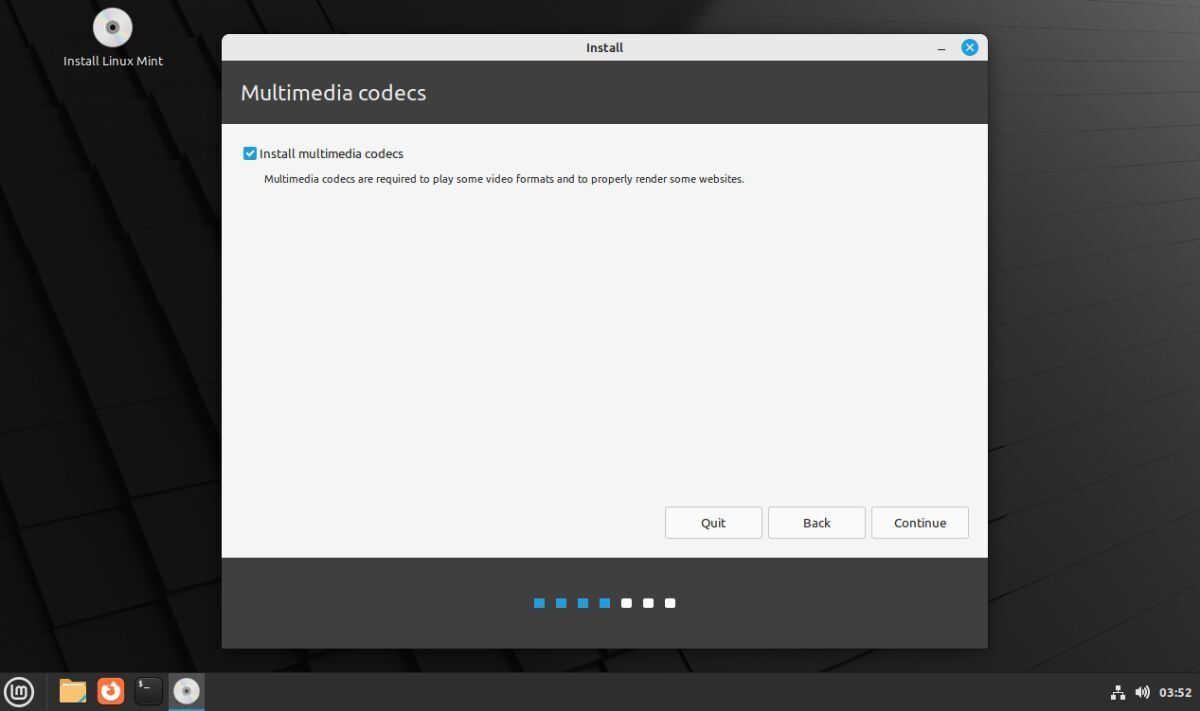
You’ll now need to choose multimedia codecs if you require them for videos and music files. Check the box next to “Install multimedia codecs” if you wish to enable it. Otherwise, do not check it. When done, click the “Continue” button to move to the next page.
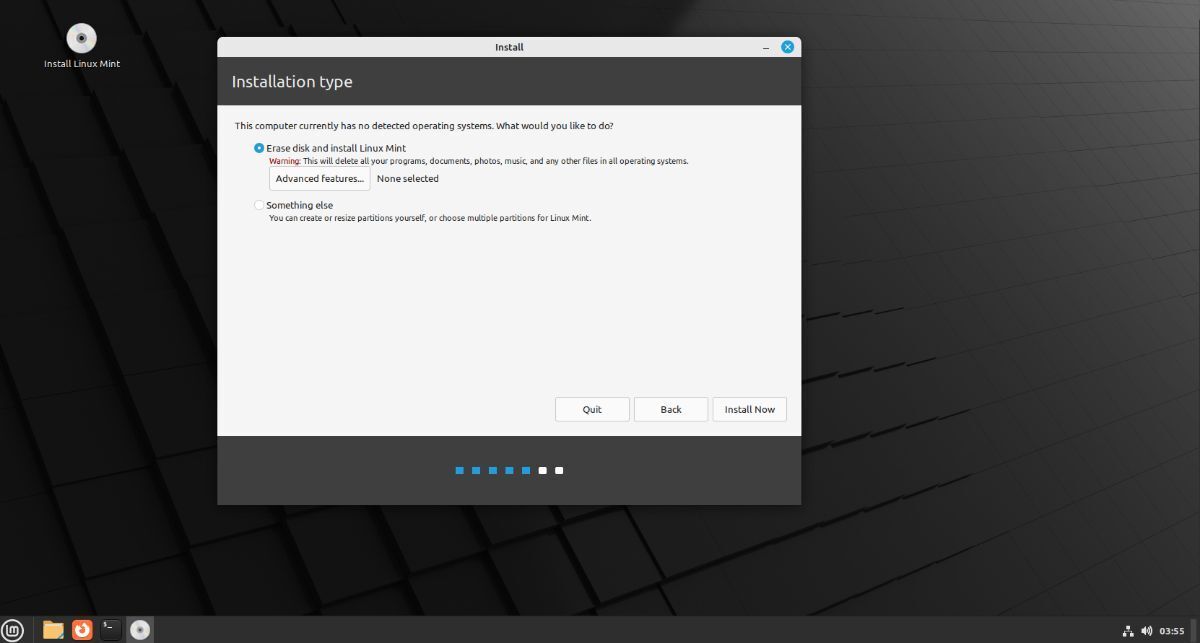
After setting up multimedia codecs, you’ll see the “Installation type” page. By default, the option selected is “Erase disk and install Linux Mint.” This is a good option, especially for those who aren’t experienced with partitioning. If you are an expert, however, select “Something else”. When done, click the “Install Now” button.
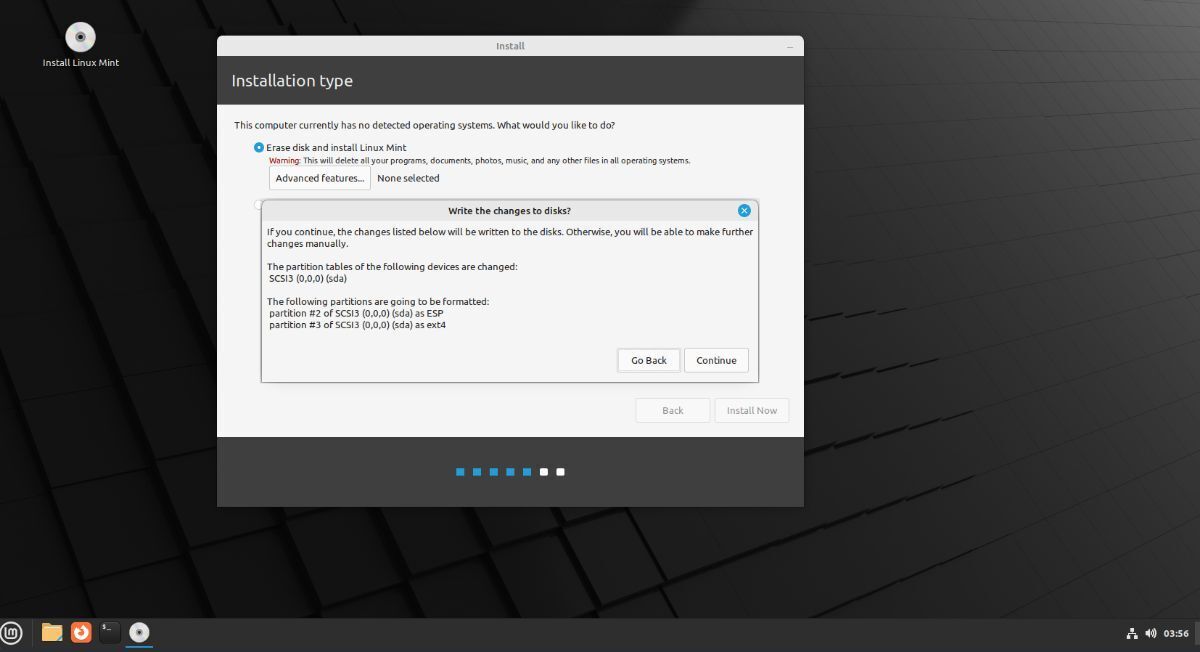
When you select the “Install Now” button, a pop-up window will appear. This pop-up window will ask you if you wish to write changes to the disk. Click the “Continue” button to move to the next page.
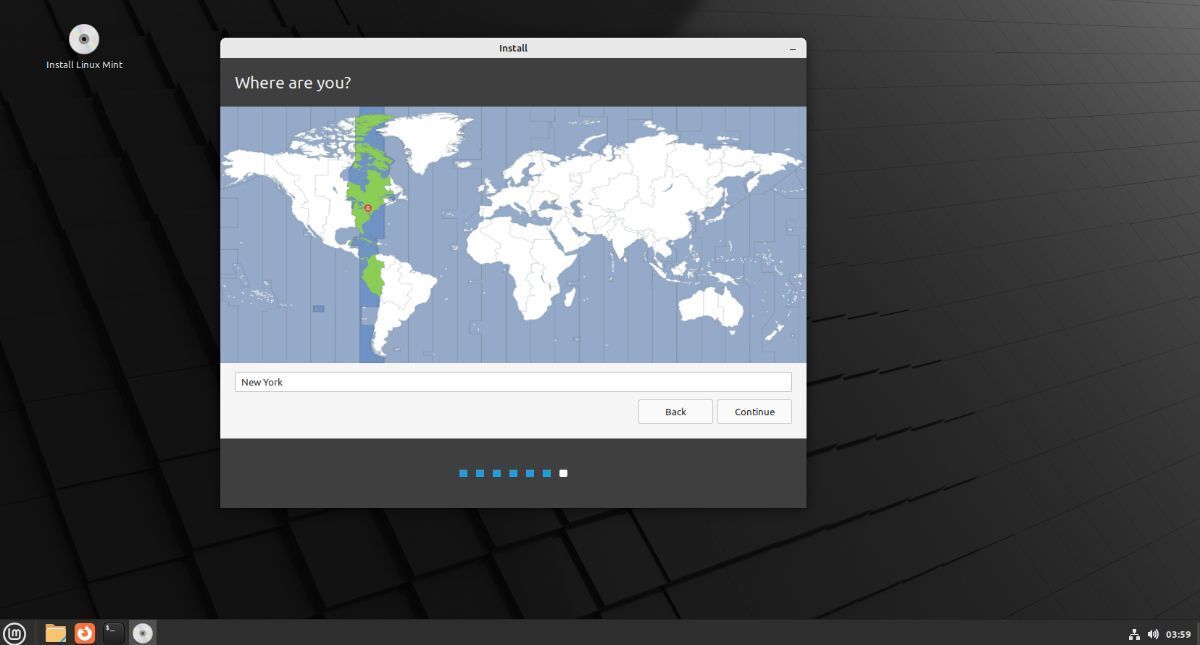
You must now choose your time zone. Using the world map in the Linux Mint installer, click where you live. When you select your location, the Linux Mint installer will configure your new installation’s time zone. When done, click the “Continue” button.
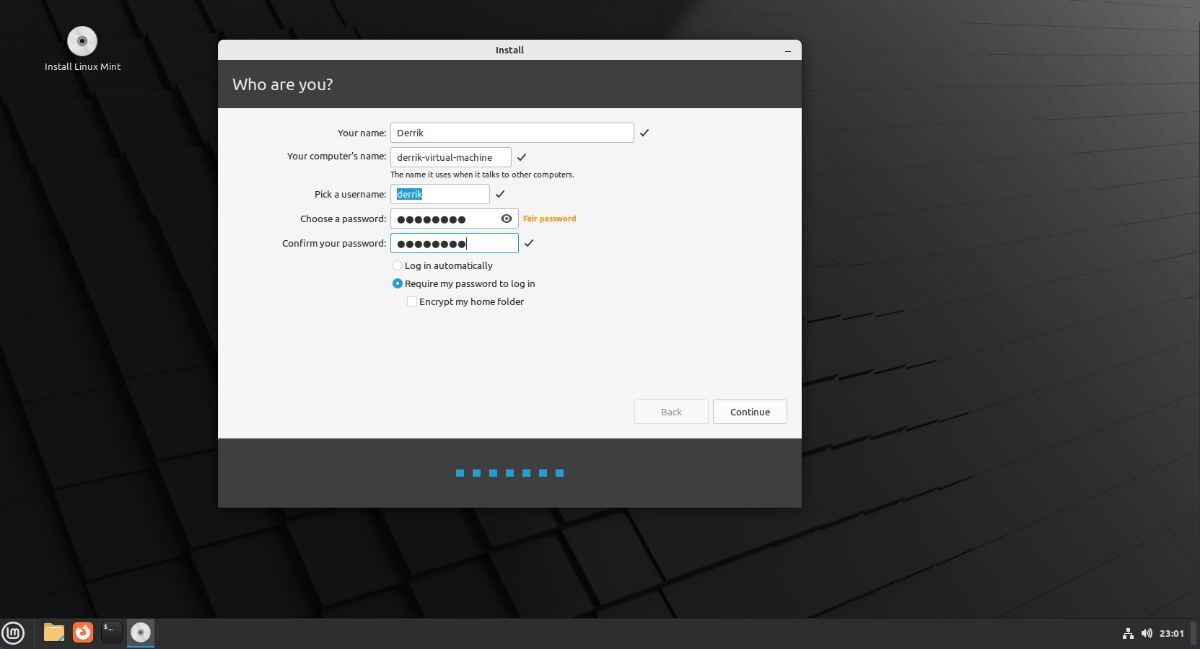
After setting up your timezone, you’ll need to configure your user account. In the “Your name” part, enter your name. Enter your computer name in the “Your computer’s name” section. Then, enter your username, and password in the last boxes. When done, click the “Continue” button.
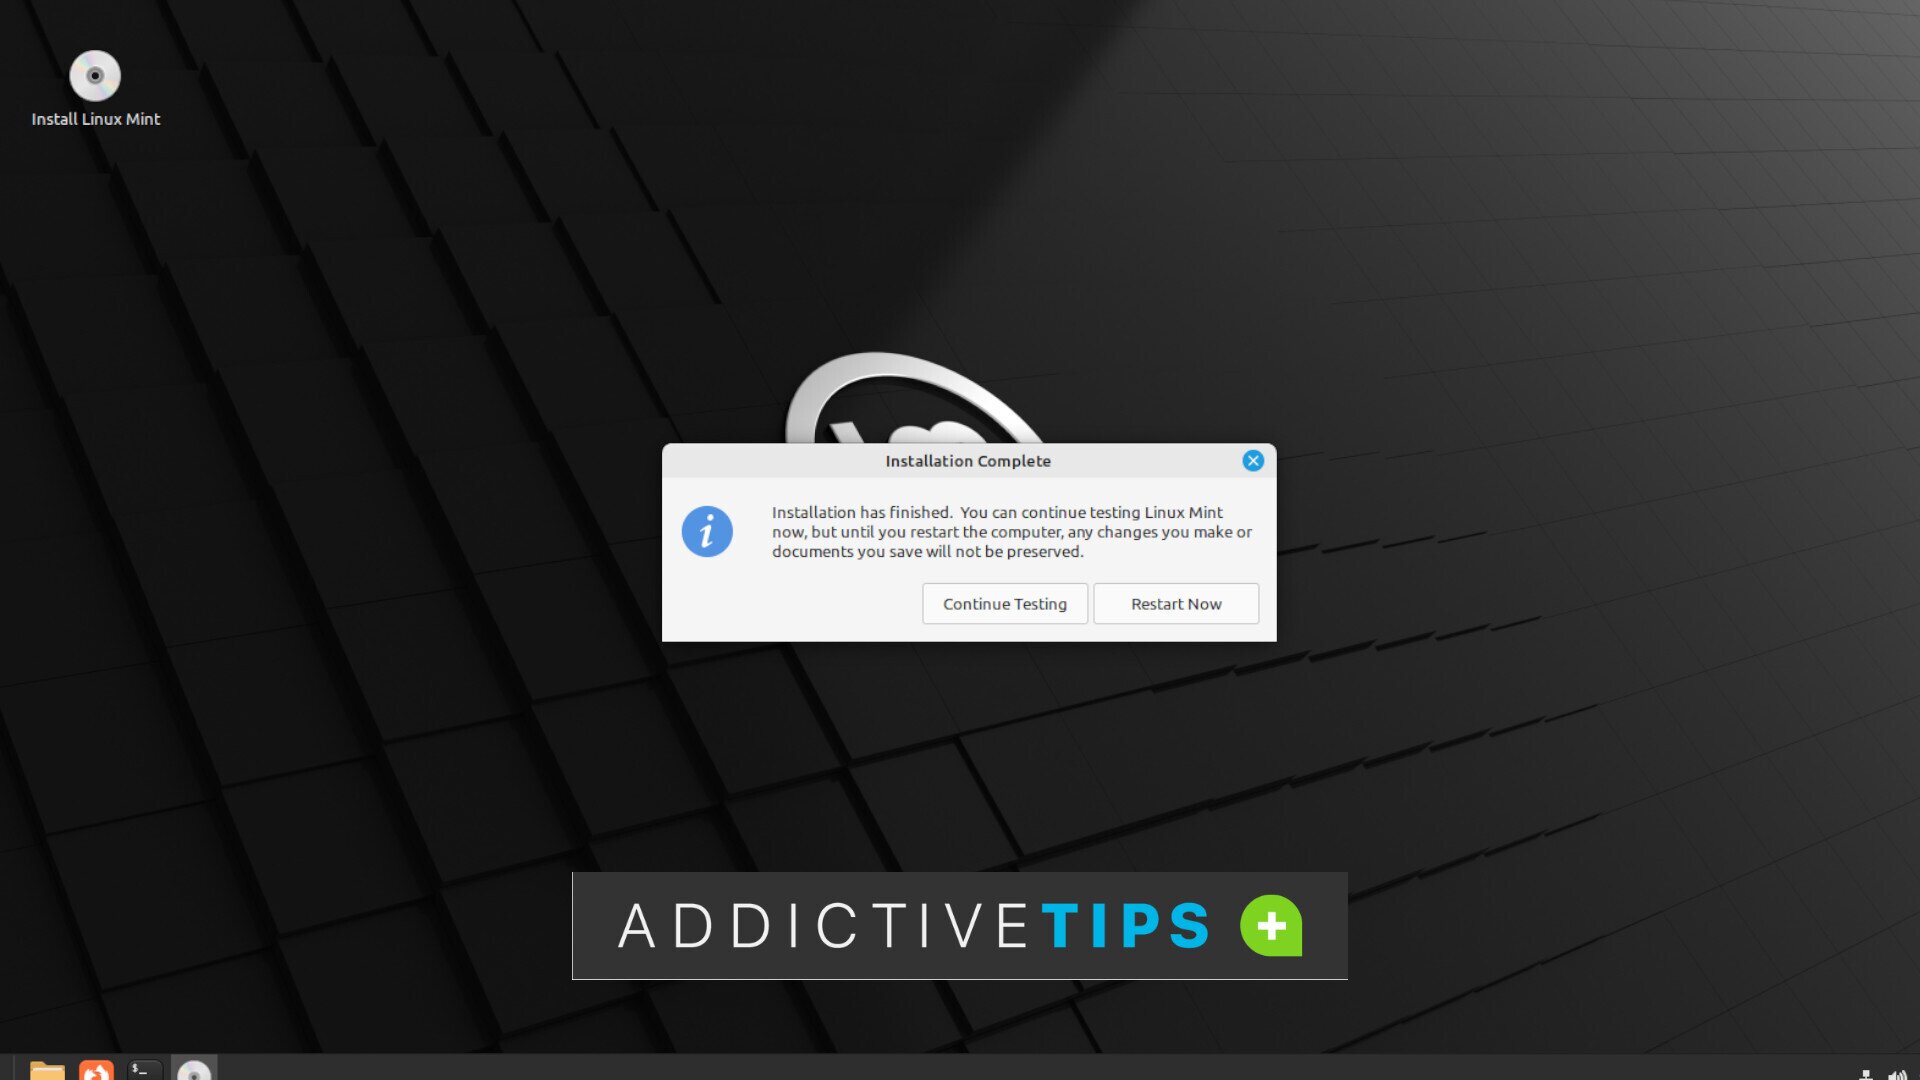
With your username configured, Linux Mint 21.1 will finish installing. This process will take a couple of minutes. When it finishes, reboot to use your new installation of Linux Mint 21.1!
