Run a Minecraft server in Docker on Linux
Did you know that you can deploy a Minecraft server in a Docker container on Linux? It’s true! Setting up a Minecraft server in a container isn’t as hard as it sounds. Here’s how to get it done on your system.
How to Install Docker on Your Linux Server
If you wish to run a Minecraft server on Linux via a Docker container, install the Docker software on your Linux server. To start, open up a terminal window. Once the terminal app is open, follow the installation instructions below.
Ubuntu/Debian
To get Docker working on Ubuntu or Debian, start by using the apt install command to install the packages required for enabling the Docker repository on your system.
sudo apt install apt-transport-https ca-certificates curl software-properties-common
Once you’ve installed the required packages, use the curl command to download the Docker GPG key. You’ll need this key to interact with the Docker software repository.
curl -fsSL https://download.docker.com/linux/ubuntu/gpg | sudo apt-key add -
After adding the GPG key to your Ubuntu or Debian system, use the add-apt-repository command to enable the Docker repository on your system.
sudo add-apt-repository "deb [arch=amd64] https://download.docker.com/linux/ubuntu $(lsb_release -cs) stable"
Now, update your system using the apt update command, and install the latest version of Docker CE on your system with apt install.
sudo apt update
sudo apt install docker-ce
Arch Linux
On Arch Linux, easily get the Docker system working on your computer or server with the pacman -S command.
sudo pacman -S docker
Once you’ve installed Docker, start it with Systemd.
sudo systemctl enable --now docker
Fedora
If you’re on a Fedora Linux workstation or server, first install the “dnf-plugins-core” on your system with the dnf install command.
sudo dnf install dnf-plugins-core
After installing this package, use the config-manager command to add the Docker repo to your Fedora system.
sudo dnf config-manager --add-repo https://download.docker.com/linux/fedora/docker-ce.repo
Finally, install Docker on your system and enable it using Systemd.
sudo dnf install docker-ce docker-ce-cli containerd.io
sudo systemctl enable --now docker
OpenSUSE
On OpenSUSE Linux, install Docker via the OpenSUSE virtualization repo. To add this repo, use the addrepo command.
sudo zypper addrepo https://download.opensuse.org/repositories/Virtualization:containers/openSUSE_Leap_15.5/Virtualization:containers.repo
Or
sudo zypper addrepo https://download.opensuse.org/repositories/Virtualization:containers/openSUSE_Leap_15.6/Virtualization:containers.repo
Or
sudo zypper addrepo https://download.opensuse.org/repositories/Virtualization/openSUSE_Tumbleweed/Virtualization.repo
Then, install Docker with zypper install and enable it with Systemd.
sudo zypper install docker
sudo systemctl enable --now docker
RHEL/Rocky/Alma
If you’re using RHEL, Rocky, or Alma, follow the Fedora Linux instructions as they are the same.
How to Create a Minecraft Docker Compose File
Setting up a Minecraft server in Docker is best done with a “compose” file. Why? With a Docker compose file, you can specify everything ahead of time, including server memory, Minecraft server version, etc.
To start, open up a terminal. Once the terminal window is open, use the mkdir command to create a “minecraft” folder. This folder will hold your Docker compose file, as well as any other server documentation you may need.
mkdir -p ~/minecraft
After creating the folder, enter it with the cd command, and use the touch command to create “docker-compose.yml”.
touch ~/minecraft/docker-compose.yml
With the compose file created, you’ll need to add the default values to it. Open up the file in Nano, and paste the code in it.
version: '3'
services:
  minecraft-server:
    image: itzg/minecraft-server
    environment:
      - EULA=TRUE
      - VERSION=1.20.4
    ports:
      - "25565:25565
      - "25575:25575"
    mem_limit: 6g
Customizing the Compose File
By default, the Minecraft Server compose file is configured to version 1.20.4. However, if you need to upgrade, just edit the “VERSION” section of the Docker compose file. On the other hand, if you want to downgrade your Minecraft server to a specific version, specify it in the “VERSION” section.
In addition to the server version, you can also customize where the server data is stored. For example, if you wish to keep all your Minecraft data in /var/mc-data/, modify the compose file to look like:
version: '3'
services:
  minecraft-server:
    image: itzg/minecraft-server
    environment:
      - EULA=TRUE
      - VERSION=1.20.4
    ports:
      - "25565:25565"
      - "25575:25575"
    mem_limit: 6g
    volumes:
      - /var/mc-data/:/data
However, ensure you have the /var/mc-data/ folder already created on your host server. You can create this folder with:
sudo mkdir -p /var/mc-data/
How to Deploy Your Minecraft Server
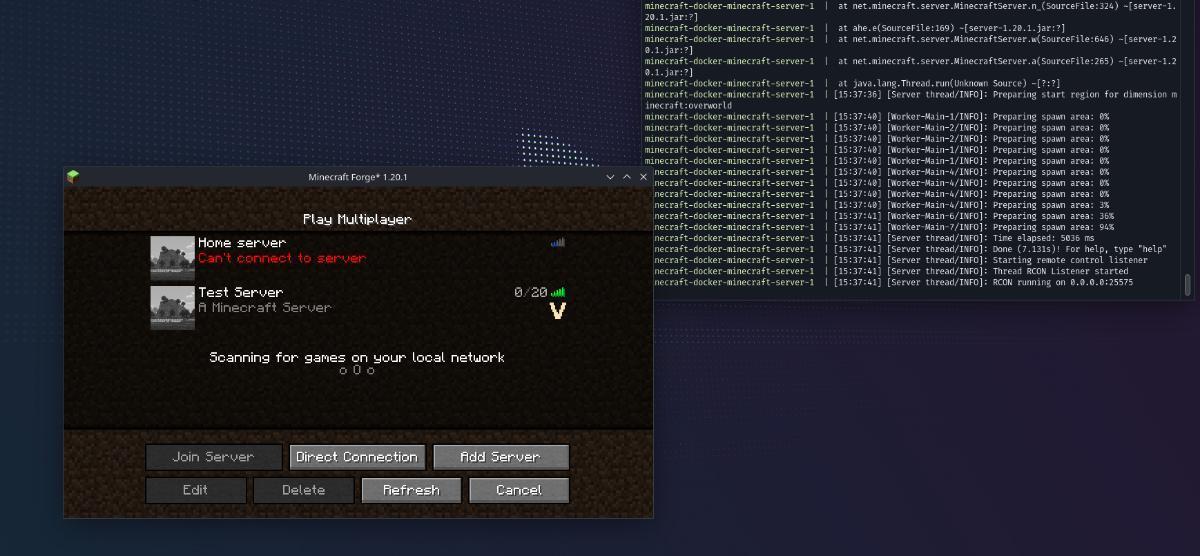
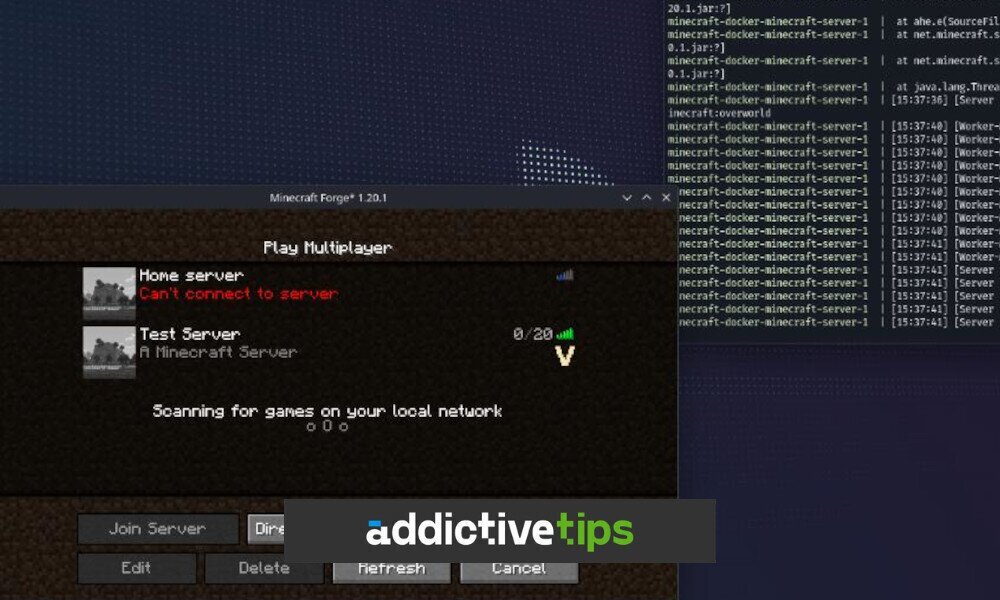
Deploying your Minecraft server with Docker is easy once the compose file is fully configured. To deploy, ensure you are in the “~/minecraft” folder where the “docker-compose.yml” file is. After that, run the sudo docker compose up -d command. If you find yourself blocked on school or work networks, our Minecraft unblocked at school guide will help you stay connected to your server no matter where you play.
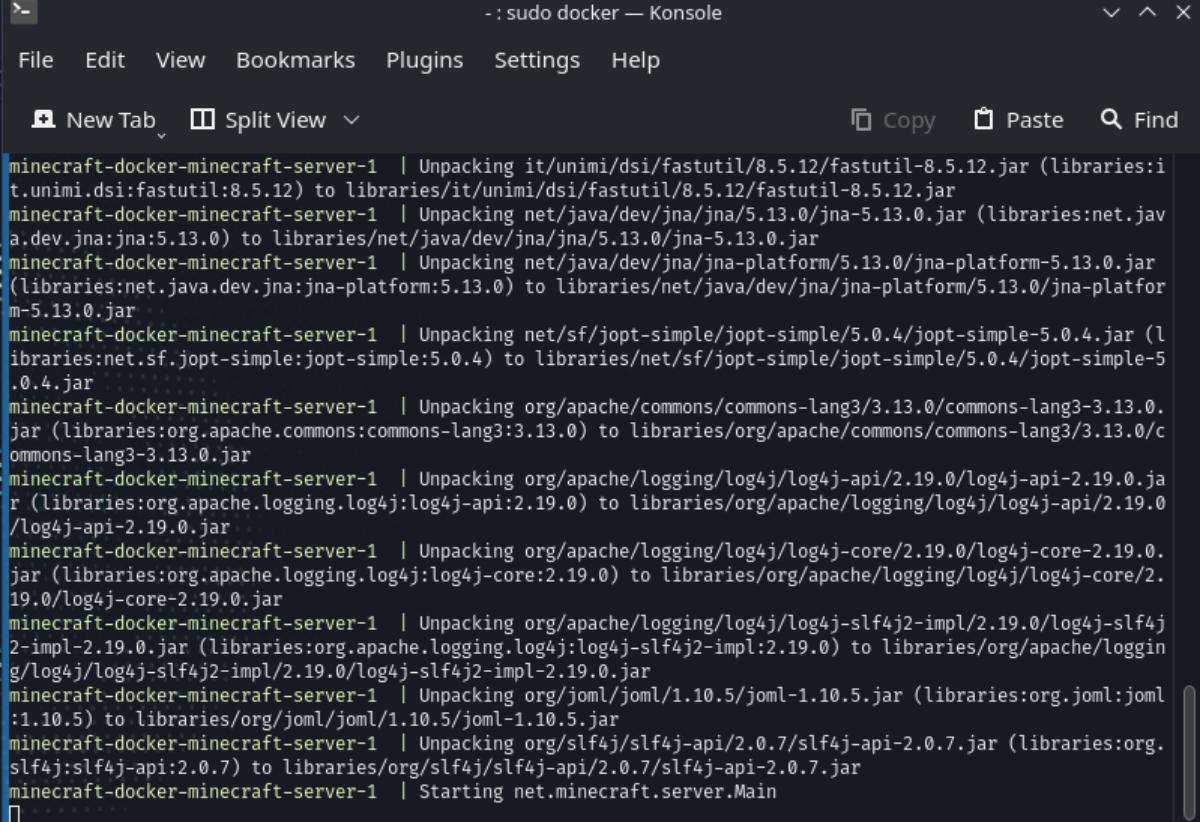
sudo docker compose up -d
When you run the docker compose up command, Docker will read your compose file, pull the Minecraft image, pull the server version, and deploy everything. It’ll also ensure your server data is persistent on /var/mc-data/ the host machine.