How To Use Virt-Manager On Linux
Looking to virtualize on Linux, but want a tool that uses the native Linux kernel features instead of something proprietary like VMware? Virtual Machine Manager has you covered. It’s a frontend to libvirtd, and allows users to gain ultimate control of Linux KVM. In this guide, we’ll go over how to install Virt-Manager on Linux and get it working. We’ll also go over the correct way to enable such things like libvirt, and more!
Installation
Virt-Manager is one of the most popular front-ends for the kernel-level virtualization features present in Linux. Getting it on most Linux distributions isn’t difficult at all.
Ubuntu
sudo apt install virt-manager
Debian
sudo apt-get install virt-manager
Arch Linux
sudo pacman -S virt-manager dnsmasq bridge-utils openbsd-netcat
Fedora
sudo dnf install virt-manager qemu-kvm qemu-img libvirt-daemon libvirt-daemon-driver*
OpenSUSE
sudo zypper install virt-manager
Other Linuxes
The Virt-Manager tool is a frontend for KVM and heavily relies on libvirtd. As a result, users looking to get this working need to look into the dependencies that the virt-manager relies on. In most cases, this is libvirtd, dnsmasq, and other packages like it. The best bet is to search dependencies related to the virt-manager package, and install all of them. In addition, look into your Linux distribution’s software guides and Wiki. There’s a good chance that there may be a guide on how to set it up.
Systemd Commands
Those using Ubuntu need not worry about this process. Even though versions of Ubuntu (since 16.04 LTS) have used systemd init, there is no need to enable these sorts of processes. This is because Ubuntu automatically enables everything right away. Later versions of Debian using systemd may also not need configuration.
Note: though Ubuntu doesn’t require manual systemd service enabling, that doesn’t mean it’ll work right after installation. Some services are enabled, but not immediately started. For good measure, reboot your PC before attempting to use the Virt Manager.
Virt Manager has several system init scripts and require them in order to work. Enable them, and start them with the following commands:
sudo systemctl enable libvirtd
sudo systemctl enable virtlogd
sudo systemctl start libvirtd
sudo systemctl start virtlogd
Setup
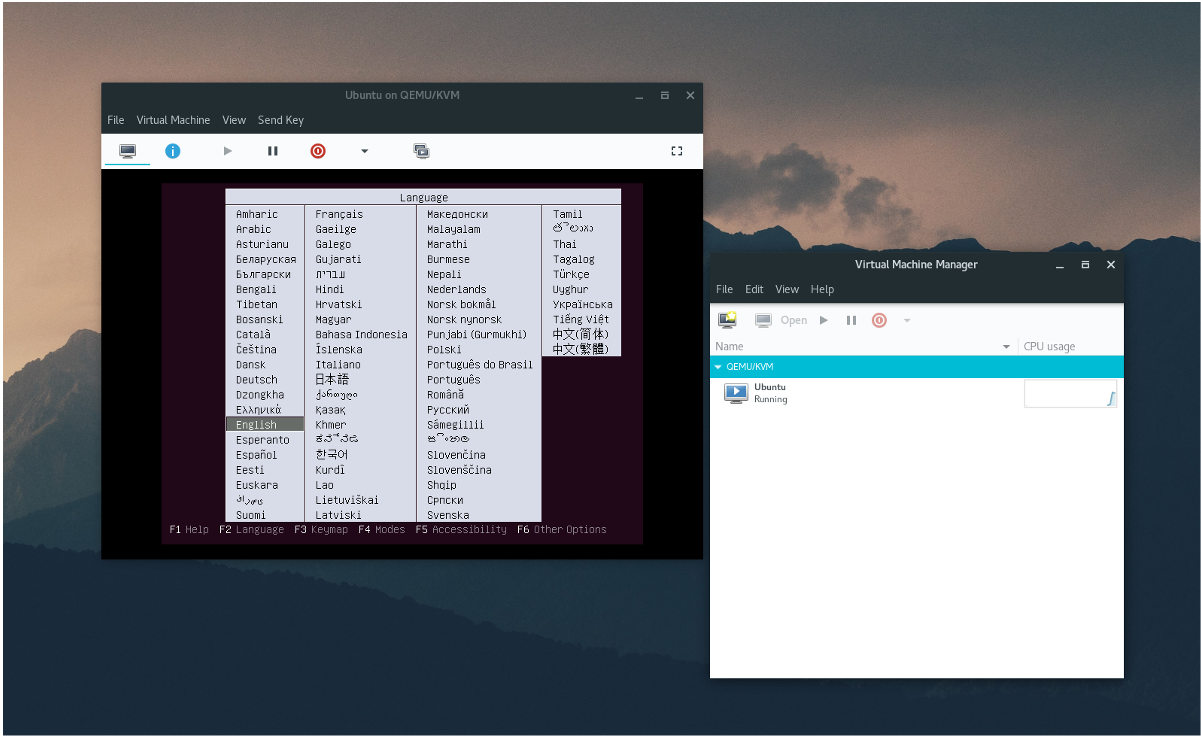
Setting up a virtual machine in Virtual Machine Manager is a little more hands on, unlike other popular tools like Gnome Boxes or Oracle VM Virtualbox. To start off, open the Virt-Manager program and observe what it says. If every systemd service is correctly enabled, the user will see no warnings or errors. If there are errors, read the error, and find out what service needs to be enabled.
Download a disk image ISO of the operating system you wish to virtualize. In this example, we’ll use the Ubuntu beta release. The latest version of the beta can be found at the Ubuntu wiki.
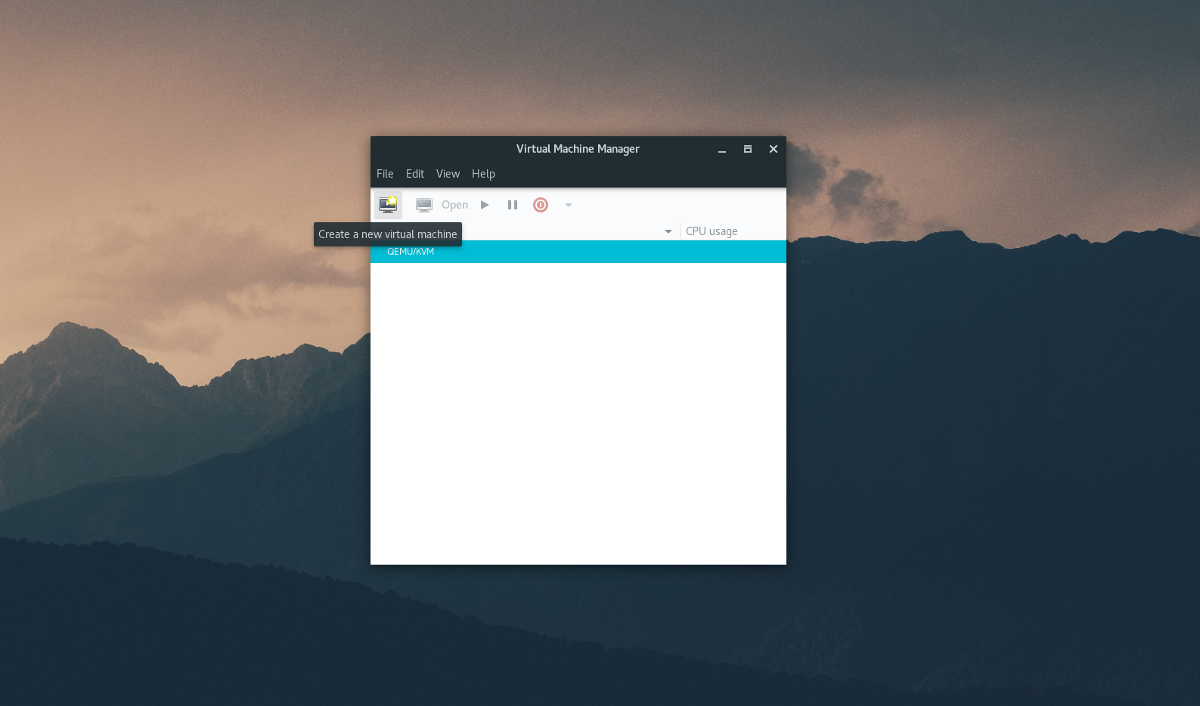
To create a new VM, click “file”, then “New Virtual Machine”. Selecting this option brings up a menu. In this menu, the user has 5 choices for installation mediums. Select “local install media”.
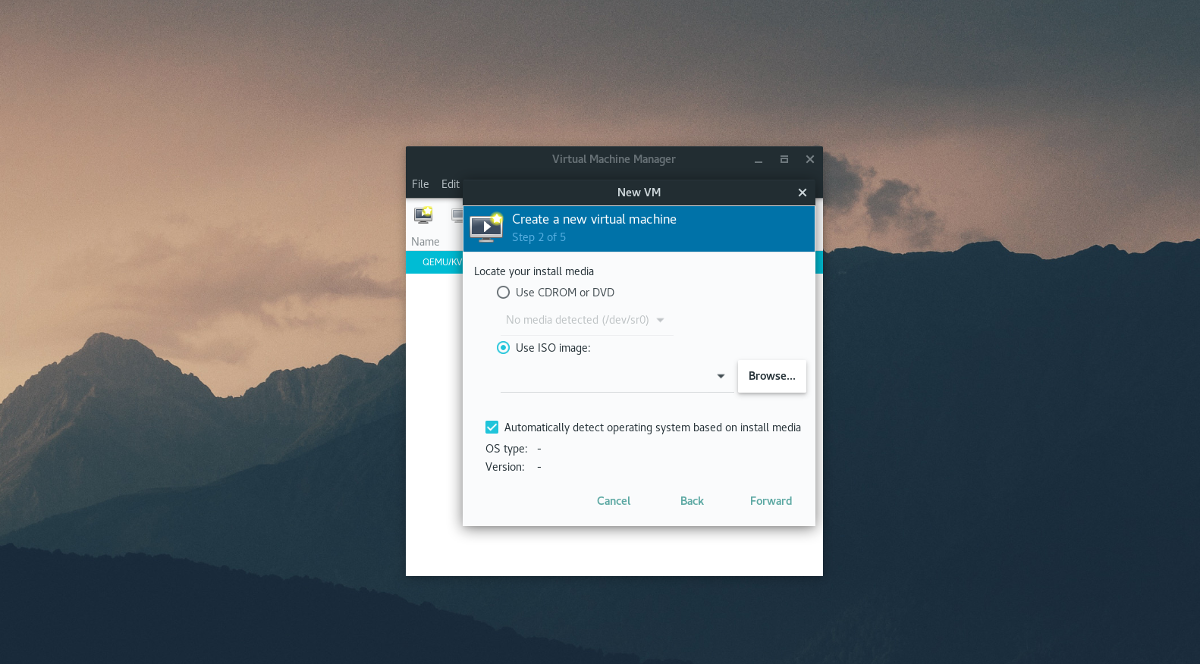
On step 2 of 5, the tool asks to the user to “locate your install media”. Do this by clicking “browse”, then “browse local”. and finding the Ubuntu beta ISO on the file system.
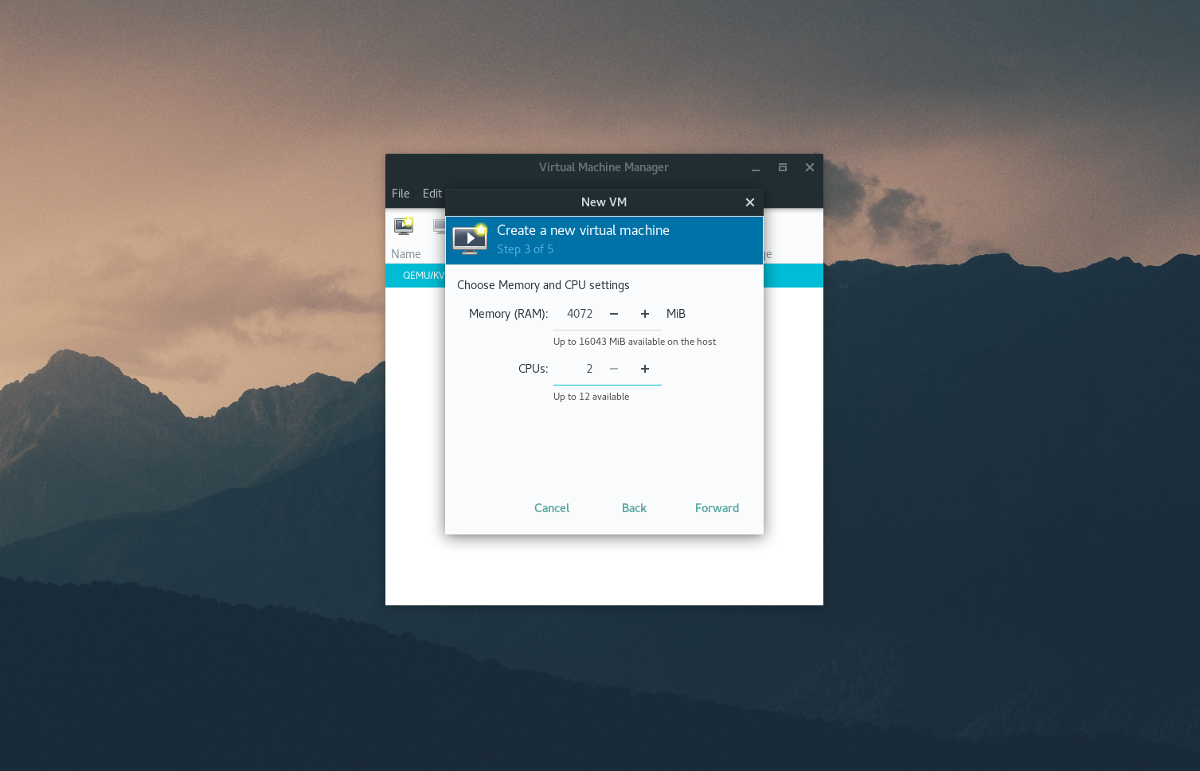
Step 3 involves setting hardware allocation for the VM. Enter the amount of RAM and CPU cores the VM should use (or leave it as default), then click “forward” to move on to the next page.

Using the disk creation tool in step 4, enter the size of the hard drive for the VM. The default is 20.0 GB and should be enough. If not, enter a larger number in gigabytes.
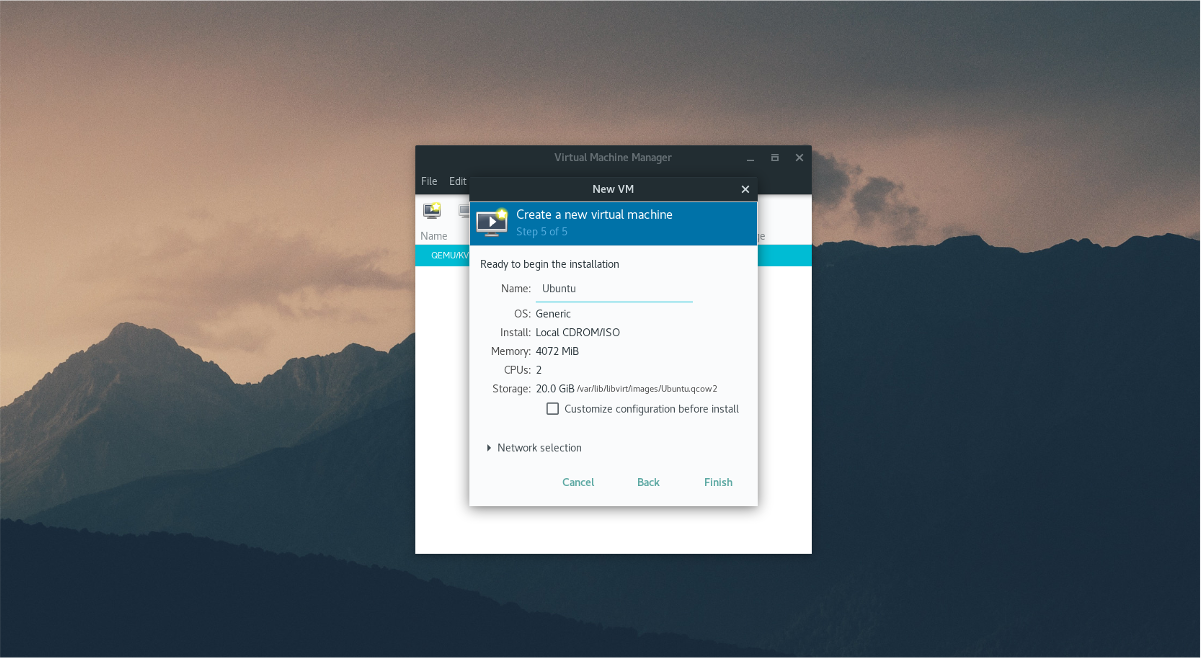
Lastly, enter the name of the virtual machine in “name” on step 5, and click the finish button. The virtual machine is correctly configured, and the operating system is ready for installation.
Usage
Click inside the VM, and follow the installation process of your Linux distribution as normal. Like most operating systems, the install tool will walk you through it. When finished, press left CTRL + left ALT at the same time, then click the red “off” button to shut down the VM.
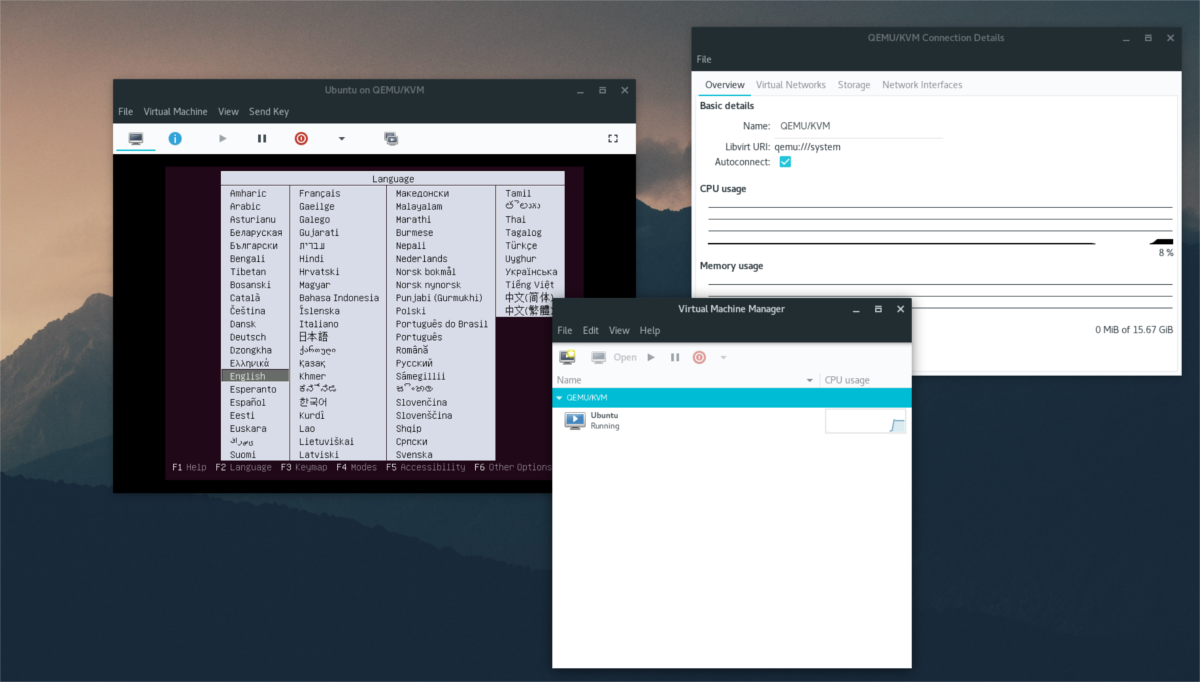
To run the VM at any time after it has been shut off, open the tool and click the play button.
Other Options
When the operating system is running on the virtual hard drive, there is no need for more configuration for the average user. The tool has reasonable default settings, and everything should work right out of the box from network card detection, to USB device recognition.
However, if you’re looking to customize the various options to the virtual machine, click the blue “i” icon. In this area, the Virtual Machine Manager will give the user complete and total control over the operating system.
Select any of the icons to change things. For example, to change CPU cores, click “CPUs”. To change mouse options, select “mouse”, and etc.
Suffice it to say, there are a lot of configuration details that can be configured in this area, such as “Overview”, “Performance”, “Memory”, Boot Options”, “Sound”, “Display” and etc.
Conclusion
There are a lot of different types of virtual machine tools on Linux, and each of them are excellent. That said, the Virtual Machine Manager tool is one of the best. If you’re looking to virtualize on Linux, do yourself a favor and install this app.
