Complete Review: Make A Professional Mosaic Photo/Picture
Do you want to create a mosaic photo to use it as a greeting card, or just to share it among family and friends? Foto-Mosaic-Edda is a free tool for Windows that lets you create a mosaic picture (which is made up of many small pictures) from your own collection of photos. In short, it is a powerful mosaic photo generator that turns any image into a stunning collage of smaller tiles.
Getting Started with This Mosaic Photo Generator
To begin, first create a new Database and add the folders that contain the photos from which you want to create a mosaic picture. The database is essentially the pool of tile images the software will draw from when building your final composition. The more photos you add, the more varied and visually rich your output will be.
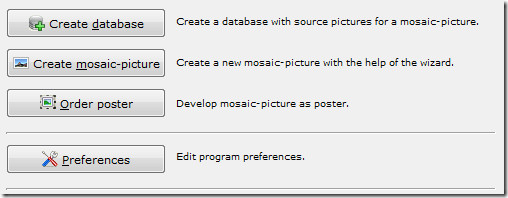
To create a database, click Create Database and give it any name you like. It is a good idea to name it something descriptive so you can easily identify it later, especially if you plan to maintain multiple databases for different photo collections or themes.
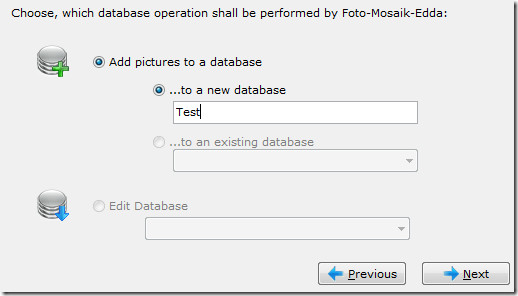
Now choose the directory that contains the photos from which you want to create a mosaic picture and click Start. The tool will scan the selected folder and index every image it finds, preparing them as potential tiles for your output.
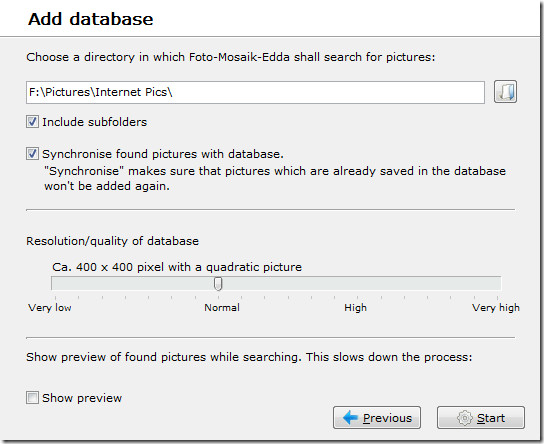
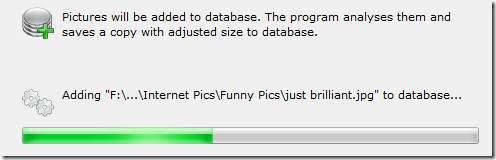
It will begin adding all the photos to the database. Now whenever you create a mosaic picture, it will be made up from all these photos stored in the database. For best results, try to include at least a few hundred photos — the greater the variety of colors and compositions in your tile images, the more accurate and detailed your final mosaic will look.
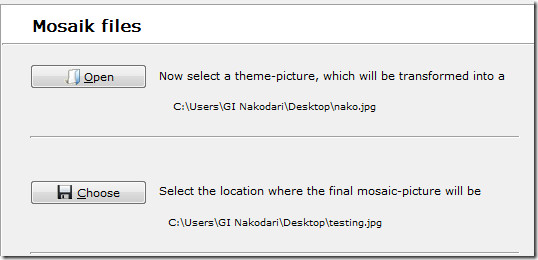
Once all pictures have been added, click Create Mosaic-Picture. In the next step, choose the photo you want to convert into a mosaic and also set the output destination where the finished file will be saved.
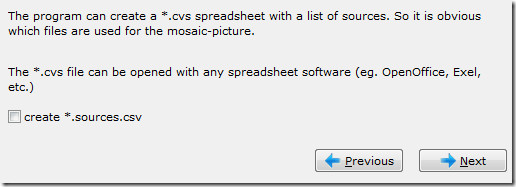
You can also create a spreadsheet export, which lets you track exactly which photos were used as tiles to create the mosaic picture. This is a handy feature if you want to reproduce the same result later or audit which images contributed to the final output.
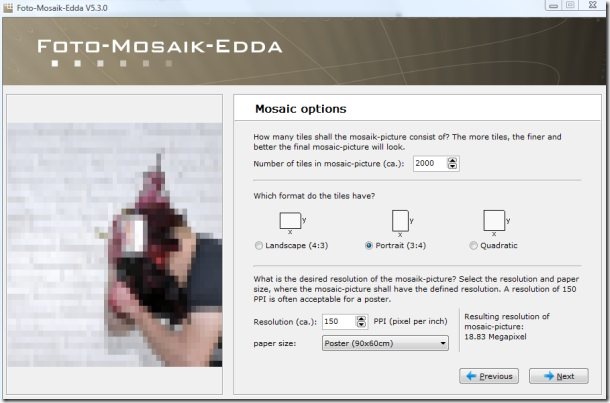
In the next step, select the number of tiles, output formats, and the desired resolution. A higher tile count will produce a more detailed mosaic but will also increase rendering time. Choosing the right balance between tile count and resolution is key to getting a sharp, print-ready result.
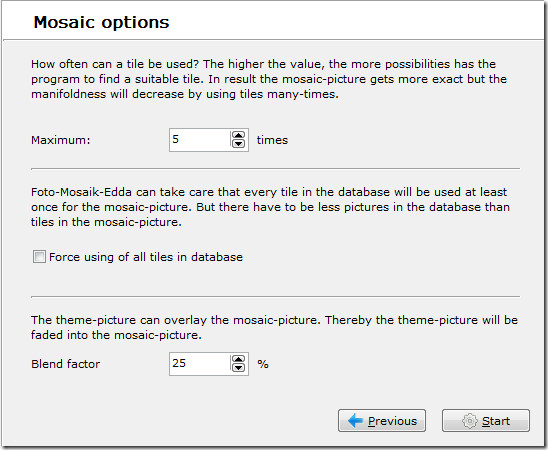
Now in the final step there are a handful of useful options such as the maximum number of times the tiles will be repeated, an option to force using all tiles in the database, and the blend factor. The blend factor controls how strongly the original photo’s colors are overlaid on the tile images — a higher blend value makes the subject more recognizable, while a lower value gives the tiles more visual prominence.
When all options have been set, click Start to begin the process of making the mosaic picture.
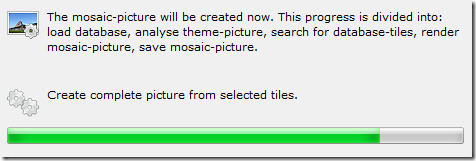
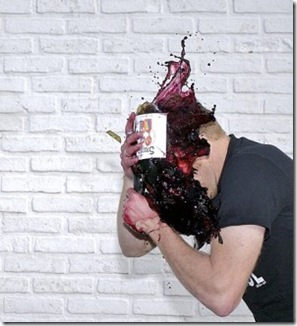
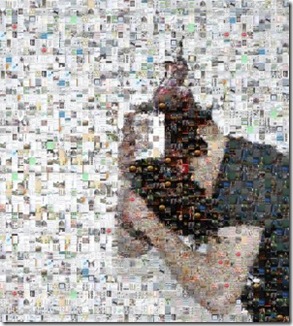
The process will take some time depending on the number of photos in the database, the rendering of all photos, and other factors such as your system’s processing power. Below I have composed both the original and mosaic pictures side by side, so you can see the effects yourself.
Tips for Getting the Best Results from a Mosaic Photo Generator
Using a mosaic photo generator effectively comes down to the quality and quantity of your source images. Here are a few practical tips to help you get the most out of Foto-Mosaic-Edda:
Use a large and diverse photo library. The software matches each tile position in your target image to the closest-matching photo from your database. If your library is small or lacks color variety, tiles will repeat frequently and the result will look less convincing. Aim for at least 500 photos with a wide range of colors and lighting conditions.
Choose a high-contrast target image. Photos with strong, well-defined subjects — such as portraits or landmark shots — tend to produce the most striking mosaic results. Busy or low-contrast images can get lost in the tile pattern. You can learn more about the principles behind photographic mosaics on Wikipedia to better understand how the tile-matching algorithm works.
Experiment with the blend factor. If your final output looks too abstract, increase the blend factor to let the original image show through more clearly. If it looks too flat, reduce it to let the individual tile photos stand out.
Export at high resolution. If you plan to print your mosaic photo or want a professional mosaic photopicture, always choose the highest available resolution setting. A low-resolution export may look fine on screen but will appear pixelated when printed at larger sizes.
Note: The quality of the final mosaic picture will depend on the photos in the database from which it has been created.