How to host a NextCloud sync server on Windows Server
NextCloud is an excellent self-hosted syncing tool. Trouble is, it only runs on Linux, so if you don’t have a Linux server, you won’t be able to deploy it without virtualization or containerization. Thankfully, the NextCloud project makes an “all in one” virtual machine you can download and deploy on any OS, including Windows Server. Here’s how to set it up on your system.
How to install VirtualBox on Windows Server
NextCloud is a Linux application, and the developers aim to keep it that way. However, they provide an “all in one” virtual machine OVA for VirtualBox, that Windows admins can quickly deploy. However, you’ll first need to install the VirtualBox hypervisor.
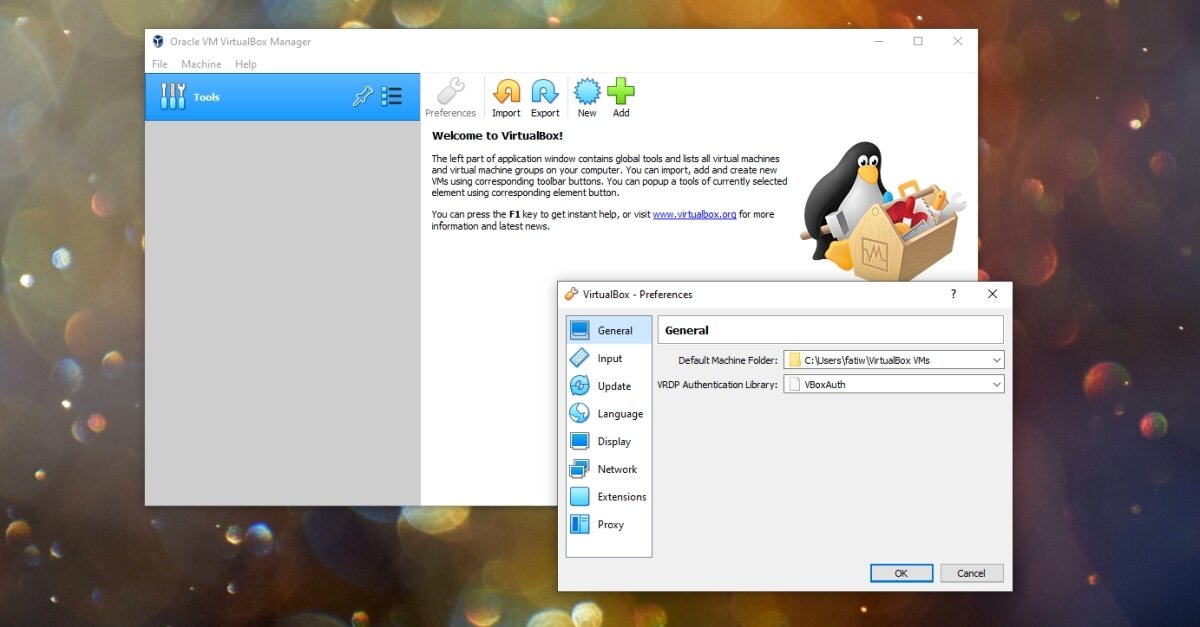
To start, head over to the official VirtualBox website. Once there, click on “Downloads,” and click on the “Windows hosts” link to download the installation EXE. When downloaded, open up Windows Explorer, select the “Downloads” folder, and launch the installation EXE.
Go through the installer and set up VirtualBox on Windows Server. Once it is fully installed, launch it and move to the next section to get your hands on the NextCloud AIO VM.
How to download the NextCloud AIO VM
The NextCloud AIO VM is available for download on the official NextCloud website. Head to the official download page. Once there, download “Nextcloud-AIO.ova” to Windows Server. The OVA file is about 2 GB in size, so the download is not instantaneous.
When the download is complete, look at the “readme” file on the download page. While it’s not a requirement, you’ll want to check it out to see what the NextCloud developers have to say. To read the “readme.md” file, open it in Notepad.
How to import the NextCloud AIO VM
The Nextcloud AIO VM is pre-configured with a Linux distribution, and everything you need to deploy NextCloud on a Windows Server host. However, it needs to be imported first. To import the OVA file, do the following.
First, open up the Windows Explorer app, and select the “Downloads” folder. Then, right-click on the “Nextcloud-AIO.ova” file, and select the “Open with” menu. Finally, locate the “VirtualBox Manager” option.
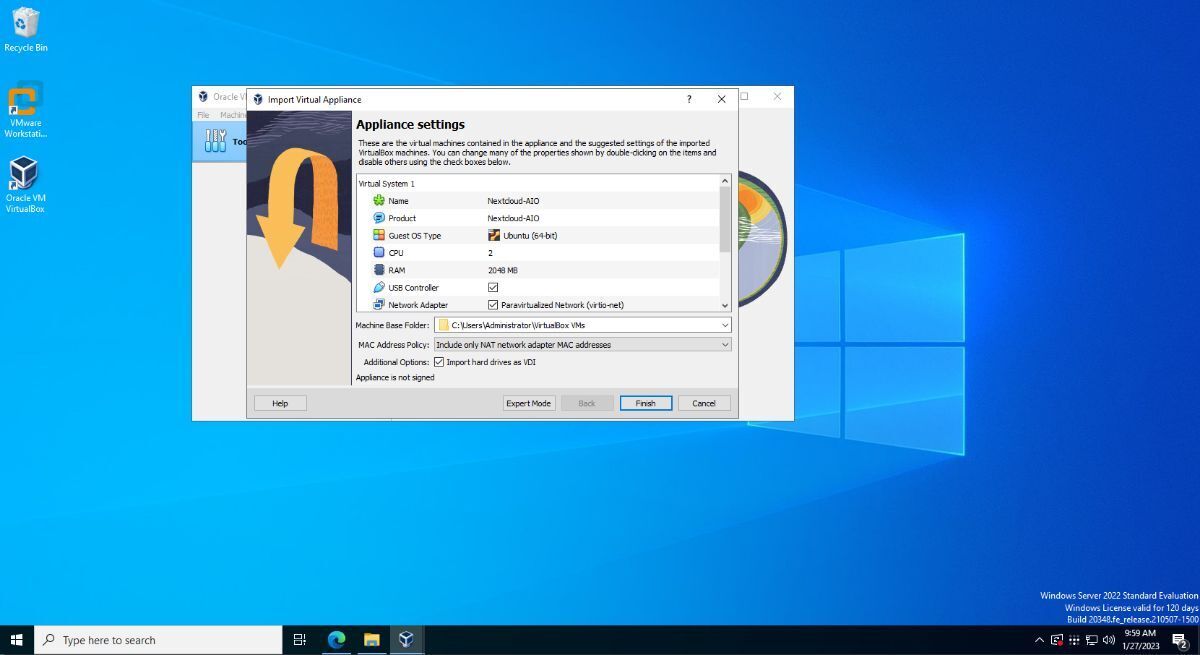
When you select the “Open with” VirtualBox option, you’ll see the “Import Virtual Appliance” window. The “Import Virtual Appliance” page will show you everything there is to know about the Nextcloud VM, including the guest OS, RAM usage, CPU usage, etc. Click the “Finish” button to import it into your system.
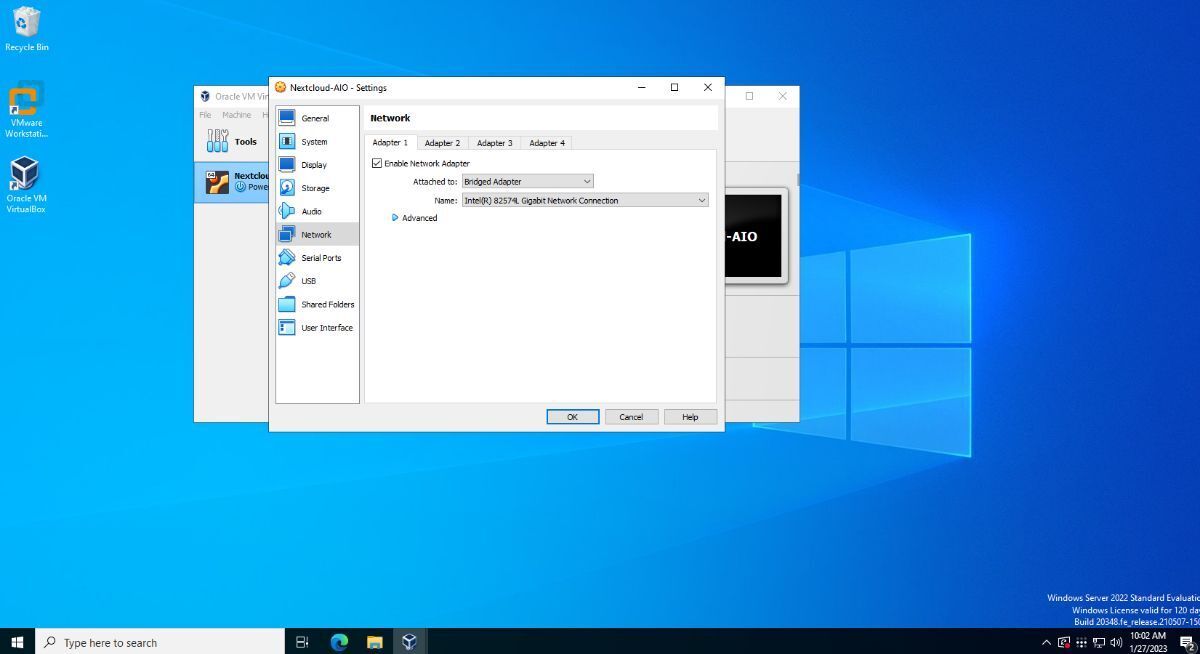
With the OVA imported to VirtualBox, right-click on it and select “Settings.” Once inside of the “Settings” window, locate the “Network” section. By default, they set the VM to NAT. Change it to “Bridged Adapter,” so that it can interact with other devices on your network.
Once the AIO VM is open, access the terminal prompt inside of it, and run the following command to reveal its LAN IP address.
hostname -I
After executing the command above, take the IP address and load up a web browser to the following URL. Then, follow the next section of the guide to get going with NextCloud on your Windows Server.
https://ip-of-vm:8080/setup
How to set up your NextCloud sync server
Once you’ve loaded up the setup page, you’ll see a message. This message says “Nextcloud AIO stands for Nextcloud All In One and provides easy deployment and maintenance with most features included in this one Nextcloud instance.” Copy the password it provides, and click on the “Open Nextcloud AIO login.”
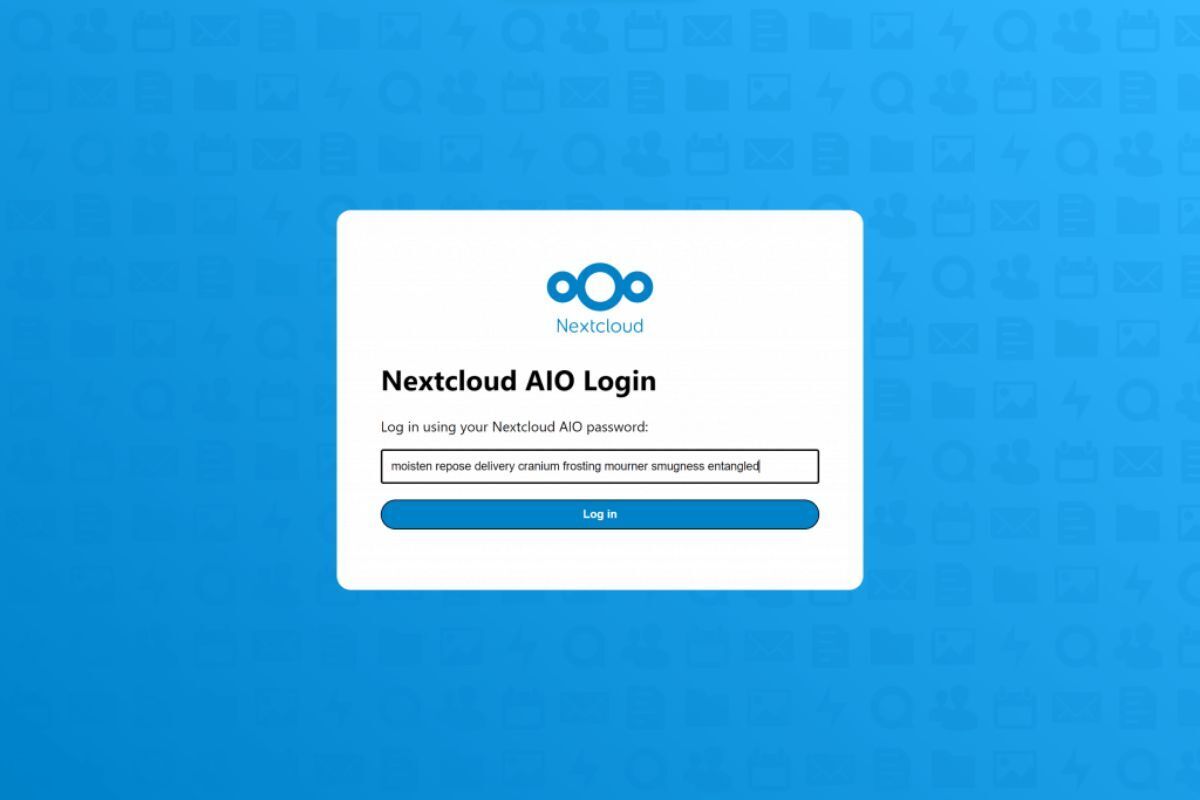
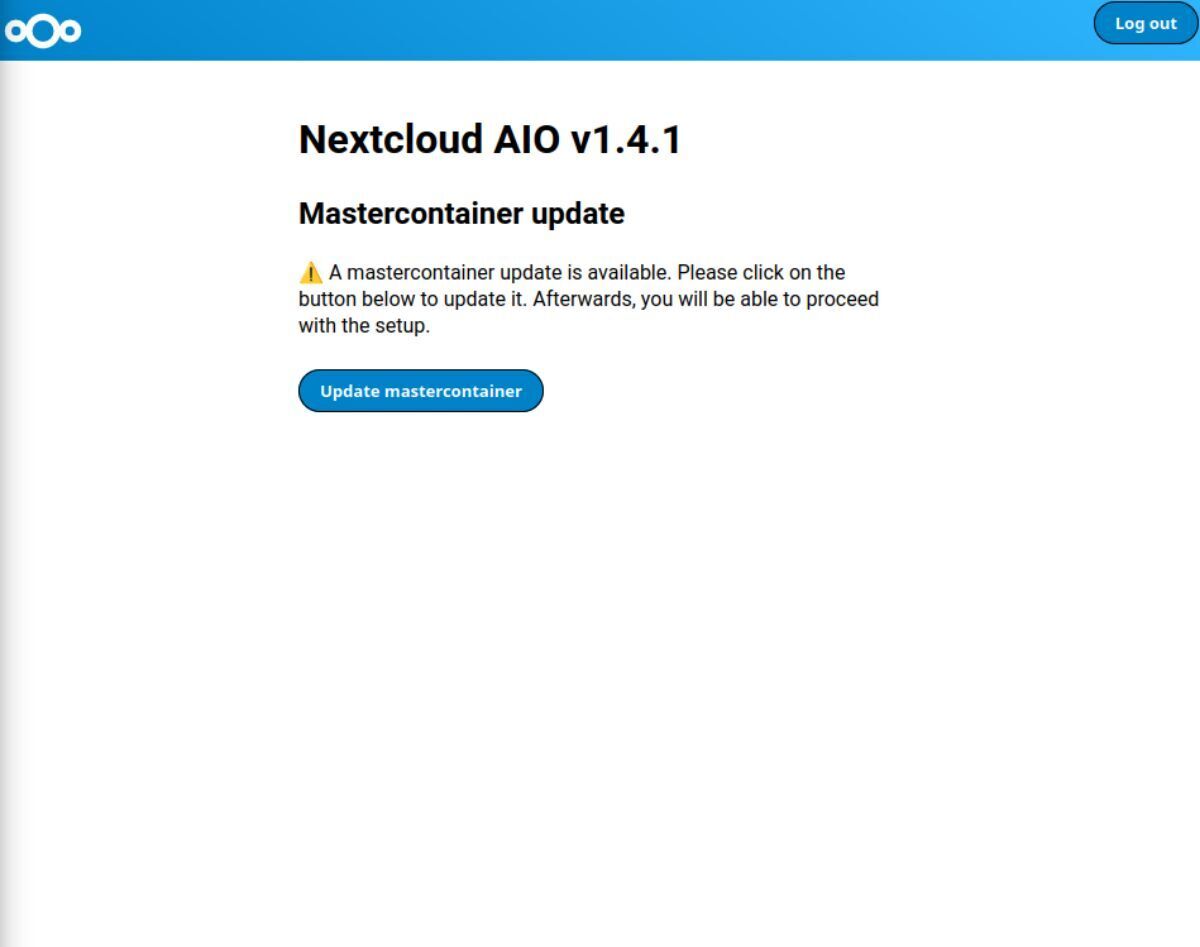
After clicking on the “Open NextCloud AIO login” button, enter the password you’ve previously entered. This will give you access to the NextCloud Admin UI. When you log in, you’ll see “Mastercontainer update.” Click on the update button to update the NextCloud instance.
Now that it is up to date, type in the domain for your AIO instance. After adding it, click on the “submit” button. Ensure you have this domain’s DNS configured. For more information on DNS settings, check the official instructions.
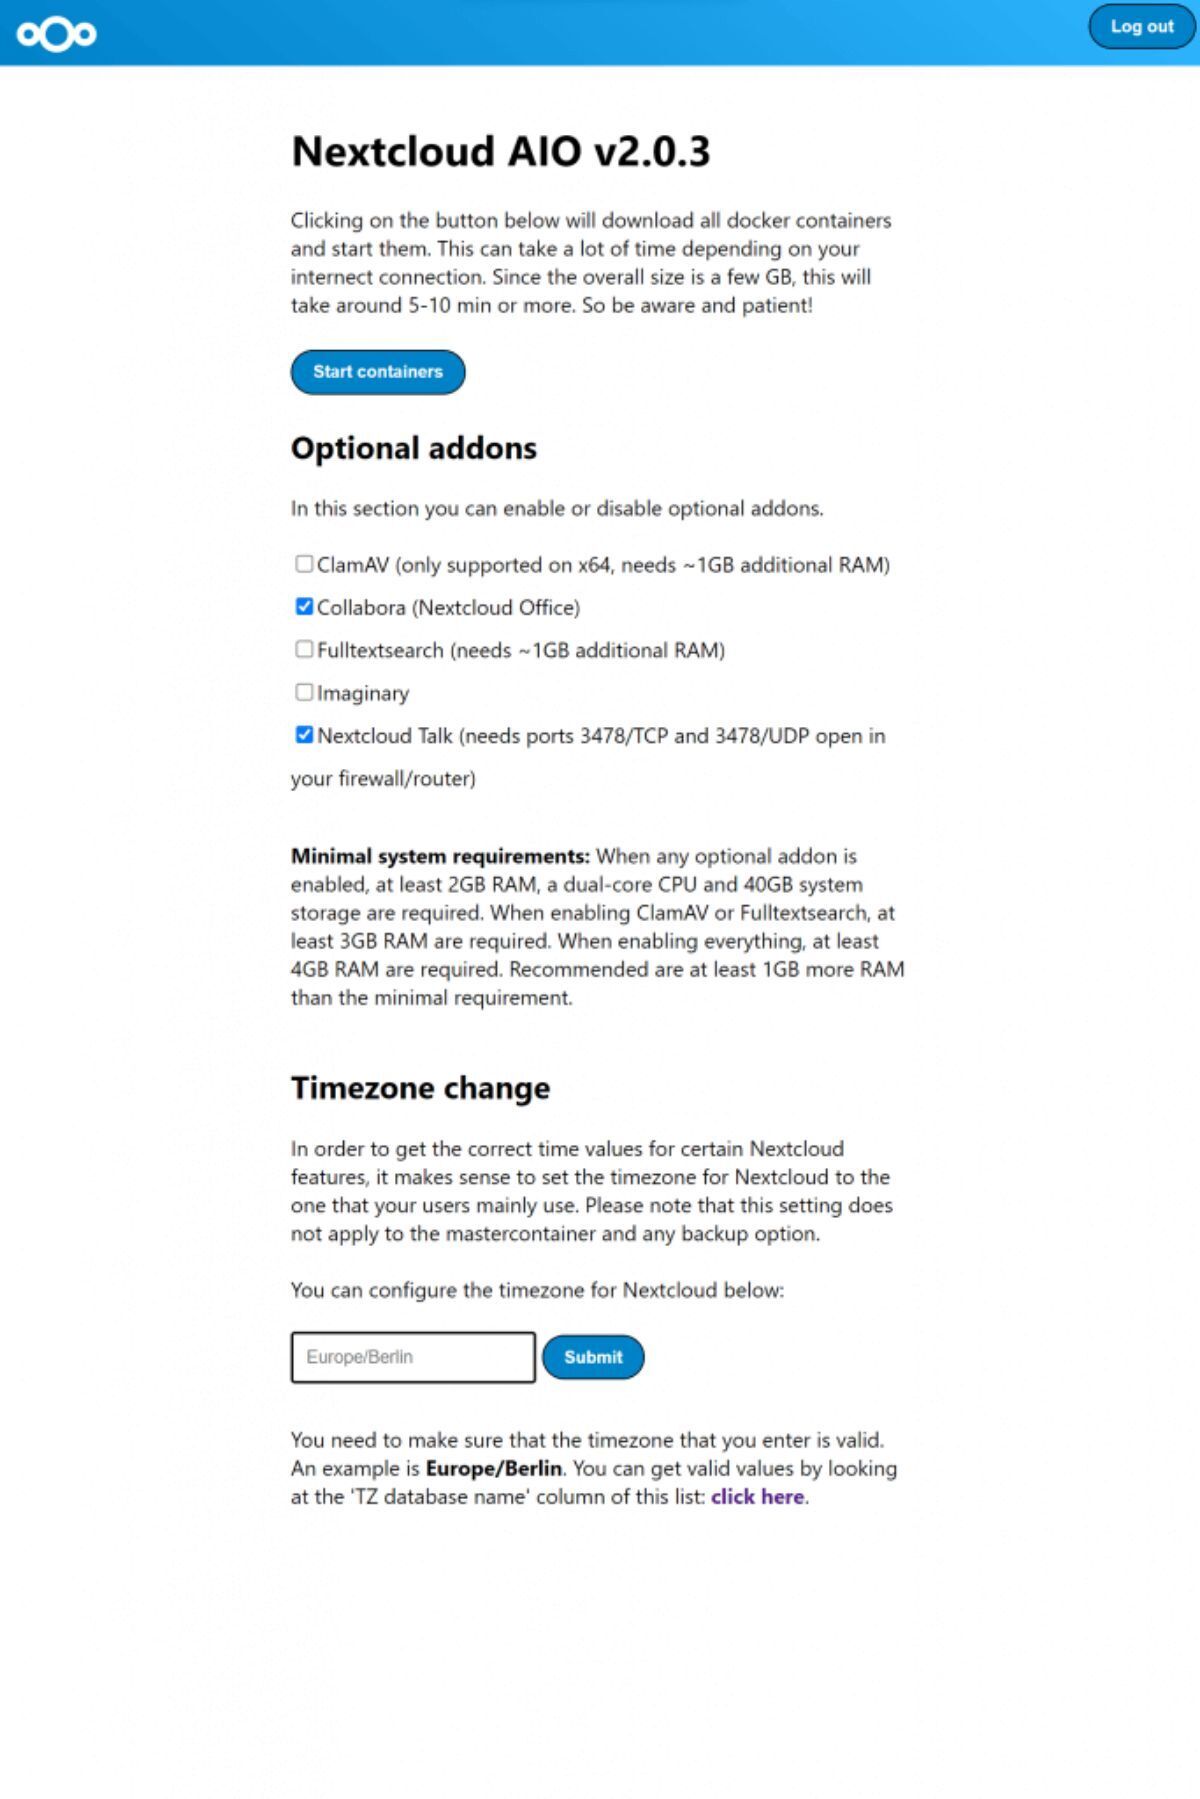
Once you’ve configured your domain, you’ll be on the next page. On this next page, you’ll see “Optional addons.” These addons are “ClamAV” “Collabora,” “Fulltextsearch,” “Imaginary,” and “Nextcloud Talk.” Check the boxes you wish to add to your NextCloud instance. Then, select the “Start containers” button.
When you click on the “Start containers” button, Nextcloud AIO will download and launch the containers. Then, you’ll be taken to the next page in the installer. On this page, you’ll see “Containers are currently starting”. When they’re all started, you’ll see an “Open your Nextcloud” button.
Note: save the initial NextCloud password, as you’ll need it to log into the interface.
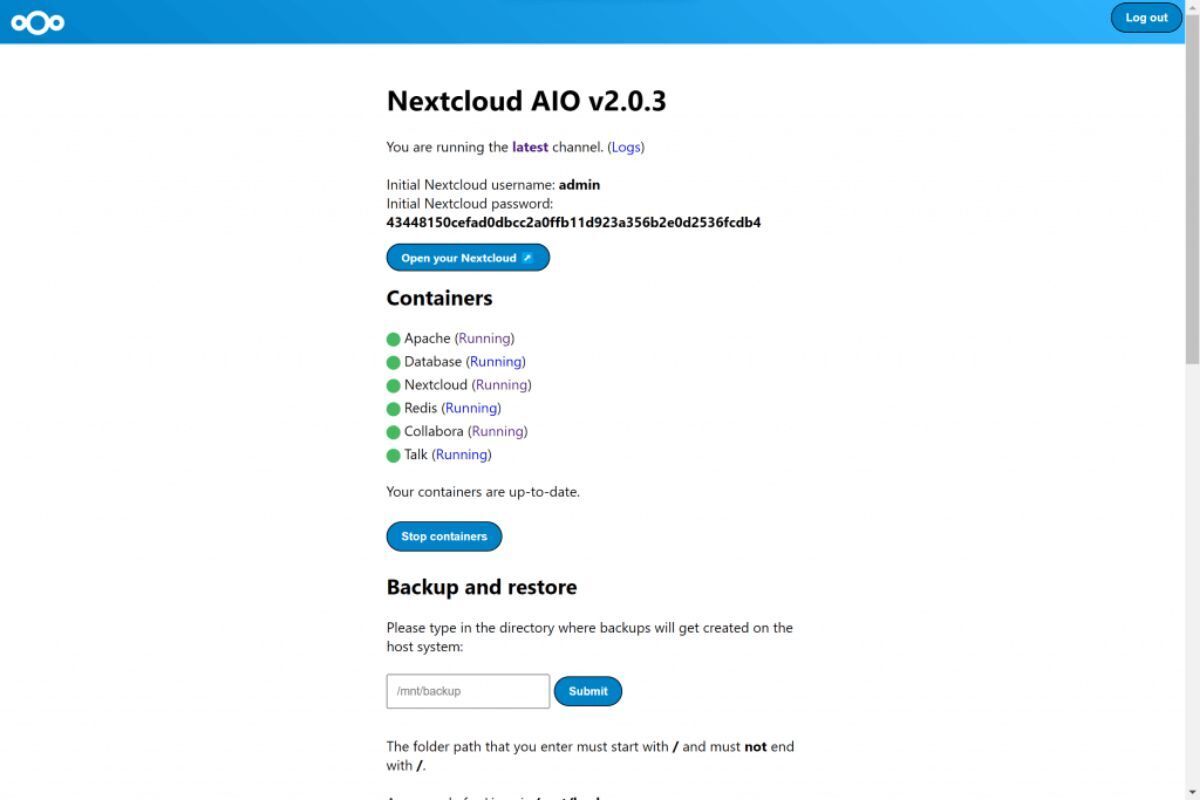
Click on the “Open your Nextcloud” button and use the “initial Nextcloud” password provided to log in. From here, you can create users, change the initial password, and start uploading files to your Nextcloud.
