How to secure your Windows Server
New to Windows Server and looking to increase its security? This guide can help. We’ll walk you through how you can secure your Windows Server against threats.

Update your Windows Server regularly
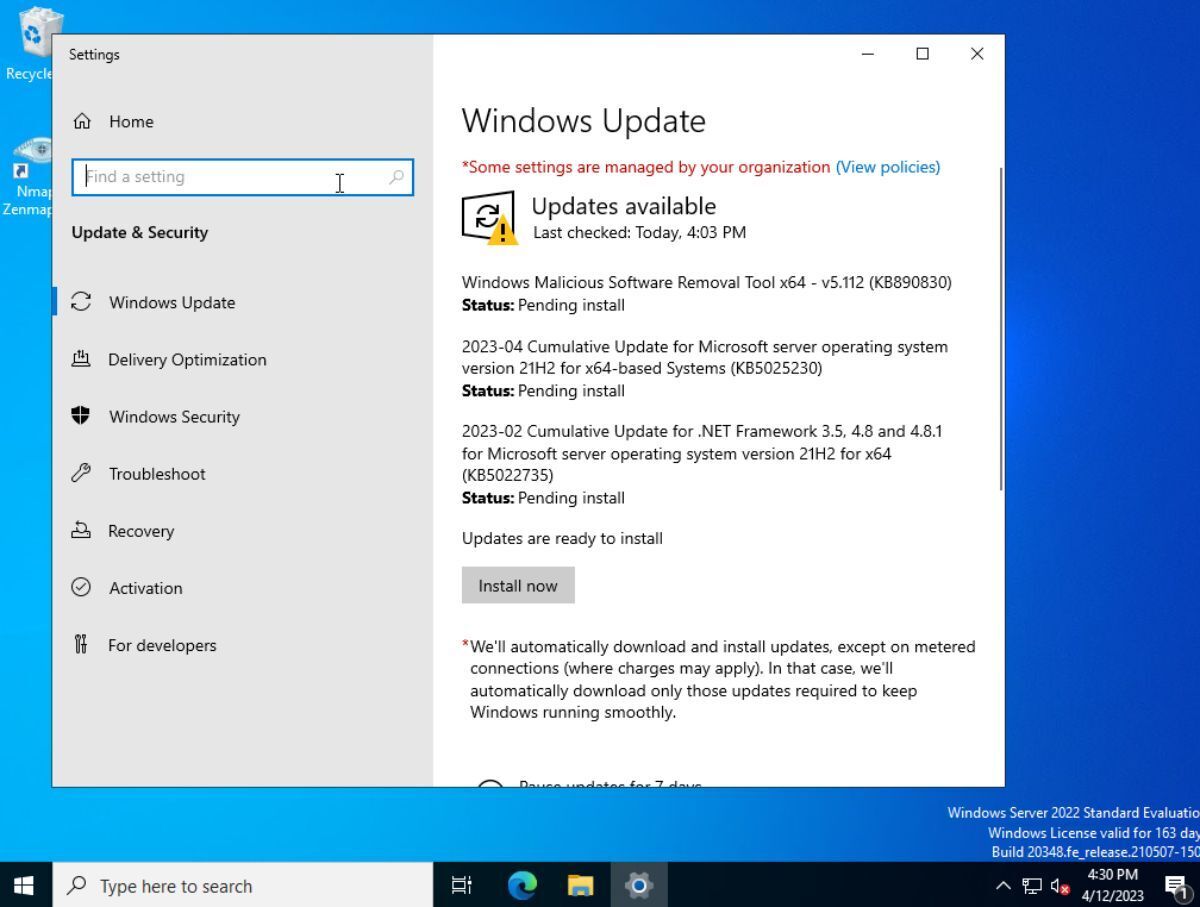
The most effective way to keep your Windows Server secure is to ensure that it’s updated regularly. To update, open the Windows Start menu on the Windows Server desktop. Then, type “update” in the search bar. After typing “update,” the Windows Server start menu should display some results. Click on the “Check for updates” icon to launch the Windows Server updater tool.
Once the update tool is launched, it should automatically check for available updates. Review the available updates and click on the “Install now” button to download and install them.
By regularly updating your Windows Server, you can help ensure its security and reduce the risk of hackers gaining unauthorized access.
Use strong passwords
One way to enhance the security of your Windows Server is to use strong passwords when setting up the system. While Microsoft enforces a strong password policy by default, users should still opt for hard-to-guess passwords for the Administrator account and any other accounts with Windows Server access.
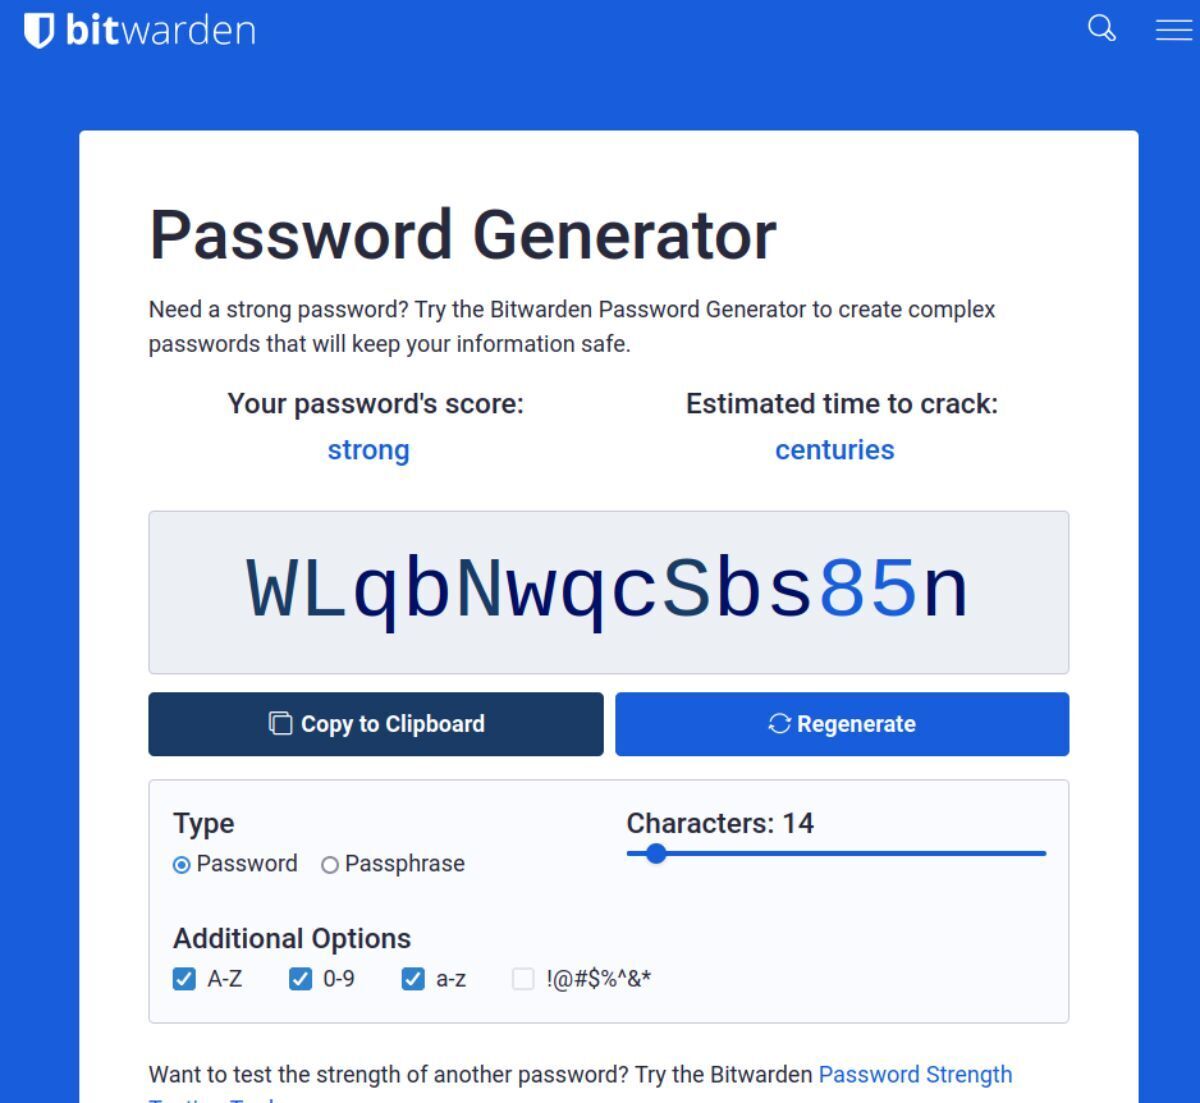
To generate a strong password, you can use Bitwarden’s password generator. Bitwarden is a secure, open-source password management vault. Once you have generated a strong password, access the user settings on your Windows Server and update the password.
Install Anti-virus software and regularly use it
Viruses not only target Windows Desktops but also aim for Windows Servers. To ensure the security of your Windows Server, use anti-virus software daily.
By default, Microsoft Windows Server comes with Windows Defender, which is a competent virus scanner and does not require additional cost. Here’s how you can use it to scan for threats:
Note: If Windows Defender is not adequate for your Windows Server, consider looking into professional malware/virus scanner bundles available for Windows Servers or Windows Desktops to meet your security needs.
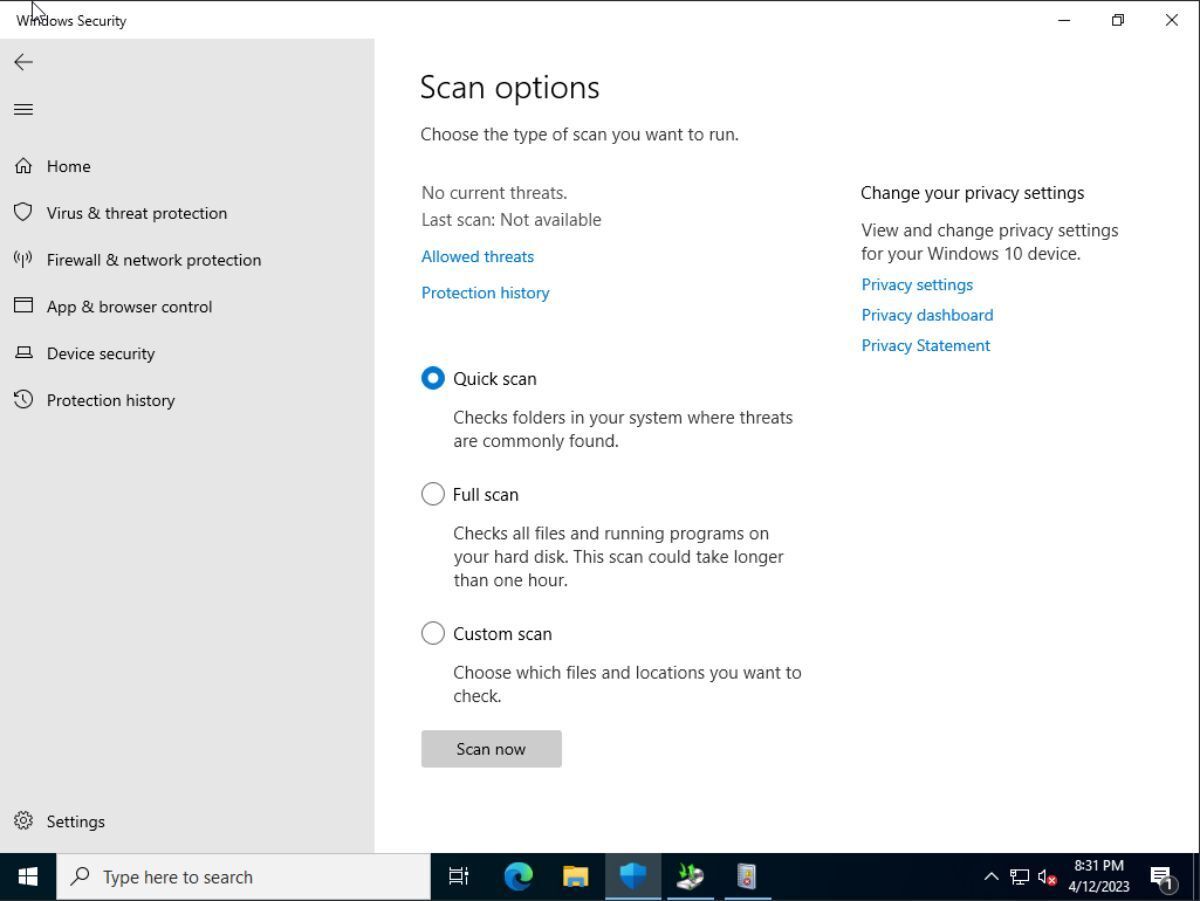
First, open the Windows Server Start Menu and type “Virus & threat protection.” Select “Virus & threat protection” in the Start Menu search results to launch Windows Defender.
In Windows Defender, ensure “Tamper protection” is turned on, and under “Current threats,” select “Scan options.” Change “Quick scan” to “Full scan,” and then select “Scan now” to scan your Windows Server for viruses, malware, and other threats.
Regularly create data backups
Regularly backing up your data is a great way to keep your Windows Server secure. It will also protect against data loss, which can lead to data insecurity. To create a backup schedule, ensure that you have the Windows Server Backup feature enabled.
To enable the Windows Server Backup tool, open the Server Manager app, go to “Add roles and features,” and enable the feature. Once it is enabled, open the Windows Server start menu, search for “Windows Server Backup,” and launch the app.
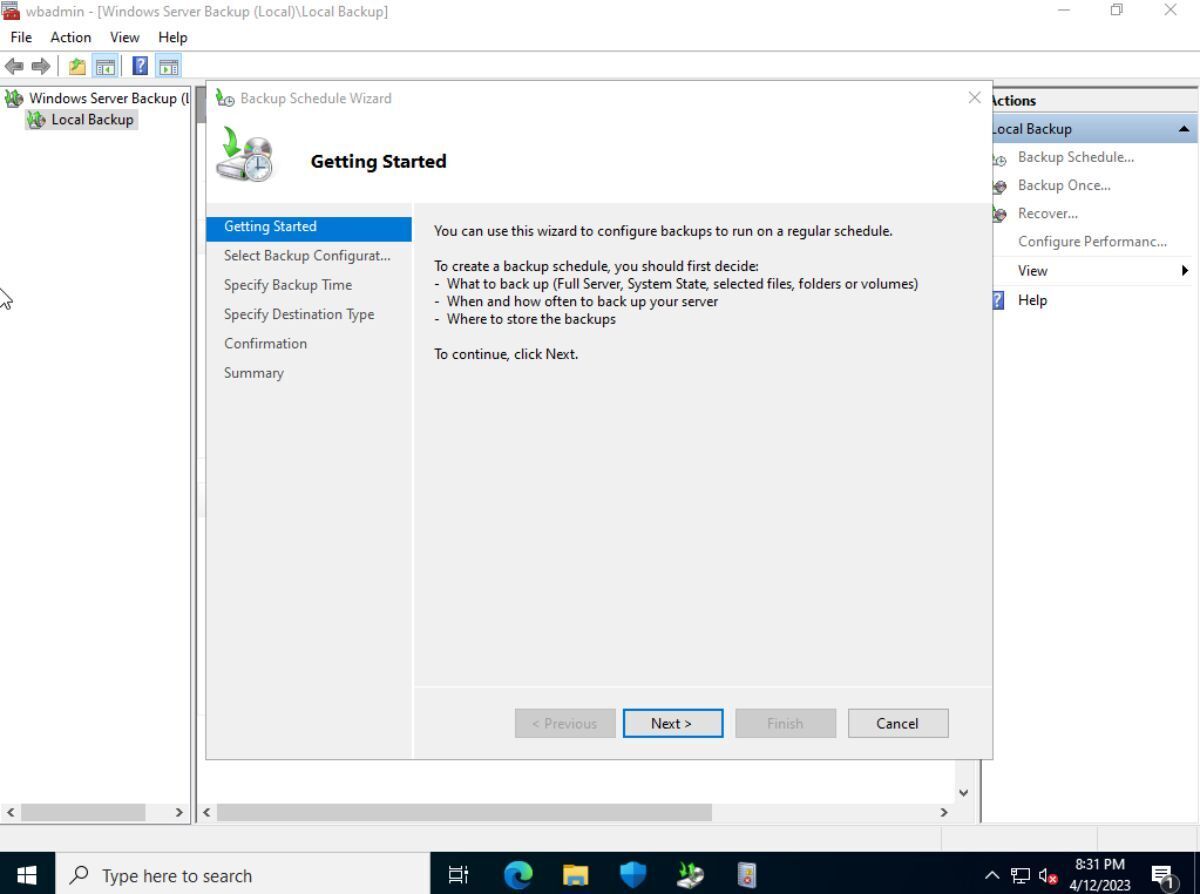
With the Windows Server Backup tool open, find “Backup Schedule…” and click on it with the mouse. After selecting this button, you’ll see the “Getting Started” wizard. Follow the wizard to configure your backup schedule.
Once your backup schedule is configured, your Windows Server will be secure from data loss. However, be sure to regularly check and maintain your backups to ensure they are working correctly.
Monitor your Windows Server for suspicious activity
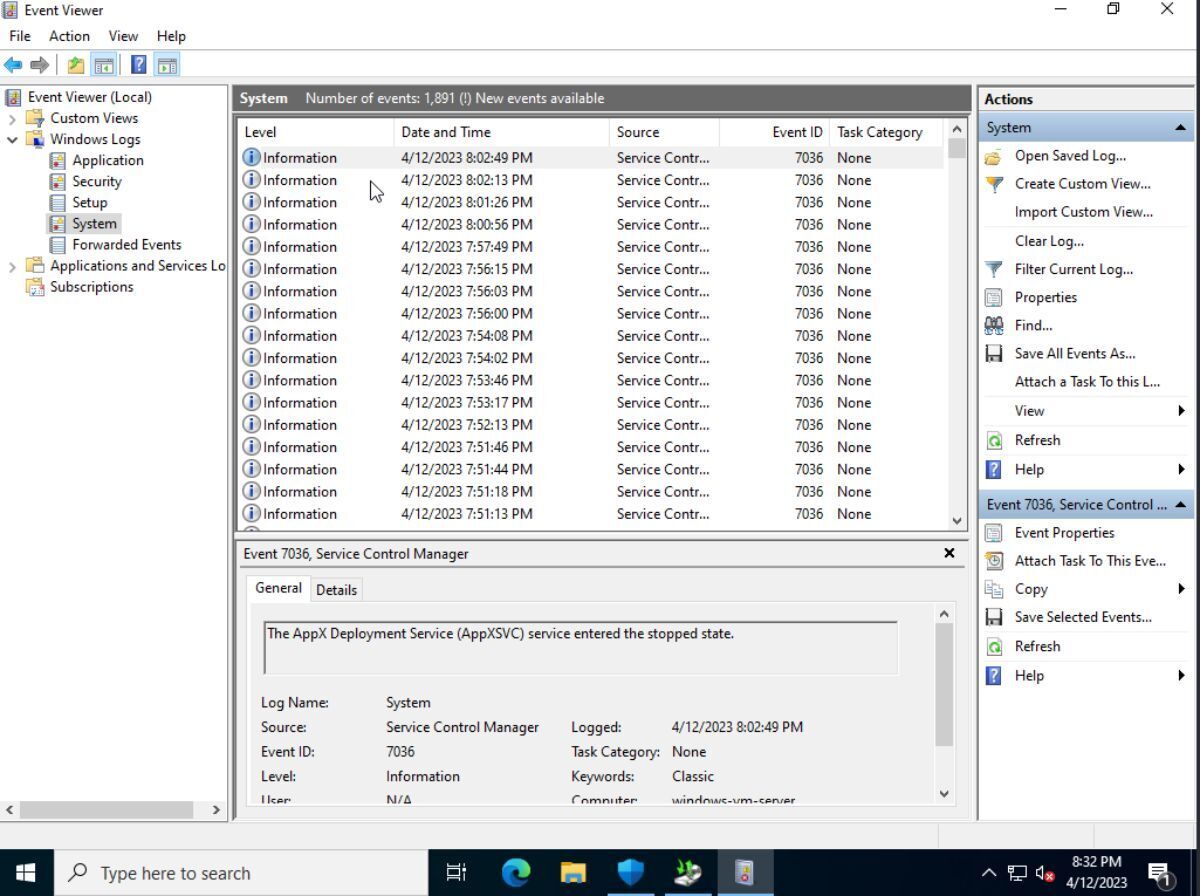
Checking your Windows Server for suspicious activity is essential to keeping it secure. Here’s how you can use the Windows Event Viewer tool to check for suspicious activity.
First, open up the Windows Start menu. Then, type in “Event Viewer”. Look through the search results for “Event Viewer” and select it to open up the Event Viewer application.
After opening up the Event Viewer application on your Windows Server Desktop, find the “Windows Logs” area, and click on the drop-down arrow. Then, find the “Security” section in the “Windows Logs” area. You can also check “Application,” “Setup,” “System” and “Forwarded” events for suspicious activity.
Click on “Security” (or “Application,” “Setup,” “System” and “Forwarded”) to view all events related to actions happening on your Windows Server, and to check for suspicious activity. If you see something suspicious, you can take action from there.
Disable features you do not need
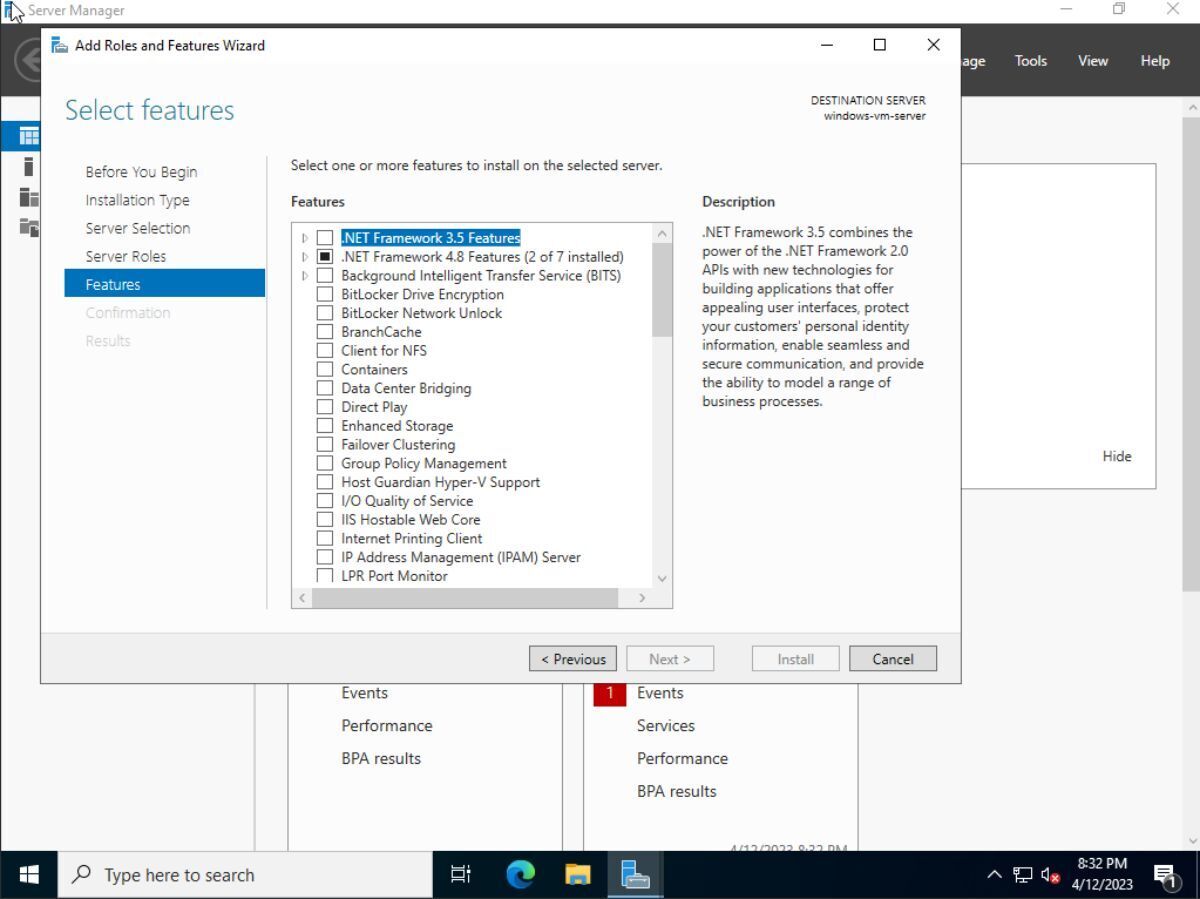
To enhance the security of your Windows Server, you can disable features that are not required. Enabling unnecessary features that are not in use can expose your server to more vulnerabilities and potential areas of attack.
To disable unneeded features, begin by opening the “Server Manager” application from the Windows Start menu. Once open, navigate to “Add roles and features,” and select it. From there, you can use Windows Server Manager to disable features that are not necessary.
