Minecraft Beacon: A Complete Crafting Guide
A Minecraft beacon recipe requires careful preparation and some of the game’s rarest resources. A beacon is a constructible item in Minecraft that is used as a signal and to apply effects to mobs/entities — for example, speed, allowing the entity to jump higher, increasing attack speed, and more. A beacon isn’t easy to construct, and once constructed, it takes more resources to use if you want to get maximum efficiency out of it. It requires resources that are hard to collect.
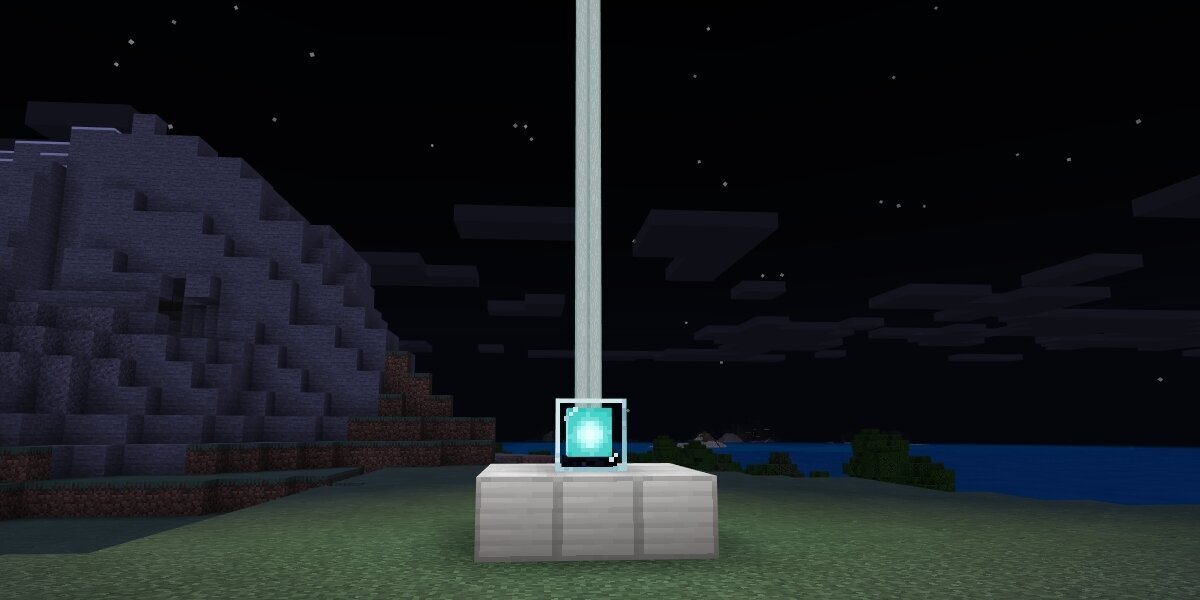
Minecraft beacon recipe
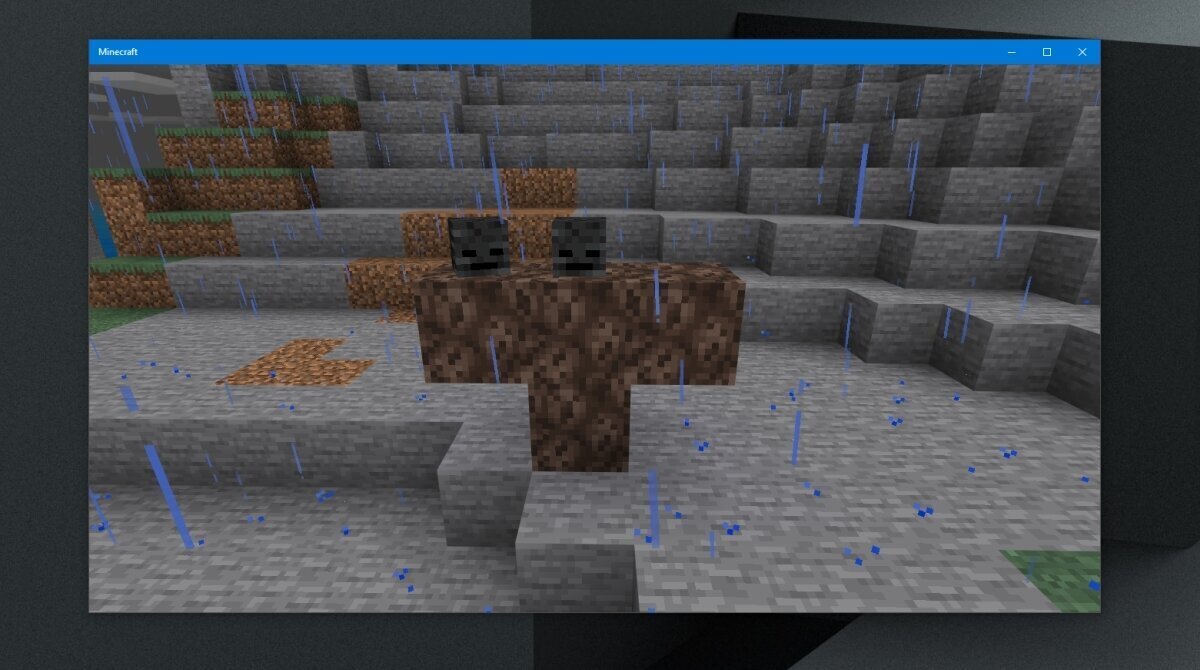
To construct a beacon in Minecraft, you need to spawn a special mob that is hard to kill: the wither. You then have to kill the mob to obtain a nether star, which is one of three items needed to craft a beacon.
Resources
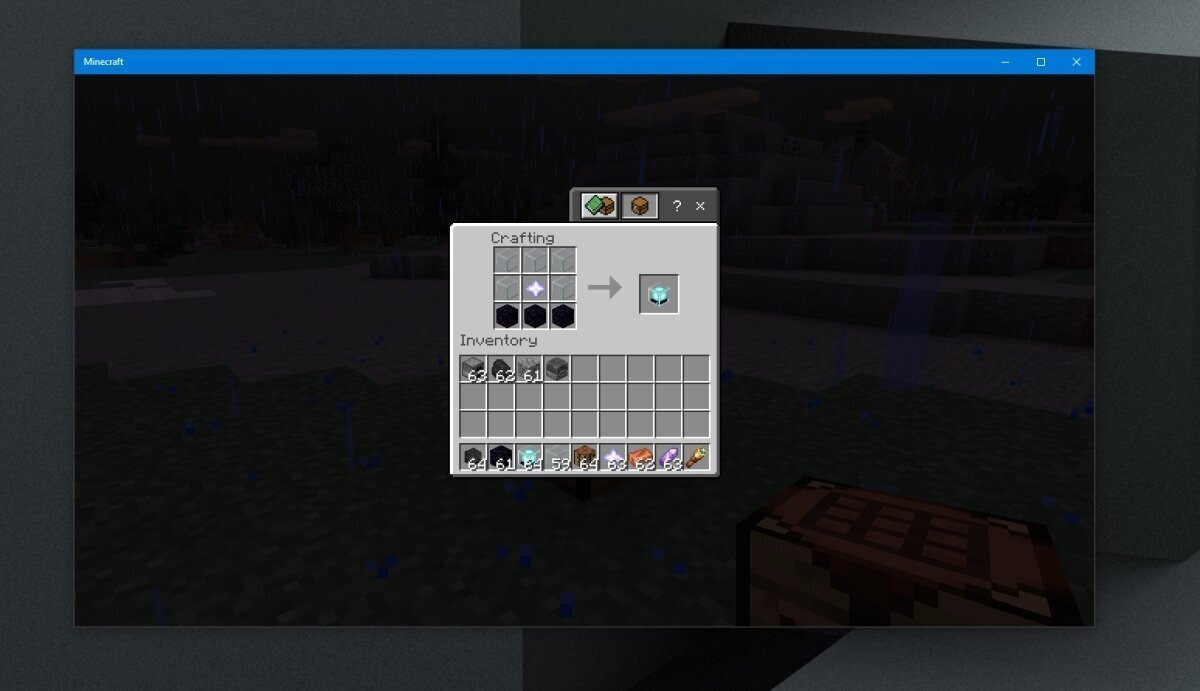
To craft a beacon you need five glass blocks, three obsidian blocks, and a nether star. If you need help making glass blocks in Minecraft, follow the resource steps below.
- Five glass blocks
- Three obsidian blocks
- A nether star
To obtain each item, follow the recipes for each given below. If you’re trying to get minecraft unblocked at school or work so you can enjoy crafting beacons and other features without restrictions, check out our guide on unblocking Minecraft in those environments.
To obtain each item, follow the recipes for each given below.
Glass blocks
- Collect sand and coal.
- Create a furnace.
- Smelt the sand in the furnace to get glass blocks.
Obsidian
Obsidian forms naturally when water touches a lava source block — note that only lava source blocks create obsidian, not flowing lava. To produce it, you can pour water over a lava pool in the overworld, or place lava and water from buckets so they meet. Once the obsidian has formed, you must mine it with a diamond or netherite pickaxe to collect the block; using any other tool will destroy it without dropping anything. Obsidian is an essential ingredient in the Minecraft beacon recipe, so gathering enough before you start crafting is important.
Nether star
A nether star is obtained by killing the Wither. This is a mob that a user must spawn, so bringing strong gear and knowing the best melee weapons to use for close-range damage can help make the fight more manageable. If you need help locating Soul Sand and navigating the dimension, this Nether biome atlas can make preparation easier. In order to spawn the wither you need to;
- Collect Soul sand. Soul sand is found in the nether.
- Find a fortress in the Nether.
- Kill wither skeletons until you get three heads.
- Collect the heads and return to the overworld.
- Stack two blocks of soul sand, one on top of the other.
- Place a block of soul sand on either sides of the block at the top.
- Place three wither skeleton skulls at the top of the three soul sand blocks.
- The wither will spawn.
- Get ready to fight.
Minecraft beacon recipe: crafting steps
Now that you have the ingredients, you can craft a beacon. Follow these steps at your crafting table to complete the Minecraft beacon recipe.
- Open the crafting table.
- Place glass in the top row.
- Place glass in the first cell of the second.
- Place glass in the last cell of the second row.
- Place the nether star in the middle cell of the second row.
- Place obsidian blocks in the bottom row.
- Collect the beacon.
Using a Minecraft beacon recipe result: placing and activating your beacon
In order to use a beacon, you have to place it on top of a pyramid. The pyramid must be built from specific mineral blocks only — not just any block type. Accepted materials are:
- Diamond blocks
- Emerald blocks
- Gold blocks
- Iron blocks
- Netherite blocks
You can mix different block types within the same pyramid — for example, combining iron blocks and gold blocks in the same base is perfectly valid. Place the beacon on the center top block of the pyramid and make sure it has an unobstructed view of the sky; this is what allows it to project its beam and activate its effects. If you’re smelting lots of metal for it, a Minecraft blast smelter can help speed up ore processing. If you also want to decorate the beacon platform with stone blocks, here’s how to make stonecutter.
Here are the exact pyramid sizes required by tier:
- Tier 1: A single 3×3 base layer (9 blocks total)
- Tier 2: Add a 5×5 layer beneath the first (34 blocks total)
- Tier 3: Add a 7×7 layer beneath (83 blocks total)
- Tier 4: Add a 9×9 layer beneath (164 blocks total)
Higher tiers unlock additional powers and extend the effect radius — approximately 20 blocks at tier 1, 30 at tier 2, 40 at tier 3, and 50 blocks at tier 4. According to the official Minecraft Wiki, the beacon’s effect range scales directly with pyramid height, making a full four-tier pyramid the most efficient setup for large bases. What does matter is the pyramid level.
- Pyramid level 1: Gives either Speed or Haste
- Pyramid level 2: In addition to the ability of the first level, gives you either Resistance or Jump.
- Pyramid level 3: In addition to the abilities from levels 1 and 2, gives you strength.
- Pyramid level 4: In addition to the abilities from all the previous level, gives you a second ability or levels up one of the other abilities.
Choose beacon abilities
The beacon abilities are picked by the player. To choose, right-click the beacon to open the beacon GUI and select the effect you want. Before confirming, you must place a payment item into the designated slot — accepted items are an iron ingot, gold ingot, diamond, or emerald. Once you confirm your selection, the effect activates. This final step completes the full Minecraft beacon recipe process, from gathering materials to enjoying the beacon’s buffs.
The available effects unlock by pyramid tier:
- Tier 1: Speed or Haste
- Tier 2: Resistance or Jump Boost
- Tier 3: Strength
- Tier 4: A secondary slot opens, letting you choose Regeneration or upgrade certain eligible primary effects (such as Speed or Haste) to Level II
Note that the Level II upgrade applies only to eligible primary effects and is not available for every ability. It only becomes accessible with a fully built four-tier pyramid.

