How to Erase an iPhone: 3 Easy Steps You Should Try
Erasing my iPhone is something I’d never imagine myself doing, but with the rate at which new generations of the iPhone lineup keep springing up, some peeps might be considering an upgrade, thus necessitating wiping of their current one before trading it in.
Even if you’re erasing your iPhone just to fix glitches and freezes, one thing is crucial before delving into the whole wiping process — backup. You’ll need to back up crucial data so you can continue with them where you left off. The tutorial here will help you with all of that.
Read on below to find out!
Back up Your iPhone
Before proceeding with anything, you need to back up your device to iCloud. To do this,
- Ensure your iPhone is connected to a WiFi network first
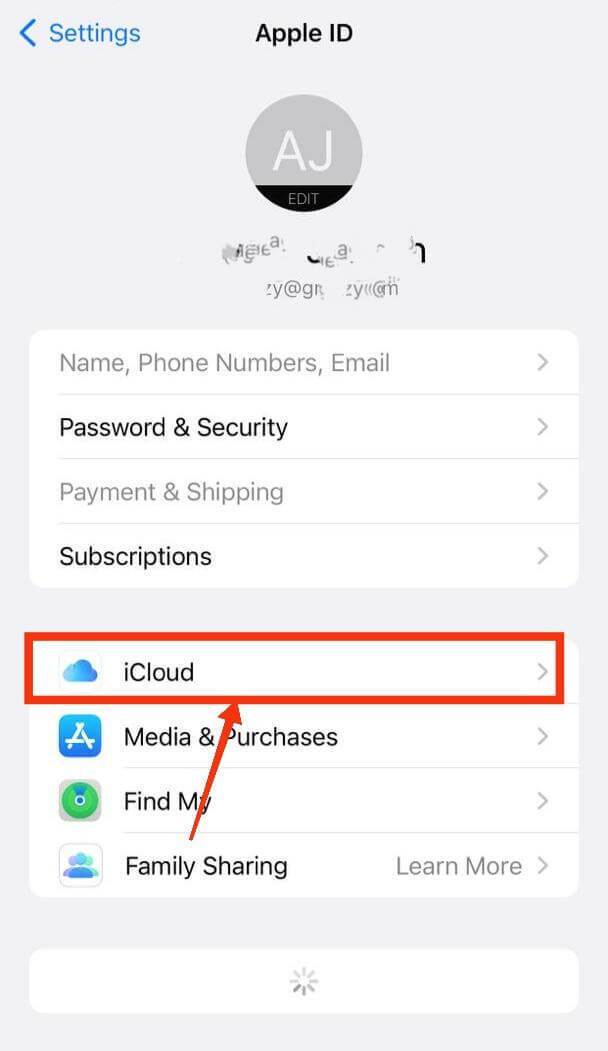
- Next, launch the Settings app and tap your name at the very top of the page
- Select iCloud on the next page and then iCloud Backup
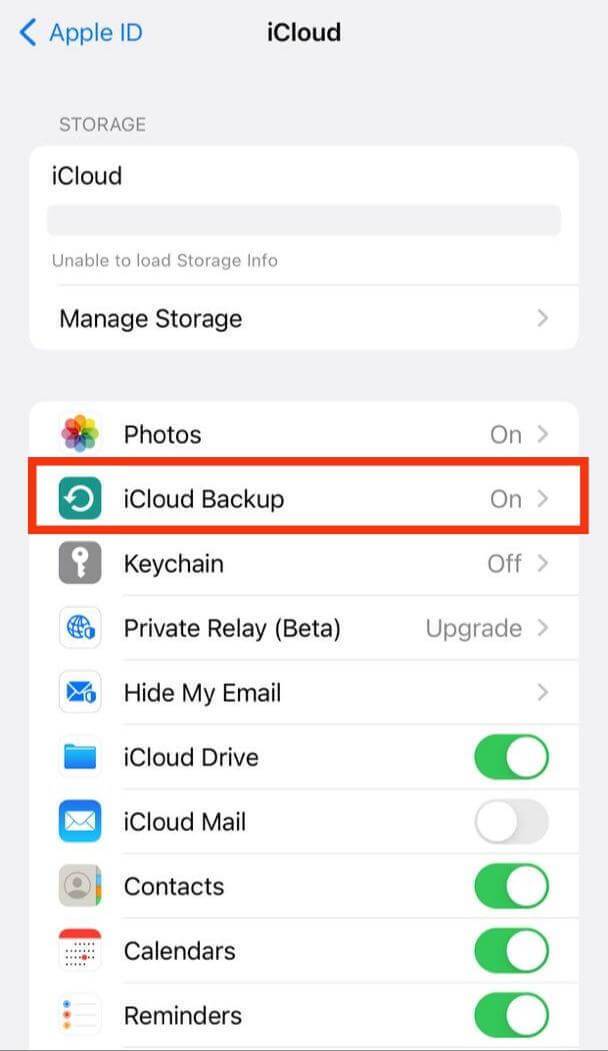
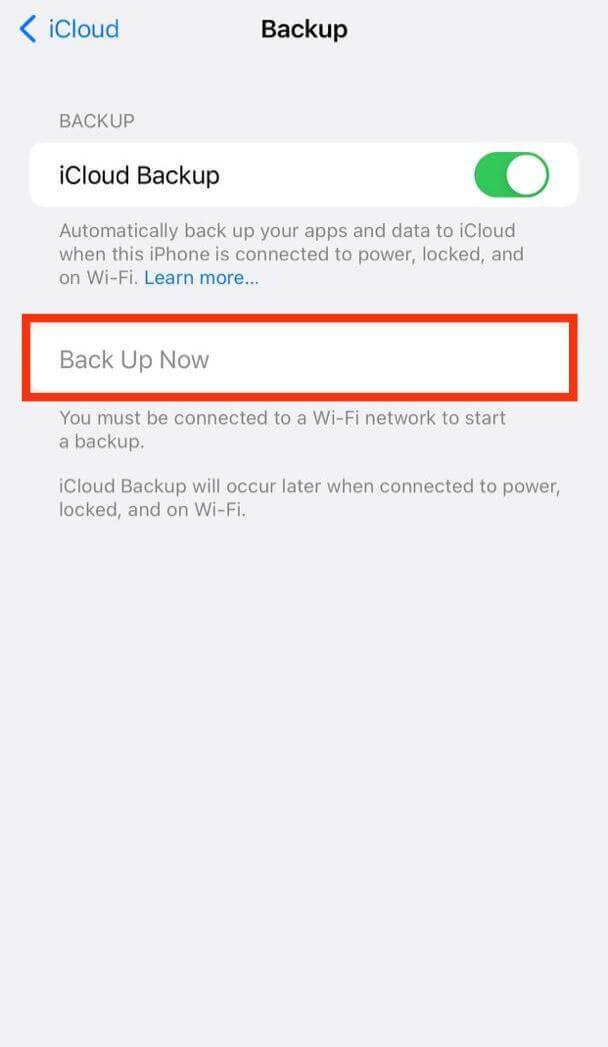
- On the Backup screen, ensure iCloud Backup is toggled on
- Lastly, tap Back Up Now to begin the backup process on your iPhone.
Log Out Manually and Deactivate all Services
While erasing your iPhone should automatically get rid of all these, there have been reports of iPhones still linked to Apple services even after they’ve been erased. Although these claims are probably unfounded, it’s still best to be on the safer side.
You can go to the Settings app and use the Sign Out button under your Apple ID page to log out of your account. As for Find My iPhone,
- Launch the Settings app and tap your Apple ID at the top again
- Next, tap iCloud
- Scroll down the page and select Find my iPhone
- On the following page, use the toggle button next to Find My iPhone to turn it off
- You’ll be prompted to input your Apple ID password, type it and then select Turn Off
Erase Your iPhone
Now to the focal point, all you need do to wipe your iPhone is right in the Settings app. Follow the steps below:
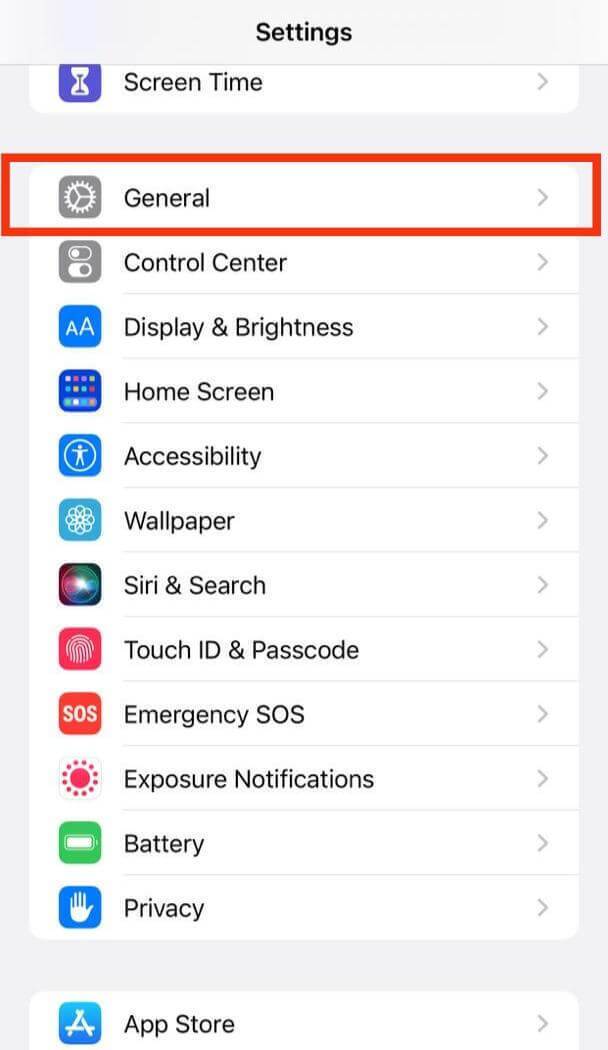
- Scroll down the Settings app and tap General
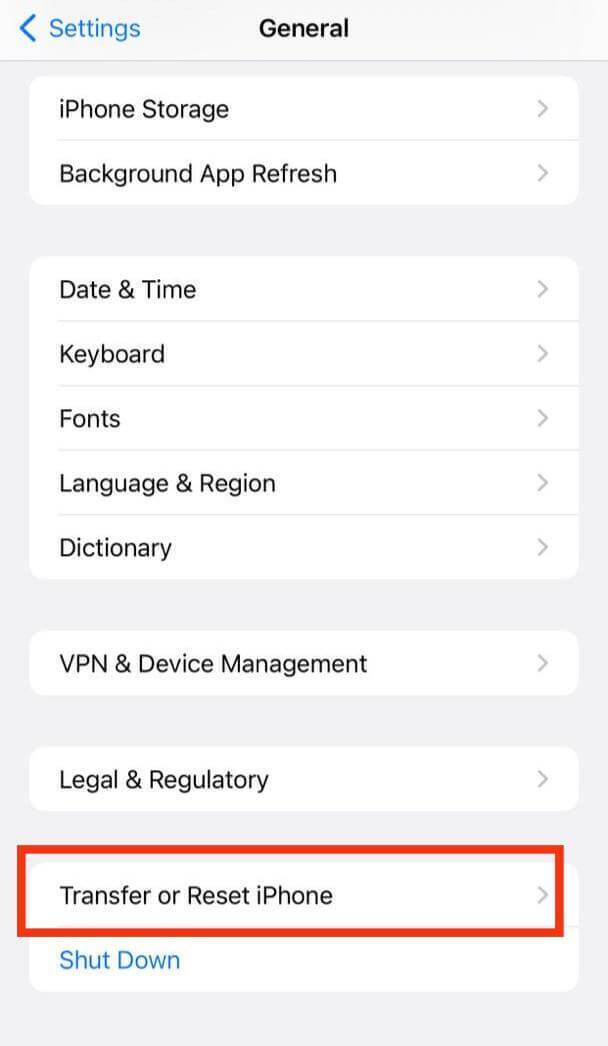
- Scroll down to the very bottom of the General page and select Transfer or Reset iPhone
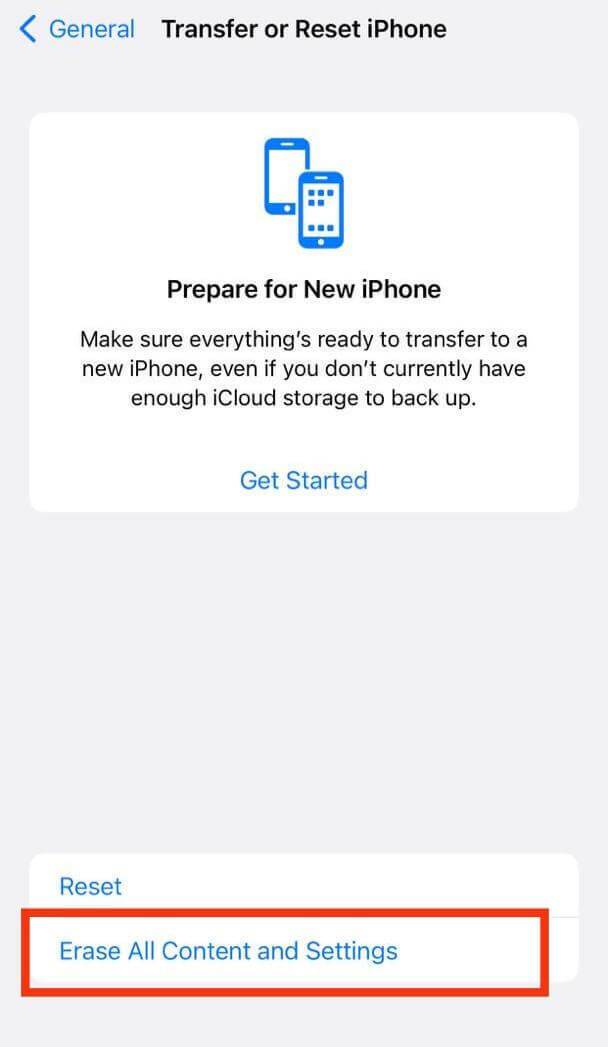
- On the Reset page, select Erase All Content and Settings
- You’ll get a prompt to input your password from here; enter it
- Another prompt will ask to confirm if you really want to erase everything on your iPhone. Tap Erase to affirm.
Your phone will begin to wipe itself. The entire process should take a few minutes, depending on the amount of data on your device. Either way, your phone will restart once the process is complete.
Final Notes
There you have it! That’s all you need to erase your iPhone. If you see yourself still using the phone that you wiped, you can go to your Apple ID under the Settings app to restore your iPhone with the backups from earlier.
Again, you’ll need to connect to a WiFi network for the restoration process to be successful. Meanwhile, you might want to unpair any external device you have connected to your iPhone before attempting a factory reset.
