How to put an iPad in Kiosk mode
iPads may have started out as consumer devices, but they’ve become incredibly powerful since the first iPad was released. They are excellent tools for drawing, and lower end models tend to end up replacing POS stations in many places. To make all this easier, the iPad has a kiosk mode, which basically locks the iPad to one app (don’t worry, it’s easy to exit kiosk mode).
We’ve created two sets of directions below to show you how to put an iPad in kiosk mode, and neither require any special kiosk mode apps. The first needs a Mac, and the second can be done from the iPad. Either way, you’ll enable iPad kiosk mode so you can plant a single app front and center.

How to Enable Kiosk Mode on the iPad From a Mac
Single app mode is a little complicated to set up. You need access to a Mac, and you must connect the iPad to the Mac before you can put it in Single app mode, but this is the correct way to do it. If you’re looking for a quicker solution, you can use the Guided Access method explained in the next section below.
- Make sure the app you want to use in kiosk mode is installed on your iPad.
- On your Mac, download the Apple Configurator 2 app from the App Store.
- Connect the iPad to your Mac.
- Open Apple Configurator 2.
- Select the device and on the menu bar go to Actions > Advanced > Start Single App mode.

- Select the Supervise mode (this can be undone, but you will have to factory reset the device and not restore it from a backup taken after the device was put in supervise mode.
- Select the app from the list.
- Click Select app.
- You can exit Single App Mode by connecting the iPad to your Mac.
- Open Apple Configurator 2.
- Go to Actions > Advanced > Stop Single App mode.
Note: the iPad will still be in Supervise mode even if you exit Single App Mode.
How to Enable Guided Access on iPad
Guided Access is designed to be used by parents or teachers, but because it locks an app to the screen, it’s the easiest way to turn on kiosk mode. You can do it directly from the iPad (no Mac required). Here’s how it works:
1. Open the Settings app.
2. Go to Accessibility > Guided Access.
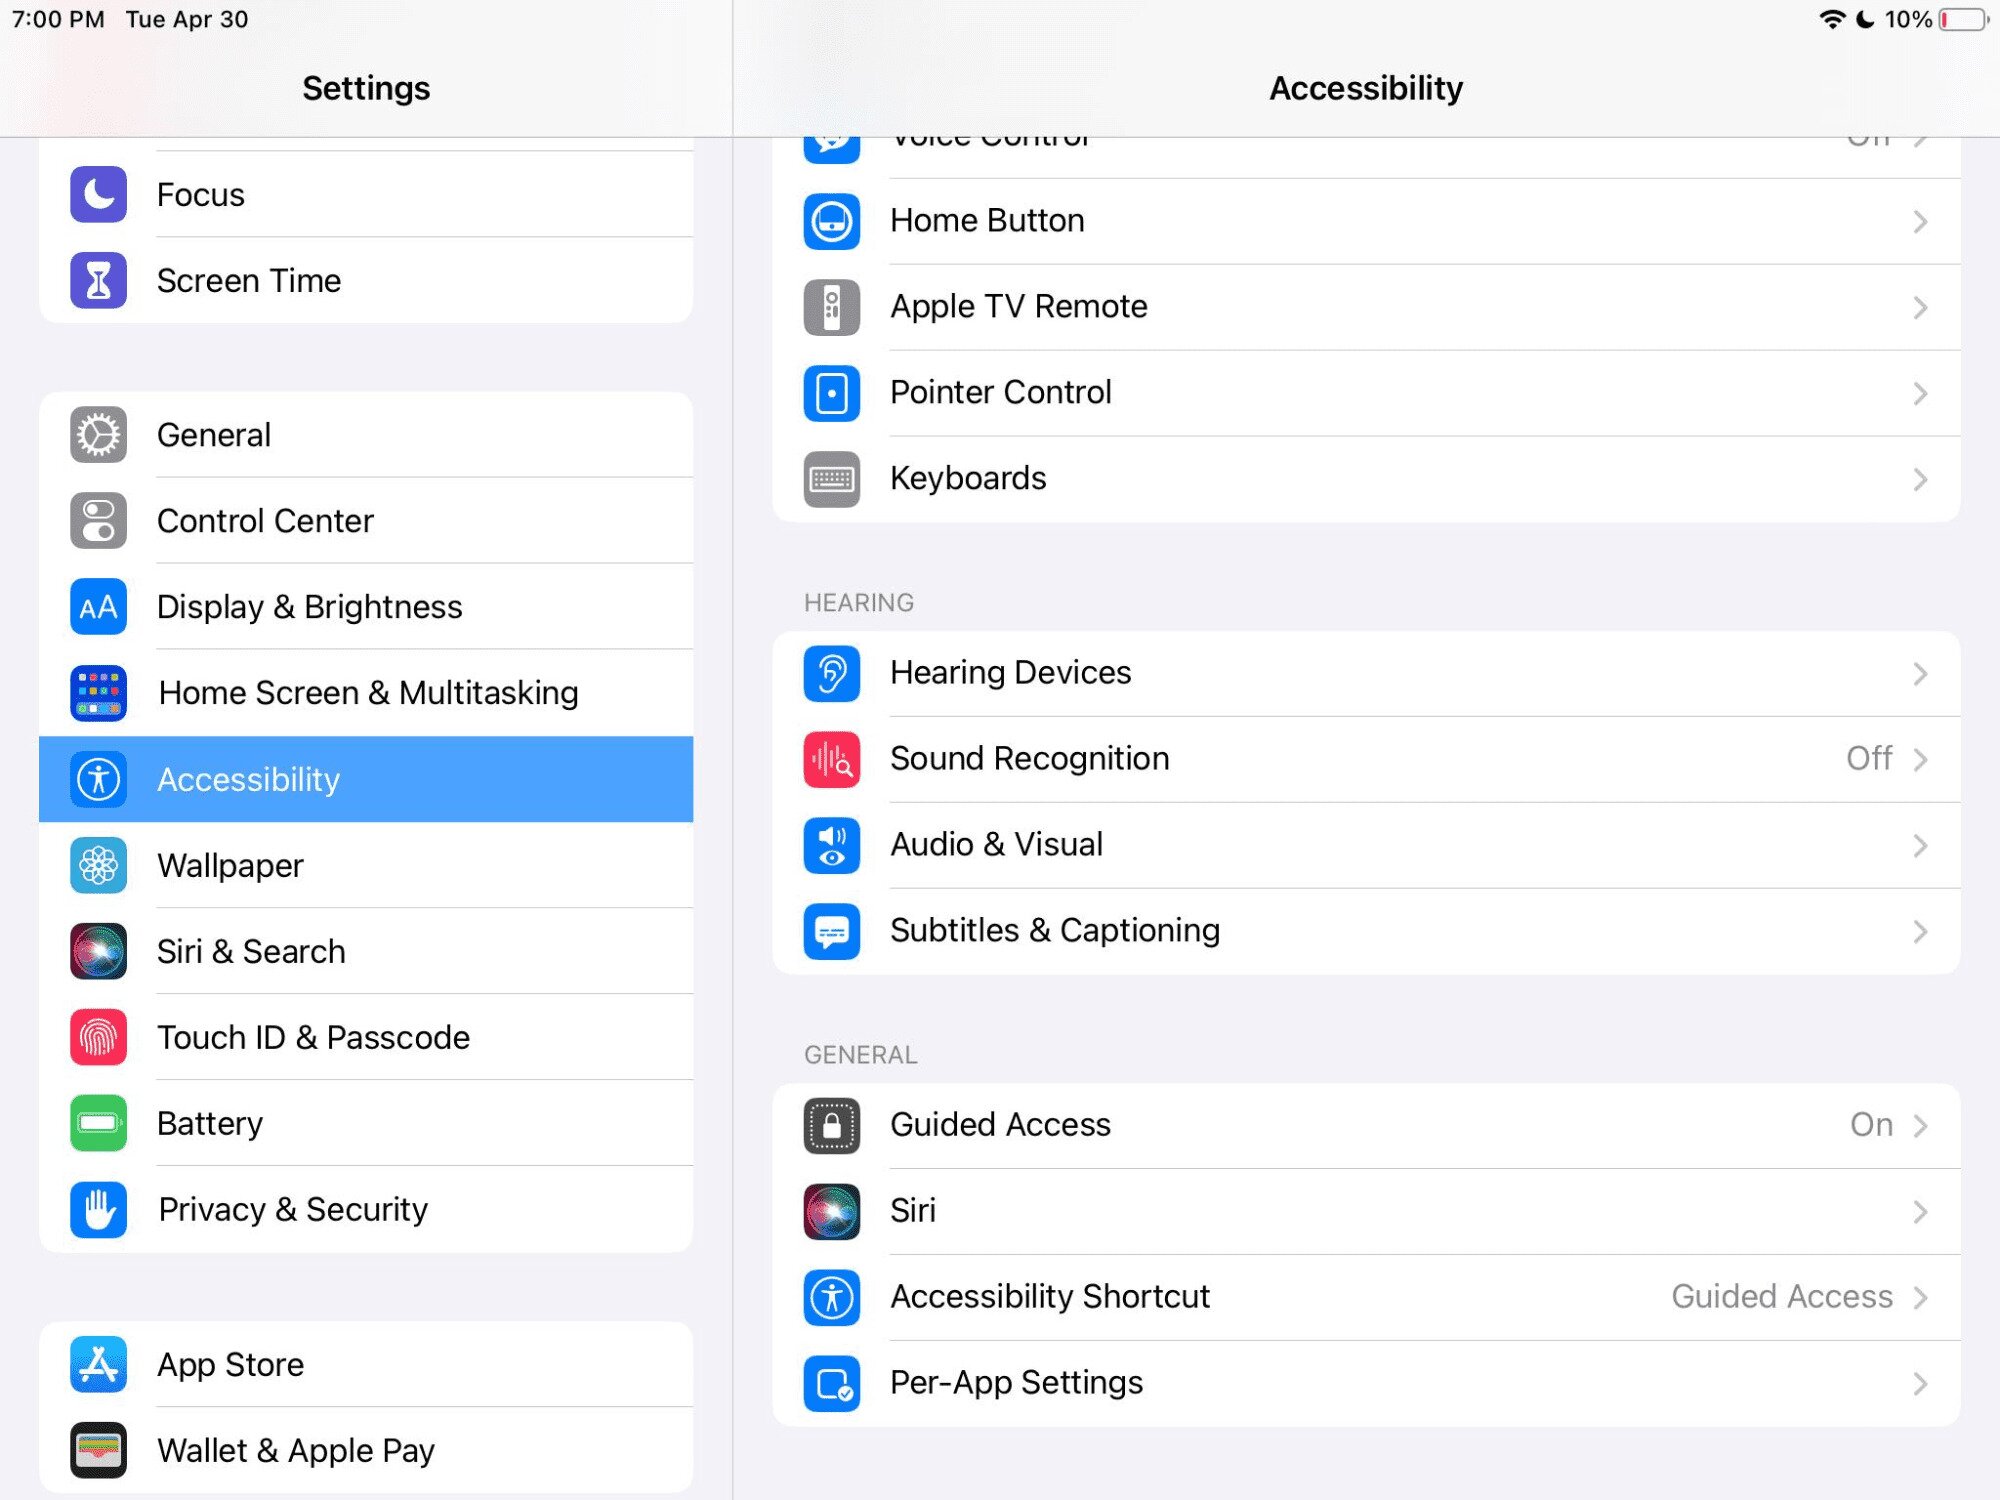
3. Tap the toggle next to Guided Access to turn the feature on.
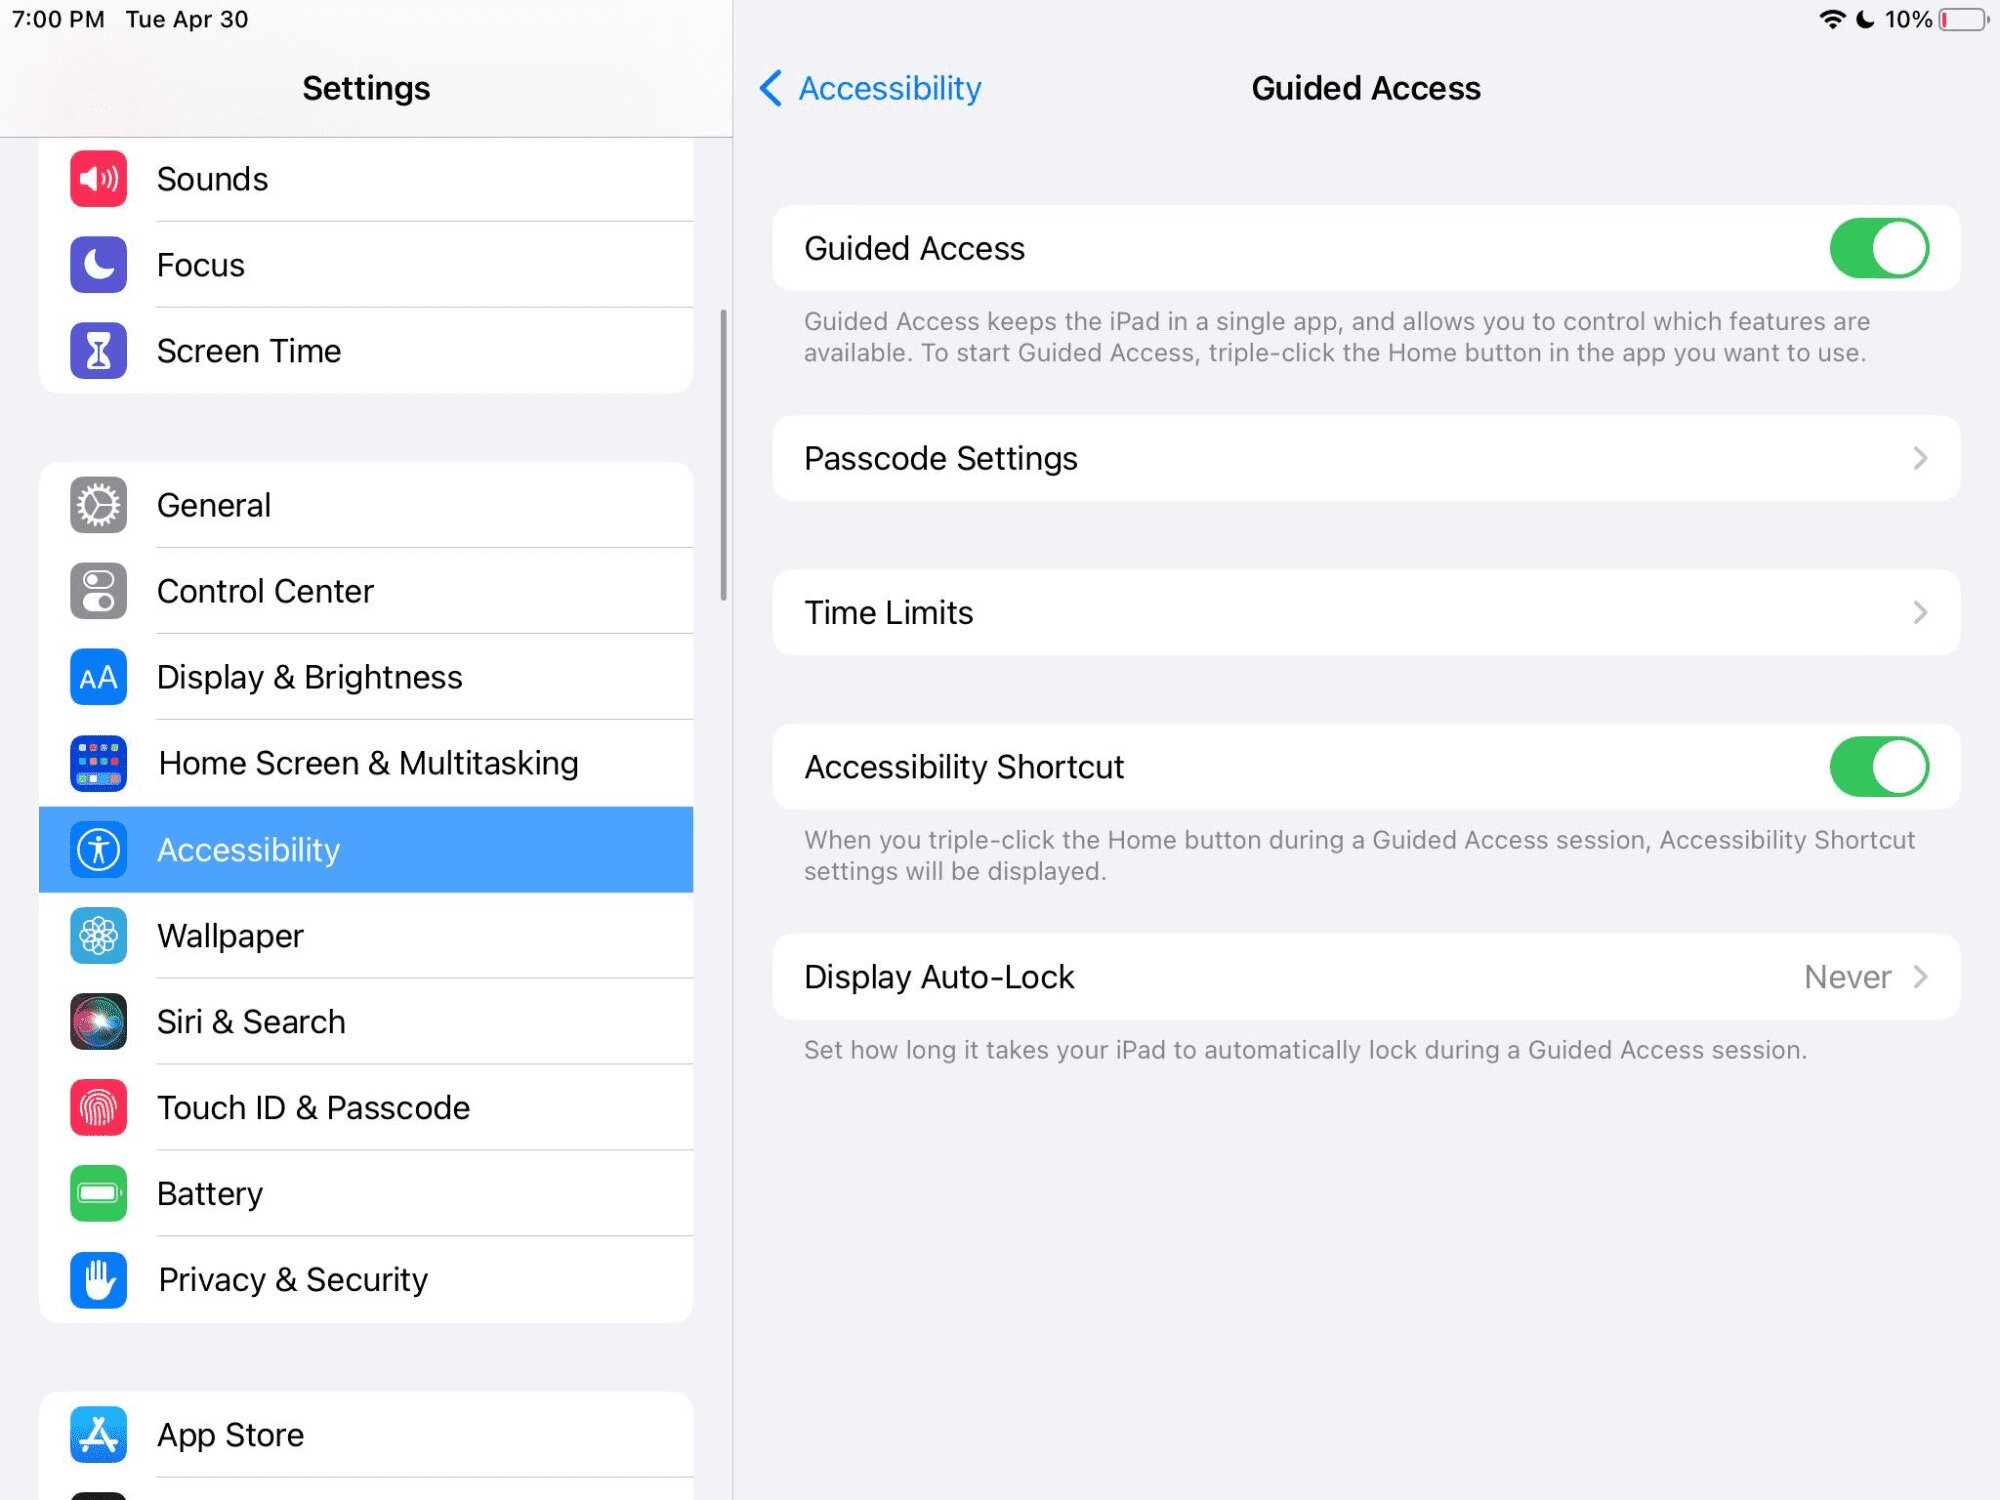
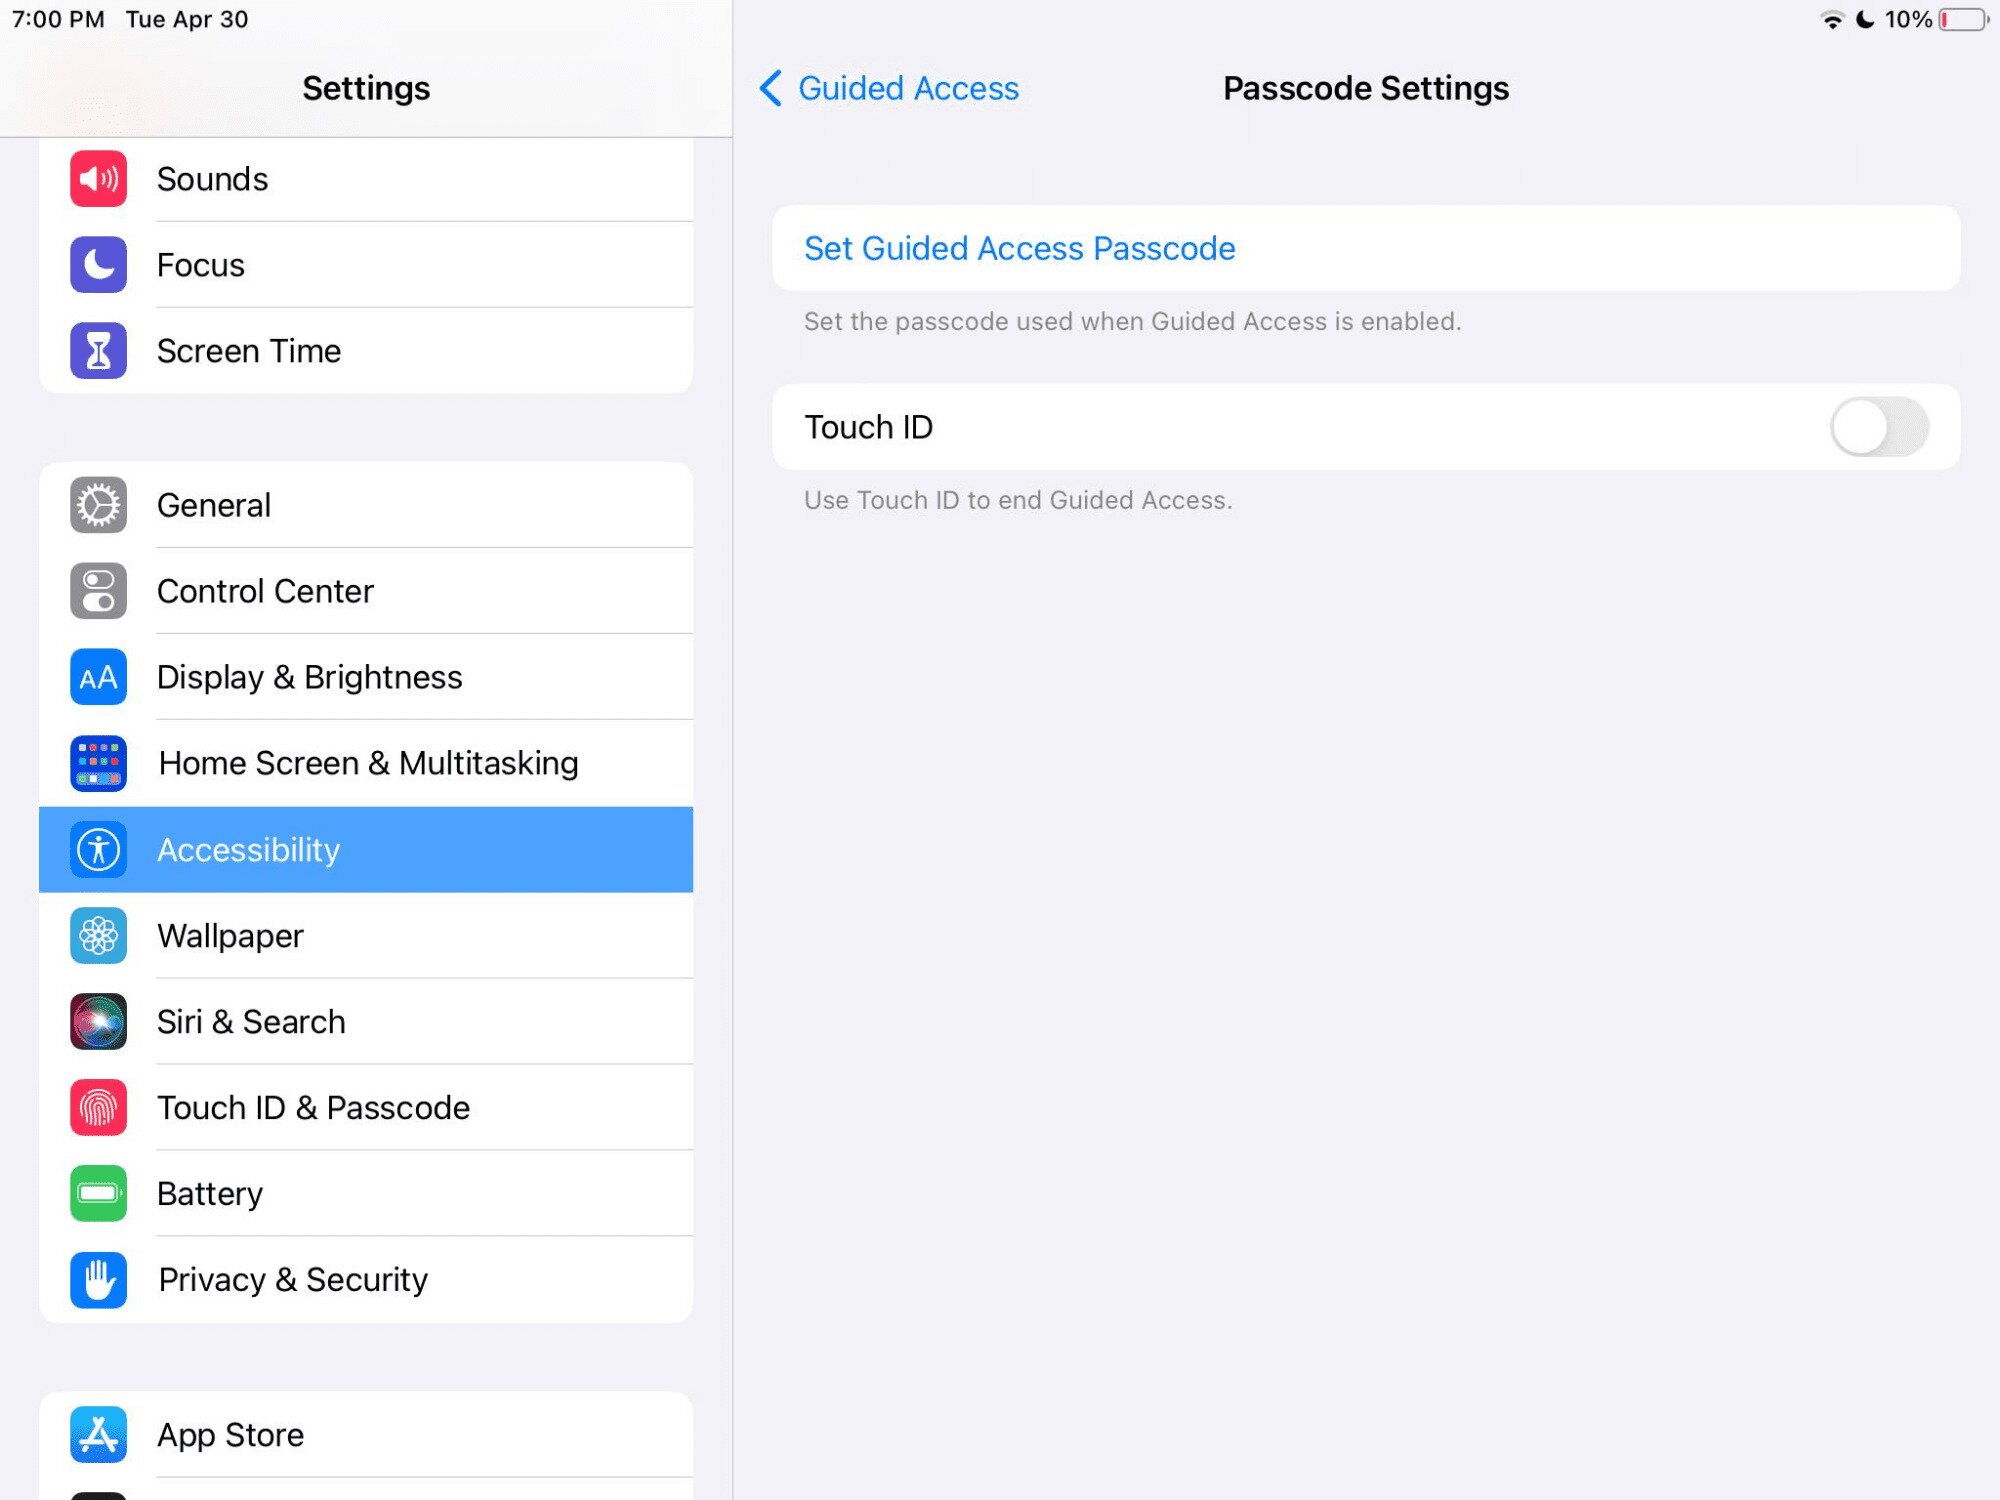
4. If you’re not prompted to create a passcode, tap Passcode Settings and set up a passcode or turn on Touch ID / Face ID.
5. Open the app you want to put in kiosk mode.
6. Press the Home button three times or the Side/Wake/Sleep button three times.
7. Tap Start at the top to switch the iPad into kiosk mode.
How to Exit Kiosk Mode via Guided Access
Leaving Guided Access works the same way as when you put the iPad into kiosk mode, but you’ll need to enter the passcode this time.
1. Triple-press the Home button or the Side/Sleep/Wake button.
2. Enter the passcode.
3. Tap End at the top left to exit Guided Access.
What Is iPad Kiosk Mode?
Kiosk mode on the iPad ‘locks’ one app on the screen. The user can freely interact with this one app and use all its features but can’t switch away from it to a different app.
Benefits of iPad Kiosk Mode
Kiosk mode on the iPad ensures that anyone using the tablet doesn’t accidentally go elsewhere. In other words, they’re locked to just one app, the app of your choosing when you turn on kiosk mode. They can’t close the app without first entering the password. For parents, it prevents children from accessing apps that are not meant for them or tampering with important account and device settings.
Conclusion
If you’re going to use the iPad as a POS or an actual kiosk, go with the Single App mode method. It’s best and built for this purpose. If you only need to put the app in this mode occasionally, Guided Access is the way to go. It’s easier to undo, and you don’t need a Mac to turn it on.
