Channel Pear Kodi Add-on, Installation Tutorial and Discovery
As we’re about to discover, the Channel Pear Kodi add-on is somewhat different from most other video add-ons. First off, there are several types of Kodi video add-ons. For instance, some specialize in pre-recorded movies or TV shows while others put the emphasis on live IPTV streams. The Channel Pear add-on falls into a different category: front-ends. These are add-ons that let you access an online, web-based service right from within Kodi.
Channel Pear introduces itself as “a media platform that lets you discover and watch content from around the world on your favorite devices”. We’re very excited about this add-on and service which, as you’ll soon see, offers a plethora of live IPTV channels to choose from.
Setting it up is a bit more involved than what you might typically be used to if you’ve previously installed other video add-ons on Kodi. We’ll cover its installation and configuration in just a moment and make it a simple, step-by step process. Once we have it installed, configured and working properly, we’ll take you through a guided tour of the add-on—and of the Channel Pear service—and show you what the pair has to offer.
For Extra Protection While Streaming, Use a VPN
We strongly recommend you use a VPN whenever you use Kodi. It will keep your ISP from seeing what you’re doing and sending you copyright infringement notices, throttling down your speed or interrupting your internet service. An additional benefit of using a VPN is that it allows you to access geo-locked content by spoofing your location through servers located throughout the world.
There are lots of VPNs suppliers to choose from. We’ve evaluated many, taking into consideration several factors to make a recommendation for Kodi users. Those factors include:
- Fast connection speed
- No-logging policies
- No bandwidth restrictions
- No restrictions on traffic
- Software compatibility
The Best VPN for Kodi: IPVanish
After testing several VPN services, our top recommendation for Kodi users is undoubtedly IPVanish. This provider offers a complete security solution that meets all our criteria. Using industry-standard 256-bit AES encryption your data is almost impossible to crack, and you don’t have to worry about your privacy being compromised if you lose your connection (as it sometimes happens with VPNs) as IPVanish features an automatic kill switch and DNS leak protection.
With a huge network of 850 servers in some 60 countries, no speed cap, no throttling, unlimited bandwidth, unrestricted traffic, no logging whatsoever and client apps available for most platforms including Windows, Mac OS, Android, iOS and the Amazon Fire TV Stick, IPVanish has all the features Kodi users need most.
IPVanish offers a 7-day money back guarantee which means you have a week to test it risk-free. Please note that Addictive Tips readers can save a massive 60% here on the annual plan, taking the monthly price down to only $4.87 per month.
Installing and Configuring the Channel Pear Add-on
Installing the Channel Pear add-on is a multi-step process. Since the add-on is a front end to a web-based service, the first thing you need to do is sign up for the service, which is free.
Signing up for Channel Pear
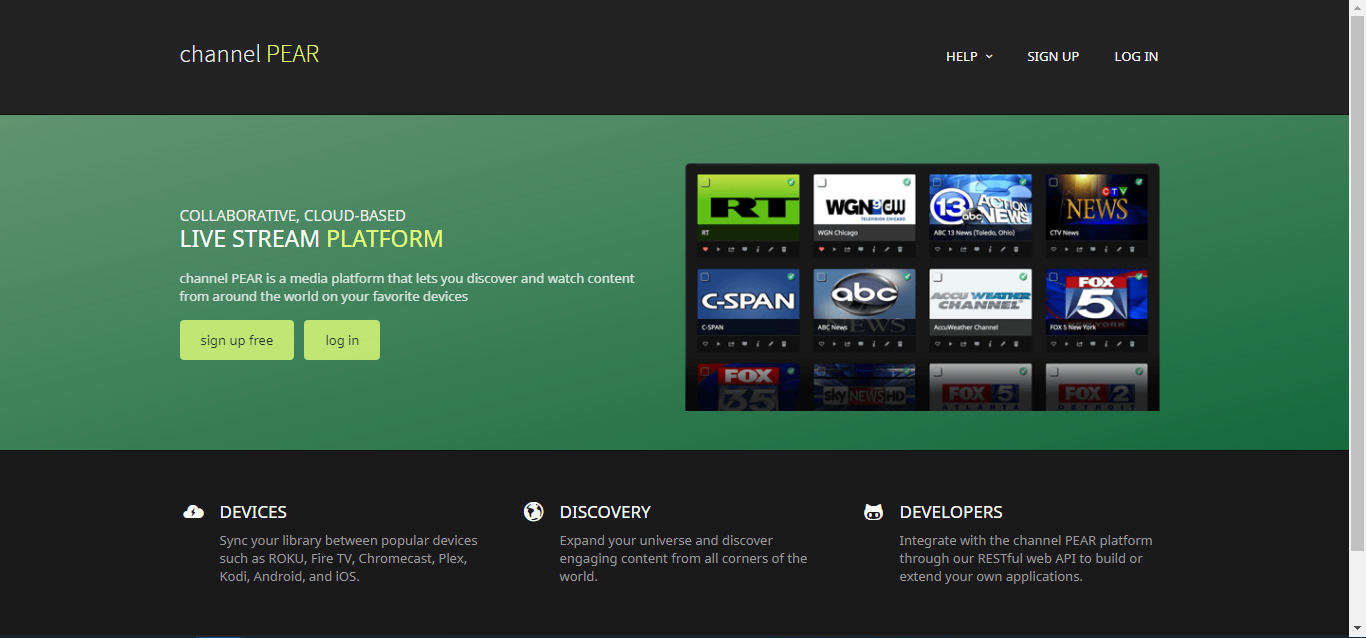
Point your browser to the Channel Pear website at https://channelpear.com and click the “sign up free” button at the middle left of the screen.
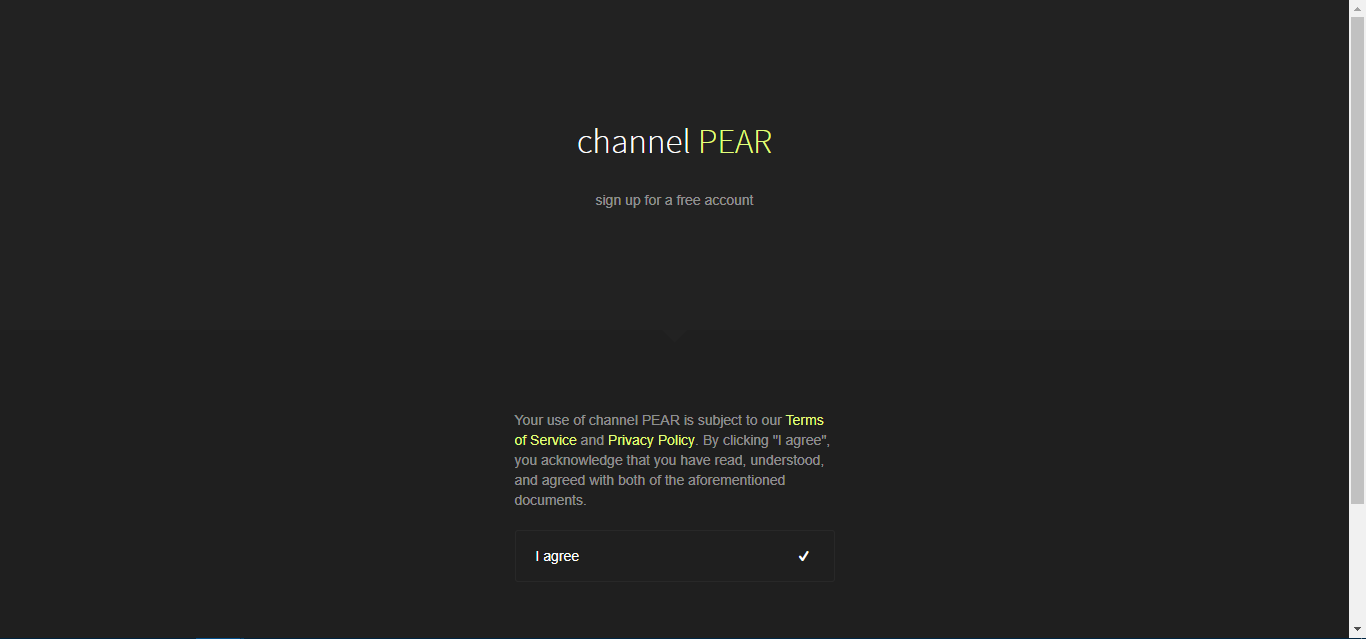
You may want to read the Terms of Service and Privacy policy by clicking the appropriate links and then you need to click “I agree” at the bottom of the page.
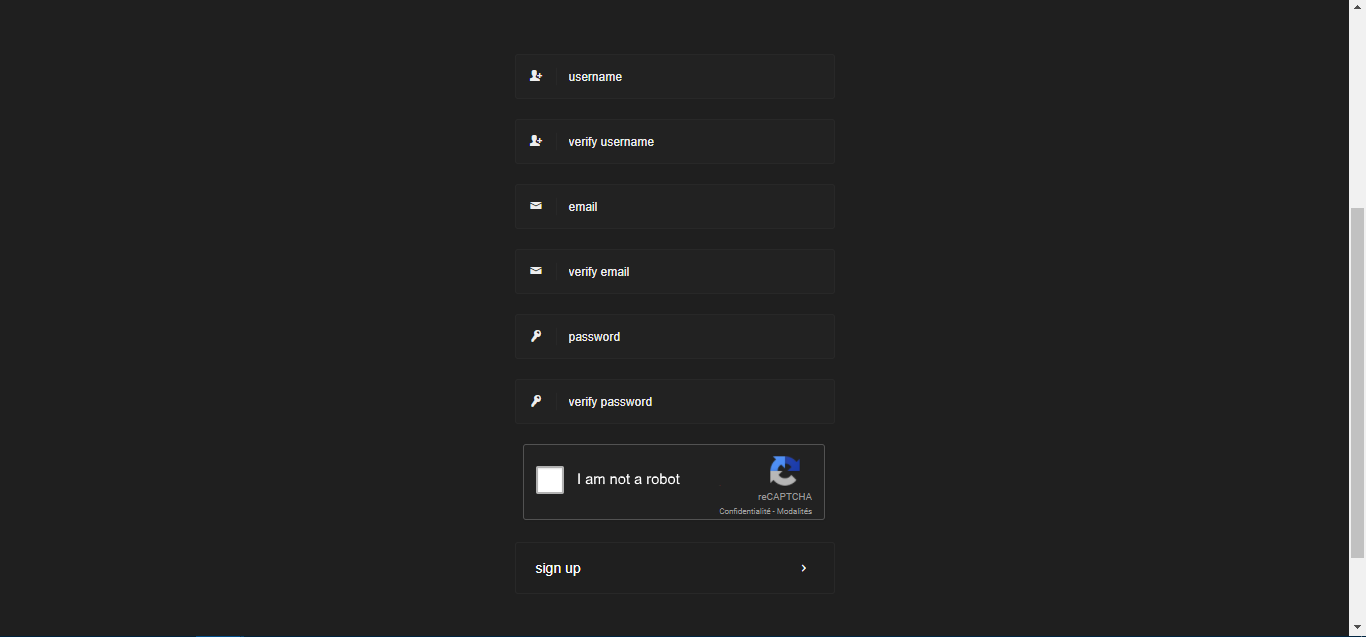
Next, you must fill the sign-up form. You’ll need to choose a username and password. For your security, chose a strong password that is different from any other password you’re using. When you’re done filling the form, click “sign up”
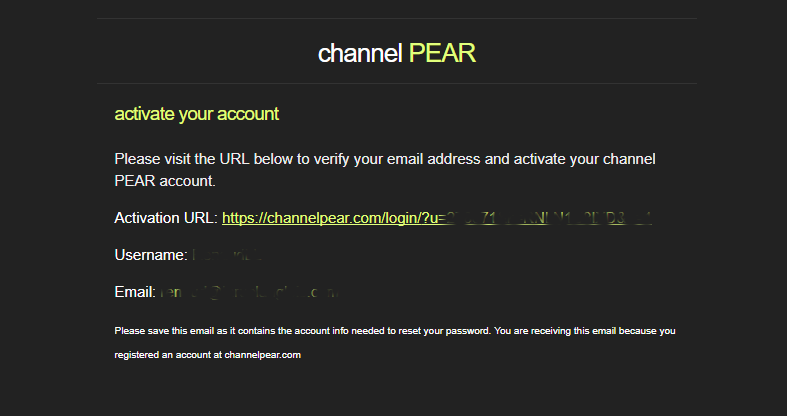
Within minutes, you’ll get an email at the address you gave when signing up. Go to your inbox, open the confirmation email and click the activation link.
This will take you to the Channel Pear login page. Your username should already be there; simply type in your password and click “log in”
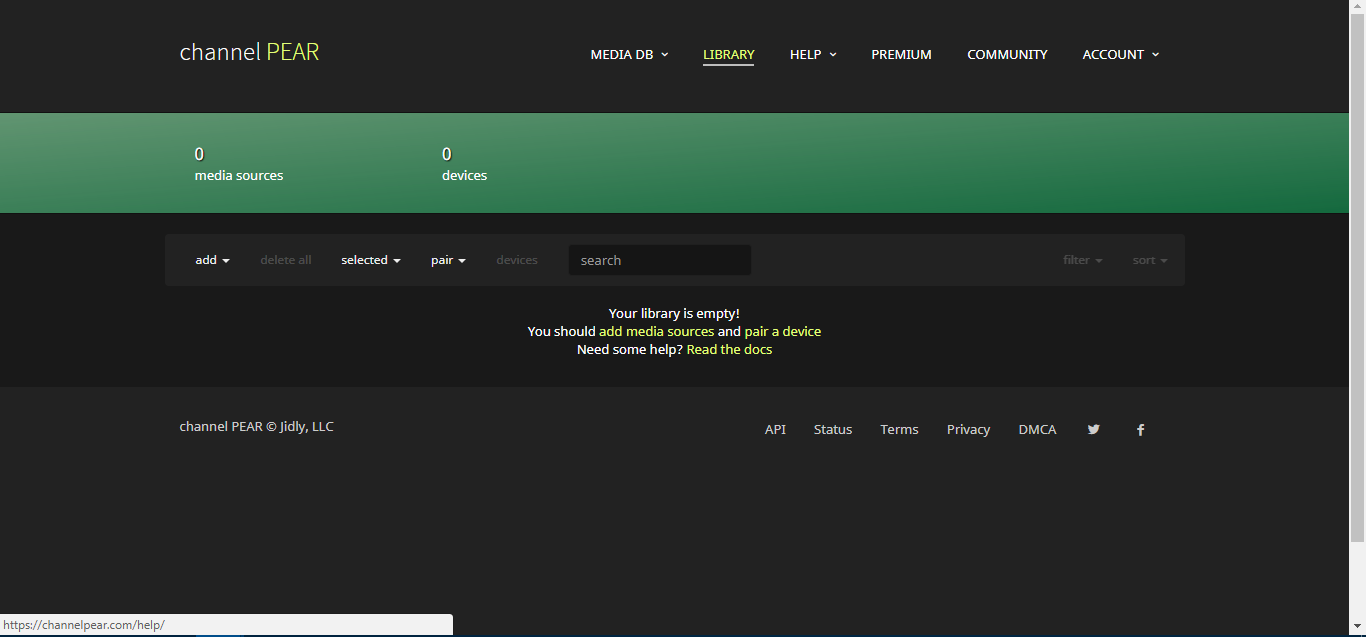
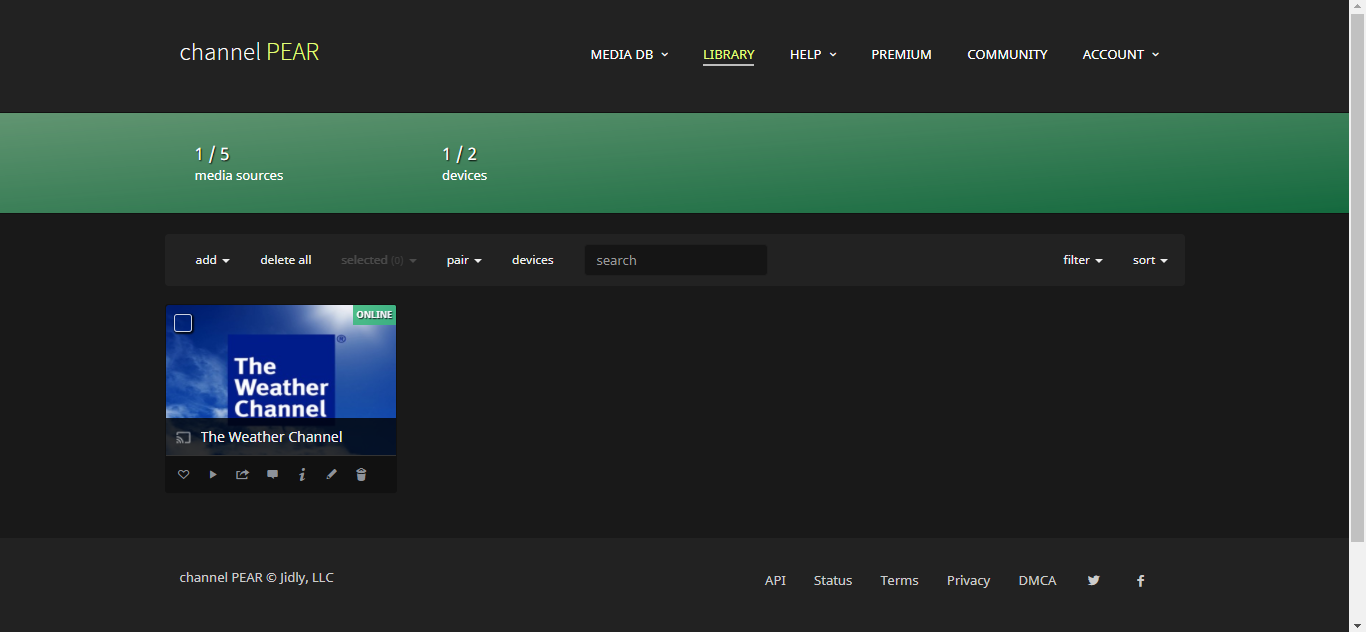
You’ve now activated your Channel Pear account! Upon login in for the first time, you’ll see your library page where you have no media source and no paired device.
Adding a source to your Channel Pear library
Before you can use Channel Pear, you need to add some media sources to your library. There are several ways to do that in Channel Pear. We’ll describe them in more detail as we give you a guided tour later. For now, let’s just add one source so we can complete our setup and make sure everything is working as expected.
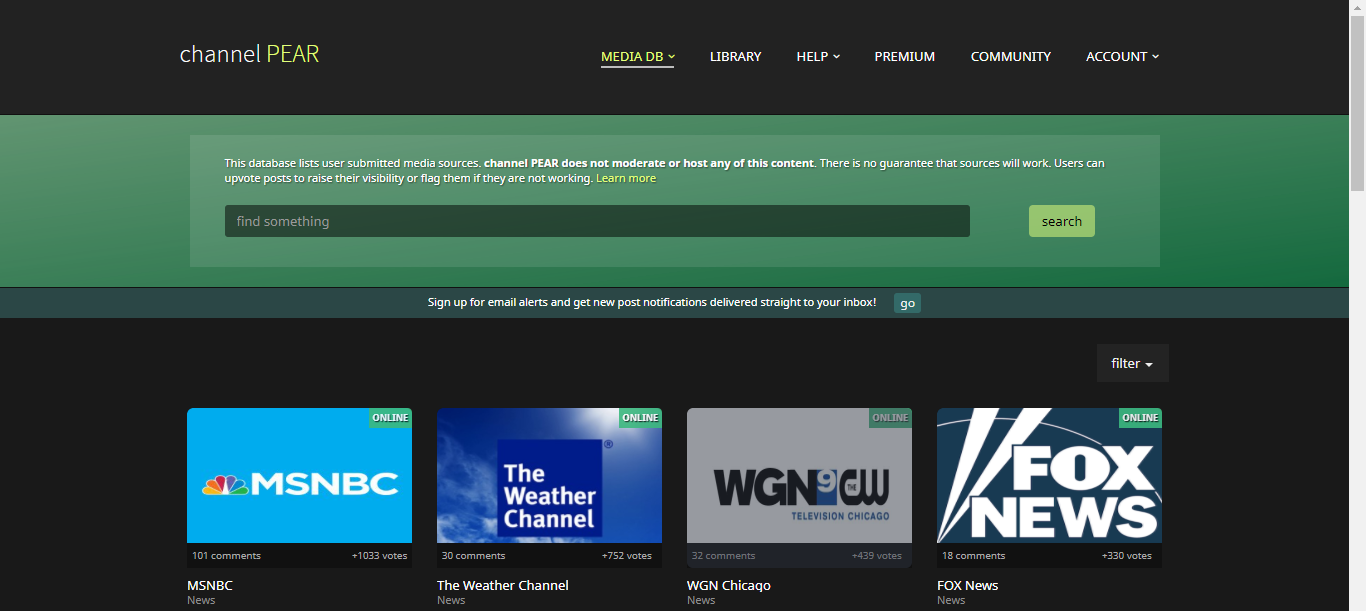
The easiest way to add a source is to click the “add media sources” link towards the middle of the screen. This will take you to a list of the Most Popular sources.
For the sake of this tutorial, let’s add the Weather Channel source. Just click its large icon to be taken to the source’s details page
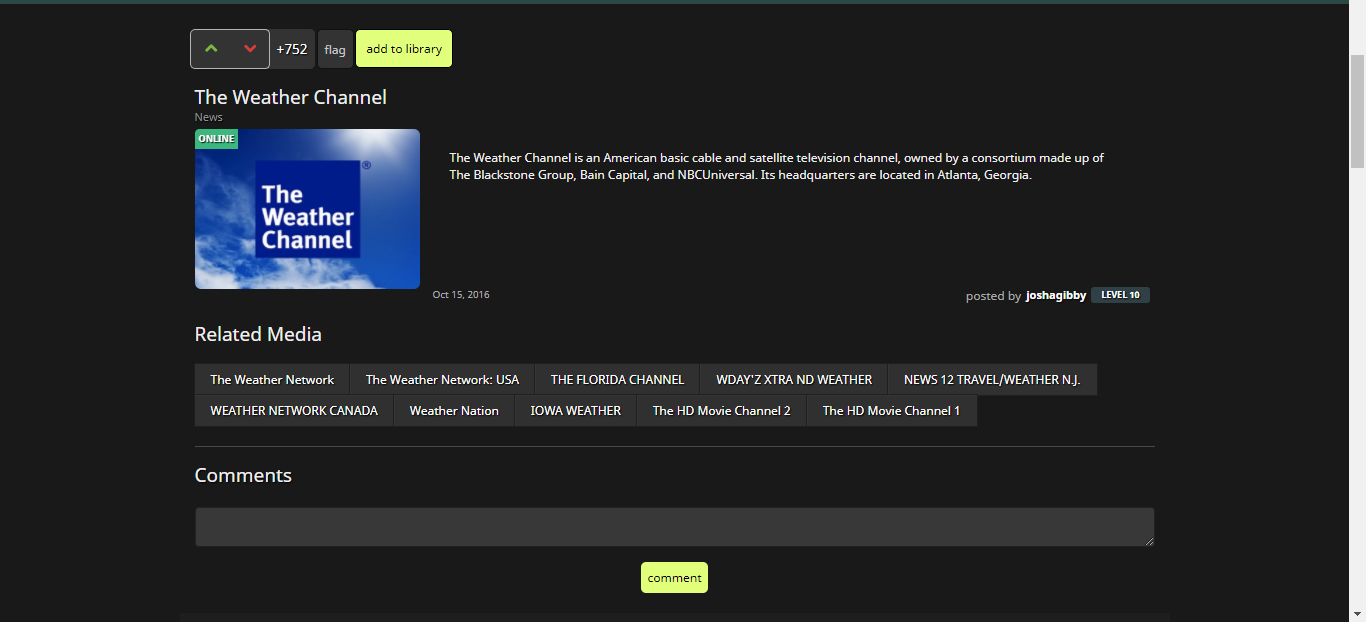
This page displays a description of the source, a list of “Related Media” that you might also like and all the user’s comments about this source. Notice the small “ONLINE” message at the top left of the source’s image? It confirms that the source is working. “OFFLINE” would mean that the source is currently unavailable and “GEOLOCKED” would indicate that it can only be accessed from certain locations.
To add the source to your library, simply click the “add to library” button at the top left, above the source’s image. You’ll get a confirmation that the source was successfully added. Click “CLOSE” and head back to your library using the top menu.
Installing the Channel Pear add-on in Kodi
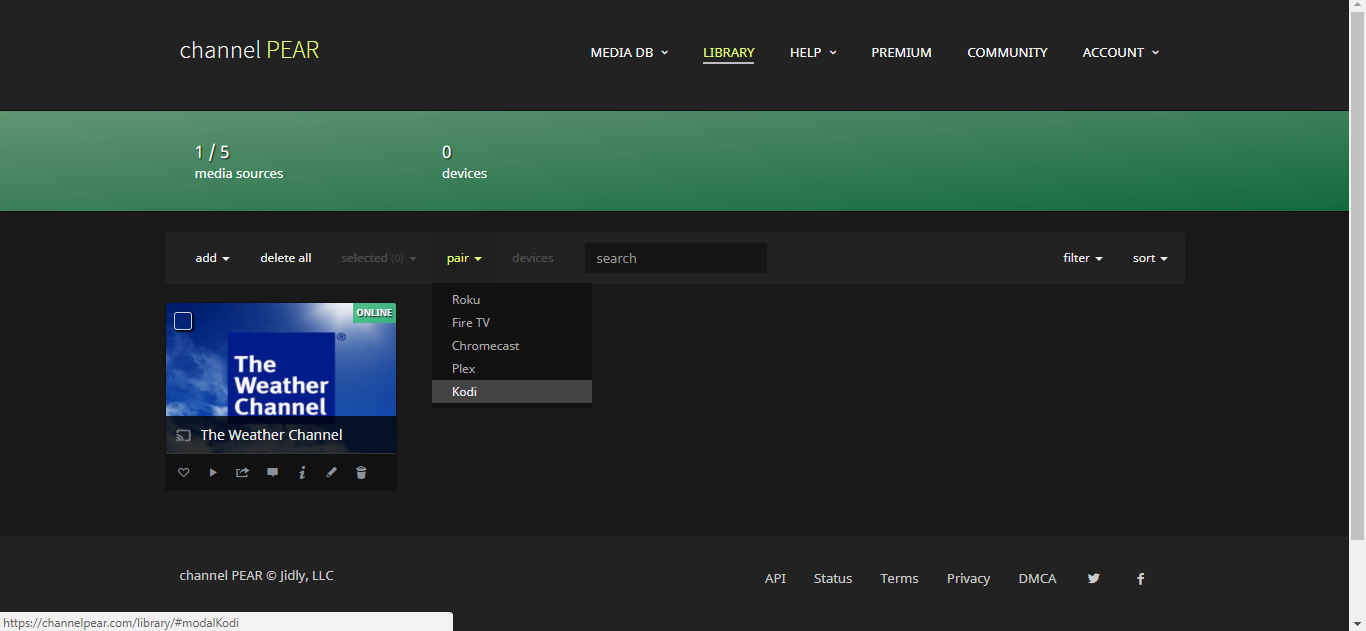
The next step we need to perform is to install the add-on in Kodi. From your library screen, click the “pair” menu at the top of your sources list and select Kodi from the drop-down menu.
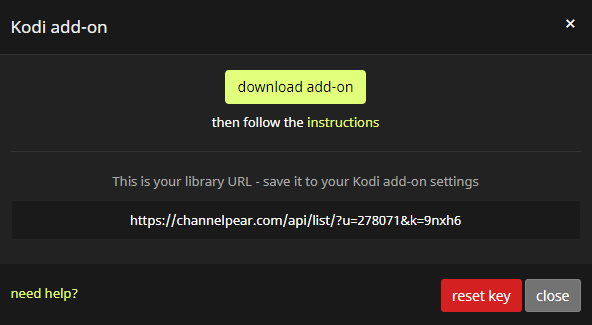
Click the “download add-on” button at the top of the dialog box that opens.
Chose a location where to download the zip file and click save. Leave your browser window open. We’ll get back to it very shortly.
Note: We’re assuming that you’re doing this from the same device where you’re running Kodi. If you’re doing this from a computer and are running Kodi from a different device, you should save the zip file to a USB key or memory card that you’ll be able to insert in your Kodi device.
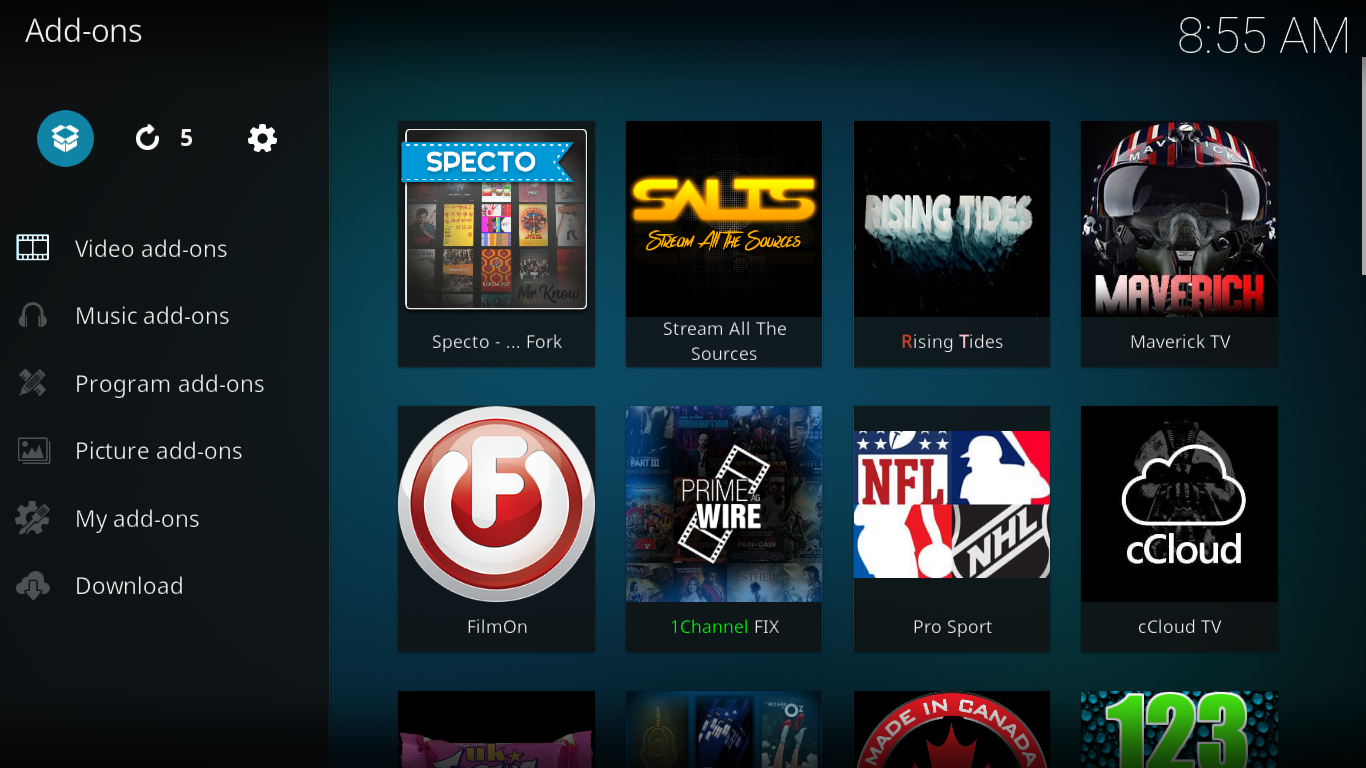
Then, from within Kodi, click Add-ons on the left pane and click the Package Browser icon at the top left. It’s the icon that looks like an open box.
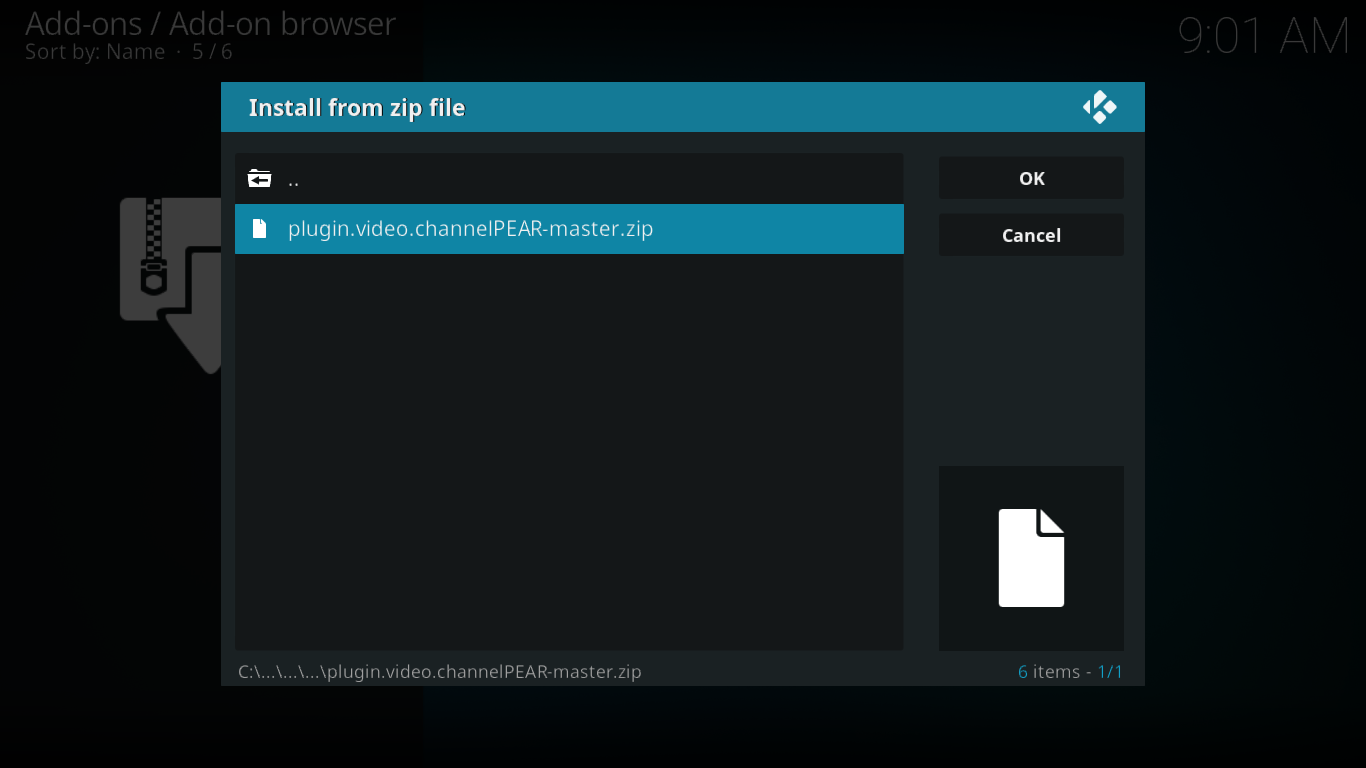
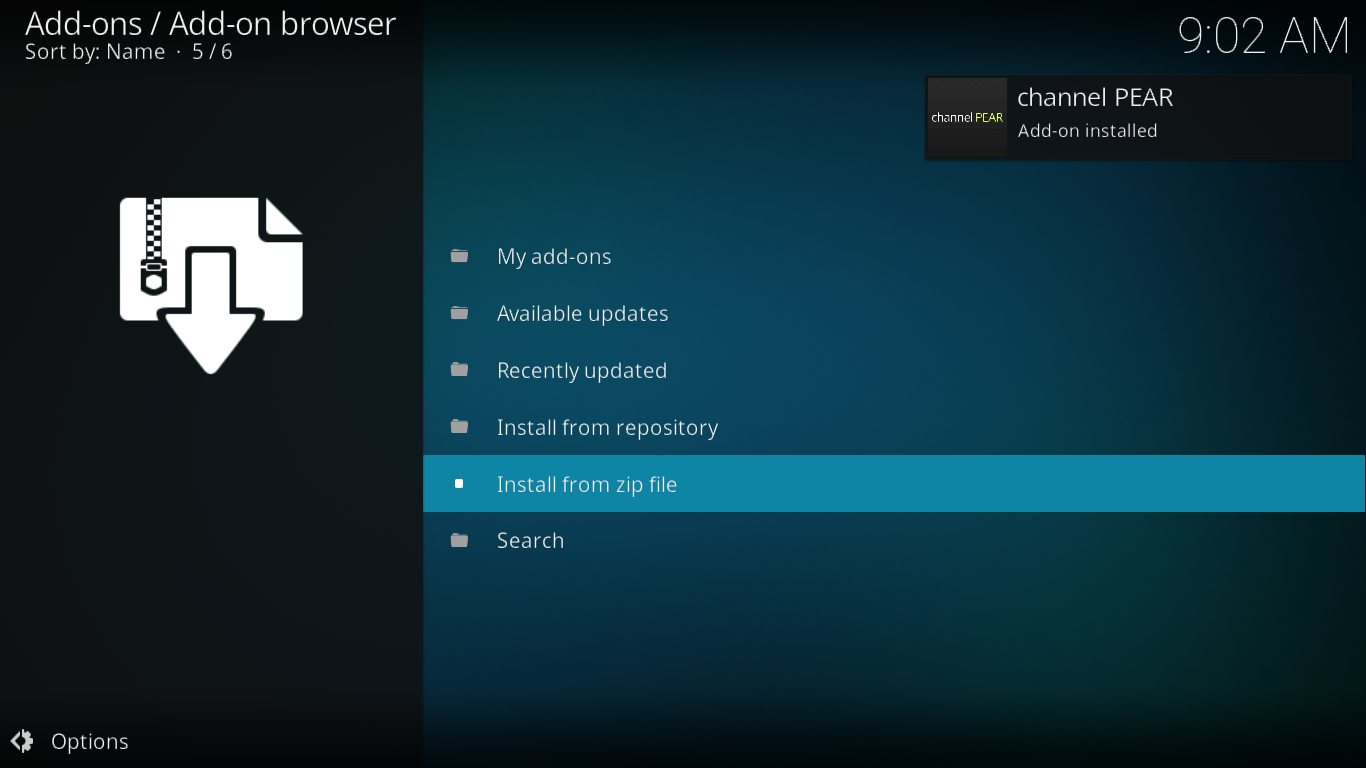
Chose “Install from zip file”, navigate to the folder (or the USB key or memory card) where you saved the zip file from the previous step and click the plugin.video.channelPEAR-master.zip file to install the add-on.
After a few seconds, a message will confirm the successful installation of the add-on.
Don’t start the add-on just yet! You need to pair it with your library first.
Pairing Kodi with your Channel Pear library.
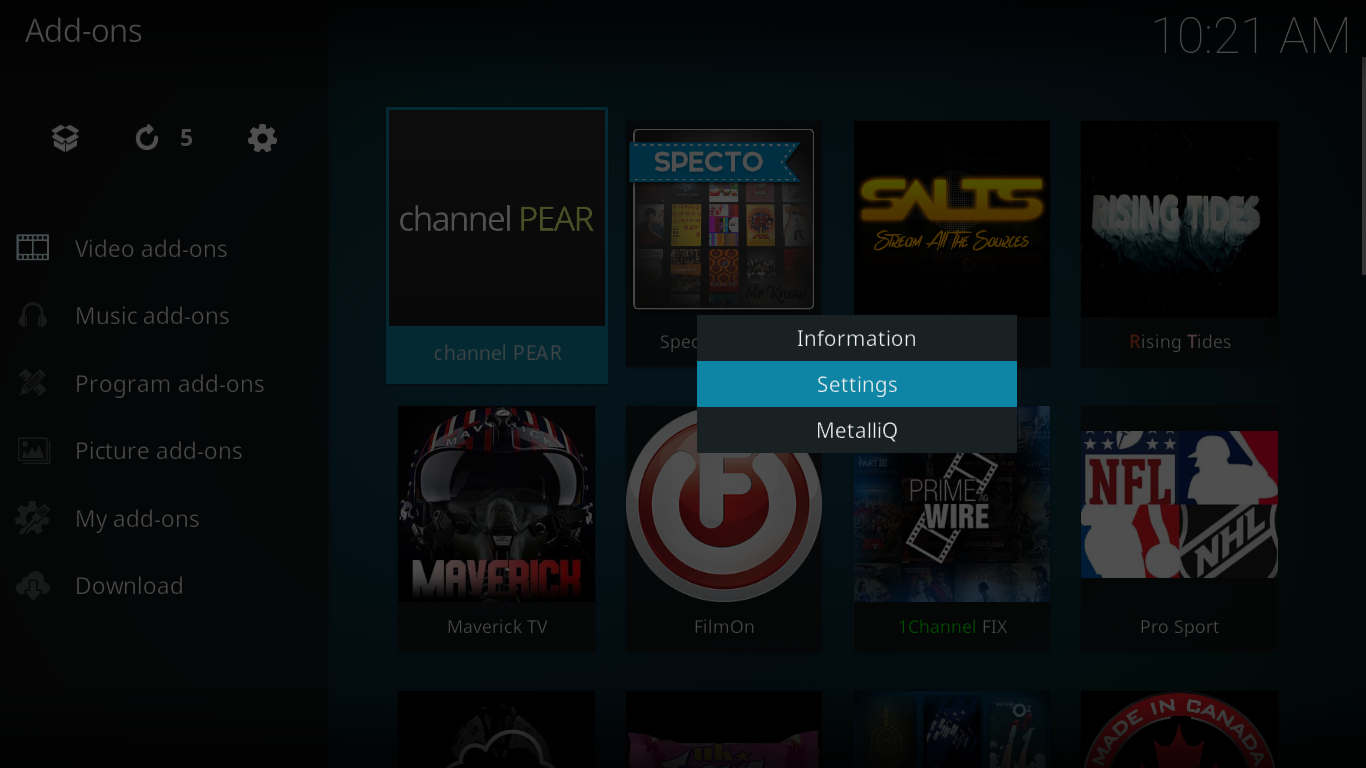
Navigate to your video add-ons and select the Channel Pear icon and bring up the context menu by either right-clicking it or hitting “C” and choose Settings.
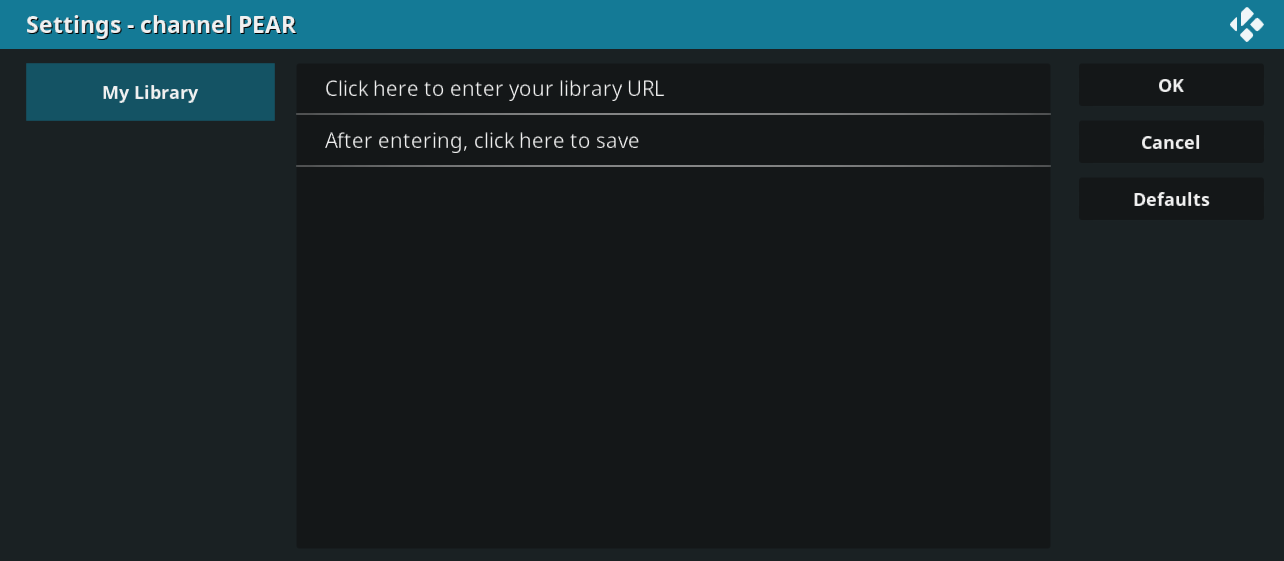
Click the first line that says: “Click here to enter your library URL…”. On the next screen, replace whatever is there with your library URL. You’ll find it on the browser screen you left open after you downloaded the add-on.
If you haven’t kept that page open, no worries. Just go back to your Channel Pear library, click the Pair menu at the center of the screen and choose Kodi from the drop-down menu. A dialog box with your library URL will appear.
After you enter the library URL in Kodi, click OK at the lower right and click the second line, the one that says: “After entering, click here to save”.
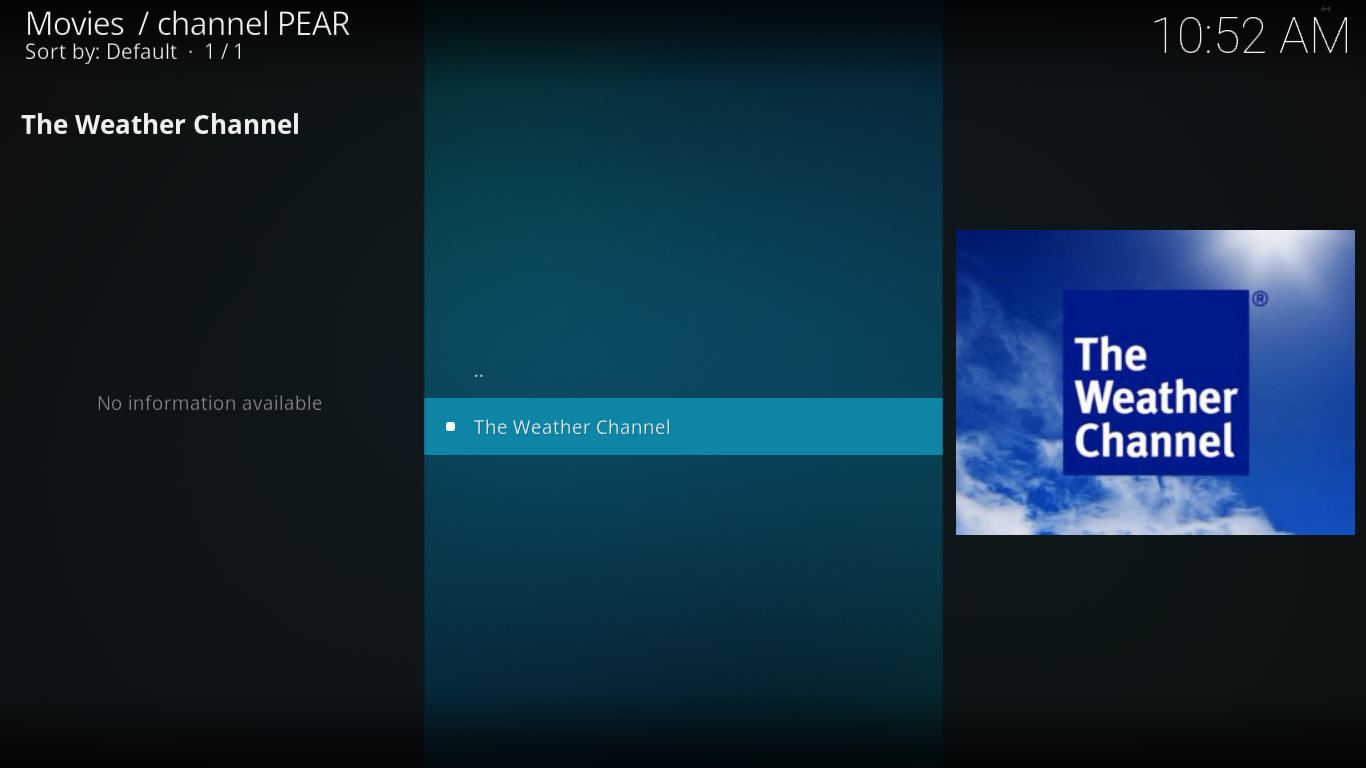
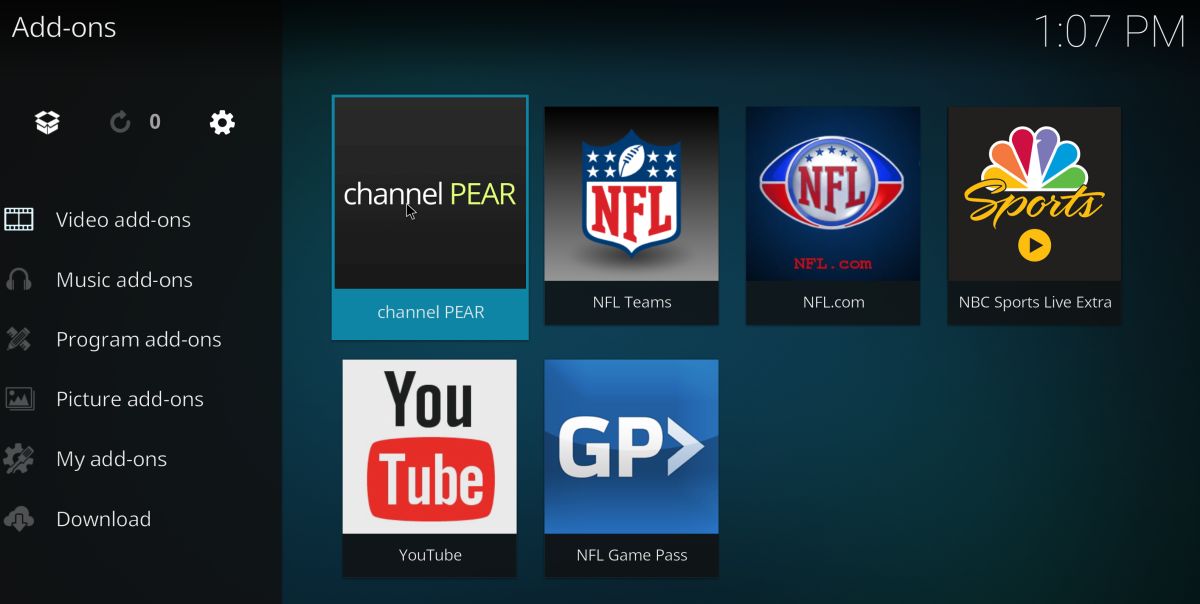
That’s it! You should be ready to go. Let’s do a few checks to make sure all is OK. Start the Channel Pear add-on from your Kodi Video add-ons page by clicking its icon.
If all is well, you should see your Weather Channel source.
Clicking the source will, expectedly, start playing the channel.
And as an extra verification, if you go back to your Channel Pear library in your browser, you’ll see that the bar towards the top of the screen now shows 1 / 2 devices.
Now that we’ve installed and configured everything, let’s see what Channel Pear has to offer!
DISCLAIMER: AddictiveTips.com does not condone or recommend the use of Kodi or any add-on to access copyrighted content to which you have no right. We’re not responsible for what you decide to do with the contents of this article. Software piracy is not something we support or approve, and we strongly advise users to only access content they are legally entitled to. As a Kodi user, you must take steps to ensure you are not in breach of any copyright law.
A Guided Tour of Channel Pear.
Channel Pear is quite different from most other add-ons. You do all of its configuration, source selection and organization from your browser and NOT from Kodi. Once you get your library set up to your liking, though, you’ll be able to easily access and watch any of its content within Kodi, and from any other client app that you pair with it.
Browsing and Adding and Removing Sources
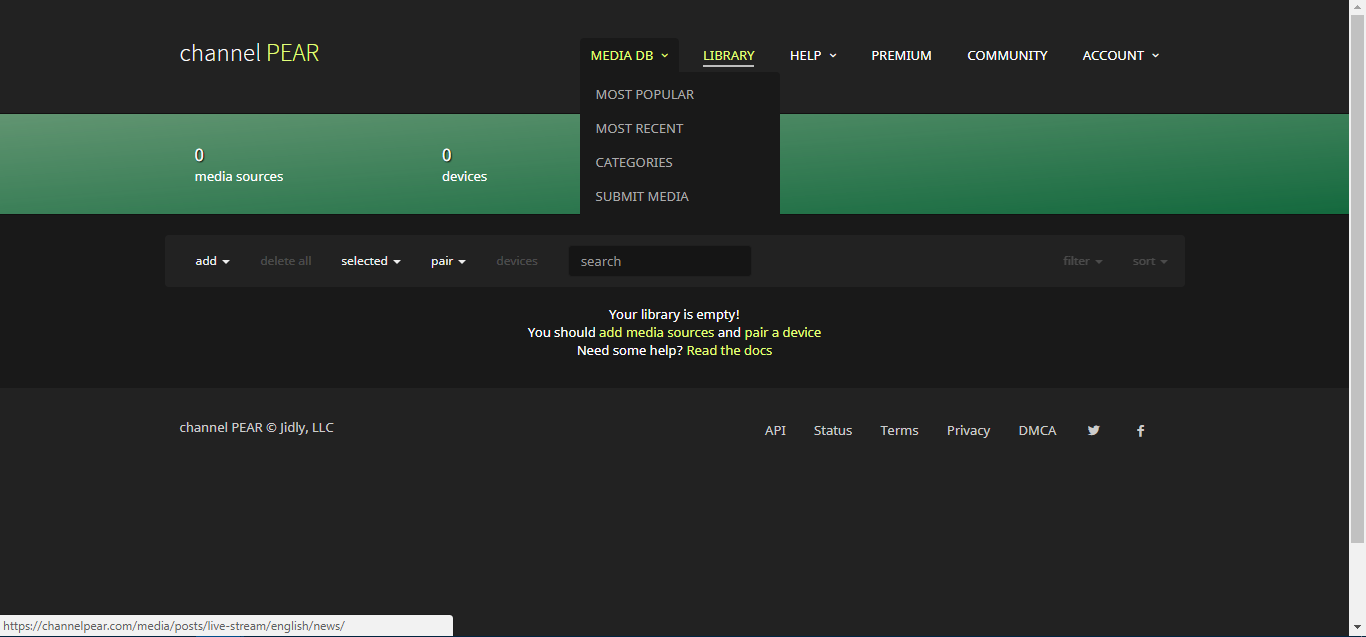
This is the Channel Pear feature you’ll be using the most. Adding a source to Channel Pear is done from your library page. Clicking the MEDIA DB menu at the top of the page will reveal four options: MOST POPULAR, MOST RECENT, CATEGORIES and SUBMIT MEDIA.
The first two options will let you browse the available sources sorted by popularity and addition date, with the most popular and most recent towards the top, respectively.
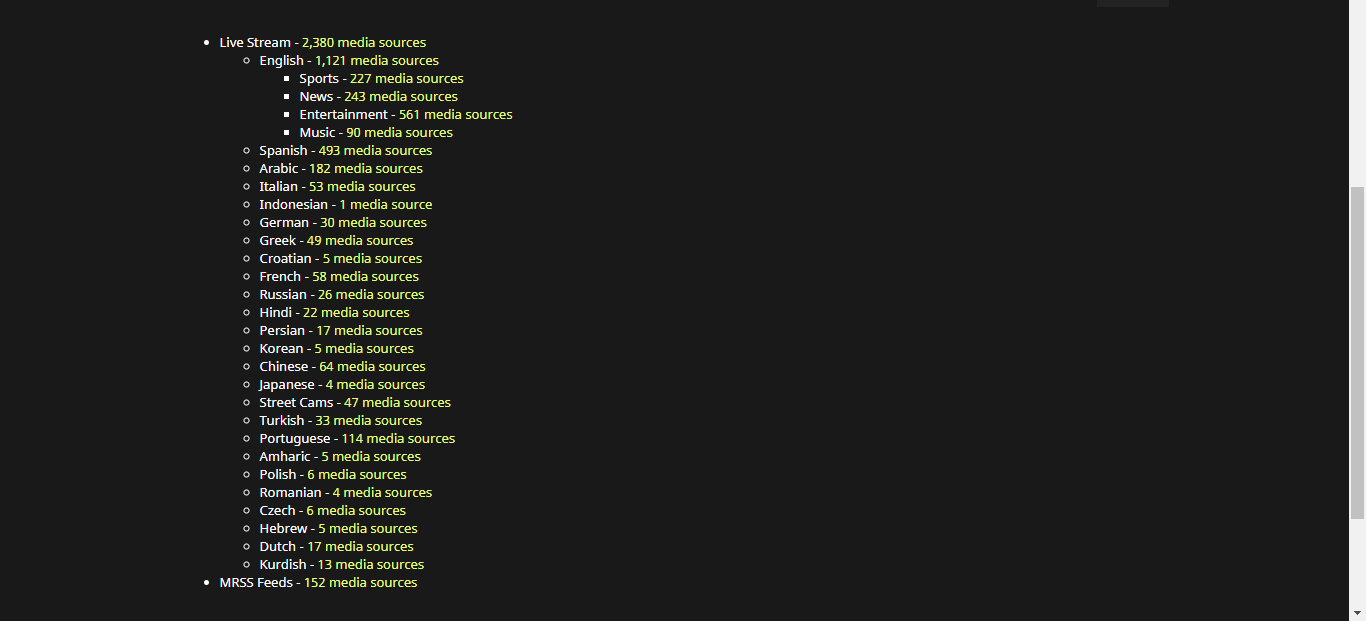
The CATEGORIES option makes browsing the available sources somewhat less intimidating. If you’re looking for content in a specific language, it’s certainly the best way to go.
And speaking of languages, as you can see, you’re not limited to just English content with Channel Pear. To make your source browsing experience even better, the English category is further subdivided into four categories.
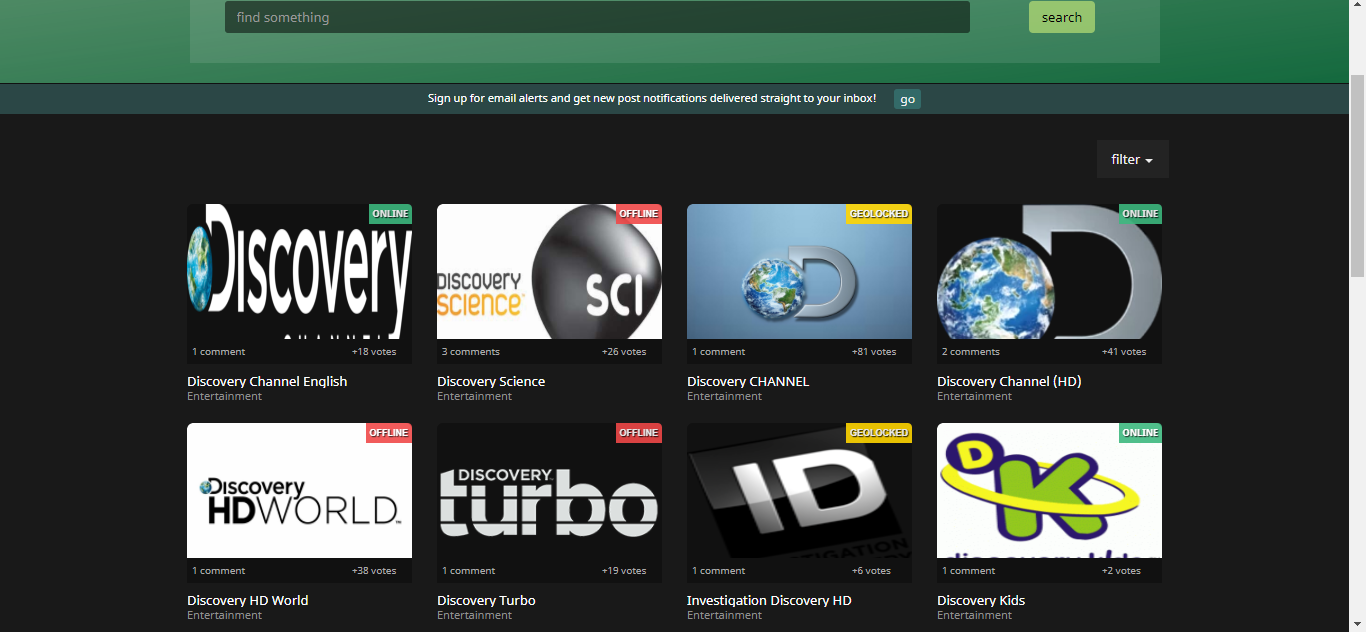
Also available within Channel Pear is a powerful search engine that is prominently featured at the top of each MEDIA DB page. For example, if you want to find all the different “Discovery Channel” sources, simply type in Discovery and hit the search button.
All the sources containing “Discovery” in their name will be listed.
And here’s another cool feature of the search engine: If you want to limit your search results to only functioning add-ons, you can click Filter at the top right of the screen and select Online or Geolocked. Geolocked sources will, of course, only be available from specific locations but this can easily be circumvented by using a VPN.
Deleting a source is even easier than adding one. From your library page, simply click the trash can icon at the bottom right of any source icon to remove it from your library.
Pairing with multiple devices
In addition to Kodi, your Channel Pear library can be paired with other devices. It currently supports the Roku, Amazon Fire TV, Chromecast, and Plex, in addition to Kodi. You could have multiple devices of the same or different type and be able to access your source library from any of them.
Limitations of the free service
While signing up to Channel Pear costs nothing, the free service is quite limited–you can only add 5 sources at a time to your library. If you want to add more, you’ll need to opt for the paid Premium subscription. You could probably stay with the free service and add and remove sources as your viewing needs change, though. There doesn’t seem to be a restriction on changing your sources lineup as often as you like, after all.
Another limitation of the free service is that you can only pair two simultaneous devices. If you have more than two media players, you’ll need to go with the Premium service.
Premium service pricing structure
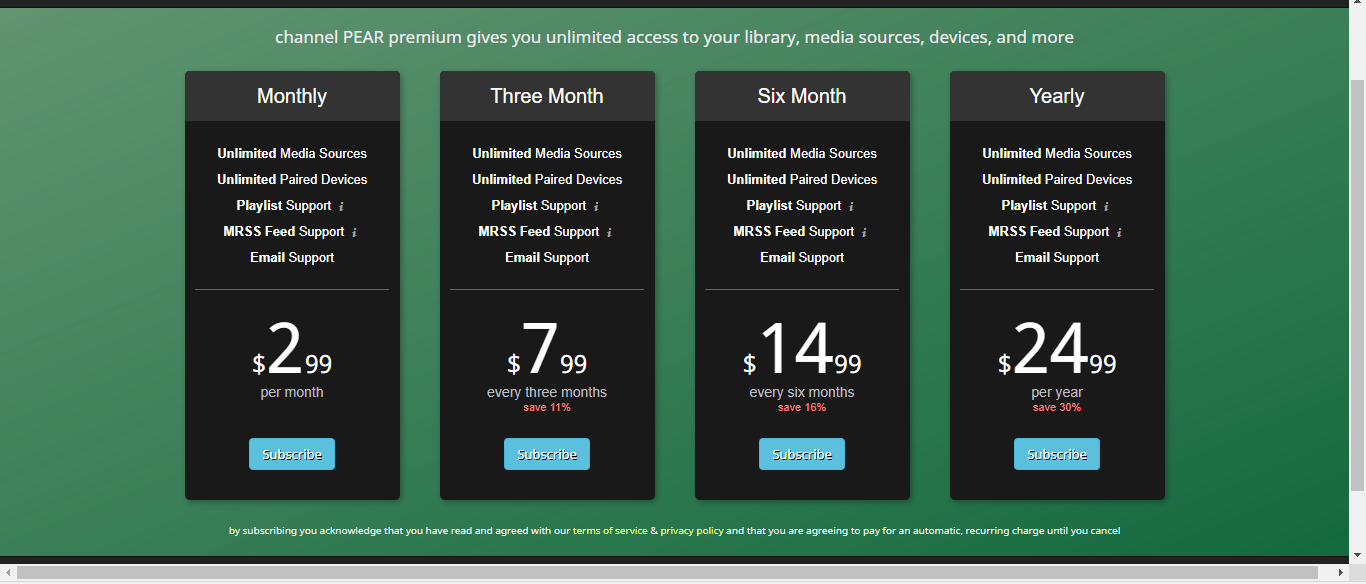
The Premium service is cheap and its pricing structure is easy to understand. There’s just one tier: Premium. The pricing varies between just over two dollars to $2.99 per month, depending on the subscription term you choose, as shown below.
The Premium service will give you unlimited media sources, unlimited paired devices, the ability to create playlists and access to MRSS feeds.
Pros and Cons of Channel Pear
One of Channel Pear’s greatest strengths is certainly the number of sources it offers. With over 2000 streaming sources to choose from, there is truly something in there for every viewer profile.
Other things we loved about Channel pear is that it features a real-time online/offline/geolocked status for all sources as well as comments from other users about each source. It makes vetting the “bad sources” easy.
On the down side, it can be a major hurdle to have to open a browser to manage your sources. On the other hand, it allows you to configure the service only once and have access to all your sources from any paired device.
Another drawback of Channel Pear is the limited number of categories when browsing sources. Some categories are very large. Take for instance the Live Stream>English>Entertainment category. It contains more than 500 sources. That’s 21 pages you’ll have to browse to see all that’s available. Thankfully, the search engine makes finding specific content easier.
Other interesting options
If you’re craving for quality live IPTV content on Kodi, we recommend this recent article where we review several other interesting IPTV add-ons: Best IPTV Add-ons for Kodi: The Ones Still Working in 2017.
The Wolfpack add-on is also a great option for live IPTV content. It was recently featured on Addictive Tips: How to Install the Wolfpack Kodi Add-on, Working Sources for 2017.
Conclusion
Channel Pear is certainly one of the more unique Kodi add-ons out there. Bucking the trend of performing all configurations with Kodi, it’s super easy to access your library across multiple devices. While the free service is somewhat limited, we’re confident this won’t be too big a problem for most users. What are your favorite sources? Did you run into any issues with installation or configuration? Leave us a comment below!
