How To Make A Windows USB From The Linux Terminal
Ever since Windows 8, making a Windows USB installation medium is easier than ever. So easy, users can make a Windows USB from the Linux terminal. Doing this is a very tedious process, but as far as making Windows install disks go, the terminal is the fastest and most fool-proof way.
SPOILER ALERT: Scroll down and watch the video tutorial at the end of this article.
The first step is to partition your USB flash drive. Windows USB installers need to be in a specific format: Fat32 to be exact. This also means that by making the installer this way, you’ll be forced to use UEFI mode. Not a fan of UEFI? Don’t follow this guide! Your USB drive should have at least 4GB space. Ideally, use one that had 8GB space.
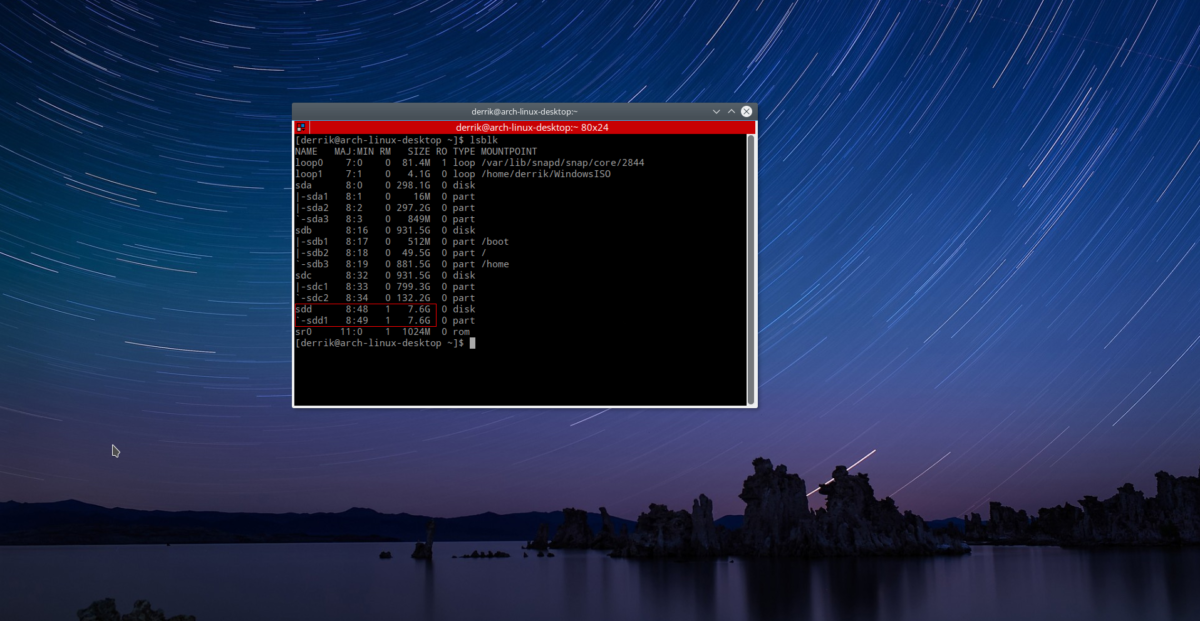
Plug in your USB flash drive, then, in a terminal, run the list block command (lsblk). This command will reveal all block devices on the Linux PC. Pinpoint the /dev/ label of your USB flash drive. Keep in mind of it’s size. This will help you determine what the drive is. Then, run the parted command:
Note: in this example, the USB flash drive’s /dev/ label is /dev/sdd. Yours may differ. Be sure to change it to what lsblk shows.

sudo parted /dev/sdd
Inside the GNU Parted partition tool, create a new partition table. As the Windows USB needs to be UEFI, this partition table must be in the GPT format.
mklabel gpt
Answer yes to any questions GNU Parted asks regarding making the new partition table. Then, create a new file system on the new partition table, with:
mkpart primary fat32 1MiB 100%
Then, exit GNU Parted with:
quit
Lastly, format the new partition with the mkfs command.
sudo mkfs.vfat -F32 /dev/sdd1
With the USB formatted, mount it to the PC. Do not mount your USB flash drive within the file manager. Instead, make a new folder called USB with the mkdir command.
mkdir ~/USB
sudo mount /dev/sdd1 ~/USB
Mounting The ISO file
The USB drive is in the proper format and ready to hold the Windows files. The next step is to mount the Windows ISO as a loop device to extract the files. It’s a bit tricky but you can get the official Windows 10 ISO from Microsoft. Mounting as a loop device is important. Users can’t just right-click on an ISO and extract the data on Linux, as the data inside is hidden (sort of).
Some file managers support mounting disk images as a loop, though it’s iffy. The best, most straightforward way to access this kind of data is through the terminal.
Step 1: make a folder for the Windows ISO to mount to, with the mkdir command.
mkdir ~/WindowsISO
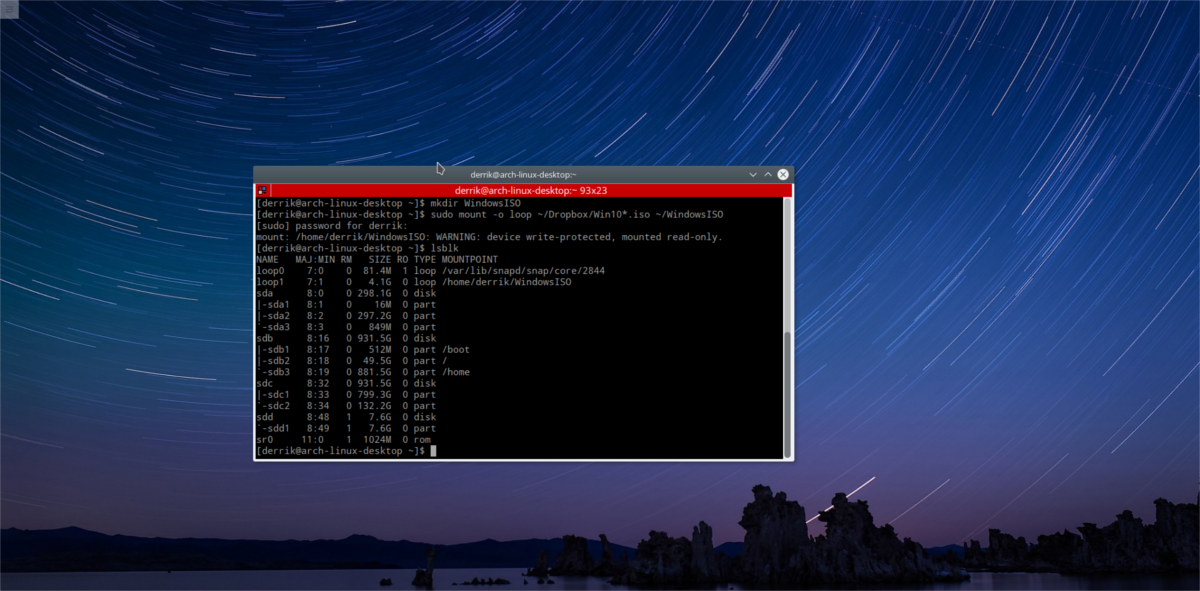
Step 2: Mount the ISO, with the mount command.

sudo mount -o loop /home/username/path/to/windows/ISO/file.iso ~/WindowsISO
If the ISO file is mounted successfully, you’ll see it show up when running the lsblk command.
To unmount the Windows ISO file, use umount. Understand that the ISO will not unmount unless the contents of the ISO are not in use. Do not try to unmount it as files are copying.
sudo umount ~/WindowsISO
Making The USB
Both the ISO and USB drive are mounted to their respective areas. Now it is time to make the installation medium. This is done with the cp command. However, before files move, the terminal needs root access. This is because the USB drive mounts as root, and a regular user can’t add new files and folders to ~/USB. Gain a root shell with:
sudo -s
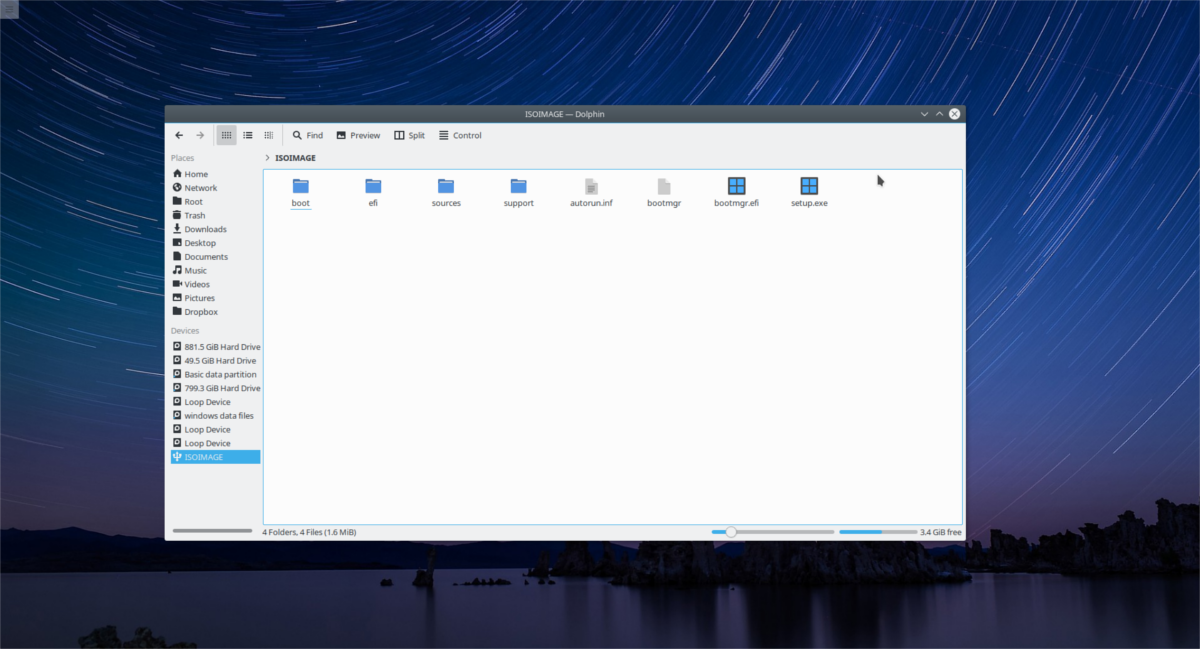
Then, copy all of the contents of the ISO to the USB drive. Understand that this process will take some time. For best results, use a USB3 port, as they tend to be faster with file transfers.
cp -r /home/username/WindowsISO/* /home/username/USB
Copying is finished once you’re able to type in the terminal window once again.

Note: be sure to change “username” in the command to the name of your user.
After the transfer is complete, unmount the USB flash drive from the ~/USB folder with the umount command.
sudo umount /dev/sdd1
If it refuses to unmount, and says “the device is busy”, try doing a force unmount, with:
sudo umount /dev/sdd1 -l
Quick Tip
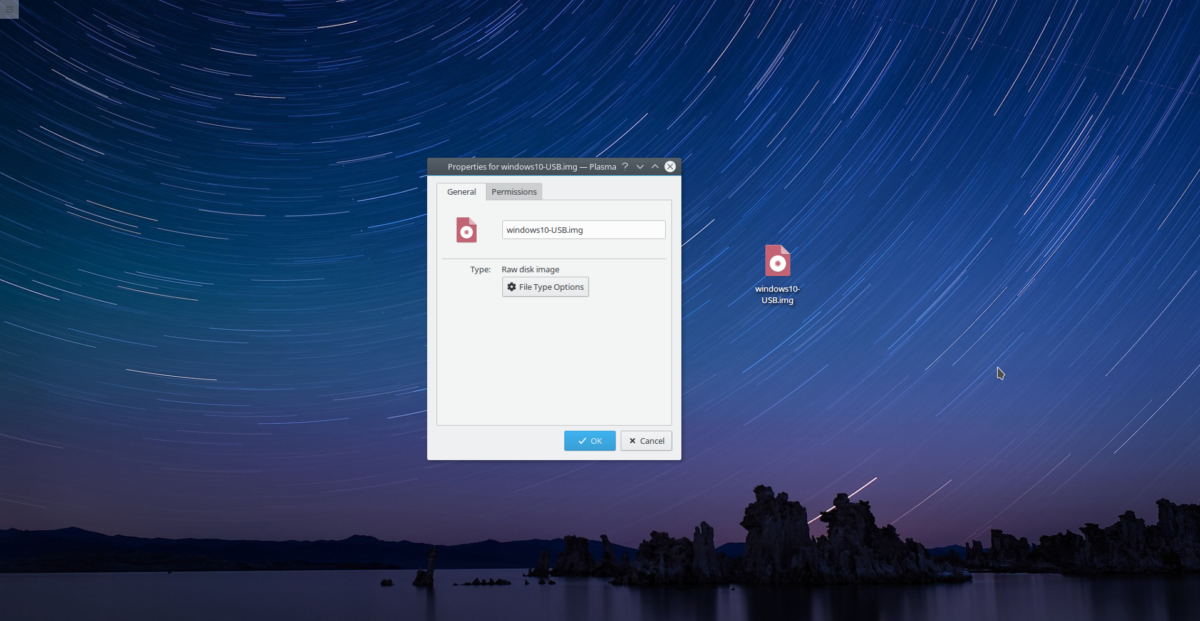
Making Windows USB installation mediums within the terminal can be tedious. To save time in the future, consider using the Gnome Disks tool to do a complete image of your USB flash drive. Doing so will make an entire copy of the partition table, and the files within it. Then, when you need to install Windows, just image the backup directly to the USB!

Keep in mind that the raw IMG backup of the USB drive may be the entire size of the flash drive. For example: have a 32 GB flash drive with Windows 10 on it? Gnome Disk Utility might output a 32 GB backup file. For best results, use an 8 GB flash drive.
Learn more about how to do this here.
Conclusion
Windows has always been notoriously bothersome with their installation disks. In the past, just making a USB installer on something other than Linux sounded like a pipe dream, and users were forced to use the “official USB tool”. In the advent of UEFI, and more universal standards, users now can make a Microsoft-approved installation USB directly from the Linux terminal!

I followed your steps, but got
cp: error writing ‘USB/sources/install.wim’: File too large