Duckpool Kodi Addon – How to Install Duckpool Repository on Kodi
The Duckpool Repository is a repository containing the Duckpool video add-on, which aggregates a number of sources from all over the web to enable users to view streaming movies and TV shows. It functions quite a bit like Stream All The Sources (SALTS) and Exodus, two other popular Kodi media streaming solutions.
Interestingly, the Duckpool Repository isn’t available on its own. Because it is run by Mucky Ducks, you’ll have to first install their eponymous repo (Mucky Ducks Repository) onto your system. Only then will you be able to access the Duckpool Repository, and thus the add-on of the same name (along with a few other add-ons that allow it to function).
This history of this add-on is rather notable, as it began life as iStream, a completely separate add-on developed by Xunity. Dev support for the add-on eventually came to a halt, and that’s when iStream was passed onto Mucky Duck.
Duckpool uses a lot more sources than other video streaming solutions for Kodi, up to and including Usenet integrations. However, this does come with a downside: many sources will be blocked by your ISP, or may simply be dead links. Finding the working sources throughout all of this can be a slightly irritating experience, but once you get into the groove of things you’ll find yourself enjoying a great streaming add-on.
DISCLAIMER: AddictiveTips does not condone or encourage any violation of copyright restrictions. Please consider the law, victims, and risks of piracy before downloading copyrighted material without permission.
Before we proceed
While Duckpool offers a great library for streaming a wide variety of media, there are two serious caveats to consider:
- Many streaming sources may be blocked by your ISP, or otherwise geographically locked to certain countries.
- A lot accessible content may be copyrighted.
In order to bypass these restrictions and protect yourself from liability, you’re going to want to use a VPN.
Best VPN for Kodi
Our top recommendation is IPVanish, due to its plethora of attractive security features and great performance for price. You’ll get 256-bit AES encryption, DNS leak protection and absolutely no logging to ensure your complete privacy.
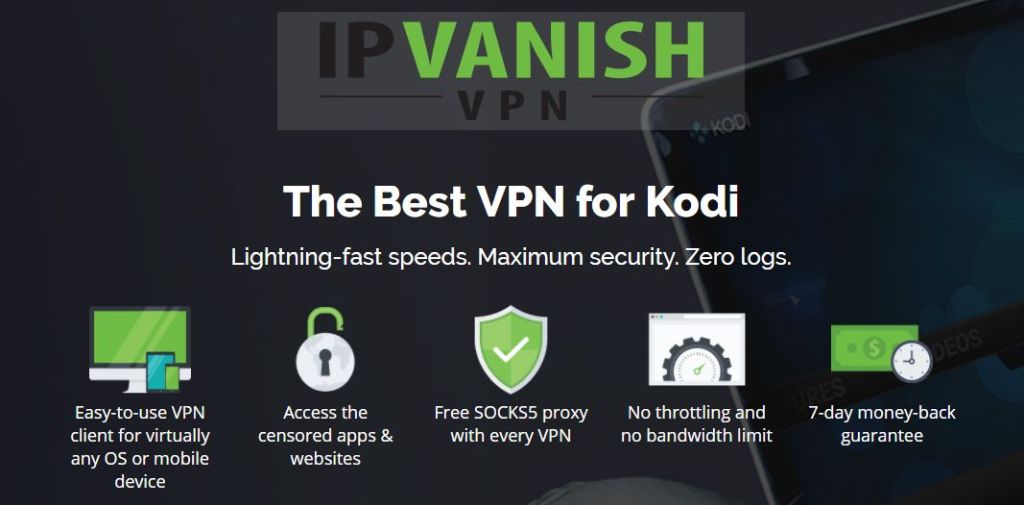
IPVanish maintains more than 850 servers throughout 60 countries so that you can easily get around geographic restrictions while masking the source of your traffic completely to ISPs and nosy governments alike. Other features include:
- Snappy and easy-to-use software for PCs, laptops, tablets, smartphones, and even Chromebooks.
- Customer support that’s available 24/7 in case anything goes wrong.
- Unlimited bandwidth, no speed caps, and no restrictions on traffic.
IPvanish offers a 7-day money back guarantee which means you have a week to test it risk-free. Please note that Addictive Tips readers can save a massive 60% here on the IPVanish annual plan, taking the monthly price down to only $4.87/mo.
How to Install the Duckpool Repository
Enable Unknown Sources Add-on Installs
Since this repository comes from a non-official source, make sure that you have this option enabled in Kodi. Otherwise, the rest of this guide will be not work!
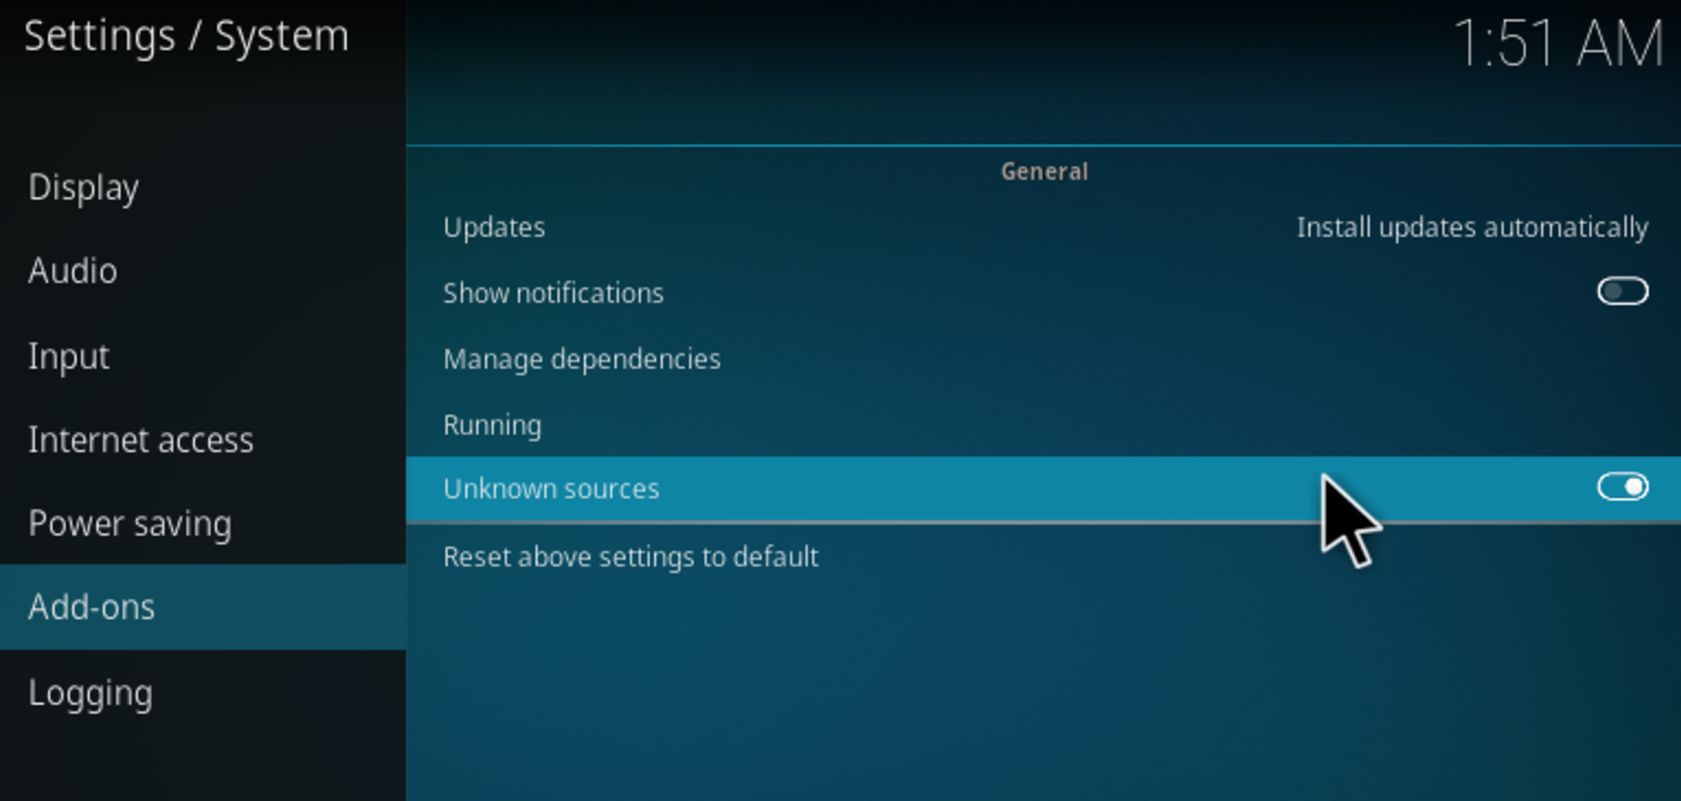
In Settings, select “System Settings.”

Now, select “Add-ons,” and make sure that “Unknown sources” is enabled, like below.
Duckpool Repository & Add-ons: Install Guide
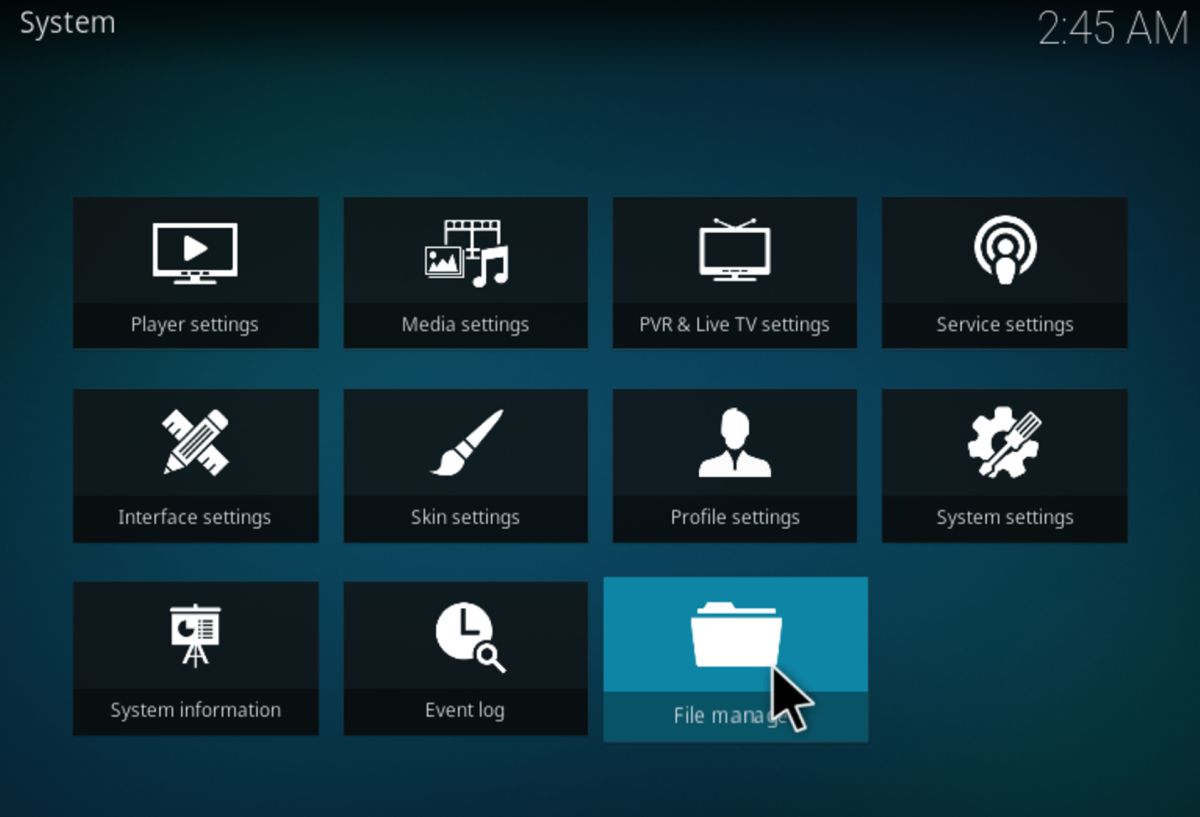
First, open Kodi. Now, click the Settings icon in the top-left corner of your screen.
![]()
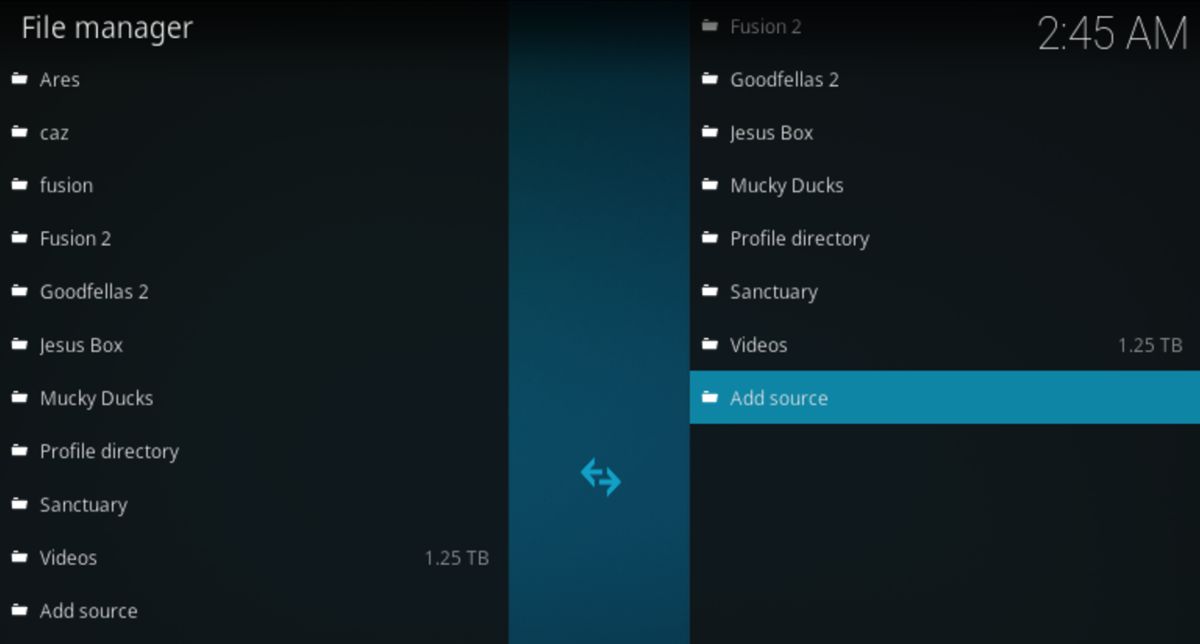
Head down to “File manager,” then click it.
In order to install the Duckpool Repository, we’ll need access to the Mucky Ducks Repository. To access this, we’ll need to add Mucky Ducks as a media source. Double-click “Add source.”
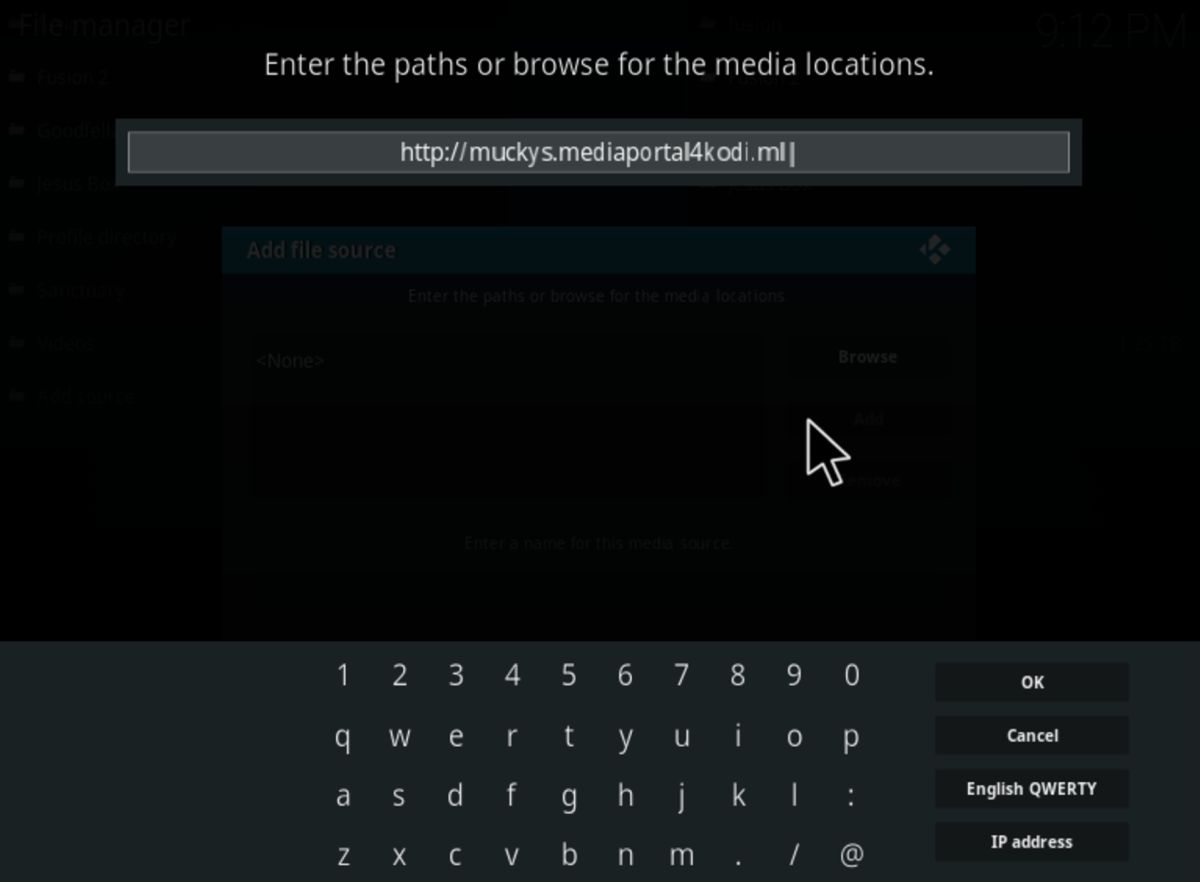
Now, click <None> and paste the following exactly into the text box: https://muckys.mediaportal4kodi.ml
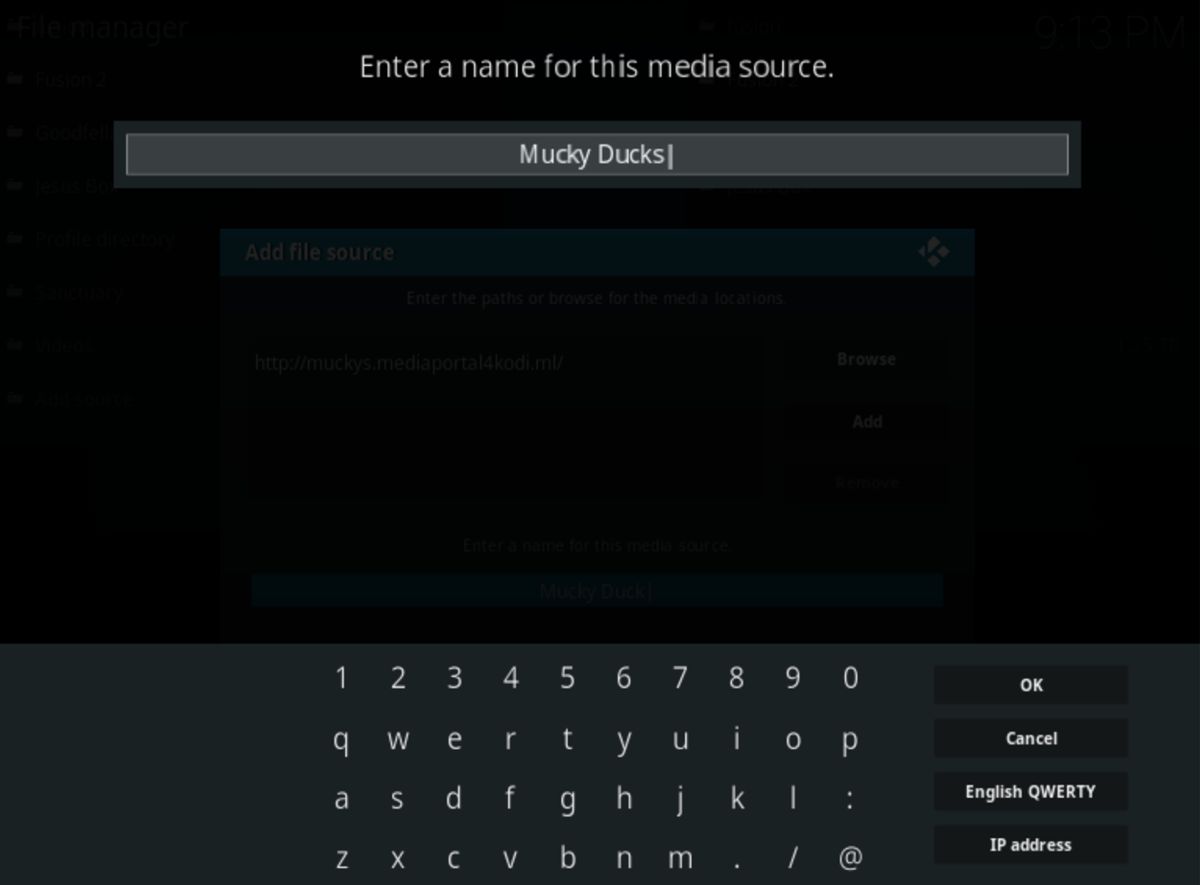
You can name this source anything you like, but I’ll just name it “Mucky Ducks” for the sake of this guide. Just be sure it’s something you can find later.
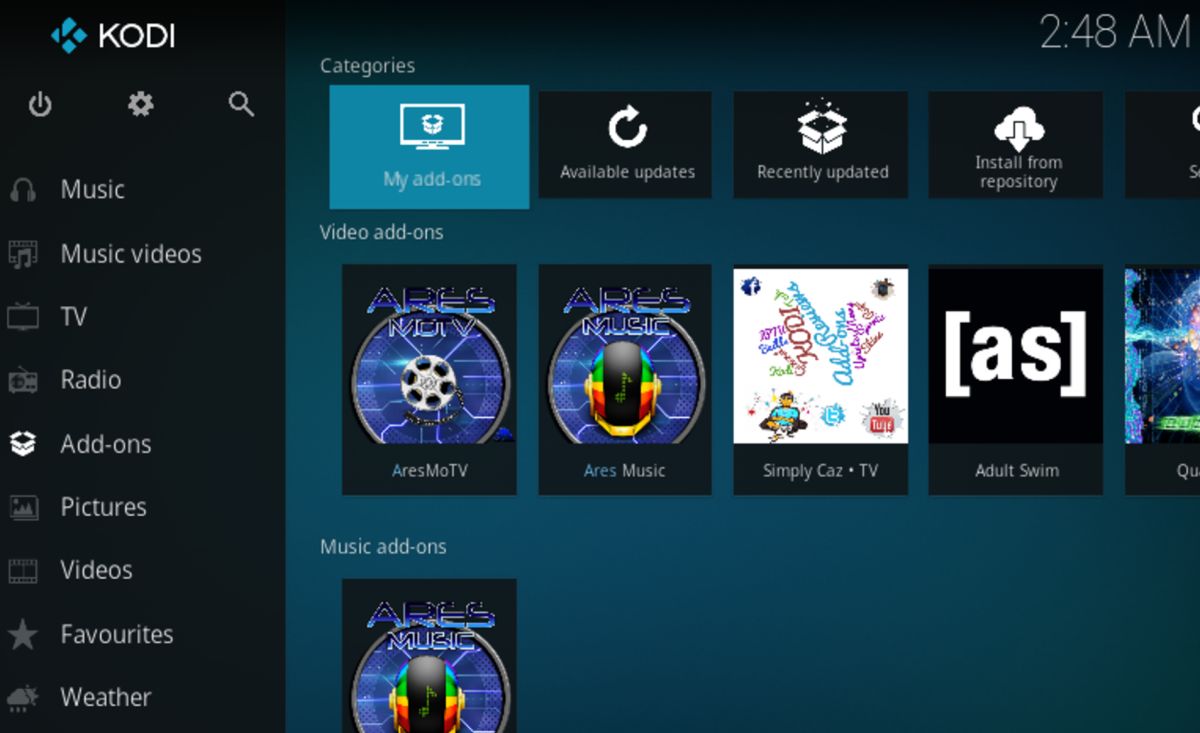
Once you’ve added that source, head back to your Kodi main menu. Now, go to “Add-ons,” and select “My add-ons.”
Click the “..” at the top of the screen.
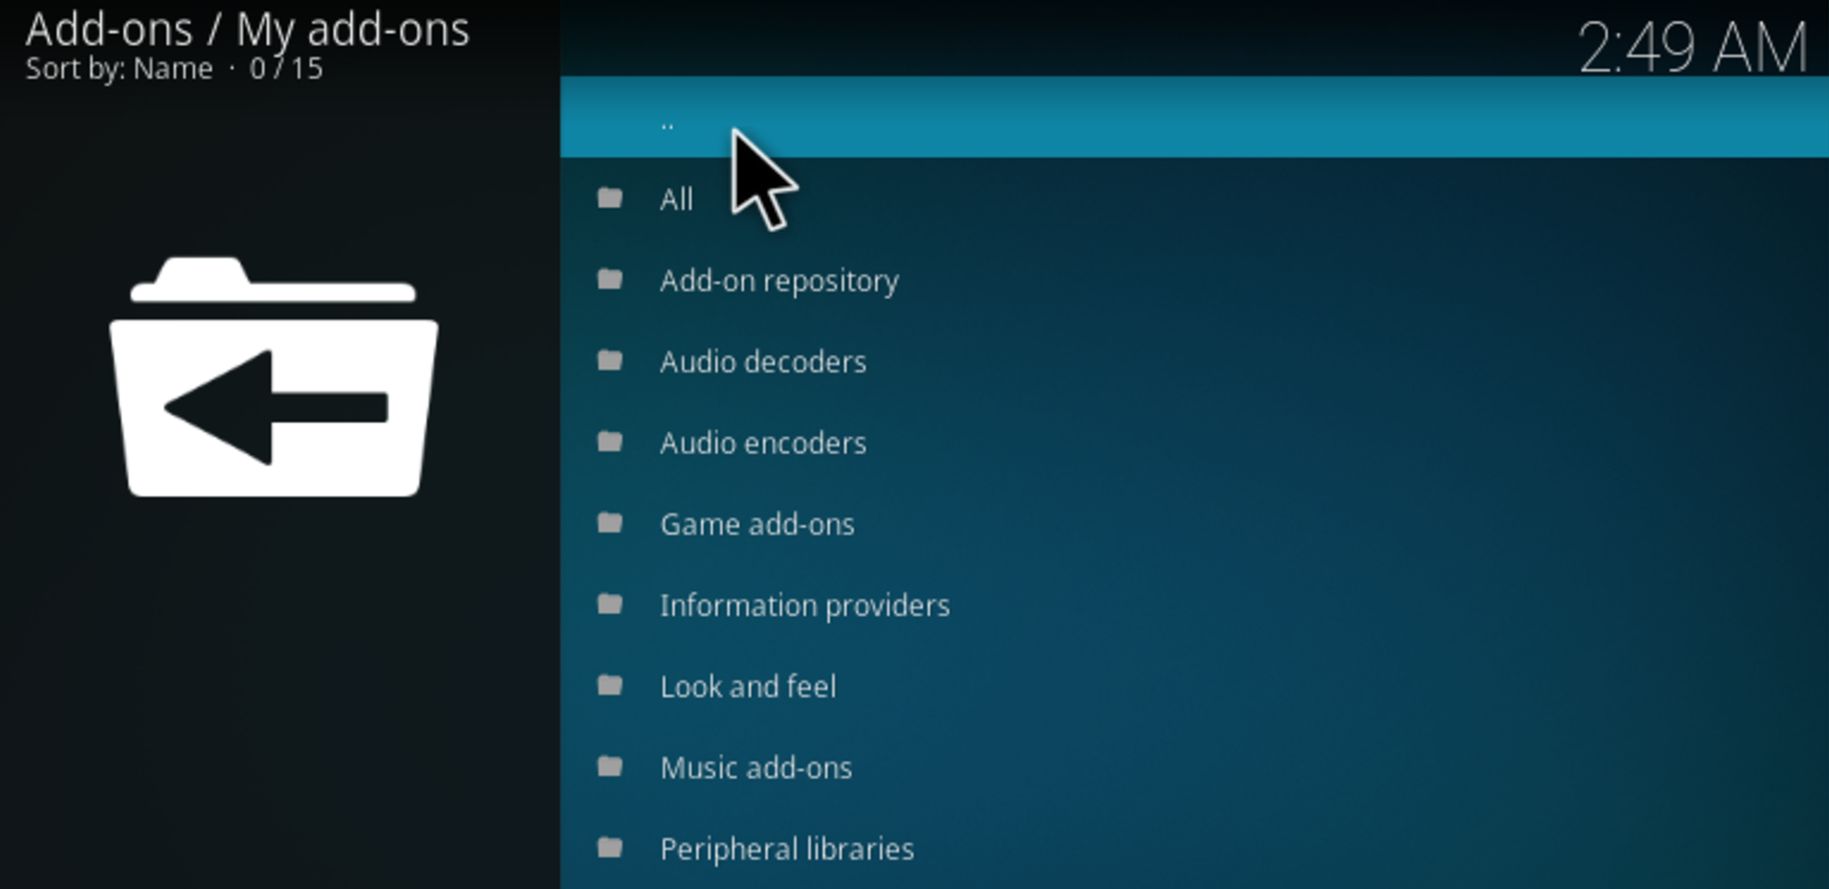
Now select “Install from zip file.”
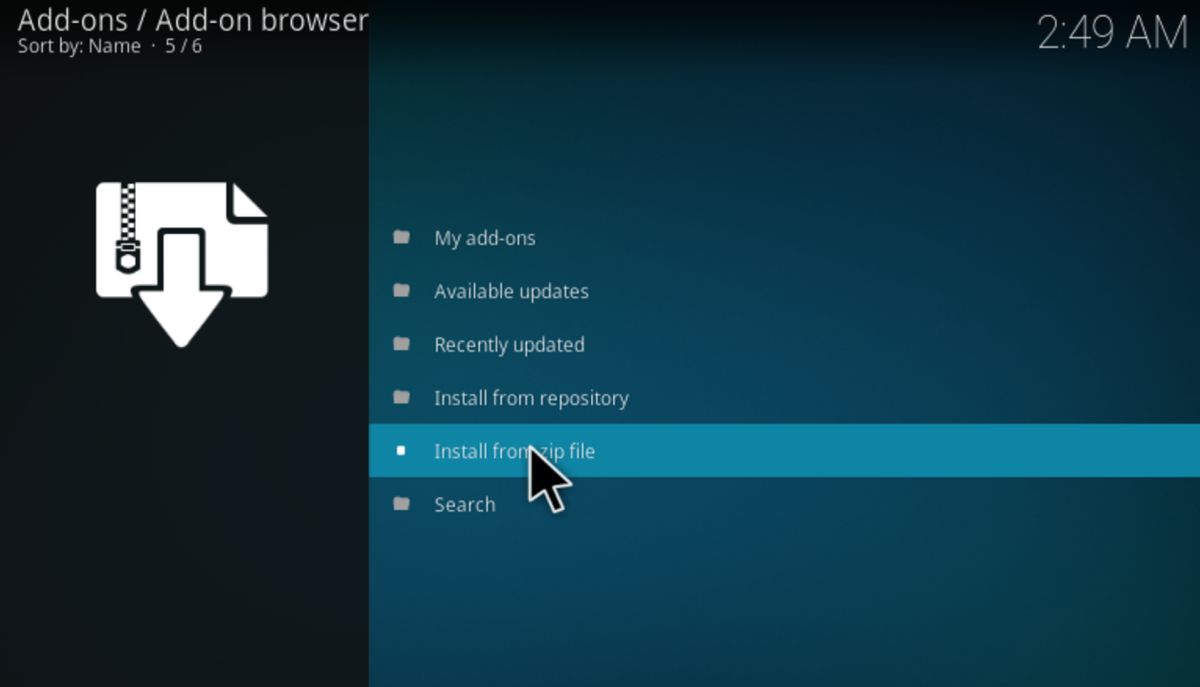
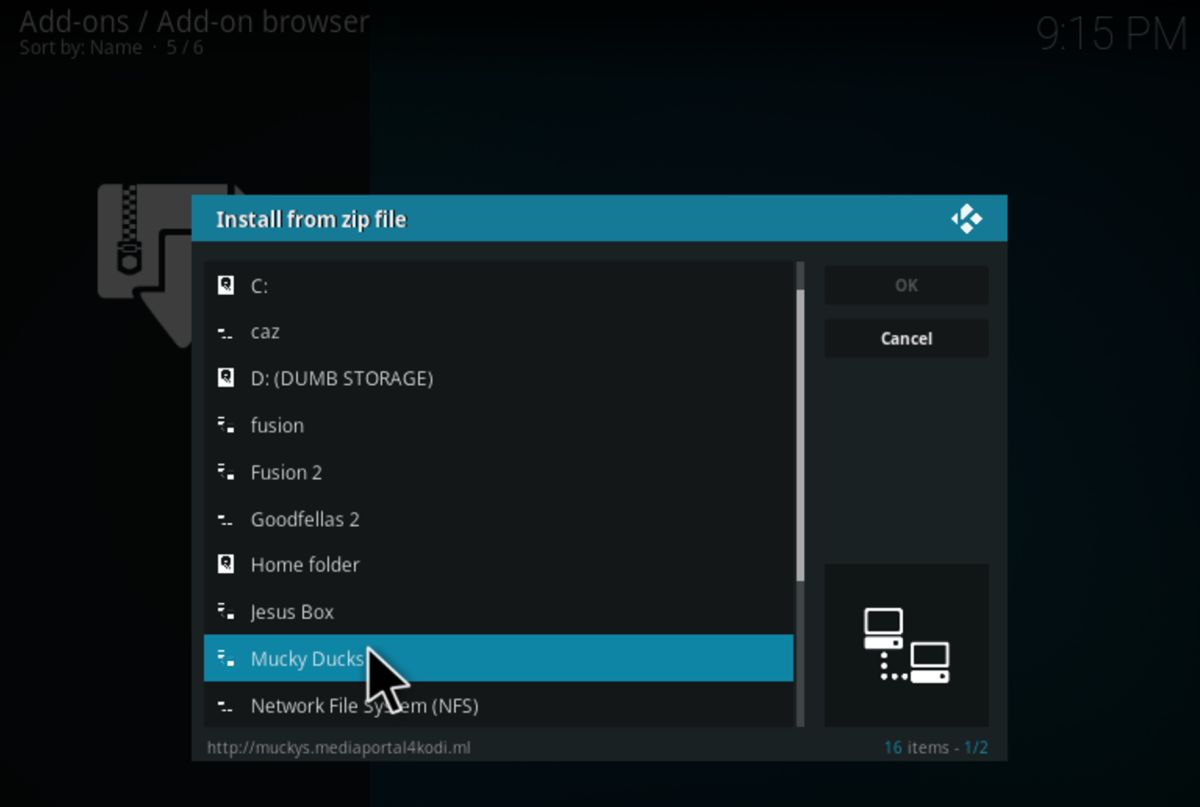
Navigate to the Mucky Ducks media source you created earlier, and select it.
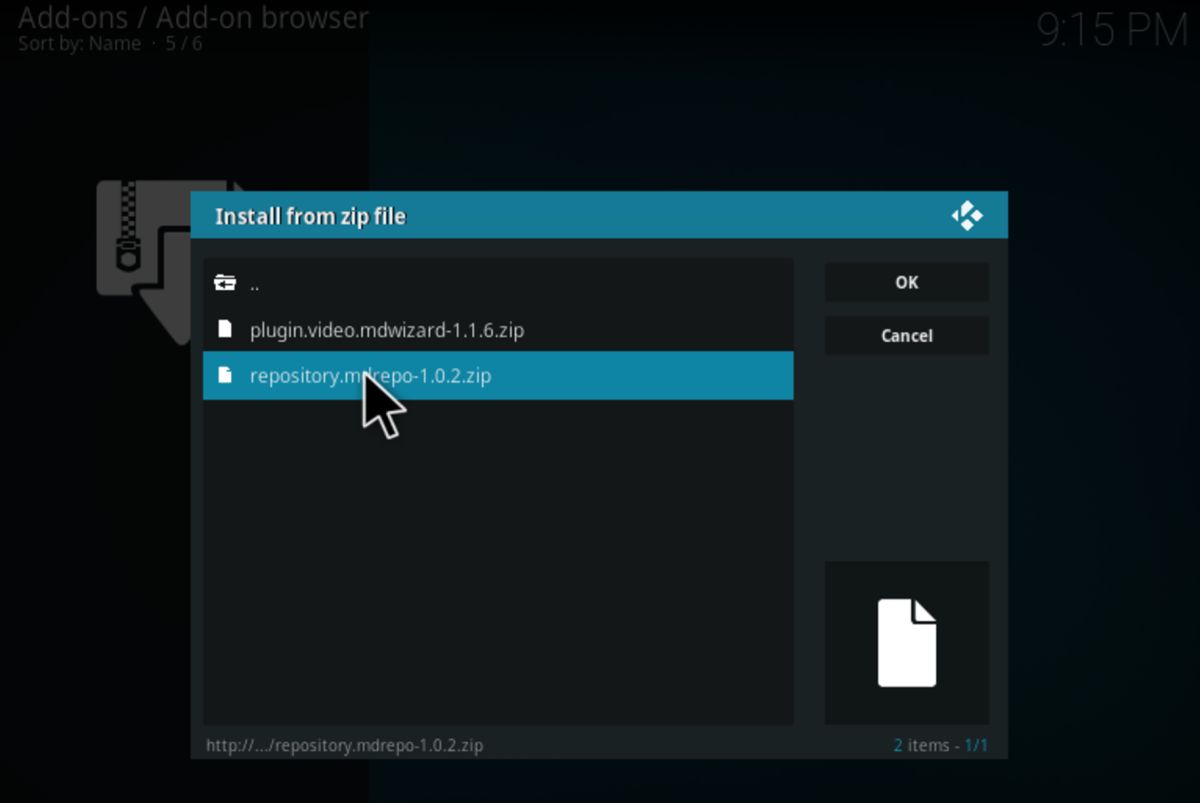
Now, select the repository zip file highlighted below to install it.
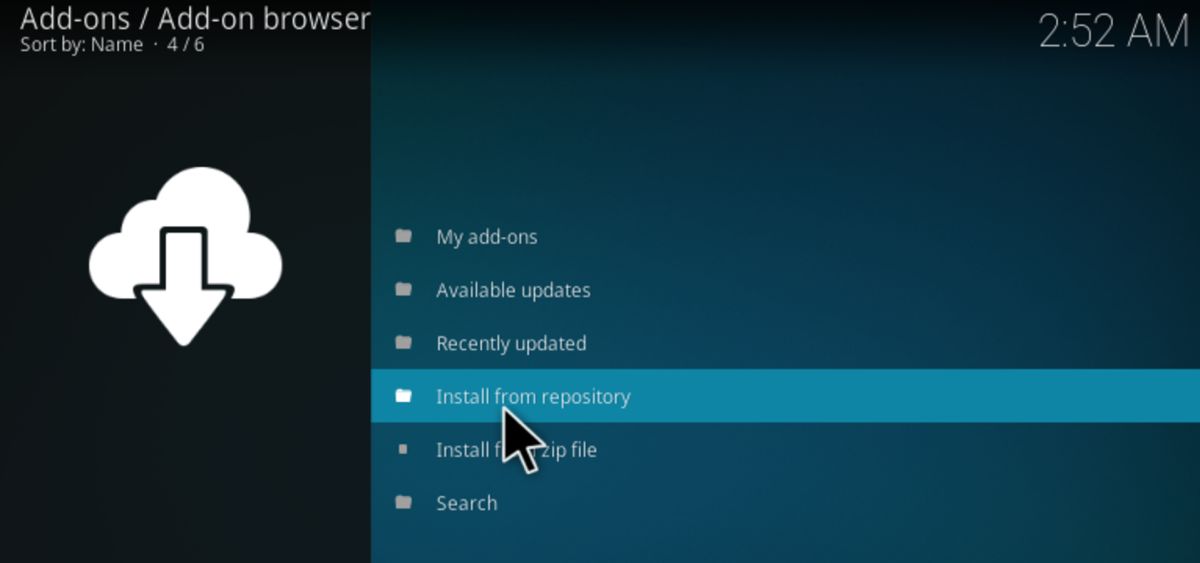
With the Mucky Ducks repo now installed, highlight Install from repository.
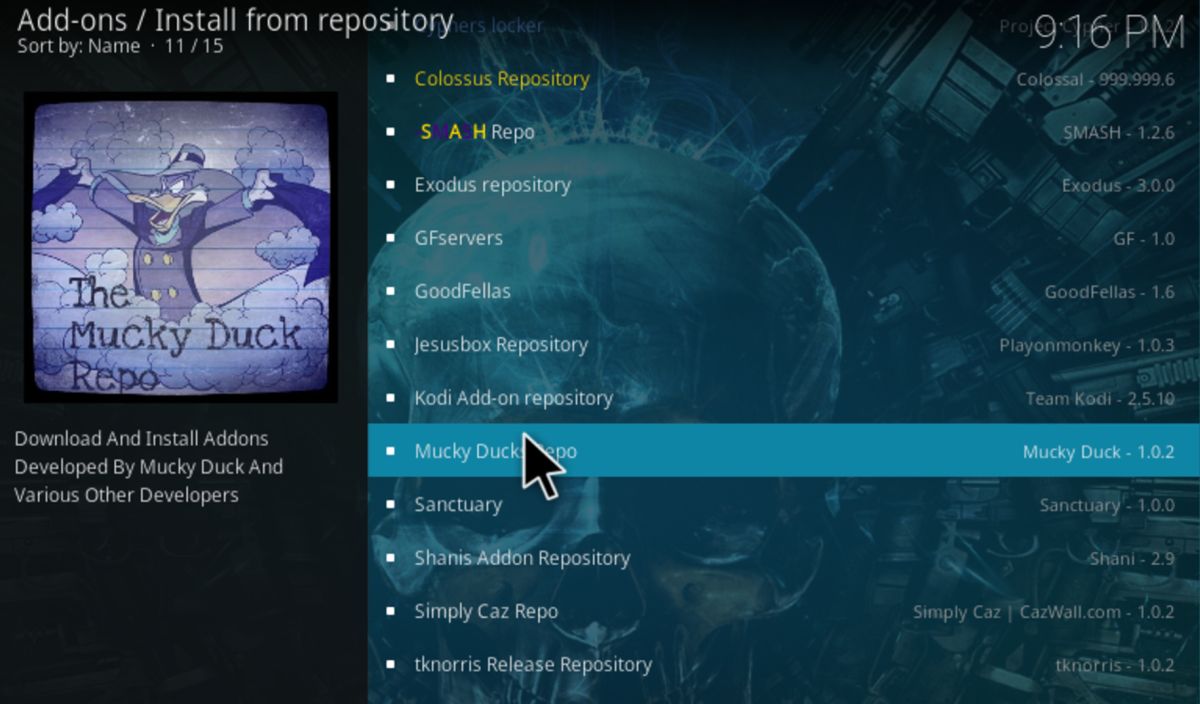
Now, select the Mucky Ducks Repo.
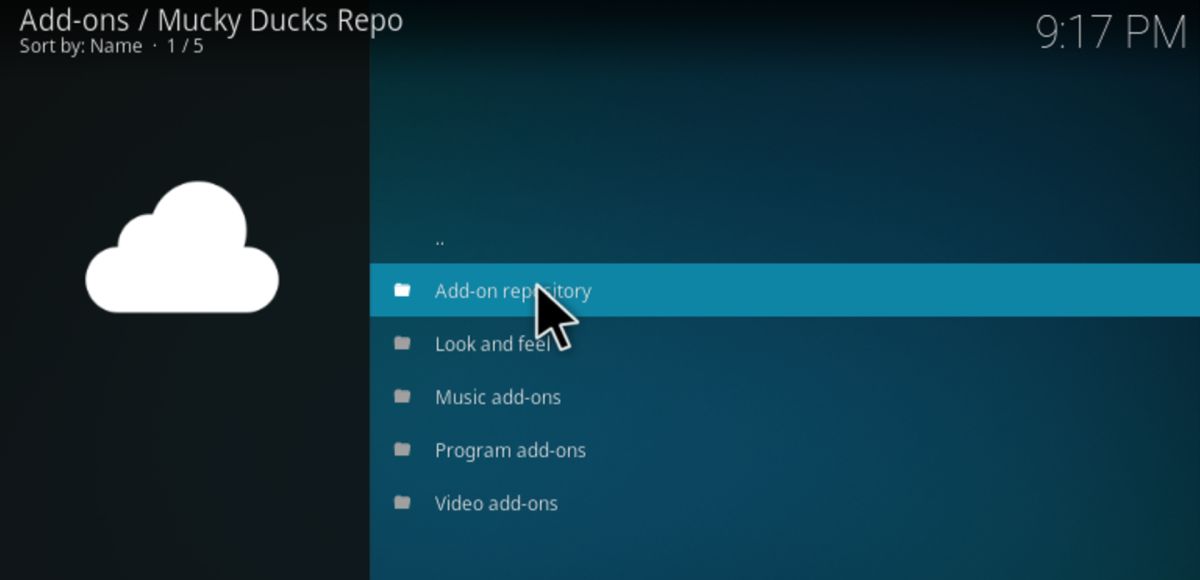
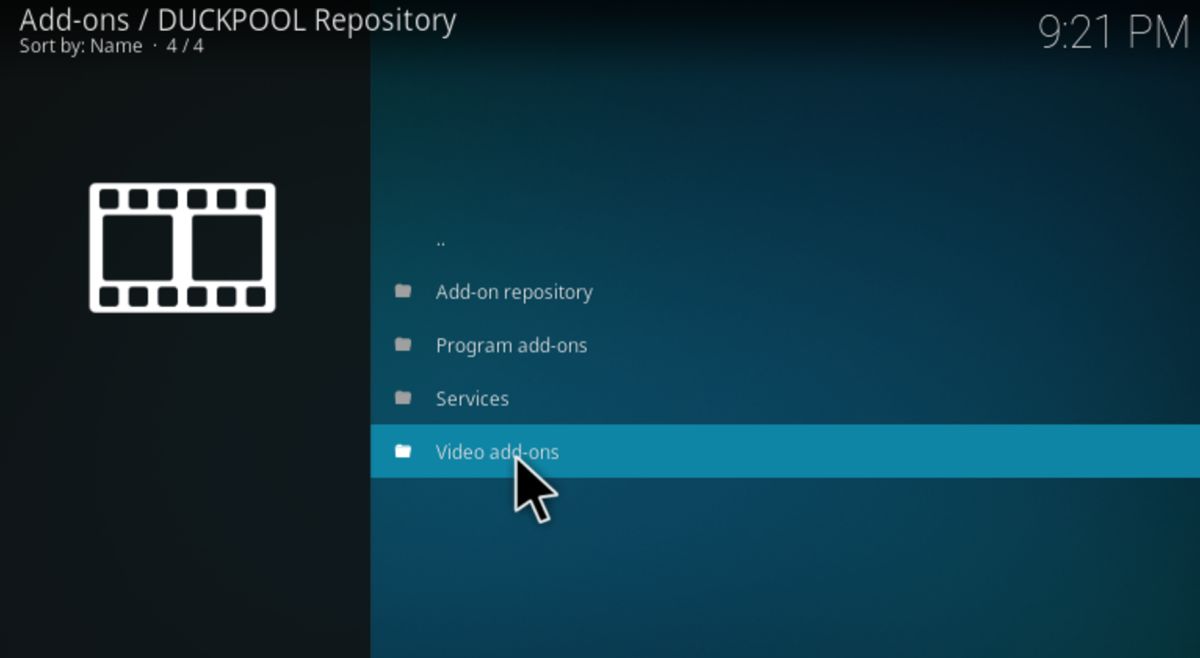
Within the Mucky Ducks Repo, go to “Add-on repository”.
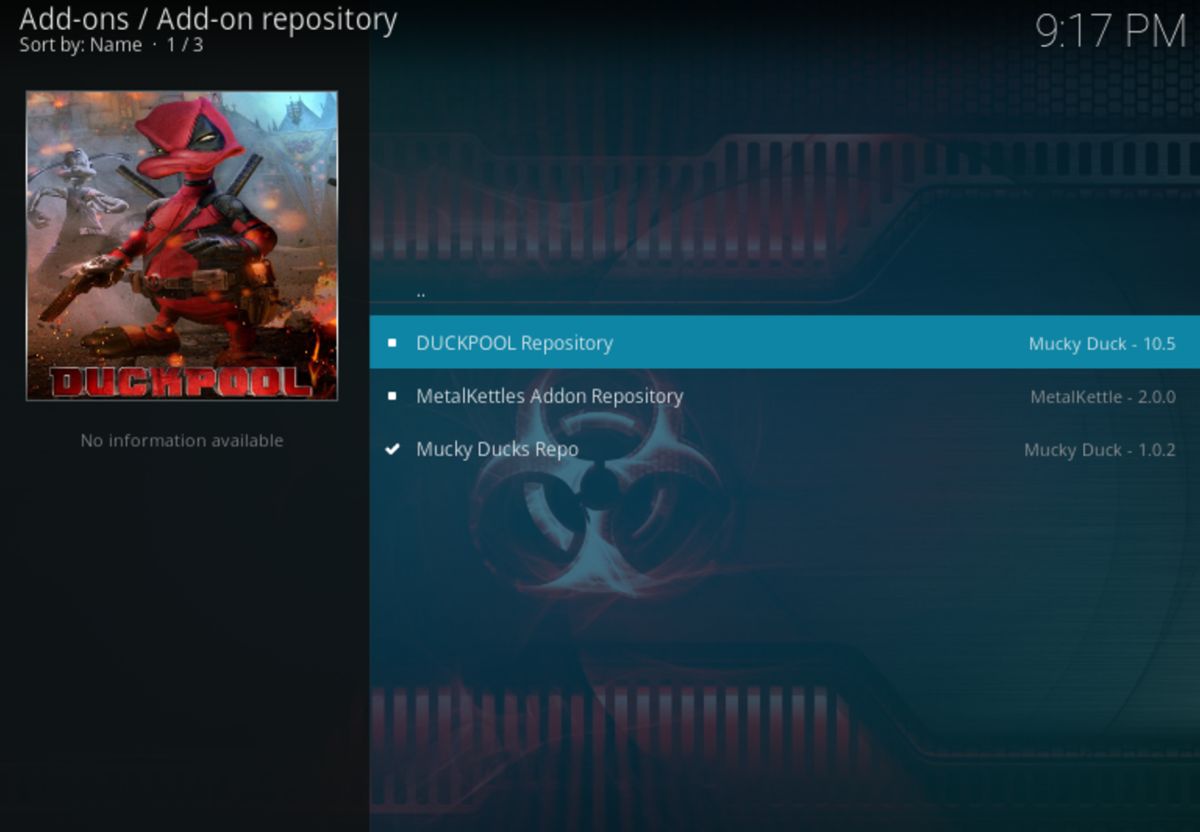
Now, select Duckpool and install it.
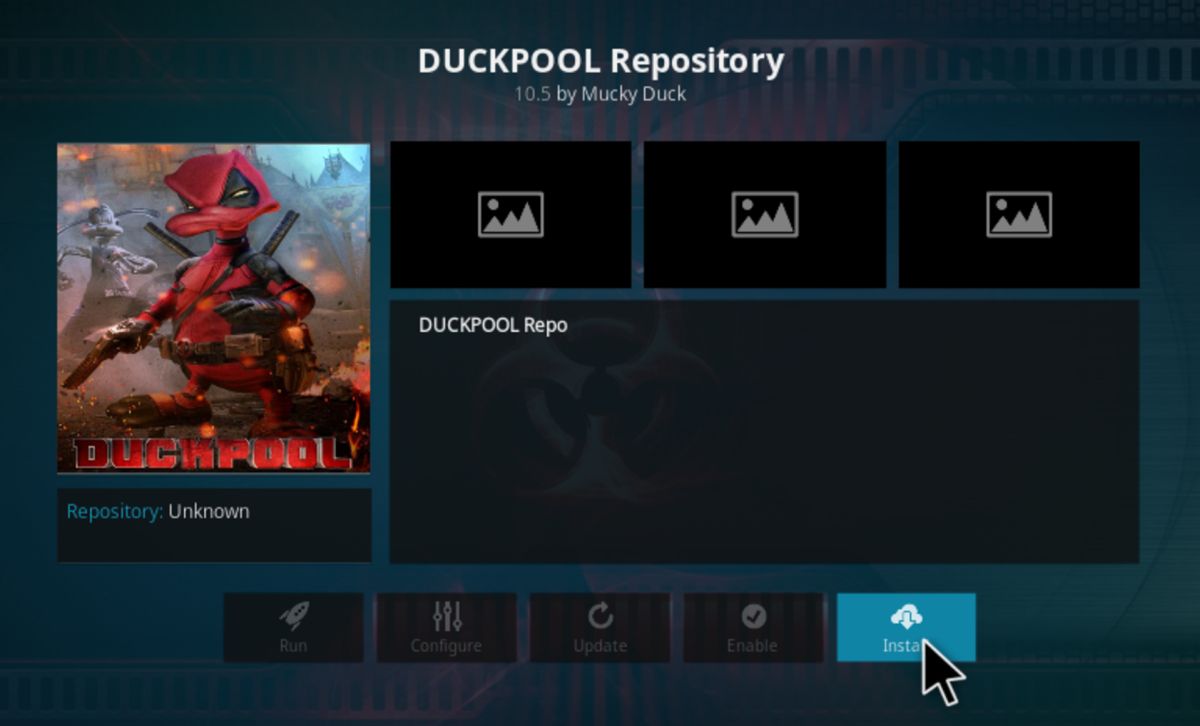
Now that you’ve installed the Duckpool repository, it’s time to install the add-on within it. Head back to the Install from repository screen, and you should now see “DUCKPOOL Repo.”
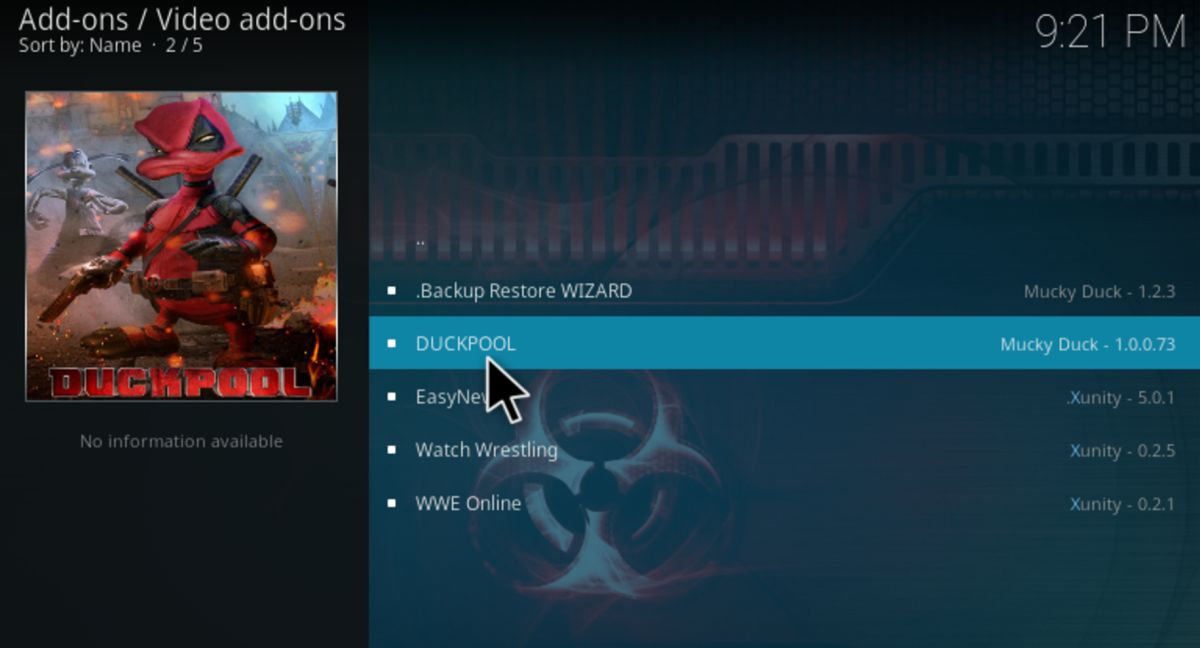
Head to “Video add-ons.”
Now, select and install “DUCKPOOL.”
Duckpook should now be successfully installed. If you hit an error in installation, continue below to install the missing F4M dependency.
Fix The Missing Dependency Error
(https://redirect.superrepo.org/v7/addons/script.module.f4mproxy/script.module.f4mproxy-1.0.16.zip) Download the f4mProxy file. Place it in a place you’ll be able to find it easily- in this case, we’ll be putting it in our Documents folder.
Now, in Kodi, go back to “My add-ons.”
Now, click the “..” at the top of the screen.
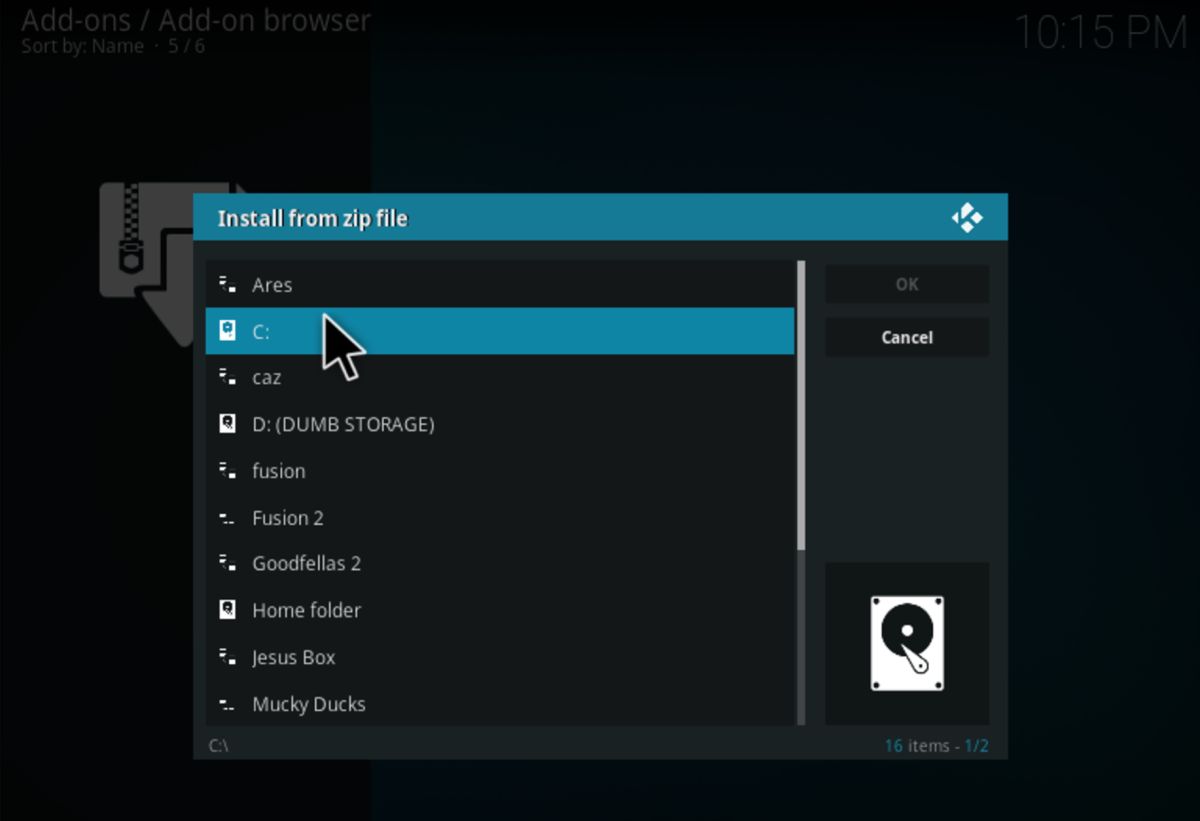
Now, select “Install from zip file.”
Start at your C: drive.
Go to your Users folder.

Now, go to “Documents.”
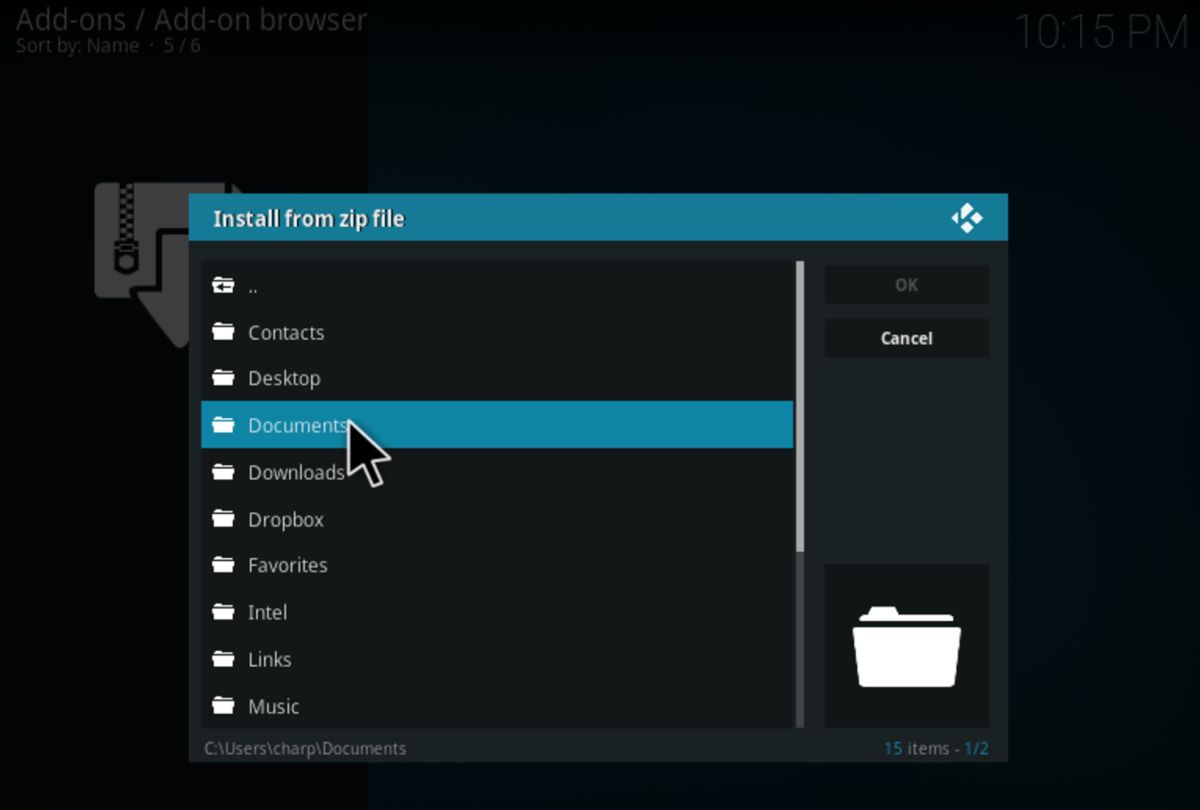
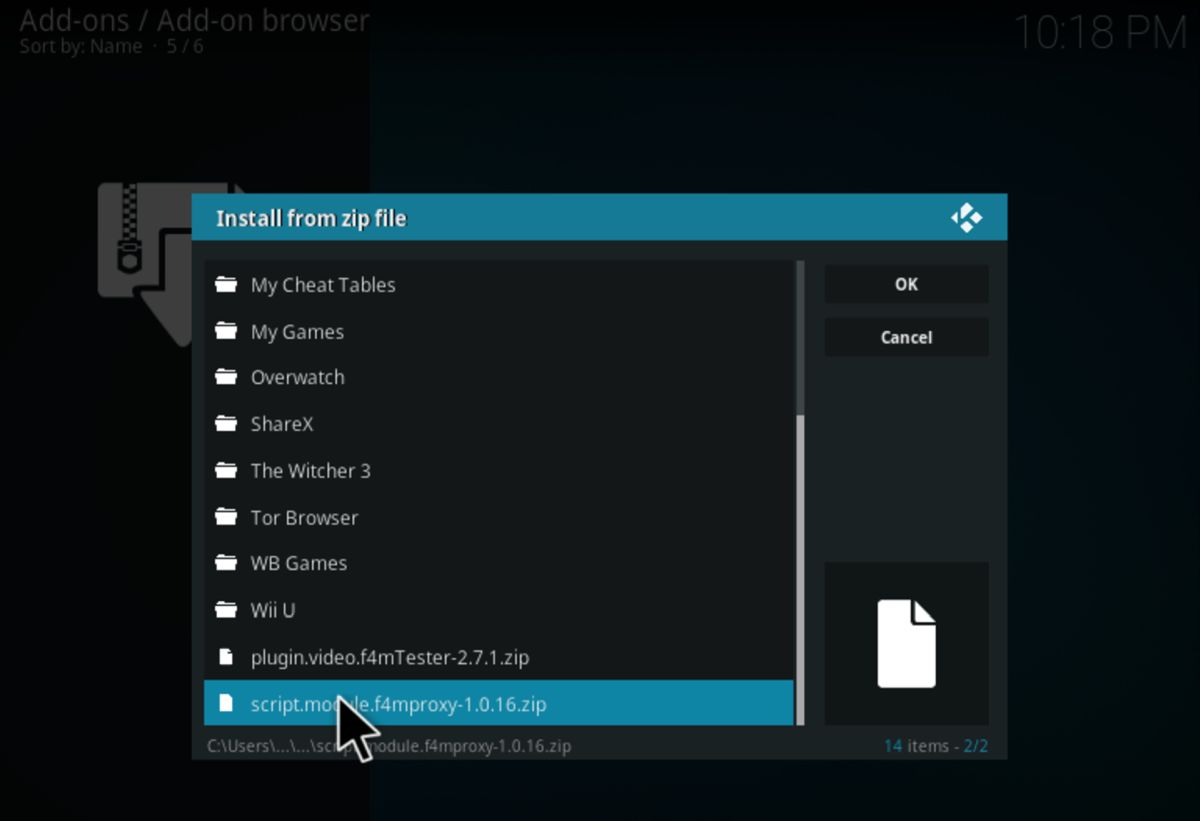
Now, select the f4mproxy zip file. Click it to install it.
Go back to Duckpool and re-attempt your install. It should work fine now, but let us know if you’re still having trouble!
Conclusion
With Duckpool installed, you now have access to a ton of different streaming sites for movies and TV shows. There is a slight learning curve to finding out which sources are the most reliable for streaming your content, but once you get past that bump, you’re in store for a great Kodi video streaming experience.
Comment below and let us know what you’ll be watching, or if you need any help setting up this add-on!
Don't miss this great deal
