Facebook Kodi Add-on: How to View Facebook on Kodi
It seems like just about everyone is on Facebook these days. The social network is practically ubiquitous, wherever you are in the world. Today we’re going to talk about installing an add-on to your Kodi system so that you can view Facebook on Kodi.
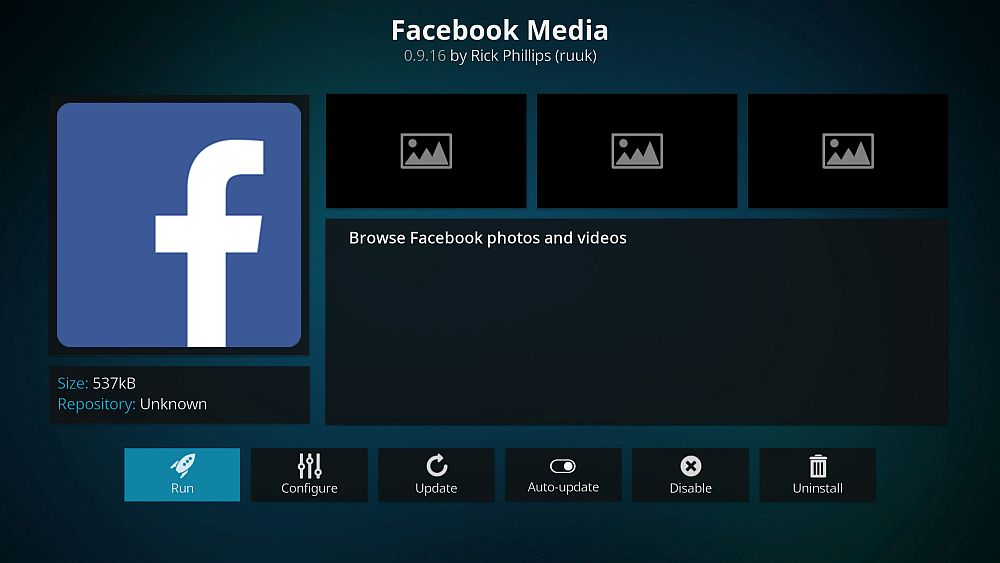
Kodi is a great piece of software for viewing media on your hard drive, and it makes a handy media centre for your living room or other shared space. But you can make Kodi even more useful by installing add-ons which increase its functionality. You can find add-ons for just about anything, from media streaming to games. And now you can even browse your Facebook information on your Kodi machine by using the Facebook Media add-on. Unfortunately, there is no way to use the more complex Facebook features like messaging or events on your Kodi system. But you can use the Facebook Media browser to look at photos and videos on Facebook, as well as to view your friends list. Read on for more about how to install and use the Facebook add-on for Kodi.
You Should Consider Getting a VPN for Kodi
As you may know, the Kodi software itself is free, open source, and totally legal to use. However, if you’re going to start installing add-ons, then you need to be careful. Some add-ons are not supported officially by Kodi and are created by third party developers. That means that sometimes these add-ons may allow you to access copyrighted content. Unfortunately, if you access copyrighted material over an unsecured internet connection even by accident, you could be liable for a fine from the copyright holder or for prosecution from law enforcement.
In order to keep yourself safe, you need a VPN. A Virtual Private Network works by encrypting all of the data which leaves your machine over your internet connection and then routing that encrypted data to one of your VPN provider’s servers, where it is decrypted and sent on its way. Once you have a VPN in place, all you need to do is set the software running and then you can browse the internet as usual. But if anyone tries to check on your internet usage – even your ISP – they won’t be able to see what sites you have been visiting or what content you may have been accessing.
But how do you know which VPN provider to choose? These are the factors that we think are most important: fast connection speed, software available for multiple operating systems, no logging and plenty of servers in multiple countries.
We Recommend IPvanish
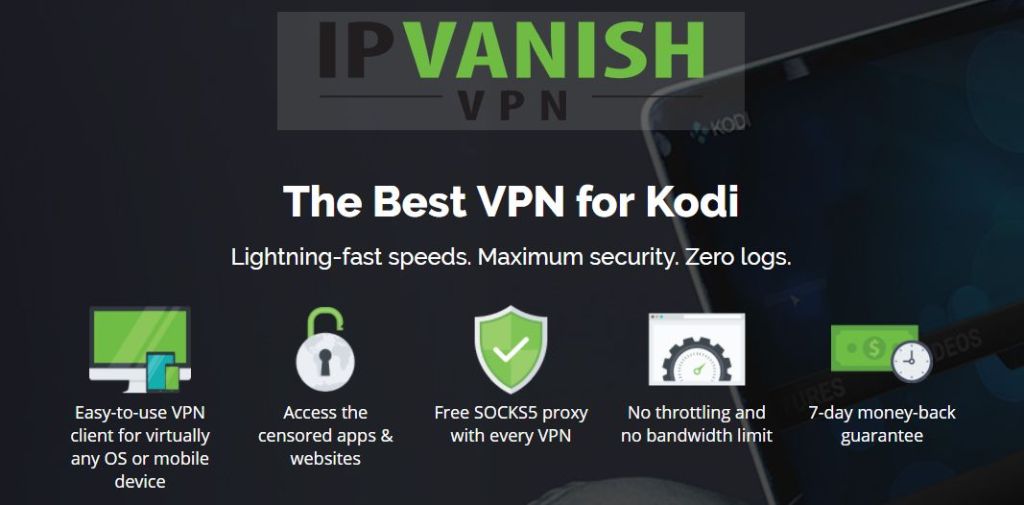
We recommend IPVanish for use with Kodi. This service offers lightning-fast connection speed, over 850 servers in more than 60 countries, a strict no-logging policy, strong 256-AES encryption, and software available for PC, Mac, Android, and iOS.
IPVanish offers a 7-day money back guarantee which means you have a week to test it risk-free. Please note that Addictive Tips readers can save a massive 60% here on the IPVanish annual plan, taking the monthly price down to only $4.87/mo.
How to Install the Facebook Add-on for Kodi
First off, we’ll show you how to install the Facebook Media add-on. This is very simple to do as the add-on is officially supported by Kodi and is hosted in the default Kodi repository. That means you don’t even need to add a third-party repository to install this add-on. Just follow these step by step instructions:
- Start on your Kodi home screen
- Click on Add-ons
- Click on the icon that looks like an open box
- Click on Install from repository
- Go to Kodi Add-on repository
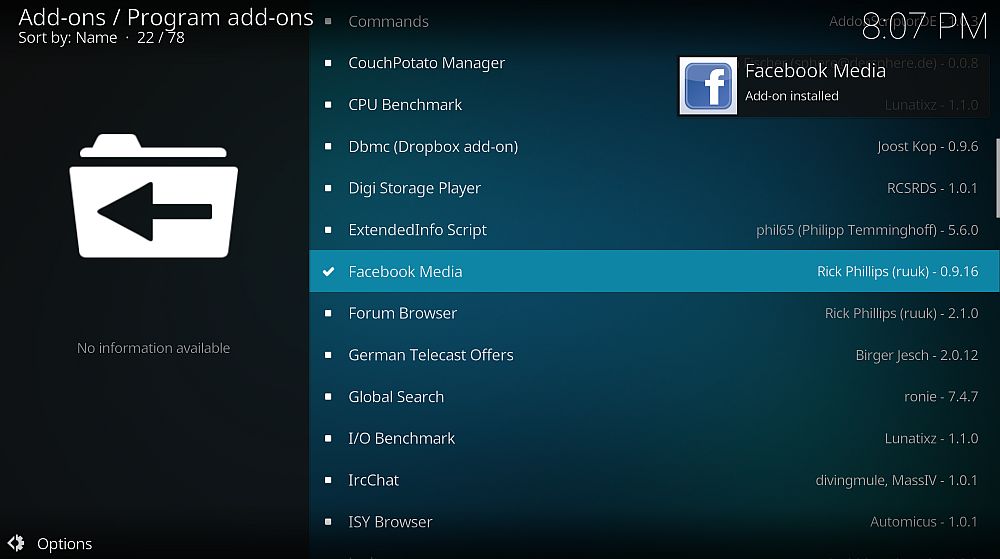
- Go to Program add-ons
- Scroll down to Facebook Media
- Click on it and a box describing the add-on appears. Click install on the bottom menu
- Wait a minute and you’ll see a notification once the add-on in installed
- That’s it!
How to Authorize the Facebook Add-on for Kodi
Now the add-on is installed, we can begin using it. However, before you use the Facebook add-on for the first time, you need to authorize Kodi to have access to your Facebook account. Don’t worry, it only looks at basic information like what is on your profile. And you only need to do this once – after you’ve set it up it will log you in automatically when you use the add-on in the future.
Here’s how to authorize the Facebook add-on:
- Start on your Kodi home screen
- Go to Add-ons
- Go to Program add-ons
- Click on Facebook Media
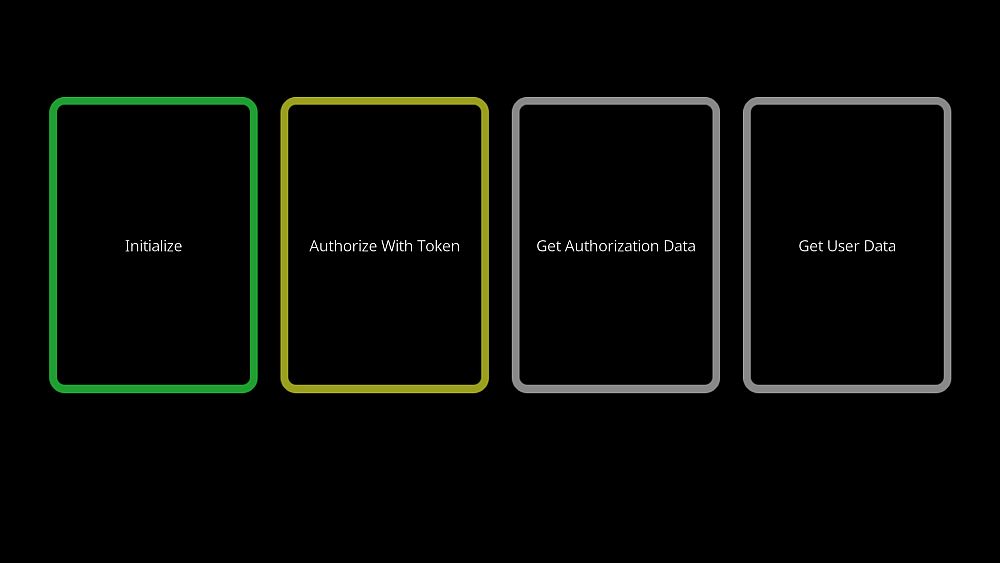
- Click on Initialize
- You’ll see a web address on screen. Go to that address in your web browser
- Into the web browser, write the code which is on screen on your Kodi and click enter
- You will be redirected to Facebook and asked for permission for Kodi to access your account. Click continue
- You’ll see a confirmation message on your browser
- Now look back in Kodi. After a minute or so you should see a popup saying Authorization complete
- Click ok
- Now wait for a second while your user data is collected
- Once everything is complete a popup will say User Added with your name below. Click ok
- Now the Facebook add-on is ready to use
How to Use the Facebook Add-on for Kodi
With the add-on installed and authorized, now you’re ready to use the add-on to view your photos, videos, and more. Here’s how to use the Facebook add-on for Kodi:
- Start on your Kodi home screen
- Go to Add-ons
- Go to Program add-ons
- Click on Facebook Media
- You’ll see a welcome screen with options for Albums, Videos, Friends, Photos of Me, and Videos of Me
- Click on Albums to see all of the photos which you have posted to Facebook, including timeline photos and profile photos. When you click on the title of an album, you can scroll through your images. When a photo was posted along with a text description, that description will appear in yellow font in the top left of the screen
- You can change the mode to slideshow to see all of that album’s photos one after the other
- Similarly, the Videos section shows all of the videos you have posted to Facebook
- If you want to use the Friends, Photos of Me, or Videos of Me sections then you will need to re-authorize the connection to your account. Just follow the instructions above again to give the add-on permission to access your friends list and the photos and videos that you’re tagged in
- The Friends section will show you profile pictures and names of your Facebook friends in a list
- The Photos of Me and Videos of Me sections work just like the Photos and Video sections, but with the media that you’re tagged in rather than that which you uploaded
- Click on Albums to see all of the photos which you have posted to Facebook, including timeline photos and profile photos. When you click on the title of an album, you can scroll through your images. When a photo was posted along with a text description, that description will appear in yellow font in the top left of the screen
- At any point, if you want to change the Facebook user for the add-on, just press the down button to bring up the options panel on the left. Here you can add a new Facebook account or switch to another account
Conclusion
The Facebook Media add-on for Kodi is a simple but effective way to view your Facebook content on your Kodi system. If you have albums full of favourite photos which you’ve uploaded to Facebook, then you can use this add-on to display an attractive slideshow of your images. You can also watch videos through the add-on and see your friends list. Unfortunately, the functionality of the add-on is rather limited as you can’t send messages or see your Facebook feed. Still, it’s a helpful add-on to have installed and it’s very easy to use.
Do you use the Facebook Media add-on for Kodi? Or is there another add-on that you prefer to use for browsing your social media? Let us know in the comments below!
Don't miss this great deal
