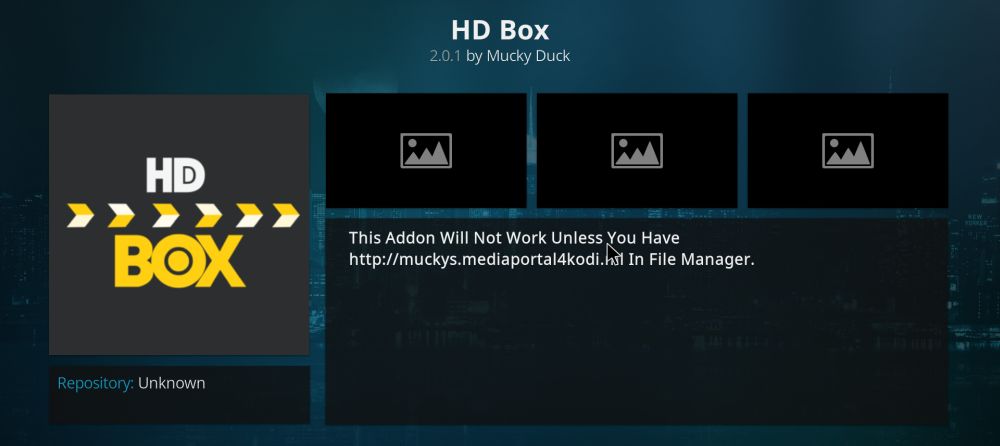
HD Box Kodi Add-on: Stream HD Movies on Kodi, Installation Guide
If you’re a movie fan and you’re looking for a way to stream all of the latest and hottest movies on your computer, then this post is for you! Today we’re introducing you to the HD Box add-on for Kodi, which is the best way to stream high definition movies at home.
Kodi is a great piece of free, open-source media centre software, and it becomes even more powerful when you use add-ons to customise your Kodi experience. Below we’ll show you how to install the HD Box add-on and how to use it to stream movies.
Reminder
Before we get started with the installation, there’s something important that we need to cover first. Although the Kodi software is fully legal to use, some of the add-ons for the Kodi software exist in a legal grey area. This means that if you use Kodi with add-ons over a regular unencrypted internet connection, you could run into trouble with the law. Government agencies can force your ISP to turn over their records of your online activity, including any illegal downloading or streaming that you might have done, and you can be prosecuted for this.
So it’s vital that you keep yourself safe when using Kodi to stream content. The best way to keep yourself safe is to use a VPN – a service which encrypts all of the data which is sent out from your machine. This means that your ISP and any government agencies who inspect your internet usage cannot see the contents of your web traffic. Your ISP can see how much data you are sending and receiving, but not what the content of that data is.
VPNs are popular with many people who are concerned about internet security. You don’t just need a VPN for streaming content – you might also use it to keep yourself safe when browsing on a public internet connection. For example, if you go to a cafe with an open Wi-Fi network and connect your phone to the internet, it is possible that other users in the cafe could access or steal data from your phone. Using a VPN on a public network will ensure that your passwords, credit card details, and other personal information is kept safe and can’t be stolen by malicious users.
Finally, one more reason to use a VPN is to deal with region-locked content. Some internet content is only available in certain regions – for example, many YouTube videos are not accessible in Germany because they include clips of music which is free for use in the US but is copyrighted in Germany. Using a VPN, you can make it appear to websites as if you are browsing from another location – in this case, from the US. That means you can access this region-locked content with no problems.
Best VPN for Kodi Streaming
How should you choose a VPN then? There are so many VPN services out there, how do you know which is right for your needs? There are a number of important factors to consider when choosing a VPN, including the logging policy, connection speed, and allowed traffic types. We’ll take you through each of these and explain what they mean and why they’re important.
- Logging policy – As we mentioned above, law enforcement can force your ISP to turn over data about your internet usage. What some people don’t know, however, is that they can do the same with your VPN provider. If your VPN provider keeps a record of your internet usage, then they could be compelled to share this if law enforcement decides to investigate you. The only way to avoid this is to use a VPN provider which keeps no logs at all of your internet use.
- Connection speed – This one is obvious – you want a fast connection so that you’re not waiting around for pages to load or for videos to buffer. All VPNs cause a slight reduction in your internet speed, as the data must pass through more servers before reaching you. But a good VPN will be fast enough that you barely notice the difference in speed, while a bad VPN can be slow and cumbersome, making it annoying for you to use.
- Allowed traffic types – Finally, there are many different types of traffic that you might use on your network. You’ll want to load web pages, of course, but you might also want to use torrents or other P2P services, or you might use a VoIP service such as Skype and want to encrypt that data too. Some VPNs will limit what type of traffic you are allowed to use – restrictions on torrenting are common, for example – so you need to make sure that the VPN you choose allows all the types of traffic that you need.
Feeling a little overwhelmed by all of this information? Don’t worry, we’ll help. We have recommendations for two of our favourite VPN services to use with Kodi, so you can select the service that you need.
IPVanish
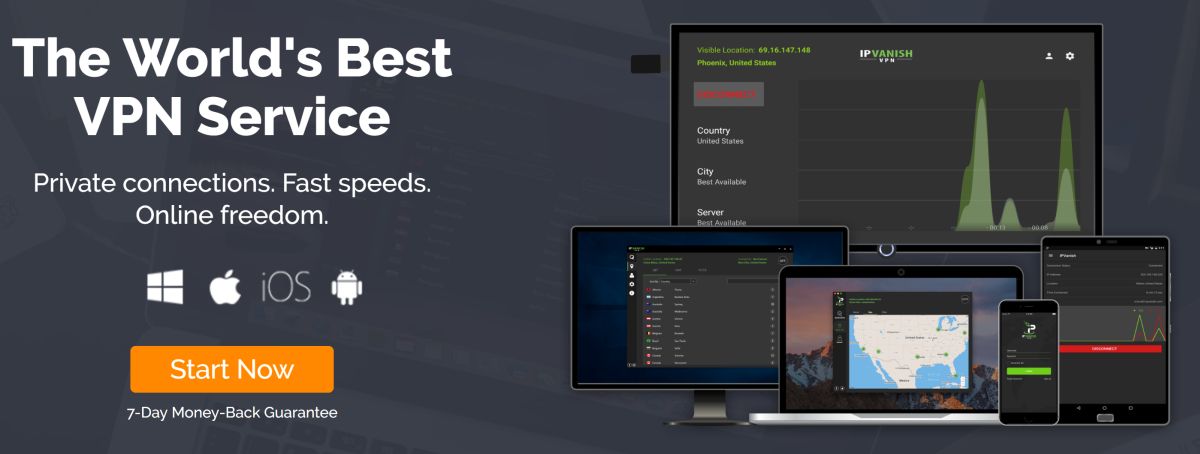
Our top pick for a VPN to use with Kodi is IPVanish. This service is lightning-fast and has strong 256-bit AES encryption to keep all your data safe. It also has extra features like a kill switch which cuts your downloads if your VPN is interrupted, so you don’t accidentally download over an unsecured connection. Another neat feature which not many VPNs have is the possibility to cycle your IP address after a set interval of time, which is useful for anonymising your browsing. Of course, IPVanish has a strict company policy of no logging, and it has no restrictions on the amount of data you can download (so that means no data caps and no worries) and no restrictions on the types of traffic which are allowed. This makes it a great service for those who want to stream content, to use Skype, and to use P2P downloads.
IPVanish offers a 7-day money back guarantee which means you have a week to test it risk-free. Please note that Addictive Tips readers can save a massive 60% here on the IPVanish annual plan, taking the monthly price down to only $4.87/mo.
PureVPN
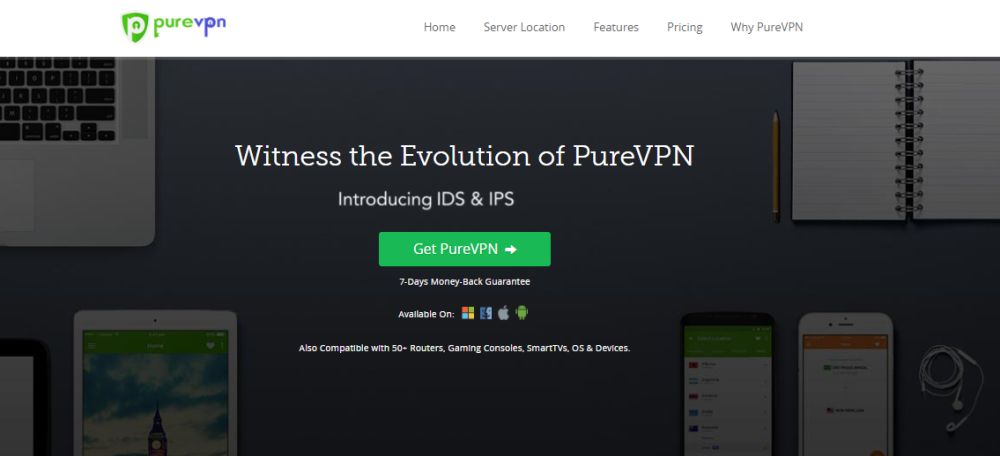
Another VPN provider that we recommend is PureVPN. PureVPN is an easy-to-use service which has over 750 servers in 141 countries, so wherever you need to access content, you’ll be able to. They also use strong 256-bit encryption to keep your data safe and have no logging to ensure your privacy. You can use VoIP through this VPN so it can keep your voice or chat messages secure as well as your web browsing. The service includes some bonus features like anti-virus protection, ad-blocking, and anti-phishing measures which make it ideal for less experienced users who want a simple, secure, safe system with minimal technical knowledge required.
PUREVPN DEAL: Sign up for the 2-year plan, you get a huge 73% discount (use “DISCOUNT10” at checkout), bringing the cost down to a bargain price of $2.95 per month. And this service has a 7-day day money back guarantee too so you ensure that the VPN works for you.
A quick guide to installing the HD Box add-on
Once you’ve chosen a VPN and set it up to secure your connection, now we can install the HD Box add-on to our Kodi software and start watching great movies. Firstly, we need to add the developer’s repository to our sources list, and then we need to install the add-on itself. We’ll walk you through this process step by step.
Installing the Mucky Ducks repo
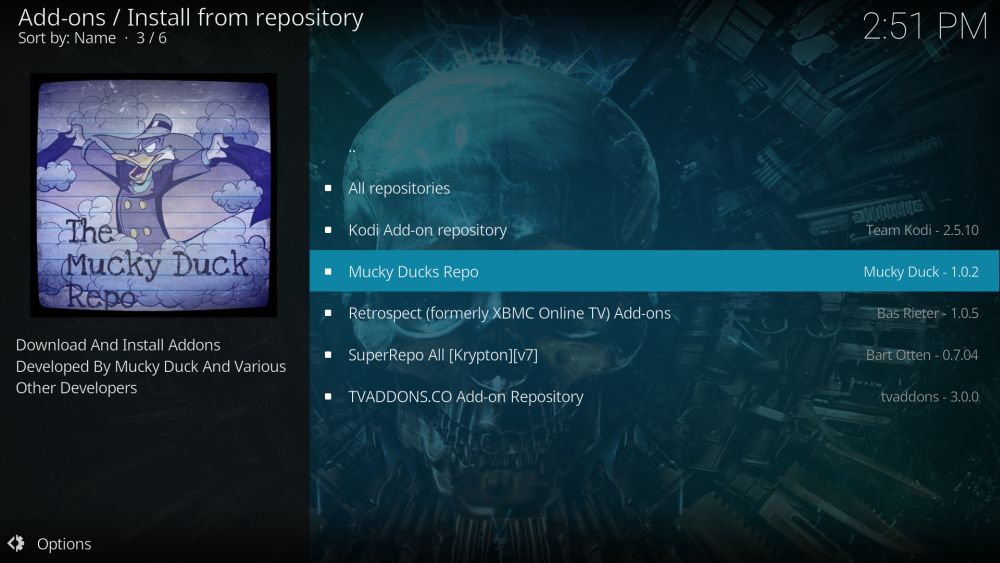
First we add the repository to our system, so that we can download the add-on that we need. To do this:
- Open up your Kodi program and begin on the home page
- Navigate to SYSTEM and then to File Manager
- Now look in the menu on the left side and select Add source from the list
- Click on <None>
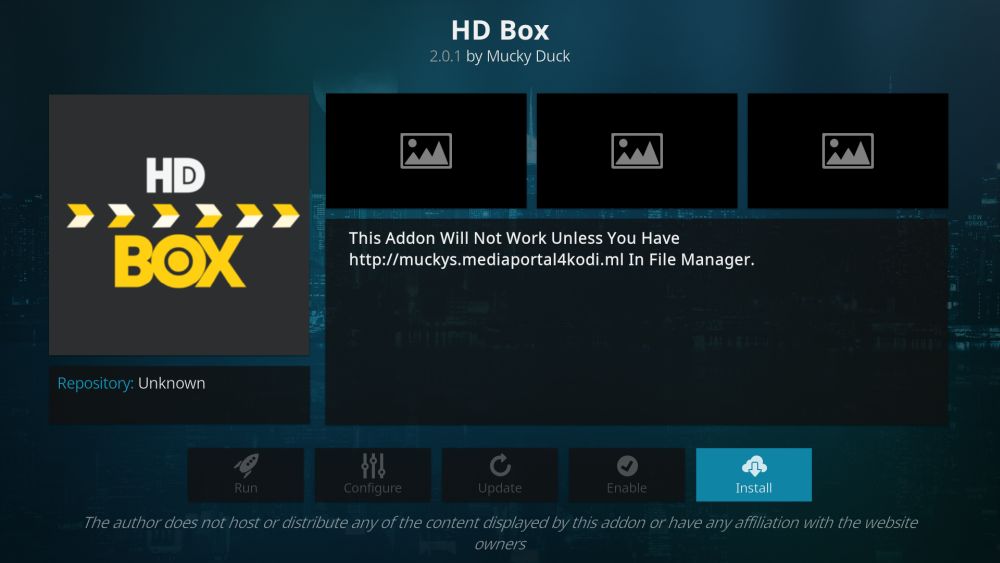
- In the input box which appears, enter the URL for the repository. It is https://muckys.mediaportal4kodi.ml/
- Double check to make sure that you have entered the URL exactly right, including the https://, or it will not work
- Click on Done
- Now we give the repository a name. You can enter a name into the text box on screen. We’ll call this repository muckys
- Click on OK
- Wait a second, and you will see muckys has been added to your media sources
- Go back to your Kodi home screen
- Navigate to SYSTEM and then to Add-ons
- Click on Install from Zip File
- Find the source called muckys and select it
- Find a file called repository.mdrepo-1-0-x.zip, where the x indicates the version number. Currently the add-on is on version 1.0.2, but it may have been updated by the time that you read this
- Click on the zip file
- Wait for a minute and then you’ll see a notification that the repository has been enabled
Installing the HD Box add-on
Now that we have the repository added, it’s time to install the add-on itself. This is very simple:
- Click on Install from Repository
- Click on Mucky Ducks Repo
- Click on Video Add-ons
- Select the HD Box add-on
- You’ll see a page describing the add-on. Select Install from the left hand menu
- Wait for a minute until you see the notification that the add-on has been enabled
- You’re done and you’re ready to watch!
Using the HD Box add-on
To use the HB Box add-on, start on your Kodi home screen and select VIDEOS and then Add-ons. Look for the HD Box add-on in the list, which you should be able to identify by its grey logo with white and yellow writing. Once you click on the icon, you’ll see a list of options:
- Popular Movies lists the most-requested and highest-regarded films, so you can see the essential classic movies that are big right now
- Recent Movies is the section for all the newest movies available to stream. This is the place to look for the brand new releases that you want to catch up on
- Most Watched lists the movies which have been most popular among the add-ons users, making it a great place to browse when you’re not sure what you want to watch
- Search allows you to search through the catalogue for a specific movie
- Genre organises movies by theme, such as Sci-Fi, Western, or Comedy
- Year is a handy feature which categorises movies by the year they were released, so you can see any big films which you might have missed out on at the time of their release
Once you’ve found the movie that you want to watch, click on it, and it will start streaming straight away. Unlike other movie add-ons, HD Box specifically searches out high definition movie streams so that you can watch in good quality. Almost all the movies in the add-on are streamed in quality of at least 720p, and many are even in 1080p.
If you have to leave half way through watching a movie, no problem. You can power off your system or exit out of Kodi, and when you launch the HD Box add-on again, it will remember where you were in your movie. When you come back and click on the title of the movie you were watching again, you’ll see options to either resume from where you were before, or to start from the beginning.
Another handy feature of the HD Box add-on is that you can switch between list view (the default), thumbnail view (where each movie is represented by a small image of its poster), and poster wrap view (which shows a quick-scroll carousel of posters). This is helpful when you want to scroll through a lot of videos and quickly find the one you want. To bring up thumbnail view, just press the menu button (c on a keyboard) and change View: List to View: Thumbnails or View: Poster Wrap. You can also change the order to ascending or descending, and add other filters to search through large amounts of content.
Finally, one more useful trick is to check out the Misc options in this menu panel. There’s an option labelled Hide watched, which if enabled will hide any movies which you have already watched on this system from your lists or search results. This is a great way to make sure you see new movies and try out something different!
Don't miss this great deal
