How to Schedule Emails in Outlook
Scheduling emails in Outlook has many uses, especially on a professional level. Luckily, it’s easier than ever to delay your email. We’ll cover all the steps, including how to schedule emails for the app version of Outlook versus the web version, as there are subtle differences in the layout and instructions.
Schedule emails in Outlook App
Open Outlook and compose a new message, including:
- A subject
- Message content
- Any attached files you may need
- At least one recipient.
Go to the Options tab and click the ‘Delay Delivery’ button. This is the tool you will use to schedule the email. When you click this button a new window will open.
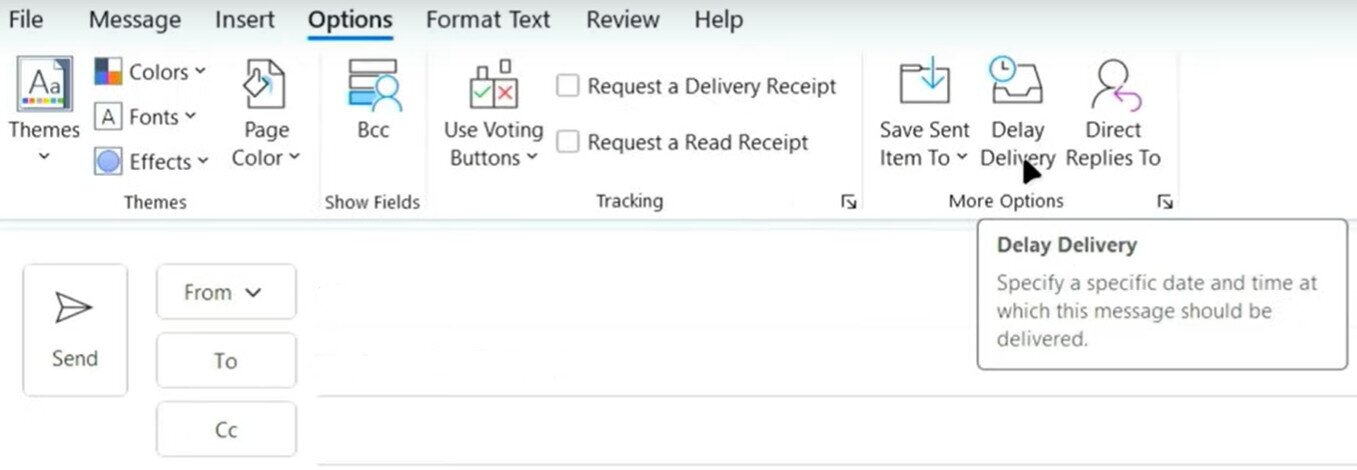
This window doesn’t give you much indication as to which setting will schedule the email. Here’s what to do:
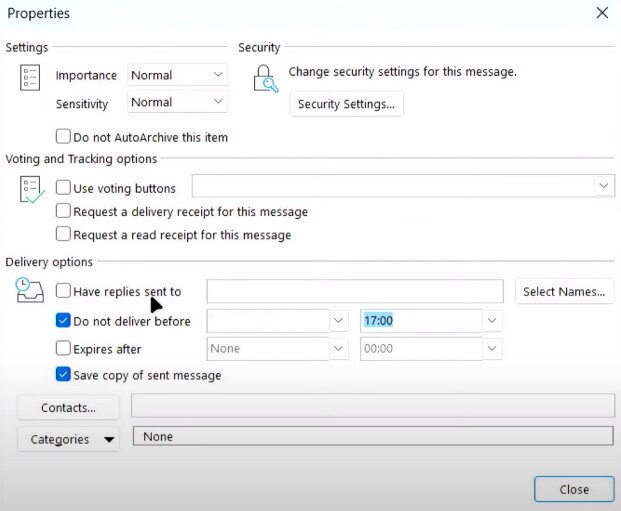
- Under Delivery Options, look for ‘Do not deliver before’
![Outlook properties screen]()
- Enter the date and time you’d like to send the message
- Click OK unless you see another setting that you’d like to change
- Return to your message and click Send
It’s important that you keep Outlook running in order to send the message at the scheduled time. This scheduling takes place on your desktop, so you need to keep the system awake, and the app running. The message is not sent to an online server.
Once the time expires, Outlook will attempt to send it right away. You can change this time whenever you want before the message is sent. The recipient won’t know that you scheduled the message or that it was sent automatically. If you’re away from your computer when the email is sent, you could add a line to the email that lets them know you can be contacted in the next few hours or at a given time.
Schedule emails in Outlook Web Version
If you’re using the web-based version of Outlook, the steps will be a little different. Here is the process:
- Open your Outlook
- Compose a “New Email”
- Under the Send button, you’ll see a down arrow
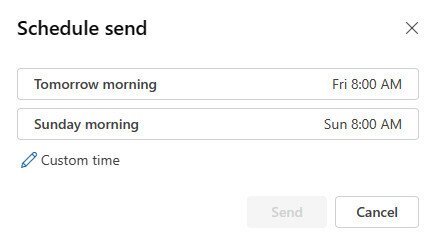
- Click the down arrow and select Schedule Send. You could also click Options on the ribbon section and click on the airplane icon that says, “Schedule Send”
![Outlook options ribbon]()
- Default options will come up but you can choose Custom Time
![Outlook schedule send options]()
- Choose your time and date
- Press Send

Edit or Delete Scheduled Email
If you need to adjust an already scheduled email:
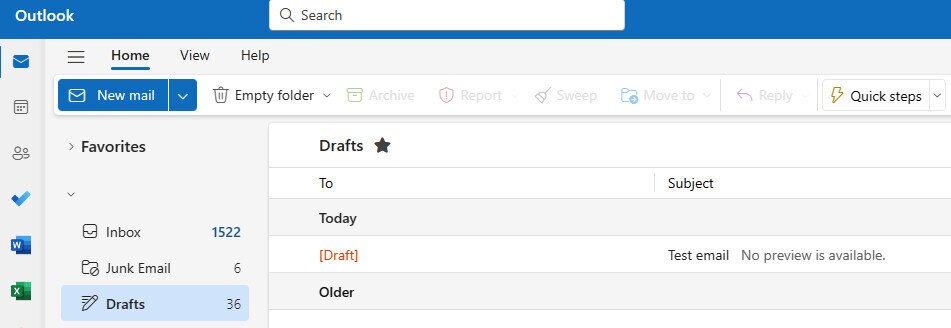
- Go to Drafts
![Outlook drafts]()
- Open the email you have scheduled
- Press Send
- The email will have the message, “This message is scheduled to send on…”
- Click on the pencil icon on the right side of the screen

- You can choose “modify email” (or send it now if you wish)
- From there you can delete the email, send it now, or pick a different scheduled time by following the earlier steps