How To Connect To The Internet From The Command Line On Linux
On Linux, the desktop environment automatically connects to the internet. It can connect to WiFi or Ethernet network. This is great, but if you need to accessing the internet via the command line, it doesn’t let you. That’s why in this article, we’re going to go over how to connect to the internet from The command line in Linux. We’ll cover both Ethernet connections, as well as wireless networks.
SPOILER ALERT: Scroll down and watch the video tutorial at the end of this article.
Connect over Ethernet using dhcpcd
Connecting to the internet from the command line over Ethernet can be needlessly complex. Users will need to manually turn on an individual network device, assign it an IP address, set up the DNS settings, subnet and etc. Nobody has time for that. Luckily, there’s a quick and easy way to get this going.
Keep in mind, if your Linux PC does not have an internet connection, you won’t be able to quickly install dhcpcd5 packages. Instead, you’ll need to check for loadable binaries, download the files and then load them up while offline. Check to see if your PC has dhcpcd by running it in the terminal. If the terminal repeats “command not found”, or something similar it is not on the system.
dhcpcd
Not to worry though, most Linux distributions come with the dhcpcd tool loaded up, so this won’t be necessary. If for some reason your Linux operating system doesn’t have it. Head over to pkgs.org, download a package and install it with your package manager.
Debian/Ubuntu may require dhcpcd5. Others use dhcpcd. If you can’t find a binary on pkgs.org, it’s best to refer to your operating system’s official wiki on how to get dhcpcd running.
If your operating system doesn’t automatically have dhcpcd, you’ll need to manually enable the systemd services.
sudo systemctl enable dhcpcd.service
then, immediately start the service with:
sudo systemctl start dhcpcd.service
With the service running, it’s time to connect to the internet from the command line. The first step is to reveal your network adapter names. This is done with the ip link command. When combined with the “show” option, it will reveal all of the devices available. Run it to find the name of your Ethernet card.
Keep in mind: Ethernet cards almost always start with either “enp” or “eth”.
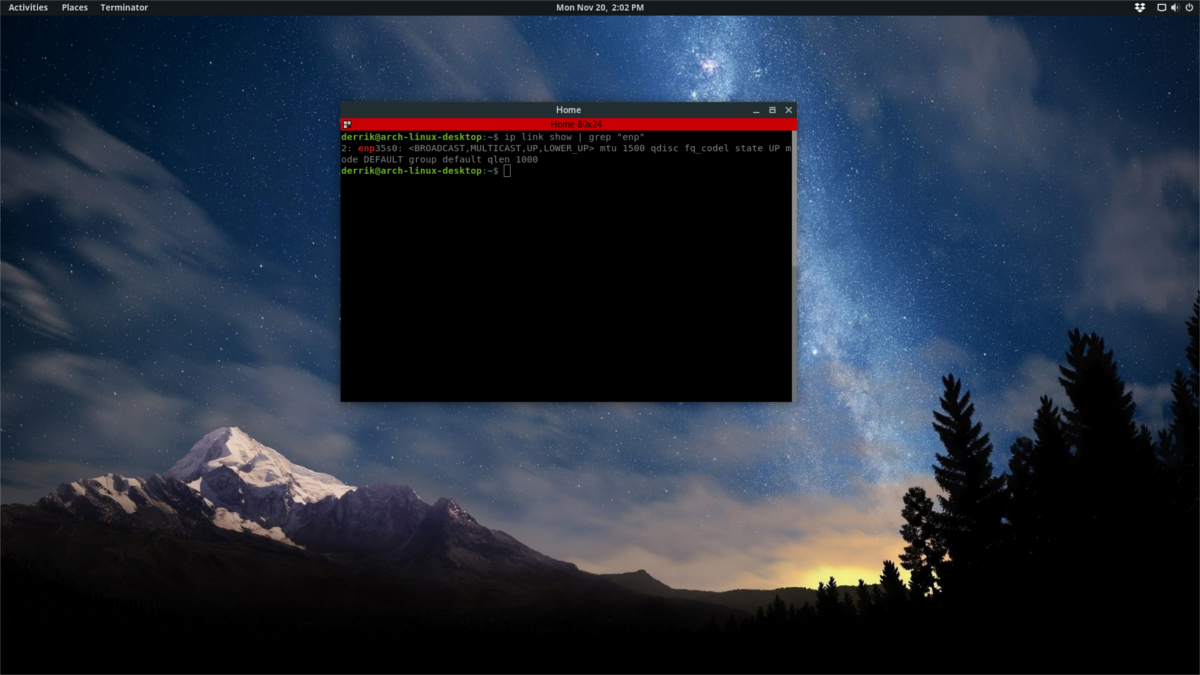
ip link show
If you’ve got too many individual network devices, a good way to quickly filter out the Ethernet card is to combine it with the grep command. Try to run it twice, if you’re unsure if the card starts with “eth” or “enp”.
ip link show | grep "eth"
or
ip link show | grep "enp"
Now that we know the adapter’s name, we can easily plug it directly into the dhcpcd tool to get a network connection.
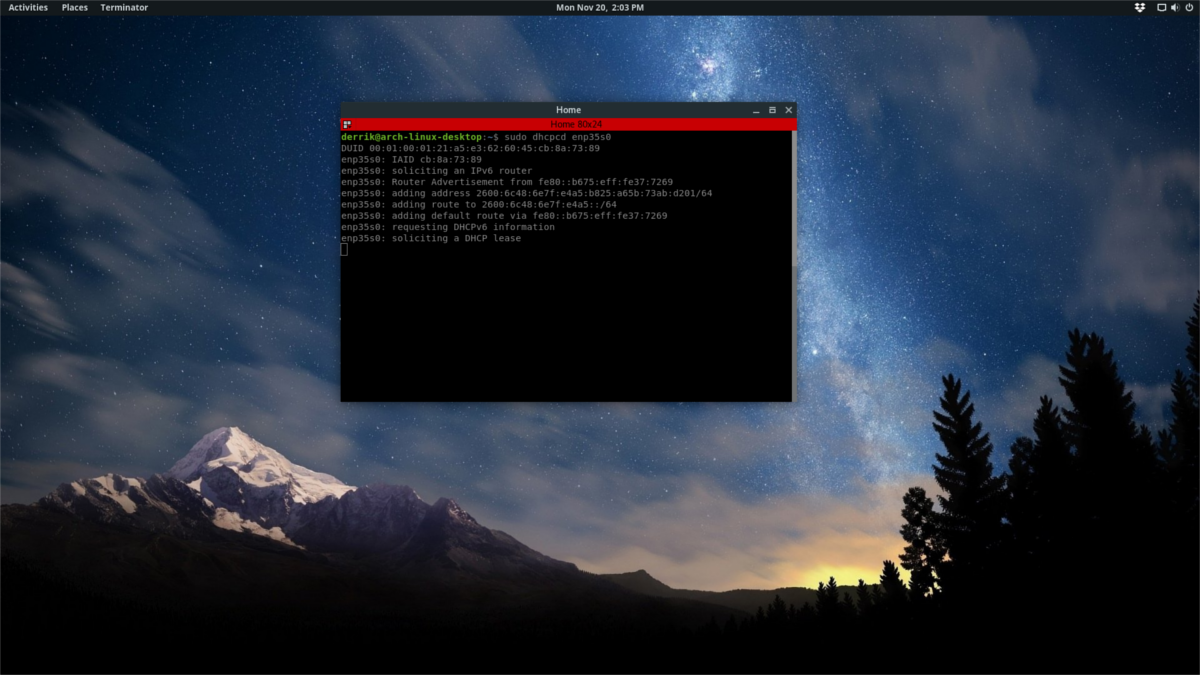
Note: replace “eth0” with the network card found using the ip link command.
sudo dhcpcd eth0
After running the dhcpcd command, you should have internet. To check connectivity, run the ping command.
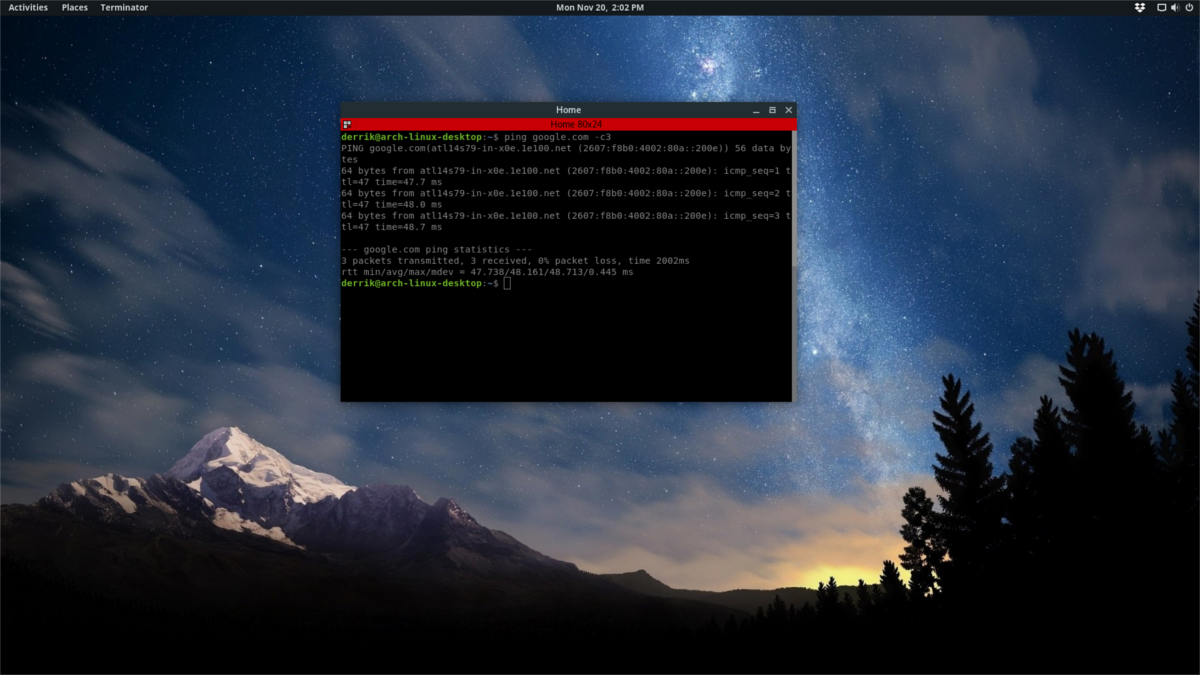
This ping will go directly out to the Google servers exactly 3 times. If it returns a message that contains “unknown”, rather than the Google IP addresses you do not have an internet connection, and will need to do this process again.
ping google.com -c3
Connect To Wi-Fi Using Network Manager Console
The graphical Network Manager connection tool has a console mode. With it, connecting to wireless networks via the command line is easier than ever. Here’s how to use it.
First, be sure that you’ve already got network manager installed. This shouldn’t be a problem as just about every Linux operating system makes use of Network Manager. If for some reason it isn’t installed, refer to your operating system’s manual on how to enable it (or re-enable it if you’ve disabled it in the past).
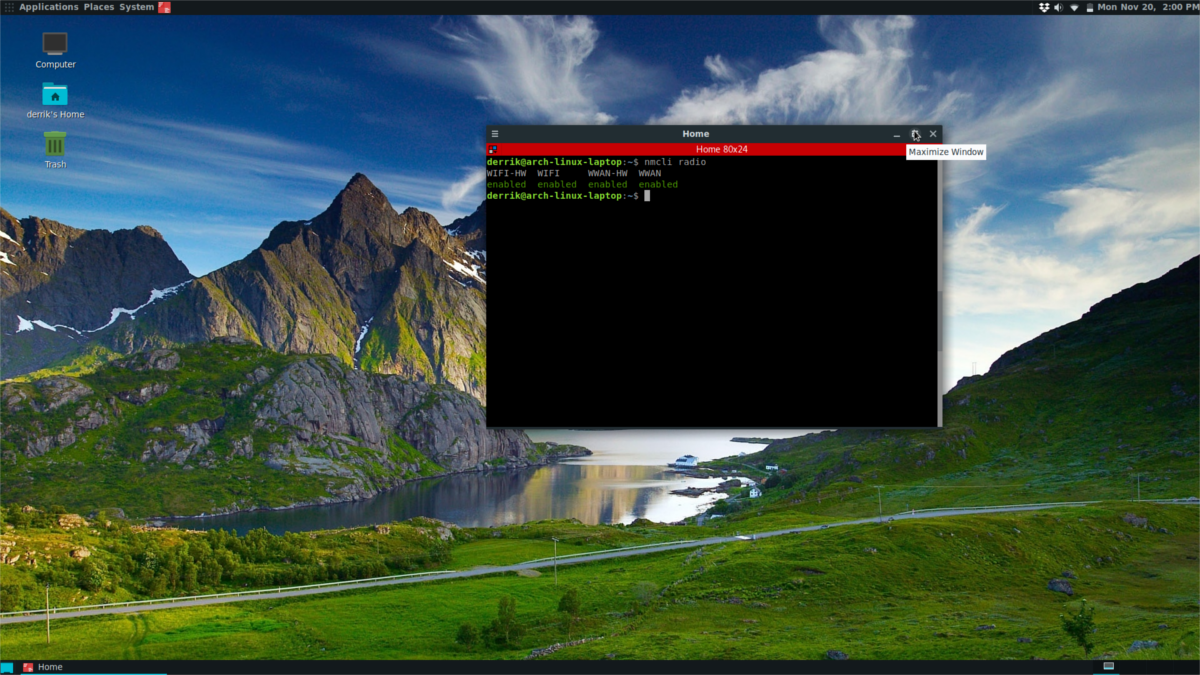
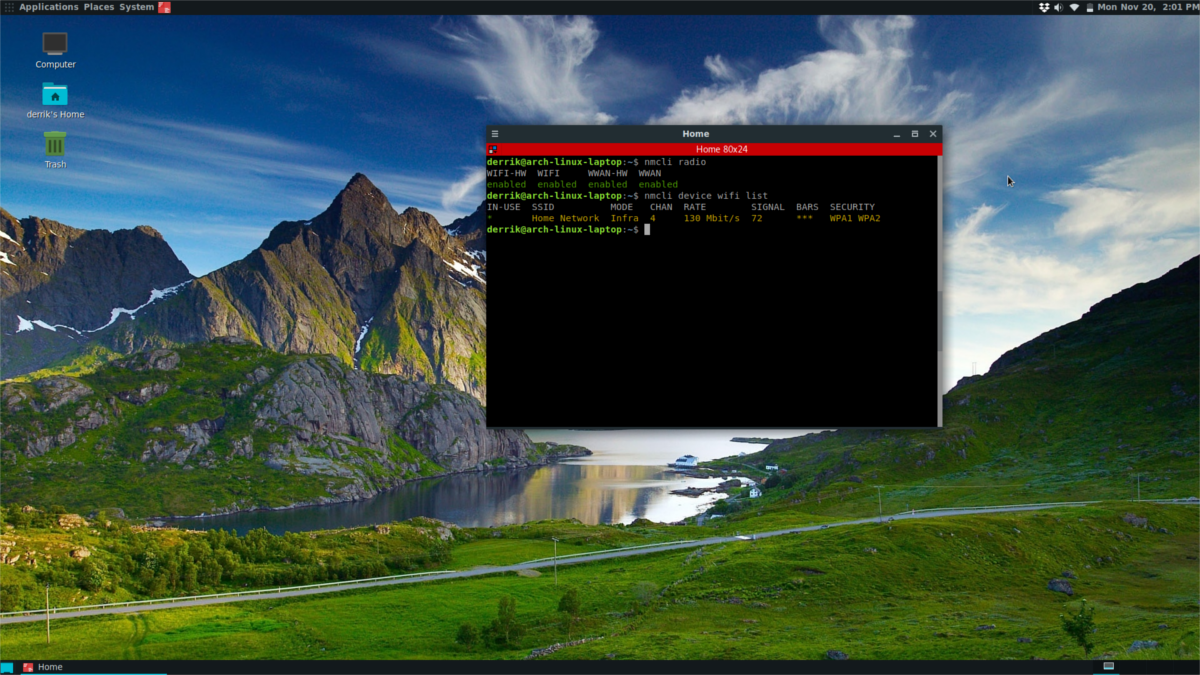
In the terminal, run the nmcli radio command, to see if your wifi radio is working:
nmcli radio
It should output “enabled enabled enabled enabled”, if it’s working. Radio not working? Press the Wi-Fi button on your laptop to turn it on.
Next, run a scan inside nmcli for nearby wireless networks. First, run the rescan command to generate a fresh list.
nmcli device wifi rescan
After running re-scan, print the list in the terminal window.
nmcli device wifi list
Using nmcli with “device wifi list” will print out a detailed list of all wireless networks that the user can access, complete with SSIDs, channels, connection modes, signal strength and etc. Connect to any one of these networks using “nmcli device wifi connect”. In this example, we’ll use Test Network.
nmcli device wifi connect Test\ \Network password testnetworkpassword
Once connected, be sure to run the ping command to verify you have an internet connection:
ping google.com -c3
Note: you may have issues connecting to SSID’s with spaces in them. Do not try to enter them as they appear in the list.
Instead, follow the example command and add backslashes. A backslash followed by a space, and another backslash will tell the bash command line that there is a space: Test\ \SSID\ \Connection

nmcli radio-> enabled enabled enabled enabled
nmcli device wifi rescan-> shows nothing
That is unfourtunate. Sadly, this might be an issue with your hardware.
This was invaluable to me, as I couldn’t get on the internet via ethernet, only wifi. Thanx for the article. Is there a link to download this info?
The thing is that some servers re-direct connections to the country,
where the $user is sitting in.
I want to connect to google.jp with command links, but
am then only connected to google.de – living in Germany.
How can I use links – to connect to jp ?