How To Host Your Own RSS System On Linux With Tiny Tiny RSS
Though many people presume it to be dead, RSS is still a big thing. Many people still rely on the RSS protocol to deliver news articles, updates on websites, and even multimedia items like videos and podcasts. There are many ways to keep track of RSS subscriptions: from desktop clients, to email subscriptions and mobile apps that aggregate subscriptions into a “newspaper-like” experience. These solutions are nice, but they have a downside: third-party RSS delivery services can go away just like Google Reader did. So, if you’re an RSS fan and a Linux user, it’s just better if host your own RSS system on Linux. That’s why in this tutorial, we’ll go over how to set up your own Tiny Tiny RSS server: a centralized place to house your subscriptions.
Setting Up An HTTPS server
Tiny Tiny RSS is a PHP application. For this reason, the software will not run without a server with PHP, Apache, etc. It is for this reason, we’ll briefly go over how you can easily set up and run your own LAMP server. There are many different ways to go about setting up a LAMP server (Linux, Apache, MySQL, and PHP/Python/Perl).
Many server operating systems have an option (during installation) to quickly deploy something like this. That being said, in this tutorial, we’ll be accomplishing this task with Ubuntu server. This is because using the Ubuntu server distribution has many benefits for users that do not know a lot about maintaining server OS’s on Linux. Additionally, it has snap package support, which can make deploying certain tools very easy.
Installing Ubuntu server starts out by going to the download page on Ubuntu.com/server. On the download page, there are two separate versions to choose from: Long Term Support, and the latest release.
Choose the LTS version if you have no plans on going through an upgrade in 6 months, and don’t want to deal with that sort of thing. Choose the latest release if you enjoy the latest software, and don’t mind the upgrade process.
Once downloaded, get out a USB flash drive (of at least 2 GiB in size) and get the Etcher USB tool. Follow the instructions on the page to flash the Server ISO file to the drive. Once flashed, plug it into your home server (or computer you plan to use as a server). Load the machine’s BIOS and set it to boot from USB.
When it loads, you’ll be taken through the Ubuntu server installation. Follow the instructions that Ubuntu brings up. It’ll explain in detail what to do: from partitioning, user setup and etc.
At a certain point during the Ubuntu server installation, the user has to select packages to install. Using the arrow keys to navigate and the spacebar to select, check the boxes next to: LAMP Server, and OpenSSH server. Then press the enter key to install them to the system.
When the installation completes, restart the machine.
Installing TT-RSS
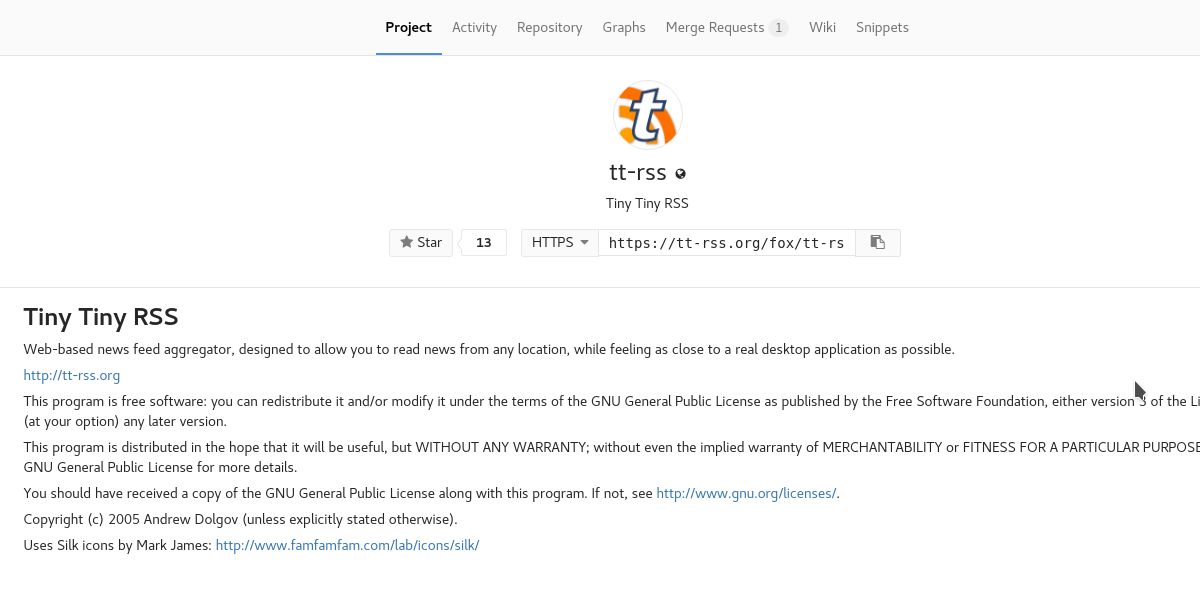
Getting Tiny Tiny RSS is very easy, given the code is freely available for download on Github. To get it working on Ubuntu server, the first step is to install the Git package. This is necessary, as without it, pulling code from Github and other git sources is impossible. Install it by entering this command into the shell prompt:
sudo apt install git
With git installed, enter the web directory on your server.
cd /var/www/html/
Then, use git to download the latest release of TT-RSS:
git clone https://tt-rss.org/git/tt-rss.git tt-rss
When the TT-RSS is in the html folder, it’s installed on the system. Access it by opening the server’s URL. This is the part that gets tricky. As this is a web server, TT-RSS is readily accessible from the internet. This is because most routers already forward port 80 to the internet (though, in some cases you may need to port forward 80 to the internet anyway).
Having TT-RSS forwarded to the internet means you can access your RSS feeds from anywhere. Alternatively, Tiny Tiny RSS is accessible right on your LAN.
Setting Up TT-RSS
Tiny Tiny RSS is on the web server. Still, our work isn’t done. The software will not work without configuration. To start off, go to Google and type “What is my IP”. Then, enter your IP address in a browser’s address bar.
For example: https://ip.add.r.ess /tt-rss/. Alternatively, use the local IP address (found with ifconfig in the terminal), and go to: https://local.ip.address/tt-rss/
Creating The MySQL Database
Tiny Tiny RSS needs an SQL database to work. Let’s create one. In the shell on Ubuntu server, enter:
mysql -u root -p
Enter the SQL root password that you set during installation.
In the SQL prompt, make the database using the MySQL command.
CREATE DATABASE TtRss;
Now that TT-RSS has a database to work with, we’ll need to make a username. Enter:
CREATE USER 'ttrss'@'localhost' IDENTIFIED BY 'password';
Note: change “password” with the password you’d like to use for the ttrss database user.
Lastly, flush all SQL privileges with the flush command.
FLUSH PRIVILEGES;

QUIT
Final TT-RSS Configuration
On the setup page in the browser, fill out all of the information. Use the dropdown to select “MySQL”. Then, under “username” enter the ttrss username created earlier, followed by the password you gave it in the password field.
Under the database field, enter TtRss, and under “port” type in 3306. To finalize it, click “test configuration”. If everything checks out, click “initialize database”.
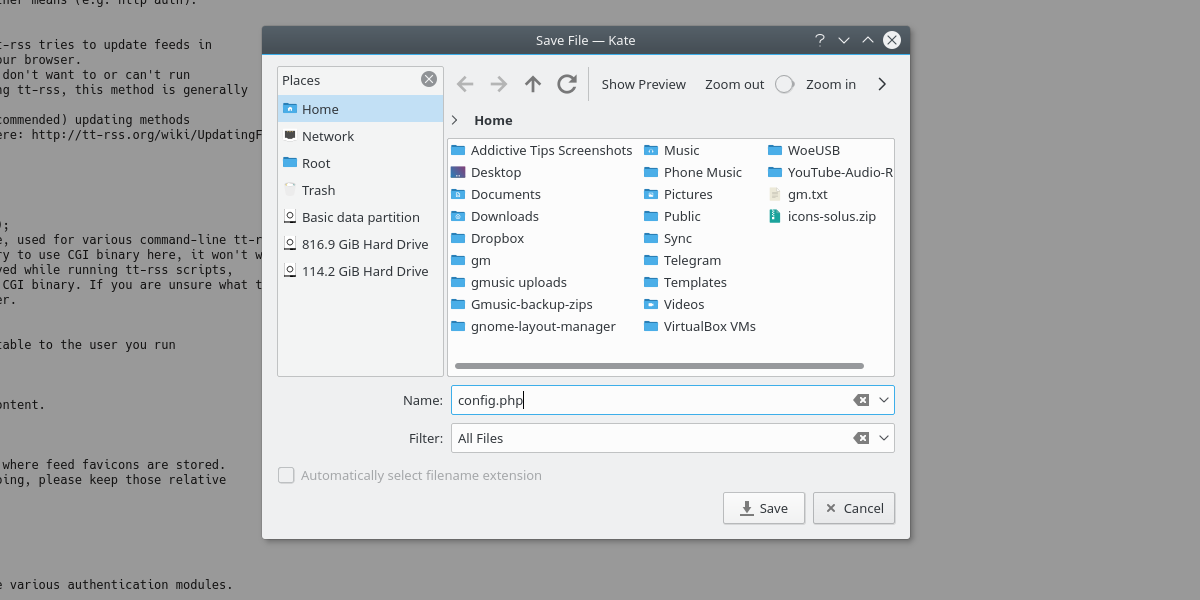
On the next page, Tiny Tiny RSS will generate a configuration file. Open a text editor on the computer you’re visiting the server’s IP address, copy the configuration, and paste it into the text editor. Save the file as config.php.
The configuration file is safe on your PC, but that’s not where it needs to be. Head over to the command-line file sharing site transfer.sh. Click the “click here to browse” button, find the config.php file on your computer and upload it.

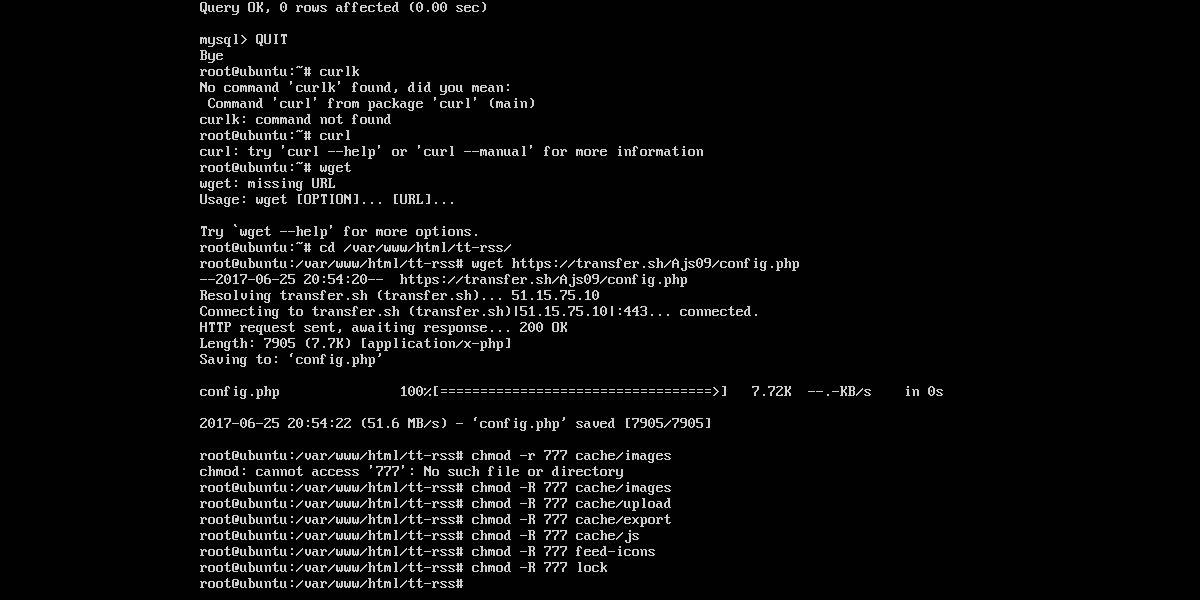
Transfer.sh will output a url to download from. With this in mind, go back to the Ubuntu server shell and type the following commands to get the config.php file:
sudo -s

cd /var/www/html/tt-rss/
wget https://transfer.sh/EXAMPLE/config.php
Note: “example” is used in place of an actual URL. When you upload your file to Transfer.sh, numbers and letters will be where the example word is.
Fixing Permissions

Everything is set up, configuration files and all. There’s just one last thing to do: change the permissions of the folders so everything on the server works.
chmod -R 777 cache/images

chmod -R 777 cache/upload

chmod -R 777 cache/export

chmod -R 777 cache/js

chmod -R 777 feed-icons

chmod -R 777 lock
Using Tiny Tiny RSS
Load https://ip.add.r.ess /tt-rss/. The webpage will have a login page. The default login information is: admin and password. Go to https://ip.add.r.ess/tt-rss/prefs.php, look for the user tab and then click on “Admin”. Look for authentication, and then change the default password.
Conclusion

Tiny Tiny RSS is installed on your Ubuntu server! From here, it’s possible to subscribe to as many news articles as you want. The user interface is quite easy to pick up! Just click around, and you’ll be at home in no time!

