How to install the Fedora 37 beta
The Fedora 37 beta has arrived. With it comes a new version of Gnome Shell (Gnome 43), a new Linux kernel, a new security panel, updates to drivers, performance improvements, and more. Here’s how to install the Fedora 37 beta on your PC.
Before we begin
Fedora 37 is in beta, which is incredibly buggy sometimes. It is fine enough to use for testing and even development purposes. However, it would be best if you did not attempt to use the beta in a production environment or with a project with valuable data you cannot afford to lose. Install the Fedora 37 beta at your own risk!
Downloading the Fedora 37 beta
To download the Fedora 37 beta so that you can install it, head over to Fedoraproject.org. Once on the website, find the “Download Now” button next to “Fedora Workstation” and click on it with the mouse.
The “Download Now” button next to “Fedora Workstation” will bring you to the ISO download section. Find “Fedora 37: x86_64 Live ISO Beta!” and click on the download button next to it.
Selecting the “Download” button will download the latest release of the Fedora 37 beta to your computer. Alternatively, use the wget command in a terminal and grab the ISO.
wget https://download.fedoraproject.org/pub/fedora/linux/releases/test/37_Beta/Workstation/x86_64/iso/Fedora-Workstation-Live-x86_64-37_Beta-1.5.iso
Creating a Fedora 37 beta USB installer
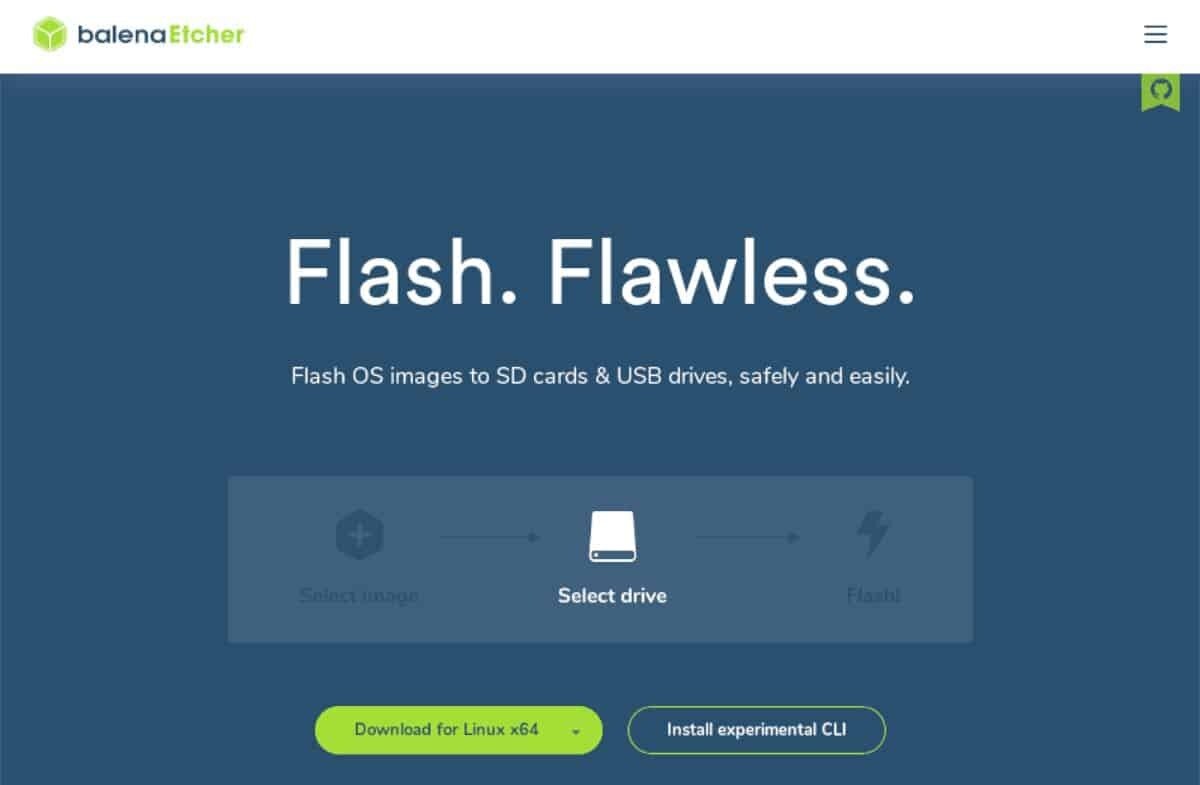
You must create a USB installer to set up the Fedora 37 beta. To get it working on your system, download and install the latest version of Etcher to your computer. After setting up Etcher, follow the step-by-step instructions below to create your installer.
- Find the “Flash from file” button, and click on it with the mouse. After selecting this button, browse for the Fedora 37 beta ISO file and click on it.
- After selecting the “Flash from file” button, find the “Select target” button, and click on it. Once you’ve selected this button, browse for your USB flash drive and select it.
- Upon selecting your USB flash drive, find the “Flash!” button in the Etcher application. Then, click on it to start the flashing process. The flashing process will take a bit of time to complete.
- When the flash process is finished, reboot your computer and access your BIOS. Once inside the BIOS, look through the USB boot settings and configure your computer to boot the USB flash drive.
Installing the Fedora 37 beta
To install the Fedora 37 beta on your PC, boot up the installer. Then, follow the steps below to get it set up.
-
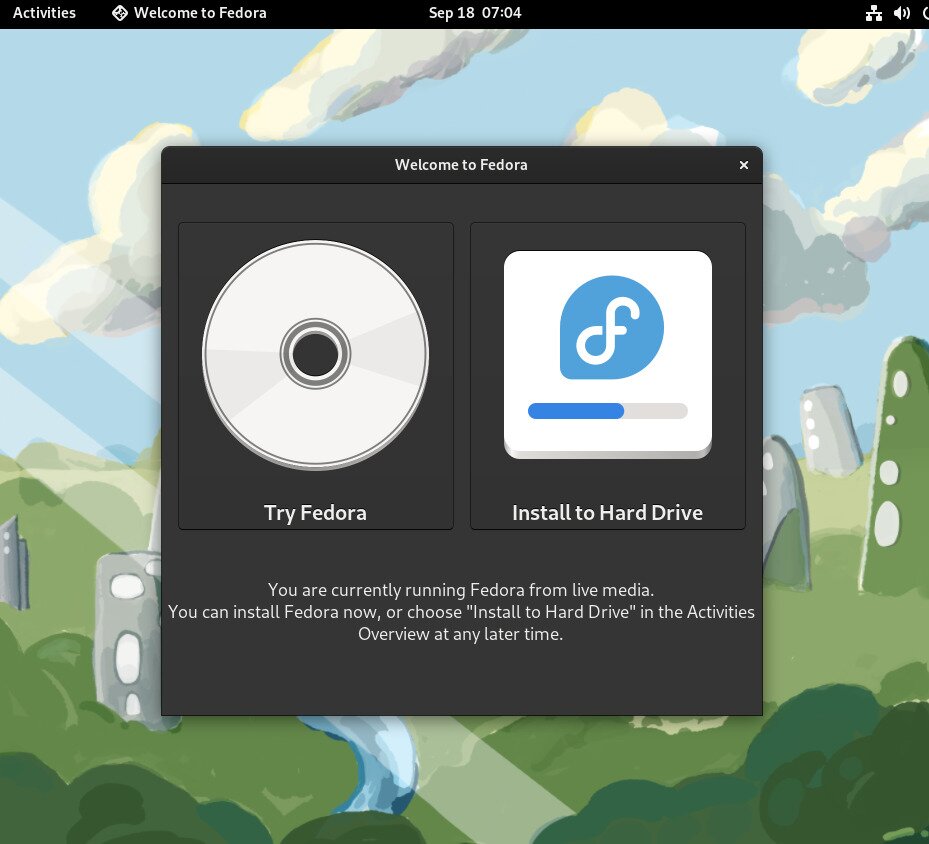
- Find the “Install to Hard Drive” button in the Fedora 37 beta installer and select it with the mouse. Selecting this button will start the installation process.

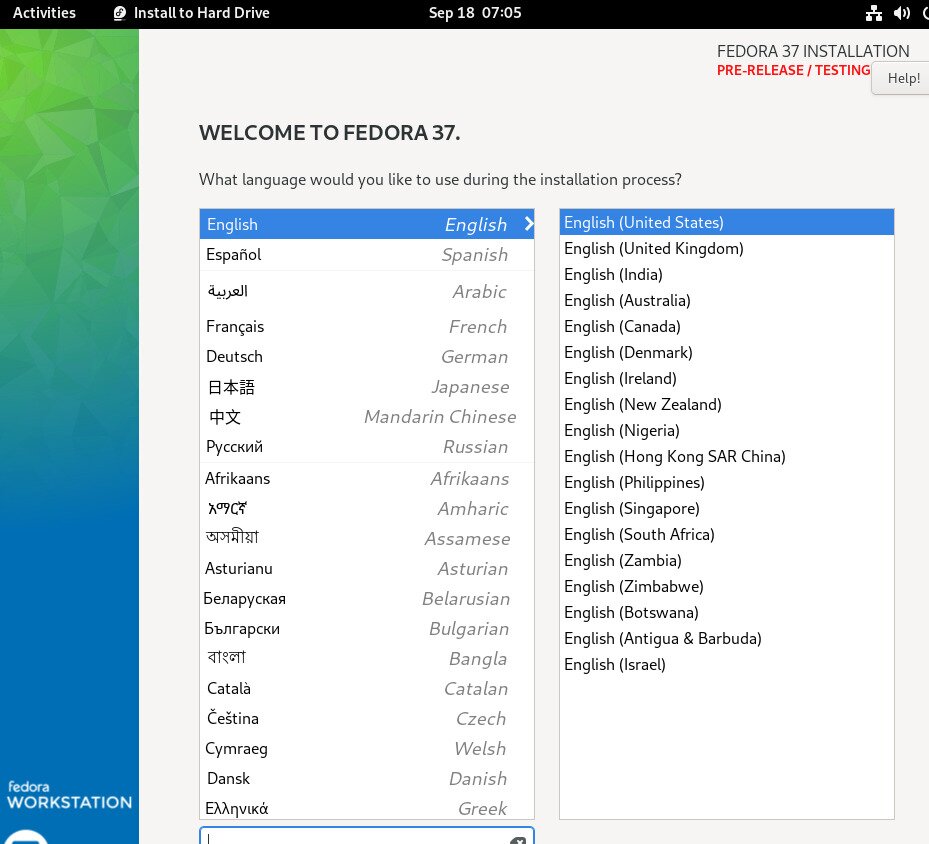
- In the Fedora 37 installer, you’ll see a “Welcome” message. Below the welcome message, you’ll be asked to choose a language. Select the language you speak in the menu that is on the screen. Then, click on the Continue button to move to the next page.

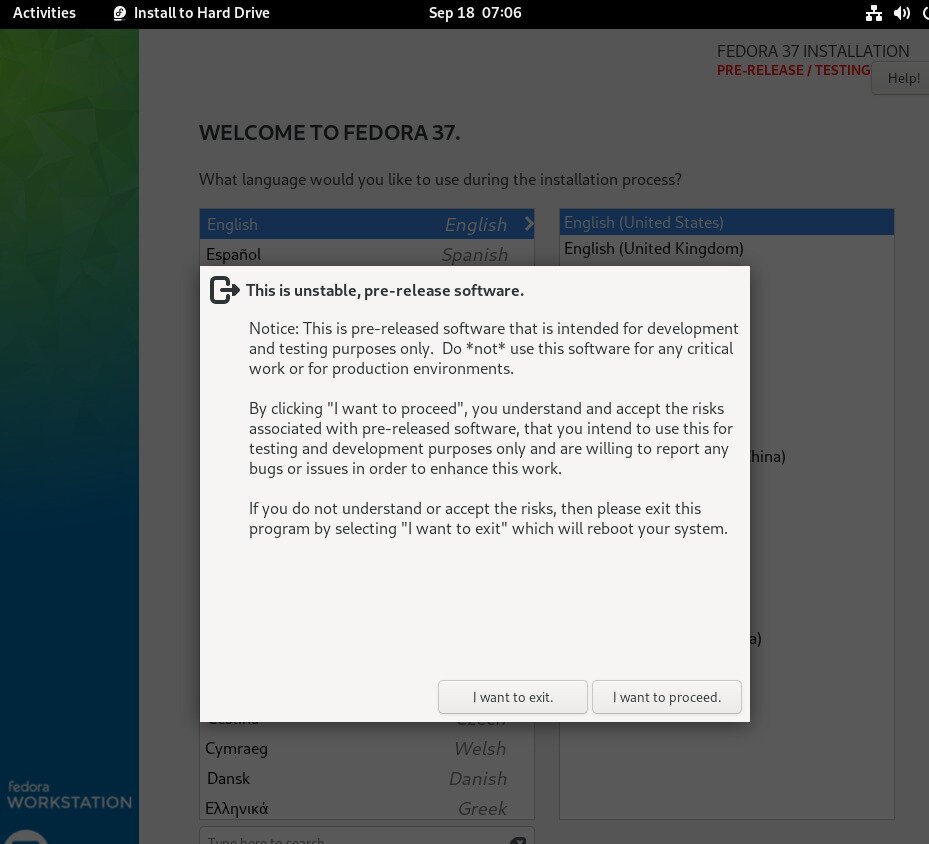
- Upon selecting the Continue button, you will see a message. This message says, “This is unstable pre-release software,” followed by a warning. Read the warning, and select the “I want to proceed” button to continue.

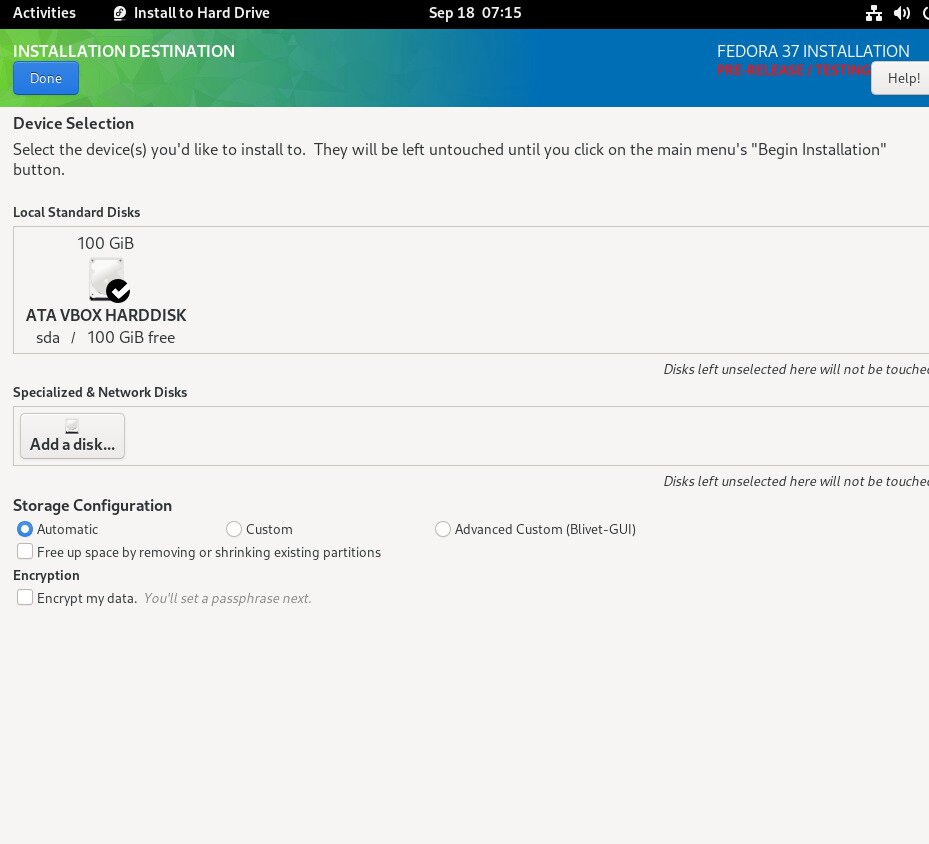
- Locate the “System” section of the installer, and select the “Installation Destination” option. This section will allow you to partition your Fedora 37 beta installation.
- Inside the Device Selection area, click on the hard drive you wish to install Fedora 37 beta onto. You can select a drive by clicking on one in the Local Standard Disks section.

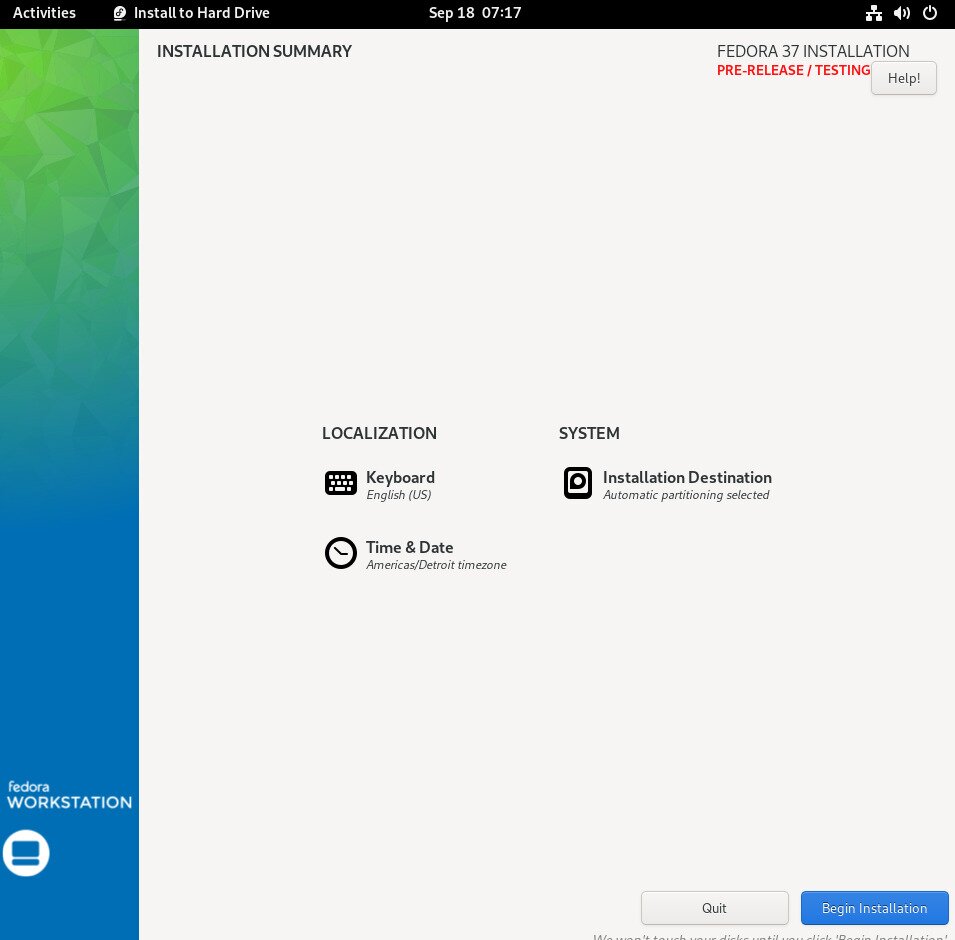
- After making a hard drive selection, choose your Storage Configuration. By default, “Automatic” is selected, and we highly suggest keeping it that way. However, consider selecting “Custom” or “Advanced Custom ” if you are an expert.” Click the blue Done button when done.
- When you’ve set your partitioning up, click the blue Begin Installation button. This button will start installing the Fedora 37 beta OS on your computer. Please note that the installation will take a bit to complete.

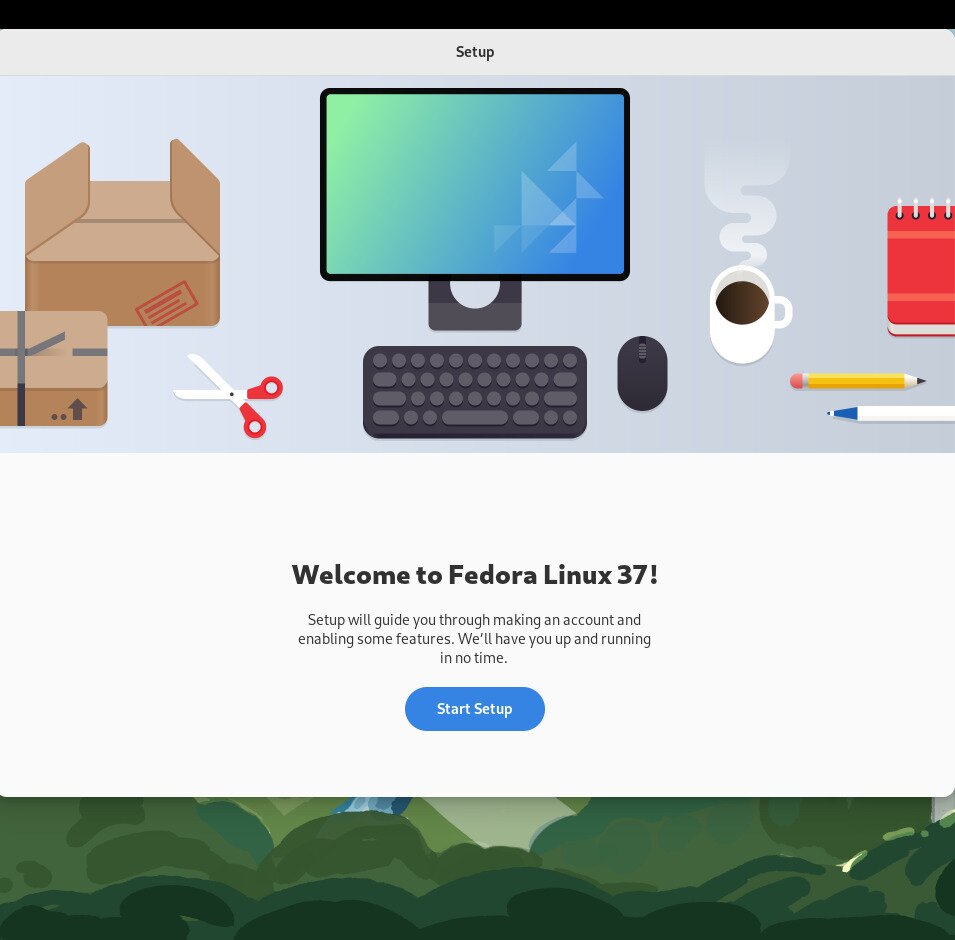
- Once the installer finishes setting up Fedora 37 on your computer, you’ll need to reboot. Rebooting is necessary, as Fedora will allow you to set up a new user account when you log in for the first time.
- You will see a “Welcome to Fedora Linux 37” after rebooting. Next, select the Start Setup button on your computer to start the post-installation setup process.

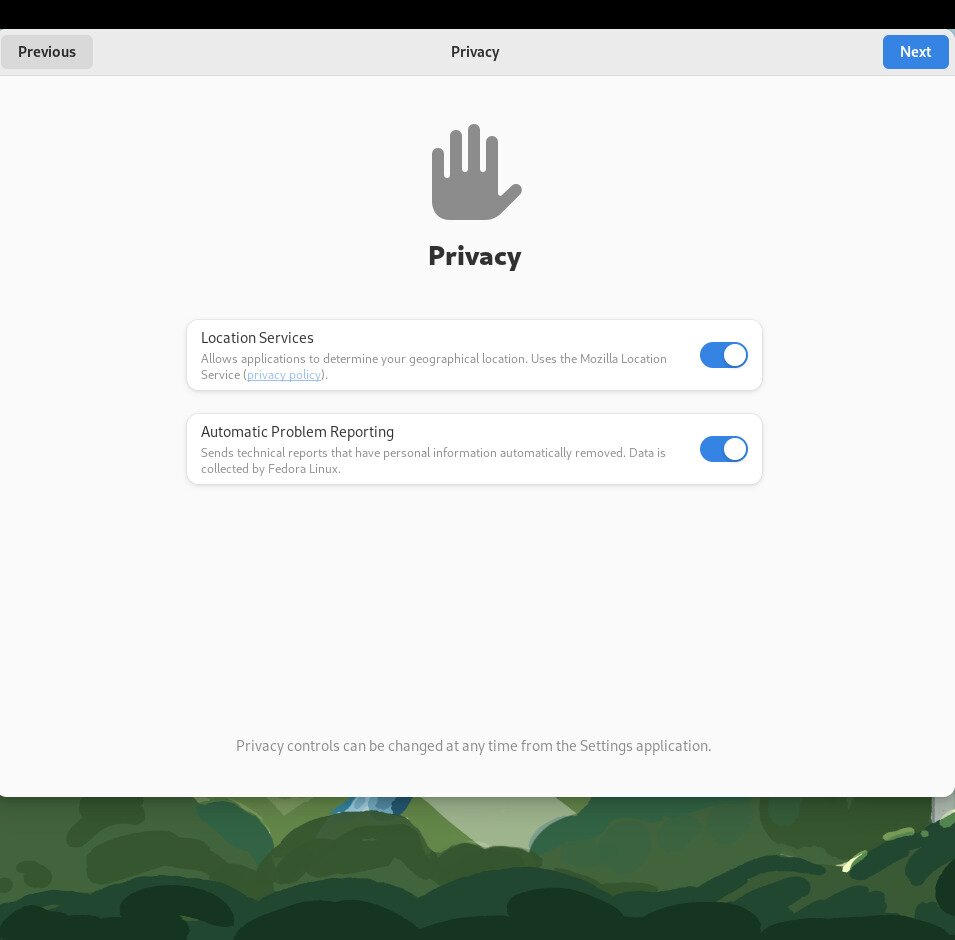
- You’ll need to select to enable (or disable) location services and automatic problem reporting in Fedora. When you’ve made your selections, click the Next button.

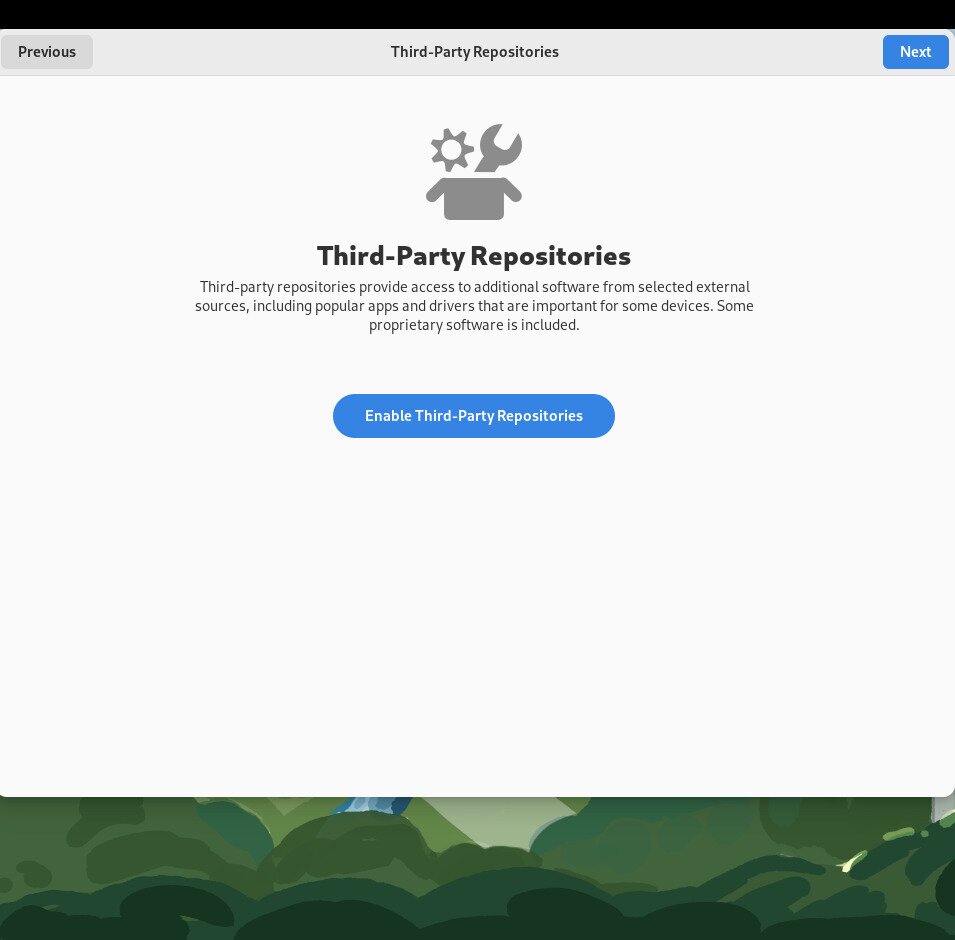
- With locations configured, you must set up Third-Party Repositories. Select the Enable Third-Party Repositories button to enable it. Select Next to continue.

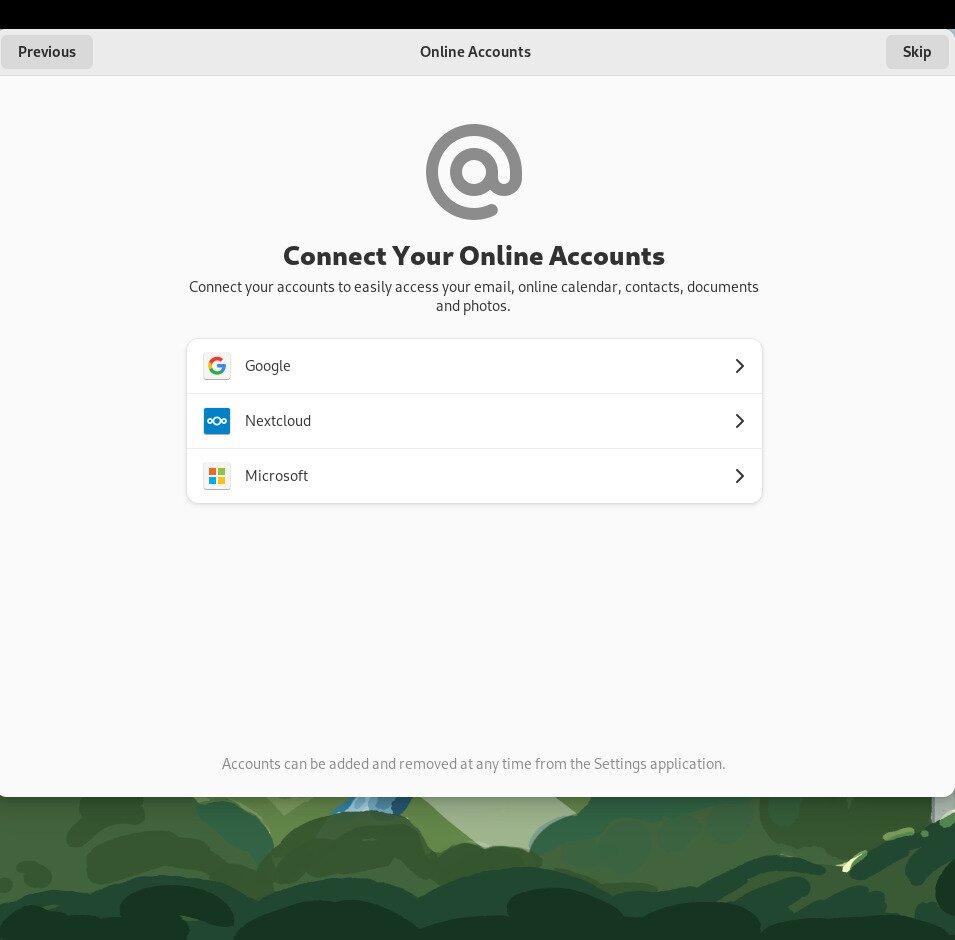
- You must set up your online accounts in Fedora. Select your accounts in the menu. Otherwise, select the Skip button to move to the next page.

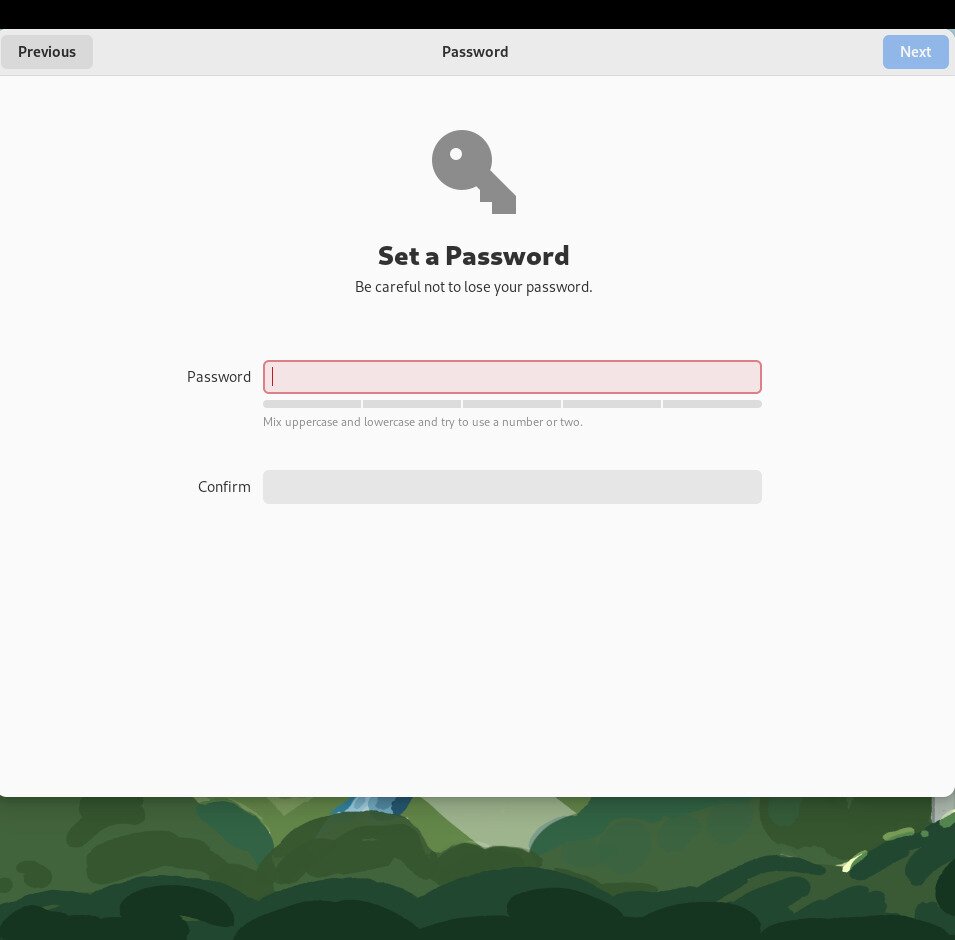
- Enter your full name, as well as your chosen username. Click the Next button when done to continue. After selecting the Next button, you must enter a password. Ensure that it is secure and memorable. Click Next when done.

With your user account configured, everything is set up. Select the Start Using Fedora Linux button to use your new OS.
