How To Install The Nvidia Beta Driver On Linux
Nvidia makes the best graphics cards but at present, Linux users may have a hard time using the stable Linux drivers. Initially, there was great support for these graphics cards with stable drivers available for Linux. It has deteriorated since. Those using the new GTX 10 series cards are experiencing glitches, and less than stellar performance. It is because of this that Linux users with these GPUs should consider using the beta drivers that are available. The beta driver is updated at a faster rate than the stable one, so fixes happen sooner. Additionally, Nvidia users on the beta release will find newer features implemented at a faster rate, and issues fixed faster as well. Here’s how you can disable the open source drivers and install the Nvidia beta driver on Linux.
Blacklisting Open Source Drivers Post-boot
The Linux kernel, by default, supports Linux graphics cards. This is done with the open source Nouveau driver. For most Linux people on Nvidia GPUs, this driver will do fine, and there is no real need to switch to the proprietary driver. Keep in mind, this driver, though already working, has some serious performance issues when it comes to video games, video editing, and basically anything that involves high-end video cards and high performance.
Unfortunately, it is not currently possible to leave the Nouveau kernel driver in place. This is because it conflicts with the driver we’re about to install. It needs to be removed so that the kernel can’t run it.
To blacklist the kernel driver, gain a root shell:
sudo -s
Next, enter the Nano text editor and create a configuration file. This is needed so that Linux knows what to do.
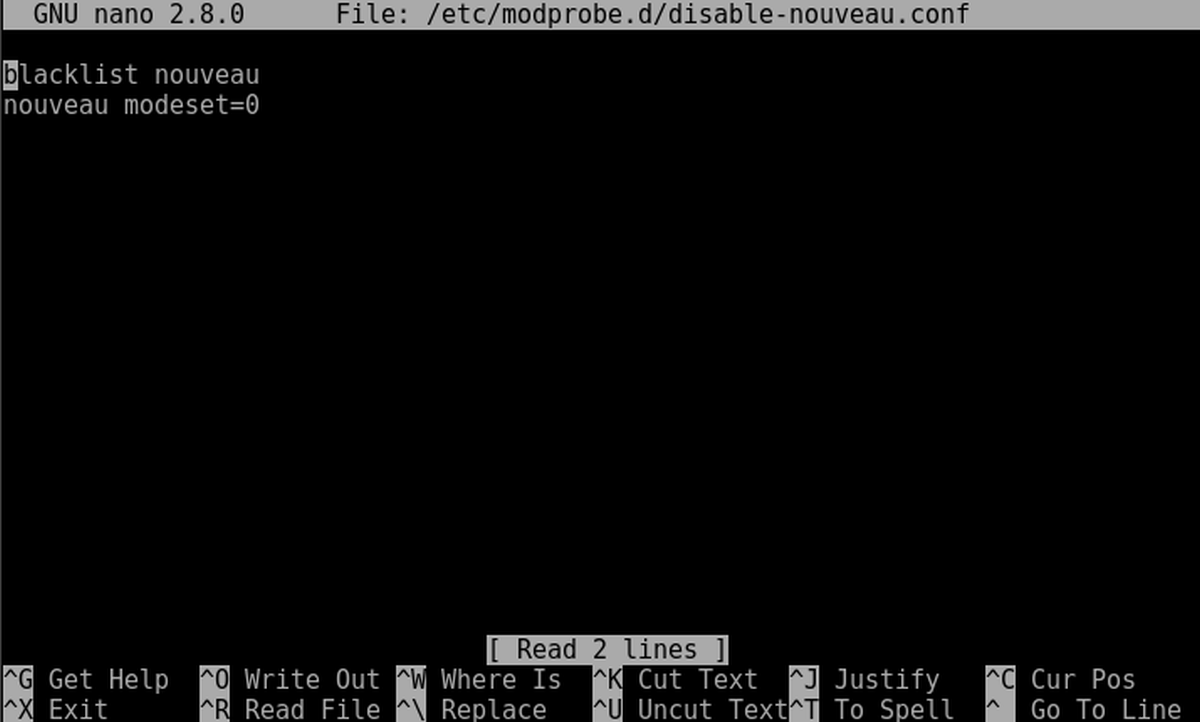
sudo nano /etc/modprobe.d/disable-nouveau.conf
First, add this to the file:
blacklist nouveau
Then press Enter on the keyboard to go to the next line and add this text:
nouveau modeset=0
After the editing the blacklist configuration file, save the Nano text editor by pressing CTRL + O on the keyboard, then tap Enter to confirm.
For those that don’t know: we’re not actually uninstalling this driver permanently. Instead, what is happening is that the Nouveau kernel driver will be blacklisted, and prevented from loading at the start. The Nvidia graphics card won’t be confused and try to load both drivers. When most users install the stable Nvidia drivers from graphics installers (like the Ubuntu driver installer), the open source driver is automatically blacklisted. We’ve essentially done the same thing.
Blacklisting Open Source Drivers Pre-Boot
The Nouveau driver also needs to be disabled at boot. This can be done by editing the default Grub configuration.
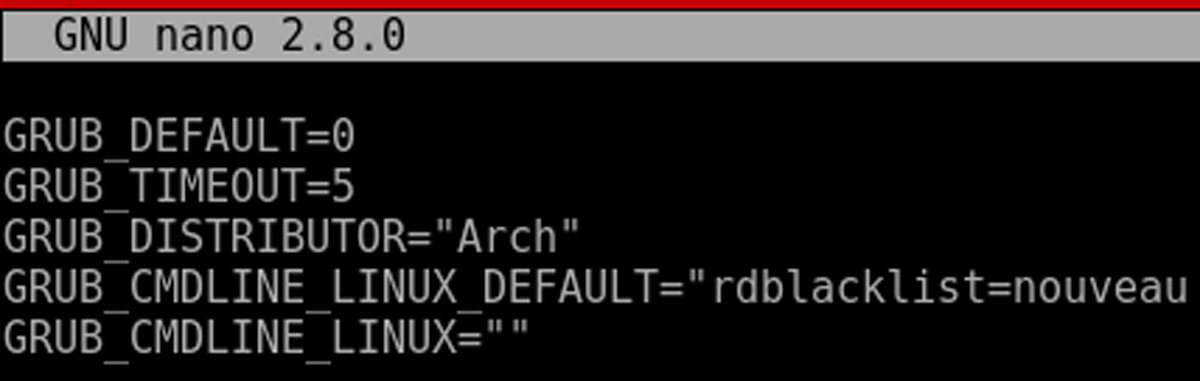
sudo nano /etc/default/grub
In the editor, look for GRUB_CMDLINE_LINUX_DEFAULT=
Using Nano, paste:
rdblacklist=nouveau
The pasted code should look like this:
Generate a new Grub configuration file with:
sudo grub-mkconfig -o /boot/grub/grub.cfg
Lastly, reboot the machine. This is necessary as Linux will run certain things in RAM, and will need to restart for changes to take place.
Installing Kernel Headers/Downloading Driver
On Linux, compiling kernel modules is easier than ever thanks to a technology known as “Linux headers”. This tool makes it possible to compile a kernel module that matches the current version of Linux. Each time the Linux kernel is updated on the system, the headers are updated as well. Unfortunately, due to how software is installed on most Linux distributions these days, headers are rarely installed. This is because people rarely need to build and install modules, as everything is usually working out of the box.
Install the headers with the following command. Choose the one that corresponds with your Linux distribution.
Ubuntu/Linux Mint/Elementary/Debian and etc
sudo apt install linux-headers
Arch Linux/Manjaro etc
sudo pacman -S kernel-headers
Fedora
sudo dnf install kernel-headers kernel-devel -y
Open Suse
sudo zypper install kernel-headers kernel-devel
Downloading The Driver
The beta driver is released by Nvidia a lot faster than Linux distributions can keep up. Most software repositories on Linux effectively freeze every release. This means new software can only be added every couple of months. This is why in this guide we’ll be downloading the driver directly from the manufacturer, instead of Linux distribution developers.
Head over to the Nvidia website, select Linux under operating system. Then, select your graphics model, and under “Recommended/Beta”, select the beta option. Download the latest version of the driver.
Preparing For Installation
The Nvidia driver cannot be installed until the installer has it’s permissions changed (marking it executable). First, enter the Download directory:
cd ~/Downloads
Then, mark it as executable.
sudo chmod +x *.run
With the installer prepped, we’ll be able to disable the GUI, so that the installer will work:
sudo -s

rm /etc/systemd/system/default.target

ln -sf /lib/systemd/system/multi-user.target /etc/systemd/system/default.target
Install Nvidia Beta Driver
In the prep section, the graphical interface was disabled. As a result, the user is in TTY mode. Log in with your username. Then, gain a root shell:
sudo -s
Next, navigate to where the .run file is.
cd /home/username/Downloads/
Then, execute the installer with:
./*.run
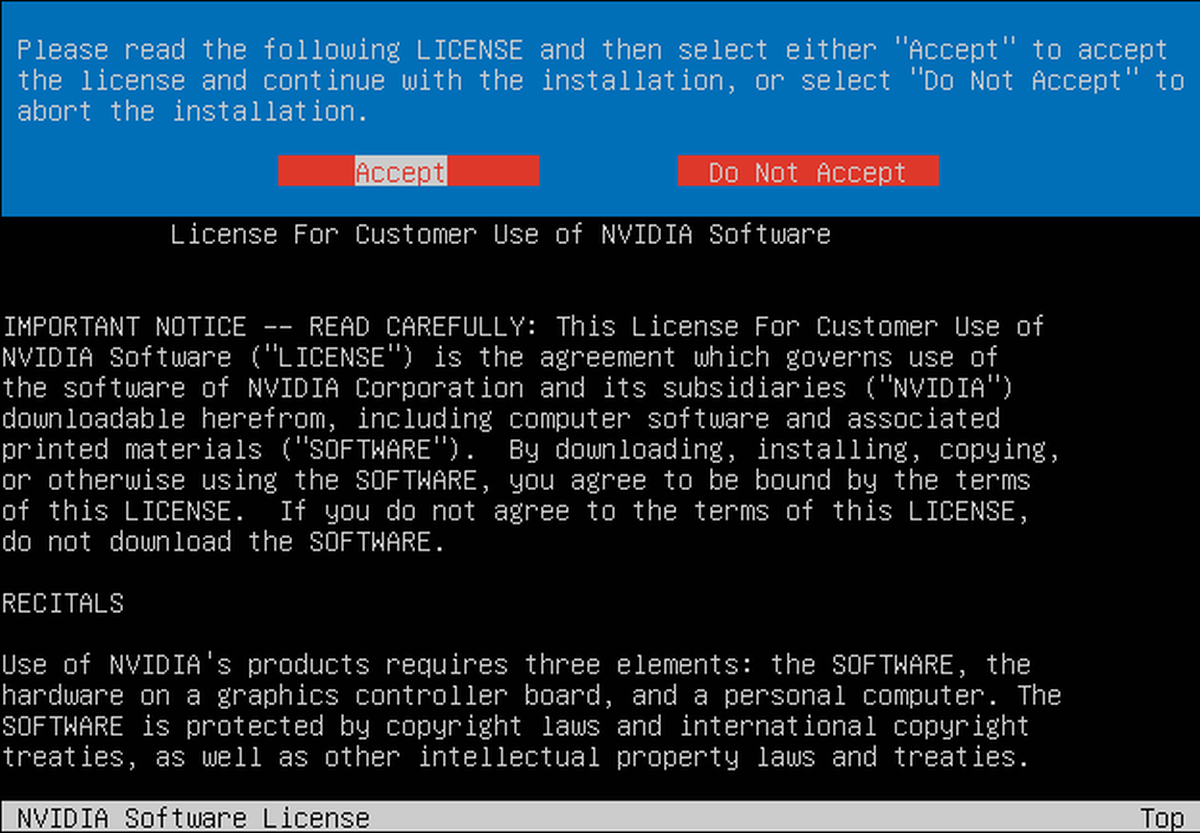
Follow the instructions within the Nvidia installer, and be sure to agree to enabling DKMS support.
When the installation is complete, enter the following to re-enable the GUI interface:
rm /etc/systemd/system/default.target

ln -sf /lib/systemd/system/graphical.target /etc/systemd/system/default.target
With the graphics interface re-enabled, reboot the machine. When the PC logs back in, the Nvidia GPU beta drivers will be running perfectly on the system.

How do you do this on a distro that doesn’t use systemd?