How To Make A Linux Powered Steam Console With SteamOS
You can build your own gaming console. The people behind the popular gaming platform Steam, have their own Linux-based operating system. It’s free to download, and install on any PC that can handle it. SteamOS is above all else, an operating system that runs video games and if you’re an avid gamer unhappy with Windows 10, you can make a Linux powered Steam console with SteamOS. You need a gaming PC capable of playing most modern video games. It should be able to play and decode 1080p video footage without lag, have at least 4 GB of RAM, and a decently powerful video card. It should also have at least 4 CPU cores, and a fast hard drive (SSDs preferred).
Making the installation disk
Though SteamOS is Linux based, making the live disk is a lot different than most other operating systems that run Linux. Valve doesn’t distribute an ISO file to burn to DVD or USB. Instead, users will need to go to the SteamOS build page, and download a 1.8 GB Zip folder, set up a flash drive and get everything running.
Formatting the USB drive
The first part of the process is to set the flash drive in the right filesystem format. This is critical, because SteamOS will not boot or install if the flash drive is not in the correct format. It will fail to boot. If this happens, repeat this process again, and pay close attention to the instructions.
To start off, get a USB flash drive with at least 2 GB space, open a terminal and do the following:
Use the lsblk command to determine what the flash drives’ label is. In this example, the drive uses the /dev/sdc label (your USB label may be different).
Then, open the drive in parted:
sudo parted /dev/sdc
SteamOS requires the user to install in UEFI mode. As a result, the flash drive will need to use a GPT partition layout. Create this new label with mklabel.
mklabel gpt
The partition label is now GPT, but all the partitions on it are gone. Make a new Fat32 partition with:
mkpart primary fat32 1MiB 100%
Exit parted with the quit command.
quit
The partition is working and the partition label is the correct one. Now it’s time to format the newly created partition so that the system can access it.
mkfs.fat -F32 /dev/sdc1
Note: if you are installing Steam OS and you are not using Linux, be sure to format your flash drive in the Fat32 format.
Placing the files on the drive
Once the formatting is complete, you can create the live disk. Download the latest version of SteamOS from here. It comes in a zip archive.

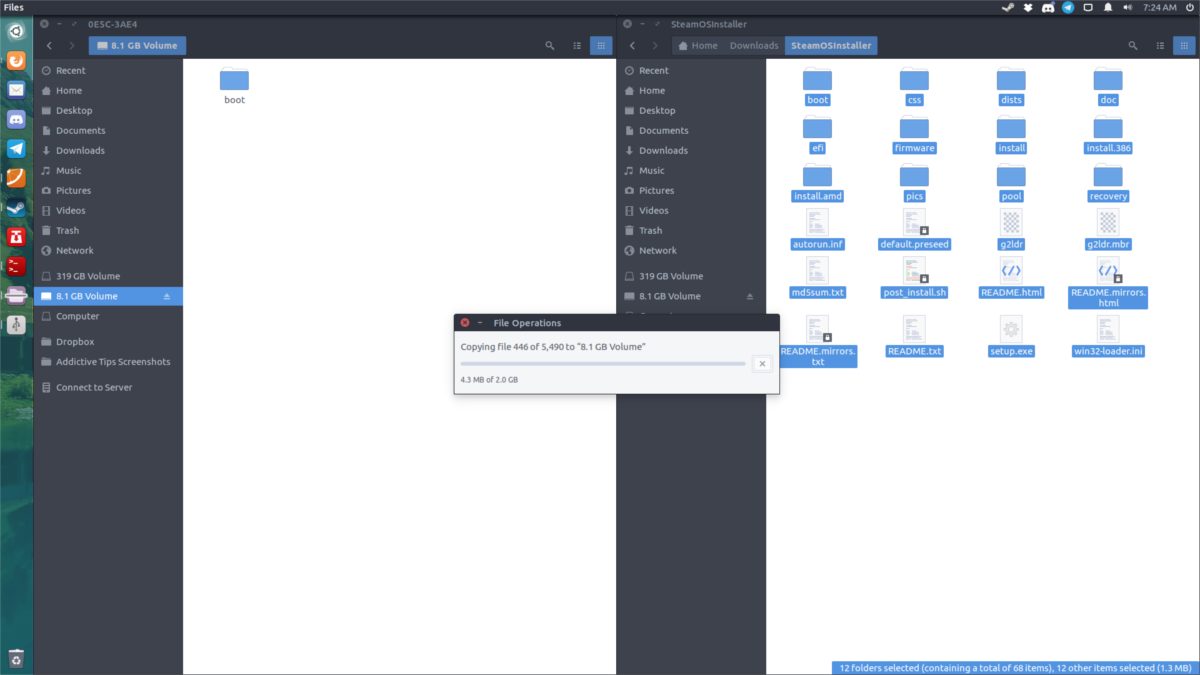
Extract the archive, and move all of the contents of the zip archive to the newly formatted flash drive. The transfer may take a while, so be patient.
Installation
Steam OS is on the flash drive. Now comes the time to install the operating system on your PC.
Change First Boot Device
To boot SteamOS, you’ll need to configure the BIOS in your PC to boot from USB. Entering the BIOS of a PC is different, depending on the manufacturer. With some, the F12 key is used. With others it’s ESC or Delete. It’s best to refer to your PC’s manual, to determine what key to use.
Inside the BIOS, find the boot settings and change it so that the boot-loader loads the USB disk first.
Boot SteamOS
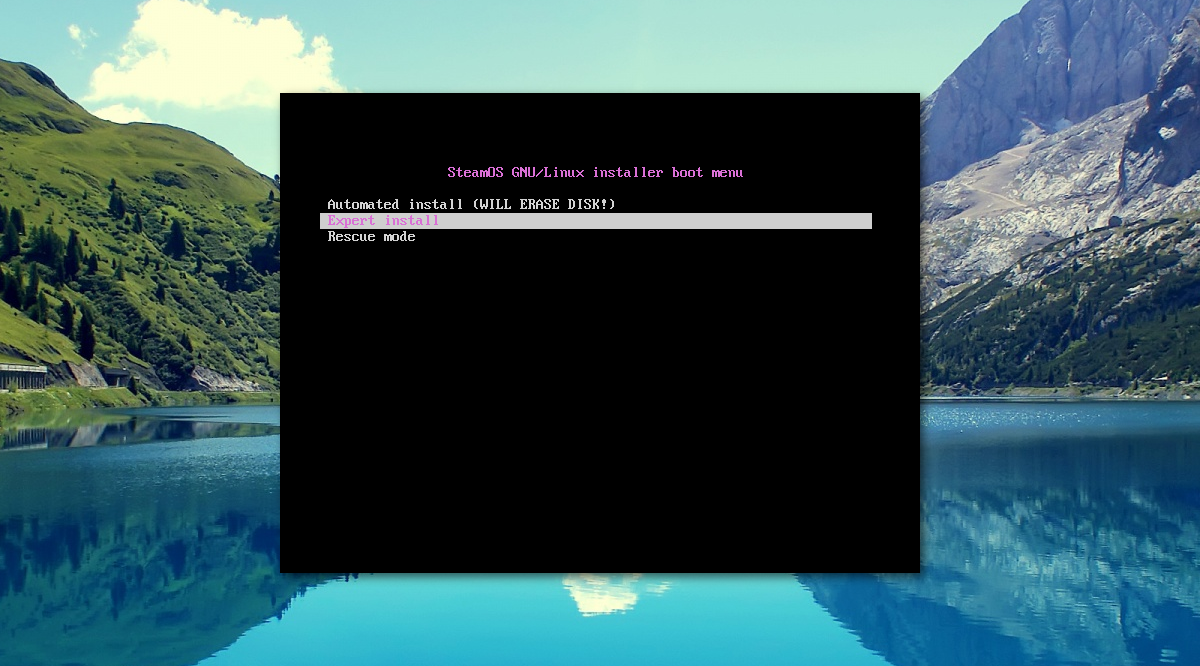
As SteamOS boots, the user is given a few options. The first option is the Automated install mode. This option is best for most people, as the operating system does all of the installation on it’s own.

Note: keep in mind that if you select the Automated install option, all partitioning is done by automatically. This means all data on your hard drive will be wiped.

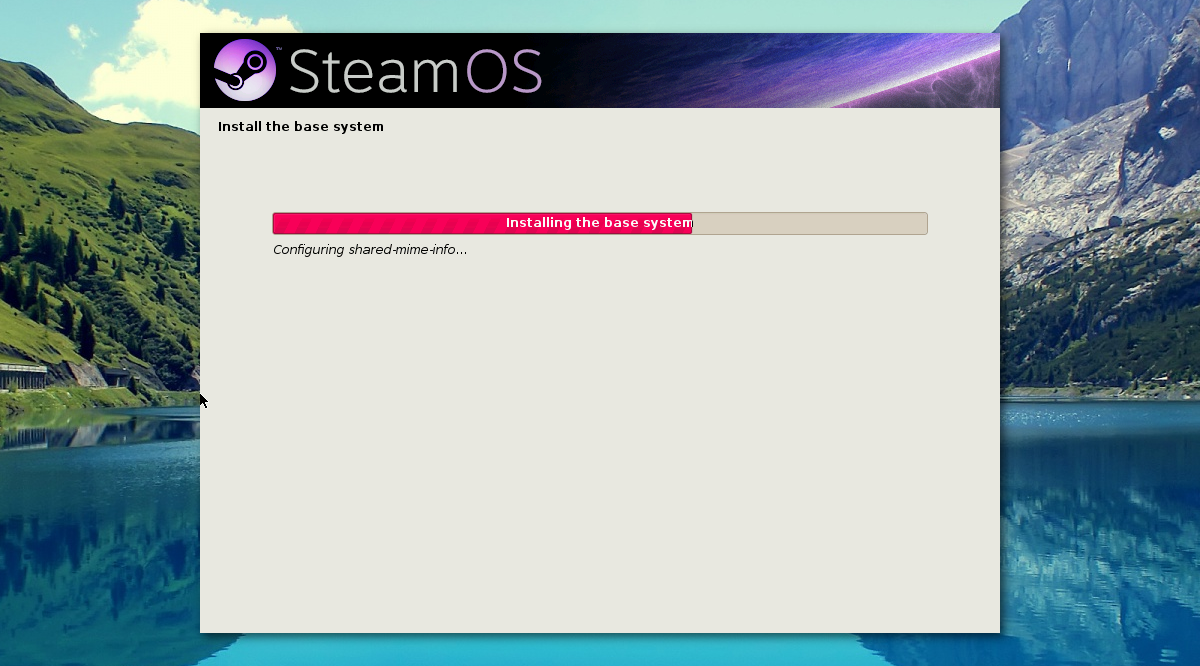
Be sure to back up all data. The install process will take a bit of time. Be patient.
When the installation is almost complete, the installer will ask where to install the Grub bootloader. It will show you instructions for where to install it. Follow those instructions. After Grub is installed, the installation is complete.
If you want to have more control of the install process, select the Expert install option during the boot process. This option allows users to choose the partition layout, and other options that can’t be selected in the automatic process.
Conclusion
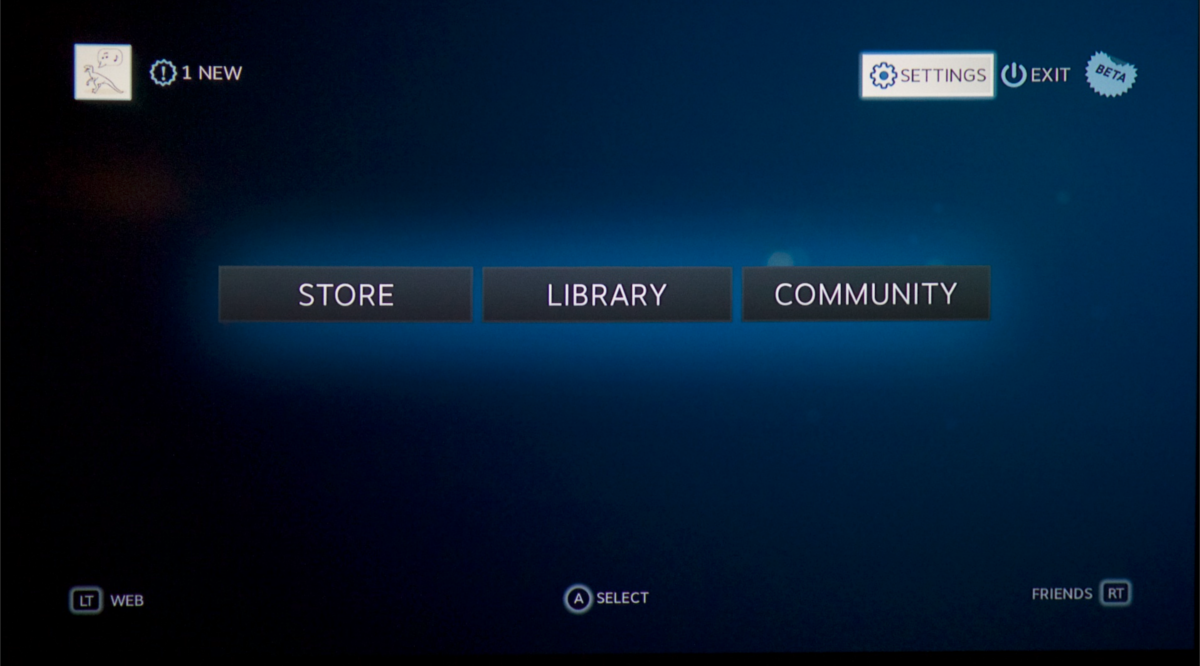
When SteamOS logs in for the first time, users will be presented with a full-screen Steam experience. Simply log into your Valve Steam account, download some video games and play. No real setup is necessary. This is because SteamOS is built heavily on the Linux kernel and open source tools.

Since the operating system makes heavy use of the Linux kernel, all of your video game controllers, and other drivers should work right out of the box. Happy gaming.
