Organize your running apps in Linux with Station
Station is an open-source “smart” browser that can organize all of your web applications in one convenient place. This guide will show you how to get Station working for you on Linux.
Installing Station on Linux
The Station app must be installed on your Linux PC before using it. Currently, Station supports all Linux OSes via AppImage. Additionally, the developers provide compilation instructions for Ubuntu and Debian, and users can get the app working that way.
You must open up a terminal window on the Linux desktop to start the installation process. You can open up a terminal by pressing Ctrl + Alt + T on the keyboard. Alternatively, open up a terminal window by searching for “Terminal” in the app menu.
With the terminal window open, the installation can begin. Follow the installation instructions below to get the latest version of Station working on your Linux PC.
Ubuntu/Debian build
To start building the Station app on Ubuntu or Debian, you must install all required build-time dependencies. You can install these dependencies with the following apt install command down below.
sudo apt install git graphicsmagick icnsutils libxtst-dev libx11-dev libxrender-dev libxkbfile-dev libgconf-2-4
Note: you must also have Yarn or Node working on your Ubuntu or Debian system for the Station app to compile correctly.
Grab the latest Station source code from the official GitHub page using the git clone command.
git clone https://github.com/getstation/desktop-app.git
Next, move into the “desktop-app” folder using the CD command.
cd ~/desktop-app
From here, you can run the Station application on your Ubuntu or Debian system by running the following yarn command.
yarn run build
AppImage
While the Ubuntu and Debian build instructions are helpful for those who use those operating systems, not everyone uses Ubuntu or Debian. Additionally, not everyone wishes to build software from scratch.
If you wish to get the Station app working with little effort, the AppImage release is what you need. To start, you must install the latest release of AppImageLauncher on your computer.
After setting up the latest version of AppImageLauncher, run the wget download command and grab the newest Station AppImage release. You can also download the newest Station AppImage file via the release page on GitHub.
wget https://github.com/getstation/desktop-app/releases/download/v2.0.9/Station-x86_64.AppImage -O ~/Downloads/Station-x86_64.AppImage
Once the Station AppImage is done downloading, open up the Linux file manager, select the “Downloads” folder, and double-click on the AppImage file to install it with AppImageLauncher.
Organize your running apps in Linux with Station
To organize your apps with Station, start by launching it. You can open up the Station tool via the app menu. Once it is open, look for the search box next to “Select your most used applications.”
To select your most used applications, click on the plus sign next to each app name shown in Station. If you need to add an app that isn’t showing up, click on the search box and type it in.
For example, to add “Gmail,” click on the plus sign next to Gmail. Select the plus sign next to “Google Calendar,” etc.
As you make your selections in the Station tool, your selected apps will appear in the Station sidebar. Once you’ve selected all the apps you wish to add to the Station tool, click on the black “Start Station” button.
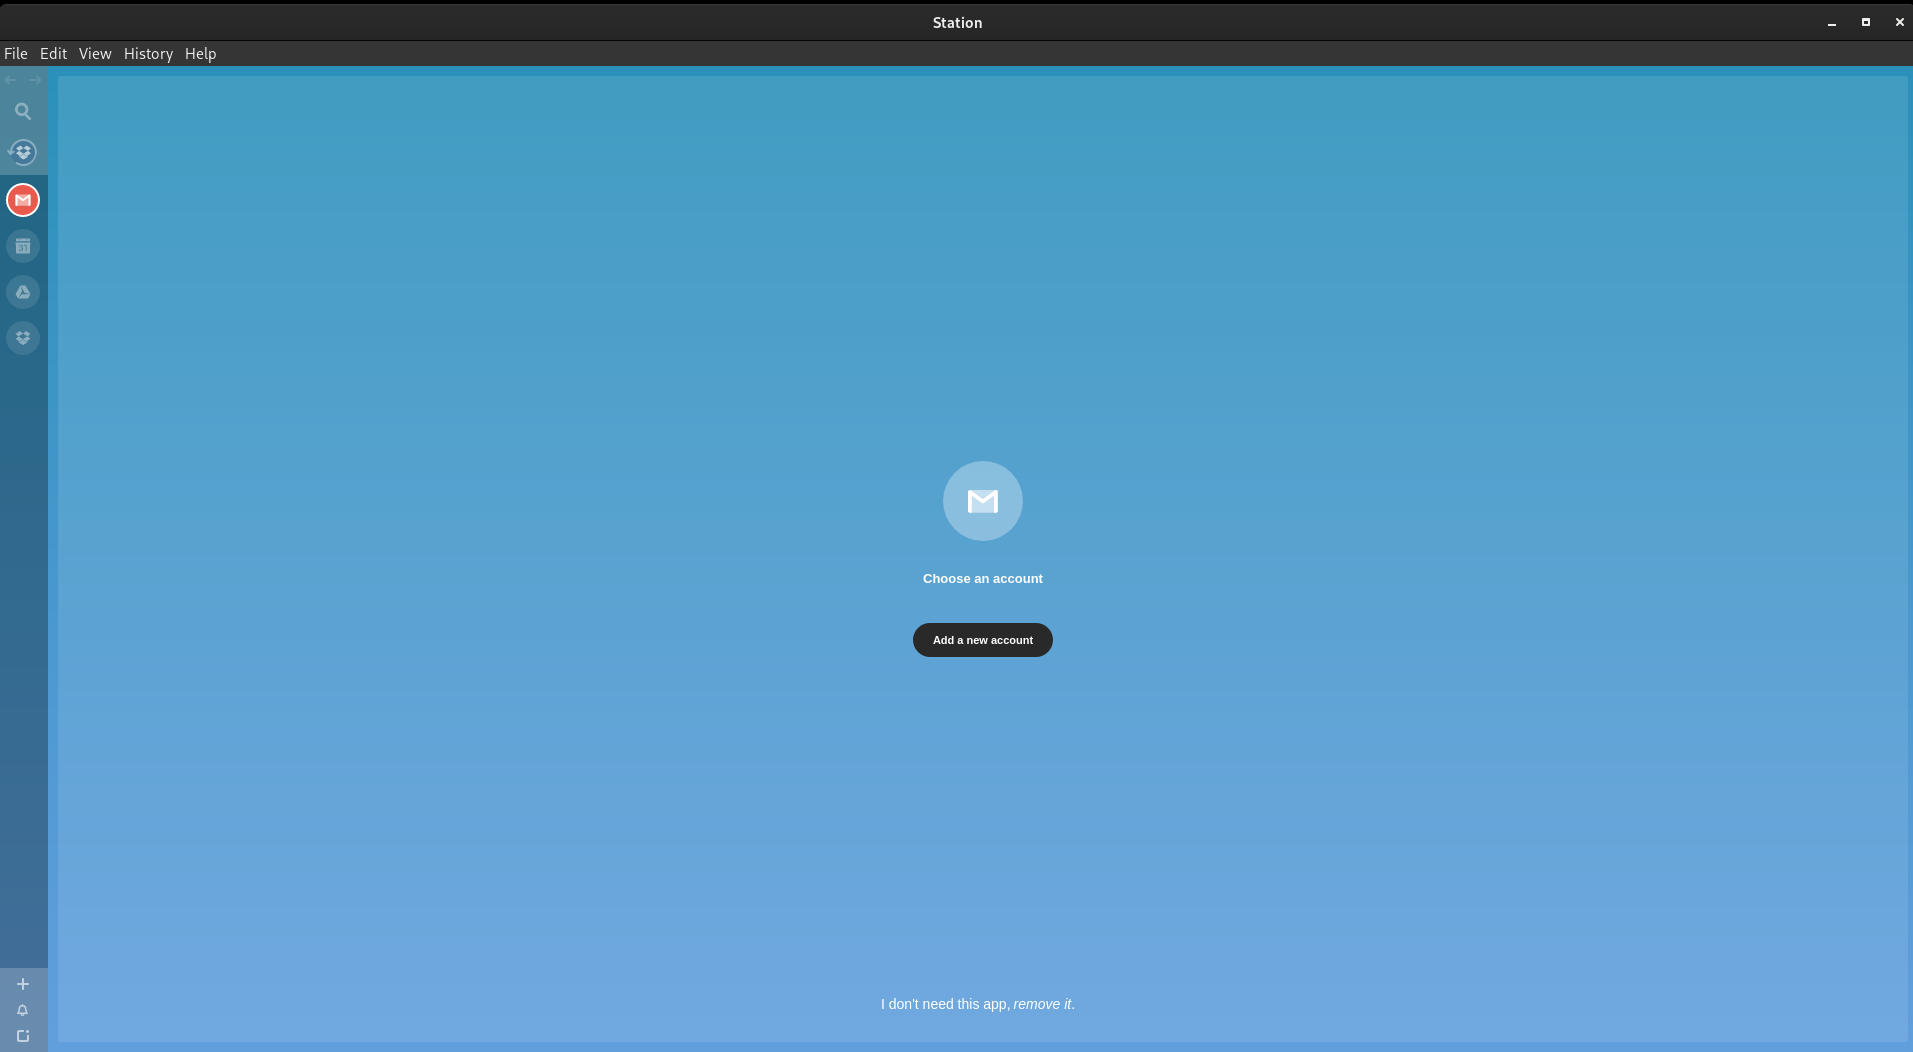
The app will start when you’ve selected the “Start Station” button. Then, you’ll see your apps, followed by an “Add a new account” button in each of the added web apps.
Select the “Add a new account” button in each web app added to Station. Then, go through the process of signing in. The sign-in process should not take long. Station will display your web app correctly when you’ve finally signed in.
Adding new apps to Station
While Station suggests users select all the apps they need when starting it up for the first time, it is also possible to add new apps you need. Here’s how to do it.
First, find the plus button in the left-hand sidebar. Then, click on it with the mouse. After selecting this button, the “Station App Store” will appear. Browse through the Station App store for the new apps you wish to add to the Station sidebar.
Removing apps from Station
If you don’t need an app anymore, you can uninstall it from Station. Here’s how.
First, find the left-hand sidebar. Then, hover over the app you wish to remove from Station. Next, right-click on the app and click on the gear icon to access settings.
Inside the Station settings area, find the trash can icon and click on it with the mouse to delete the app. Repeat this process to uninstall as many apps as needed.
