How to easily set up SSH on Linux with EasySSH
EasySSH is a Linux application that allows users to set up pre-defined SSH connections. Once you set up SSH with the app, you can quickly access remote machines and work within a built-in terminal, negating the need to remember things like IP addresses, usernames, etc.
EasySSH Installation
EasySSH was built for Elementary OS, however, as the program is open source, the source code is on the internet and easy to compile. As a result, the program has found its way onto many types of Linux distributions, from Ubuntu to Arch Linux and even OpenSUSE. In this section of the tutorial, we’re going to go over how you can quickly grab the latest version of EasySSH and install it for use.
Ubuntu/Debian
EasySSH was built with Elementary OS users in mind. One thing about Elementary OS is that it uses Ubuntu under the hood. However, even though Elementary OS is a lot like Ubuntu, the developer doesn’t provide an easy to install downloadable DEB package or even a Snap in the Snap store. So, if you’re using regular Ubuntu and want to use EasySSH as your primary SSH client on this operating system, you’ll have to build the program from scratch on Ubuntu.
Building Easy SSH on Ubuntu is quite easy. It starts by launching a terminal window (with Ctrl + Alt + T or Ctrl + Shift + T) and installing the required dependencies for the program to build correctly.
Note: using Debian Linux? Follow these build instructions, and EasySSH should compile just fine. Alternatively, use the Flatpak release.
sudo apt install libgee-0.8-dev libgtk-3-dev libgranite-dev libvte-2.91-dev libjson-glib-dev libunity-dev meson valac gpg
Elementary OS
Elementary OS is based on Ubuntu, so we usually don’t include it in instructions on how to install applications. Still, in the case of EasySSH, it’s important to mention, as the developer has released the program on Elementary OS’s app center.
If you’re using the latest release of Elementary OS Juno and need a good SSH client, we highly recommend downloading it through app center. For more information, check out this link.
Arch Linux
Using Arch Linux and want to install EasySSH? If so, you’ll need to build the program from the AUR. The first step in building the EasySSH AUR package is to install the Git and Base-devel packages with Pacman in the terminal.
sudo pacman -S git base-devel
With the Git and Base-devel packages set up, it’s time to download the Trizen AUR helper. It will help you install EasySSH, along with all of the dependencies, rather than needing to deal with it by hand.
Note: having trouble building EasySSH via the AUR using Trizen? Try the Flatpak release instead.
git clone https://github.com/trizen/trizen
cd trizen
makepkg -sri
With Trizen ready to go, installing EasySSH from the AUR is a snap!
trizen -S easyssh
or
trizen -S easyssh-git
Fedora
If you’re a Fedora Linux user looking to get the latest release of EasySSH installed, you won’t be able to compile the source code without issue (mainly because the developers don’t specifically list the Fedora packages you’ll need). Thankfully, compiling the code isn’t that important, as there is an EasySSH RPM available.
To install it, launch a terminal window with Ctrl + Alt + T or Ctrl + Shift + T. Then, use the DNF package manager to load the file into your system.
Note: in our testing, we got EasySSH installed and running on Fedora 29. If this doesn’t work for you, consider the Flatpak method instead.
sudo dnf install https://download.opensuse.org/repositories/home:/Dead_Mozay/openSUSE_Leap_15.0/x86_64/easyssh-1.5.3+git.20190128.b75a2f68-lp150.1.2.x86_64.rpm
OpenSUSE
OpenSUSE Linux is one of the easiest non-Ubuntu/Debian Linux distributions to install EasySSH on. The primary reason for this is that the app is up on the OBS.
Officially, the app can be installed on Leap 15 and Tumbleweed. To get it working, head over to the EasySSH page on the OpenSUSE Build Service. Then, locate your release of SUSE and click the “1 Click Install” button to get EasySSH working.
Flatpak
EasySSH is on Flathub, and it’s very straightforward to install. Though, before you can install the app in this way, you must install the Flatpak runtime and enable it on your Linux distribution.
Unsure about how to enable the Flatpak runtime on your Linux distribution? Check out our tutorial on Flatpaks! In it, we go over how to enable the Flatpak runtime on most modern Linux distributions.
When you’ve got Flatpak up and running on your Linux OS, launch a terminal with Ctrl + Alt + T or Ctrl + Shift + T and run the commands below to get EasySSH.
flatpak remote-add --if-not-exists flathub https://flathub.org/repo/flathub.flatpakrepo

flatpak install flathub com.github.muriloventuroso.easyssh
Set up SSH connection
Now that the EasySSH app is set up and installed, it’s time to add an SSH connection. To add a connection, find the “+” icon in the top-left section of the app and click on it.
In the new connection window, there are several text fields. First, find “Name” and name your new connection. Then, move down to “Host” and fill out the hostname (e.g., intel-desktop, etc.) If you do not know the hostname, add the local IP address in the box instead.

After filling out the IP address, find the “Username” box and enter the remote user you’ll use to connect over SSH. Then, add the user’s password in the “Password” box. Alternatively, select “Change Password to Identity file” if you prefer to access with keys.
Once all of the important fields are filled out, click the “Save” button to close the new connection window.
Connect over SSH
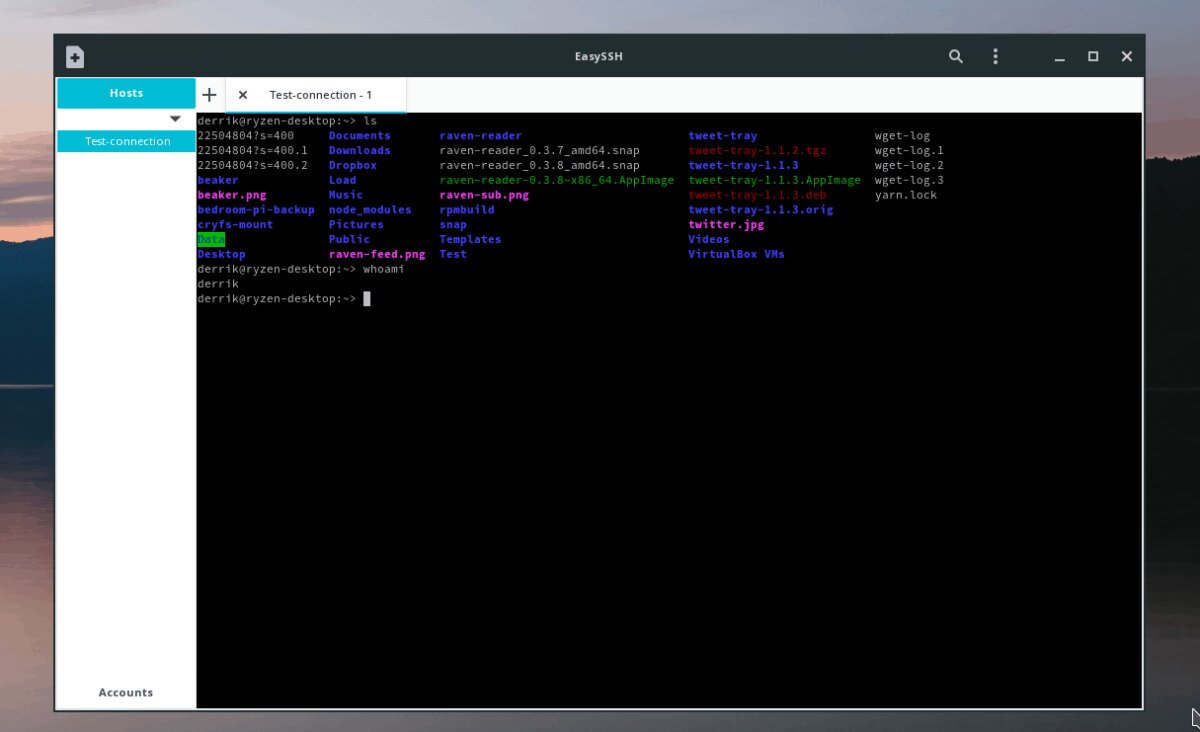
To connect over SSH with the EasySSH app, find the “Hosts” column on the left-hand side of the app and double-click on the connection you’d like to start up.
After finding the connection you’d like to load up with EasySSH, select the “connect” button in the main app window.

Soon after clicking “connect” a terminal window will appear and send out a connection to the system you’re trying to access. If everything is successful, you’ll immediately have access to the terminal.