How To Use The Dashlane Password Manager On Linux With Google Chrome
Dashlane finally has Linux support (sort of). Recently, the password vault service has made it easier to for Linux users to use their software, through a browser extension. The only browsers supported officially are Google Chrome and Firefox. In this article we’ll go over how to get the Dashlane password manager on Linux. We’re focusing on Google Chrome but if you use Firefox, you can grab the Firefox extension, and follow along anyways!
Install Google Chrome On Linux
Google’s browser is very popular, even on Linux. As a result, they support most mainstream Linux distributions in one way or the other. Trouble is, users can’t install the browser directly from their software repositories. This is because Google’s software contains some non-free tools. Tools such as a proprietary video codec, a bundled Adobe flash plugin, as well as some other non-free tools.
Instead, users need to go directly to the Google website to grab Chrome.
Ubuntu and Debian
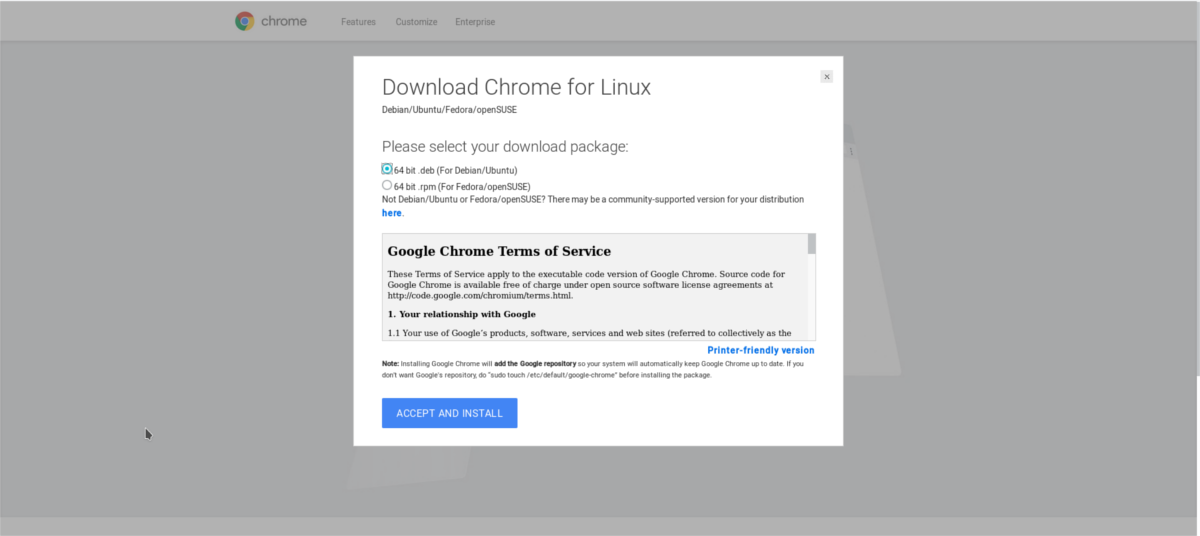
Ubuntu, Debian and other Linux distributions based on these two operating systems enjoy first-class support for the infamous browser. To install, first click the download button on the Chrome page. Select the option for ” 64 bit .deb (For Debian/Ubuntu)” and start the download.
After downloading the package, open a terminal window. Inside the terminal, use the CD command to get the console to the Downloads directory on your PC.
cd ~/Downloads
Inside the Downloads folder, use the DPKG tool to install the package to your system.
sudo dpkg -i google-chrome-stable_current_amd64.deb
Installing the package isn’t enough, as inevitably the Google Chrome package might say it can’t install, due to the fact that there are some unmet dependencies that need installing.
Ubuntu and Debian 9+
sudo apt install -f
Older versions of Debian
sudo apt-get install -f
Arch Linux
Arch Linux isn’t officially supported, but that isn’t a problem. To get Chrome working, first go to this page and click on “Download snapshot”. Then, open up a terminal and use the CD command to go to the Downloads folder on your PC.
cd ~/Downloads
Extract the AUR snapshot archive using untar:
tar xvzf google-chrome.tar.gz
cd google-chrome
makepkg
sudo pacman -U google-chrome-*.pkg.tar.xz
Fedora
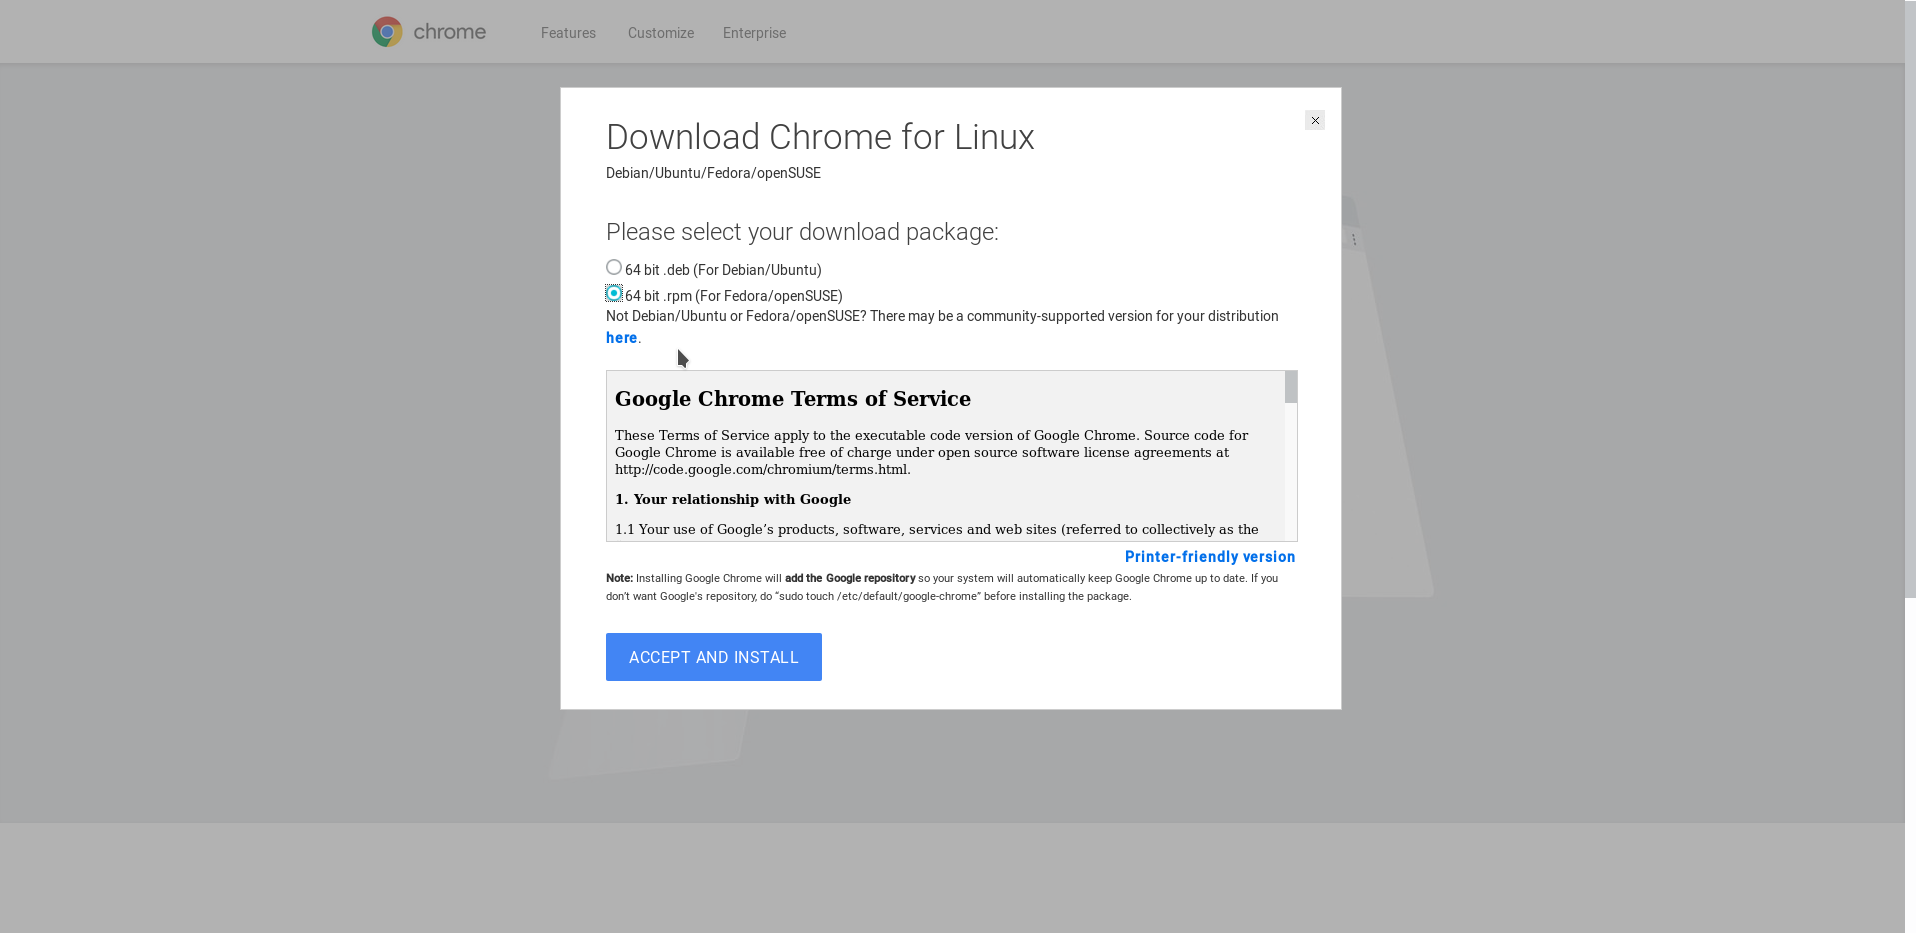
Fedora, like Debian and Ubuntu, enjoys official support from Google. To start off, go to the Google Chrome download page, and select the button ” 64 bit .rpm (For Fedora/openSUSE)”. Then, open a terminal and use CD to go to the Downloads folder on your PC.
cd ~/Downloads
Using the Fedora package manager, install Google Chrome.
sudo dnf install google-chrome-stable_current_x86_64.rpm -y
OpenSUSE
Suse often gets lumped in with Fedora as they use the same base package format. As a result, a lot of software is usable and installable on OpenSUSE. To get Chrome, go to the Chrome download page on Google’s website, click the download button and select ” 64 bit .rpm (For Fedora/openSUSE)”.
When the Chrome RPM is downloaded, open a terminal. Then, navigate to the Downloads folder.
cd ~/Downloads
Install the package using zypper
sudo zypper in google-chrome-stable_current_x86_64.rpm
Other Linuxes
Most Linux operating systems that do not have direct Chrome support can use Chromium. The Chromium browser is the open source version of Chrome. It can use the same extensions, technologies and tools that the Chrome browser can. The only real difference is the fact that there are no non-free software bits inside it whatsoever.
Search your Linux PC’s package manager for “chromium”, “chromium browser” and etc. Install it and follow this guide.
Install Dashlane
Dashlane now has Linux support, but the Linux support is that of a browser extension. To get the tool working visit this page and click the “add to Chrome” button.
When the extension is added to Chrome, you’ll see the Dashlane deer icon. Click it to launch the tool.
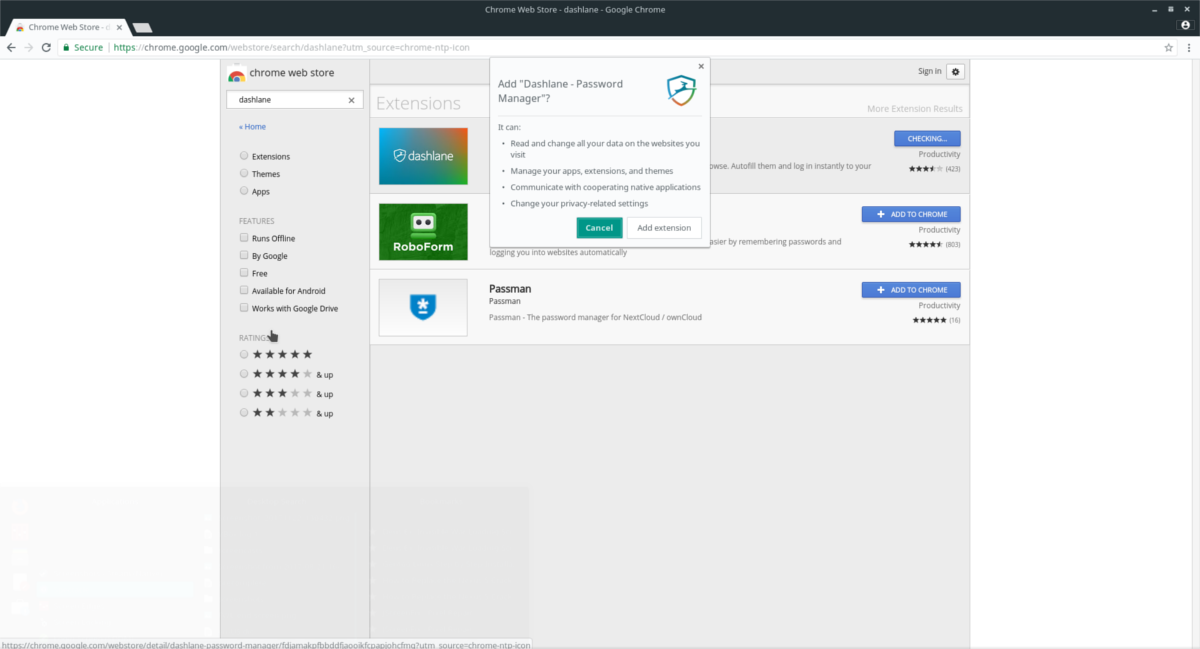
On the extension page, sign up for the password service (if you haven’t already). As you register your account, Dashlane will ask you to create a master password. This password locks up all other passwords in a “vault”. Be sure you use a secure password.
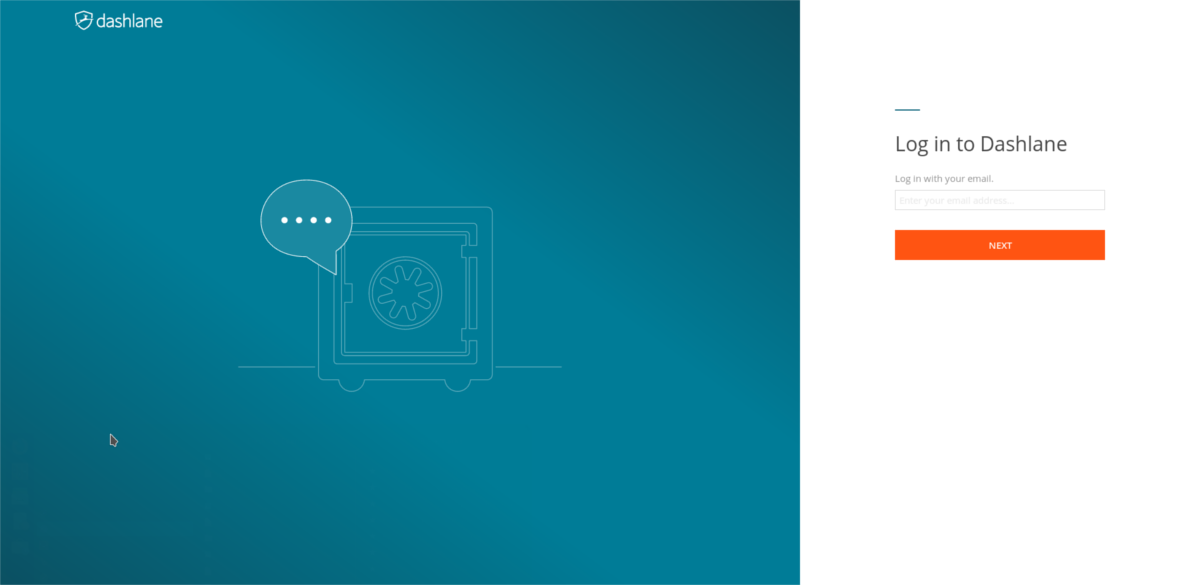
If you’ve already got an account, log in. As you log in, your Linux PC will be granted access, and Dashlane will show that it is connected.
Adding Passwords
The main focus of the Dashlane tool is to make it easier to enter passwords on individual websites. Unfortunately, the Google Chrome version of the extension does not have the same level of sophistication that the Windows and Mac apps do. You will not be able to import a CSV file of your passwords into the app. Instead, users must add passwords individually.
To add a password to the Dashlane Chrome extension, first click “+ Add new”.
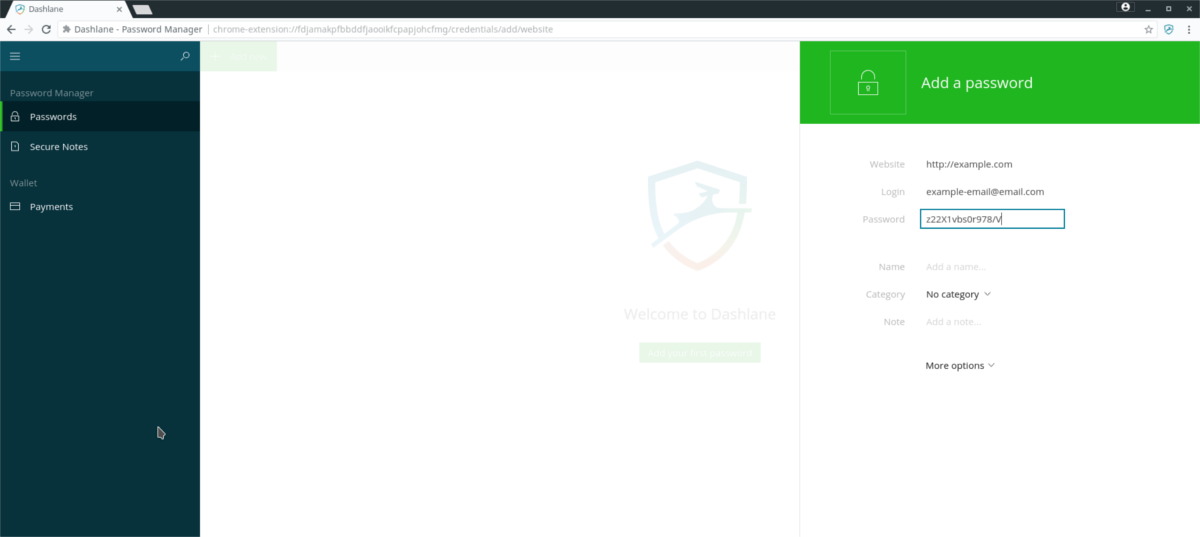
In the add new window, there are several options: “website”, “login”, “password”, “name”, “note”, “category” and etc. This information all needs filling out in order for Dashlane to remember (and automatically fill out) your passwords. Follow these steps to add a password:
Step 1: enter the full URL of the website you want to save the login information. This means if you are at “https://facebook.com/login”, you add the /login too, not “facebook.com”.
Step 2: under “login” enter the email address, username or name identifier.
Step 3: enter the password for the website added in step 1 into the “login” box. It’d also be a good idea to change your password to something a little more secure before adding it, for extra security.
The rest of the categories in Dashlane are not required to add a password. They are, however, very useful. If you’ve got a lot of passwords, consider using “category” to separate individual logins into different areas. Additionally, feel free to use “note” to add information about the login, and etc.
