Back up VirtualBox VMs on Windows Server
If you’re looking to back up your VirtualBox VMs on Windows Server, you’re in luck. The operating system comes equipped with a built-in Windows Server backup tool. This feature is not only efficient but also conveniently integrated into the system, so there’s no need for additional third-party tools or complex PowerShell scripting.
How to backup VirtualBox VMs with Windows Backup
To begin, open the Windows Server Start Menu and type “Windows Server Backup.” Select the app that appears in your Start Menu. Upon launching the “Windows Server Backup” tool, a user interface (UI) will appear.
Note: The “Windows Server Backup” feature must be enabled in the Windows Server Manager app for use.
In the Windows Server Backup UI, navigate to “Windows Server Backup (Local)” and then select “Local Backup” beneath it. Next, find the “Backup Once” option and click on it.
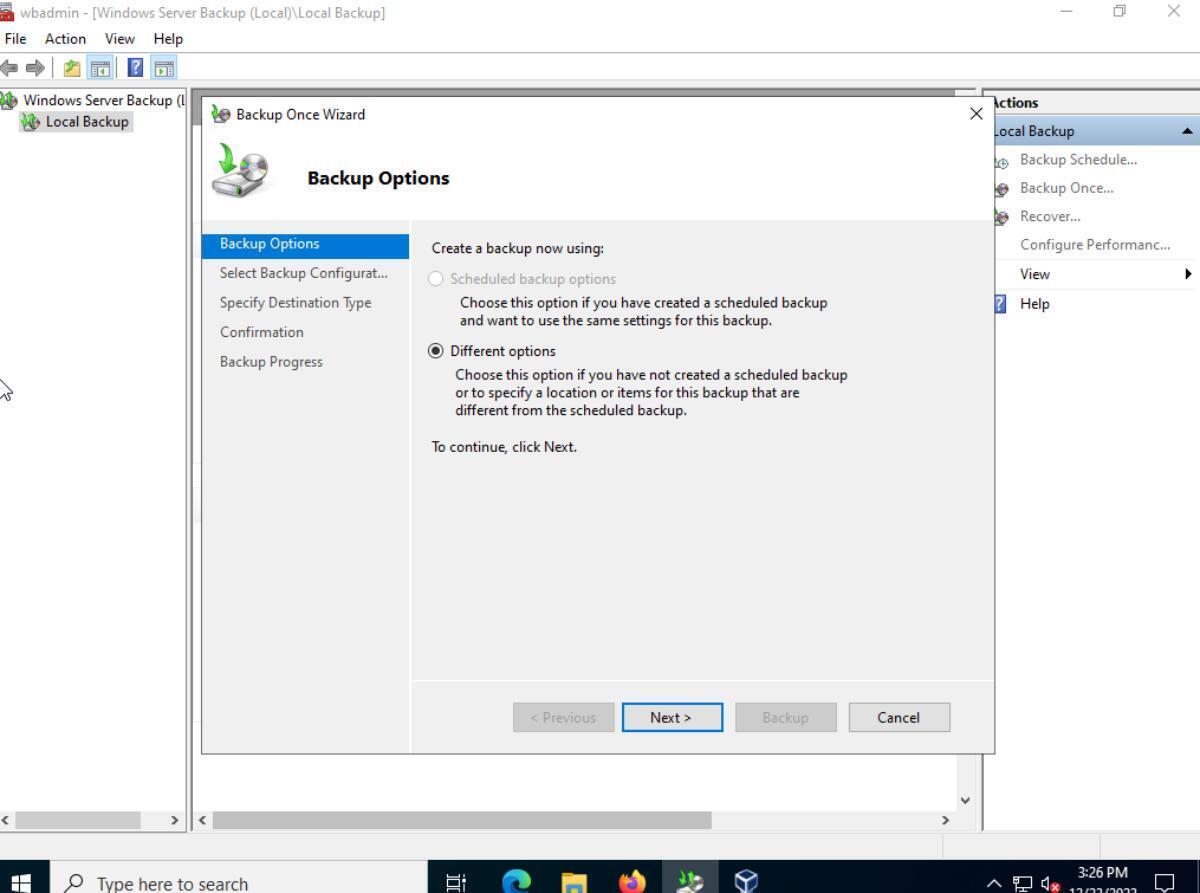
Upon selecting “Backup Once,” you will see backup options. Choose either “Scheduled backup options” or “Different options.” For this guide, select “Different options” and then click “Next.”
After choosing “Different options,” you’ll be prompted to decide the type of configuration to schedule. The default selection is “Full server.” Instead, choose “Custom” and click “Next.”
Next, select the items for backup. Click “Add Items” and browse for the folder where your VirtualBox VM files are stored. This guide assumes the default VirtualBox location on Windows Server (C:\Users\YOUR_USERNAME\VirtualBox VMs).
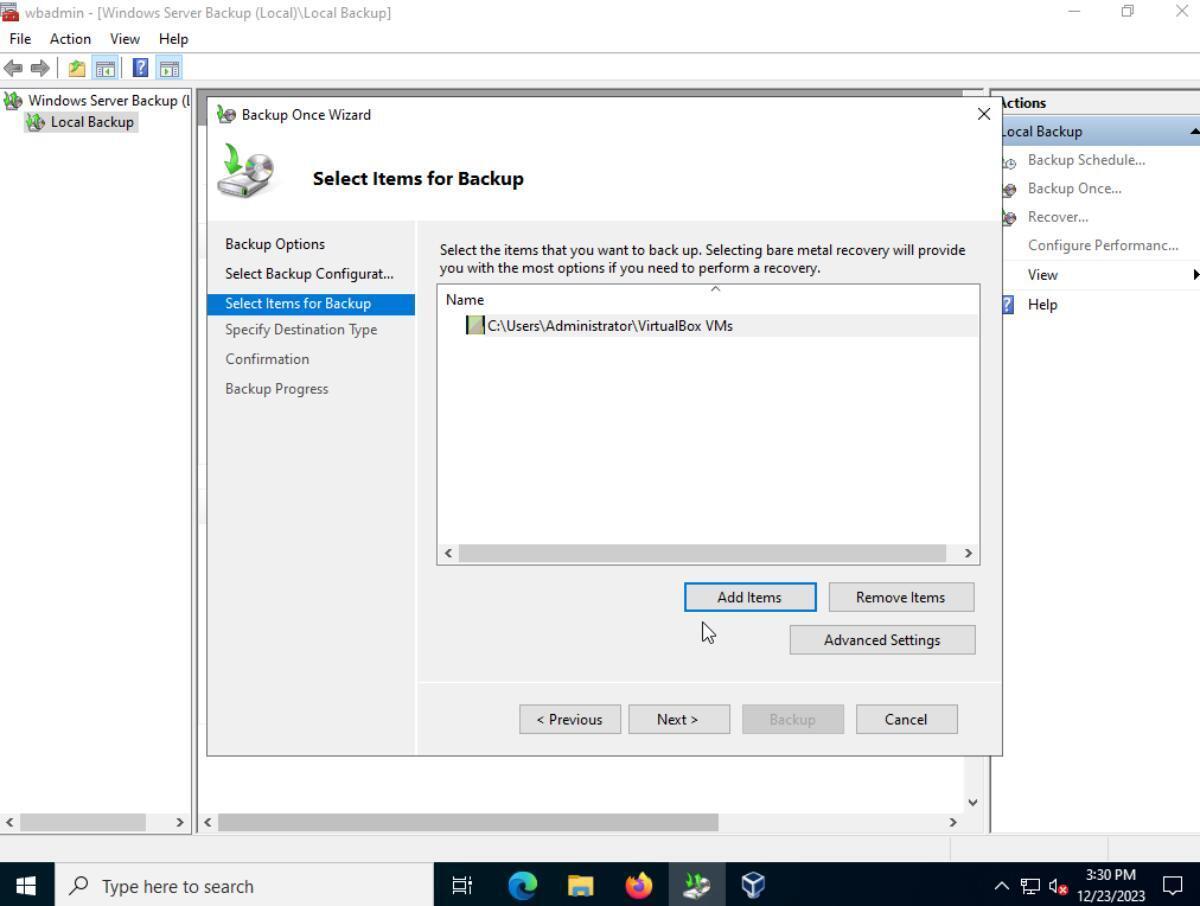
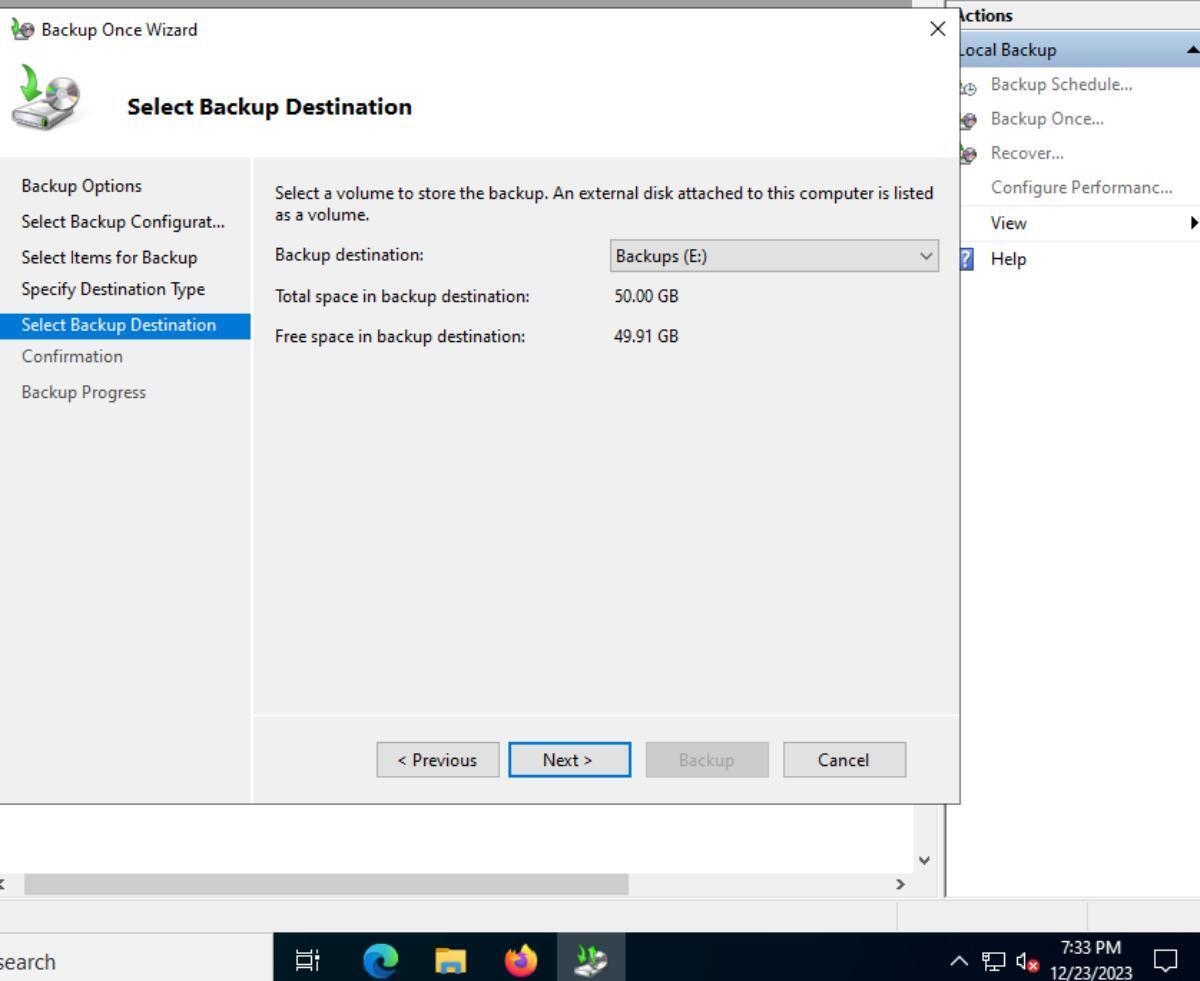
After adding the VM location to Windows Server Backup, click “Next” to proceed. On the following page, specify the backup destination, choosing either “Local drives” or a remote location (another server), and click “Next.”
Finally, click the “Backup” button to start backing up your VirtualBox VMs to the chosen location. Note that this process can be time-consuming, so patience is advised.
Once the backup completes, your VirtualBox VMs will be safely backed up on your Windows Server.
How to restore your Backups
If you need to restore your VM backups, follow these steps. First, open the Windows Server Backup tool, and select “Local Backup”. Then, choose the “Recover” option on the right-hand sidebar. After selecting the “Recover” button, the recovery window will appear.
In the “Recovery Wizard,” Windows Server will ask where your backup is stored. Select “This server” if the backup is stored at a different location on your server. Alternatively, choose “A backup stored on another location” if your backup is on a different Windows Server location.
After selecting your backup location, click the “Next” button to proceed to the following page. On this page, use the calendar to locate the date of your last backup. Once you’ve found the backup in the calendar, click “Next.”
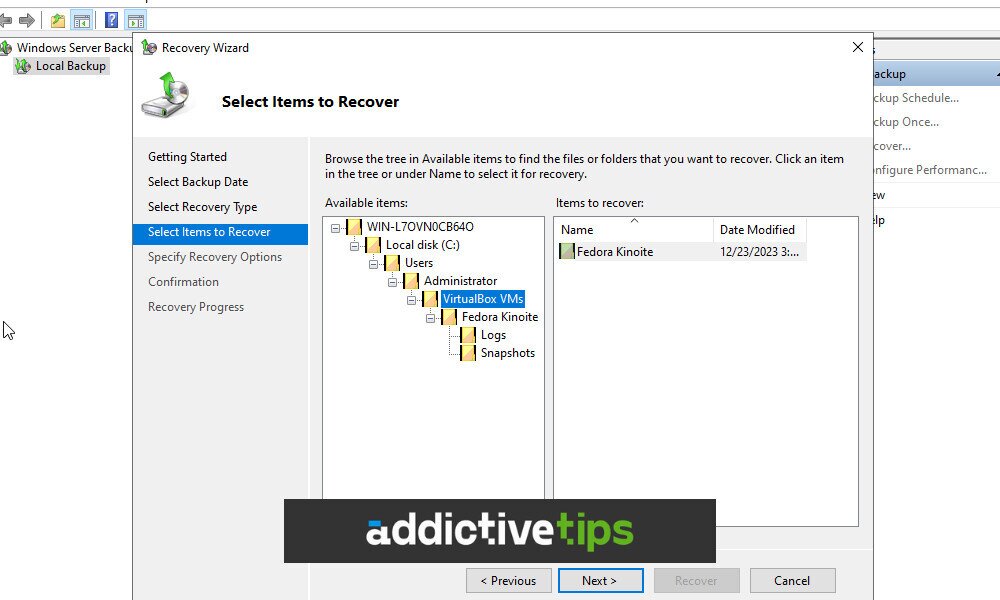
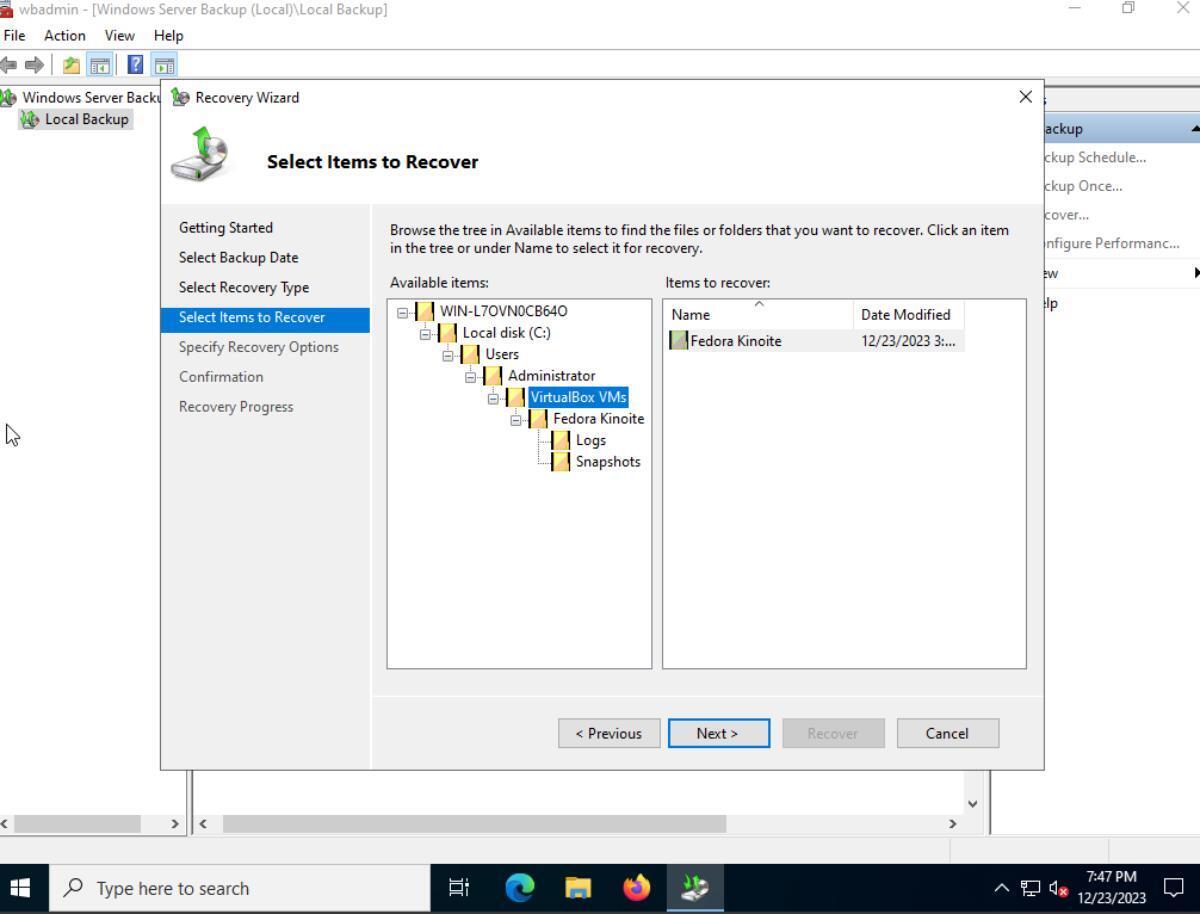
On the subsequent page, Windows Server Backup will inquire about what you wish to recover. Since we are recovering our VirtualBox VMs, select the “Files and folders” option. Click “Next” after making your selection.
Upon selecting “Files and folders,” the Windows Server Backup tool will display your backup. Here, select the backup, then “VirtualBox VMs,” and click “Next.”
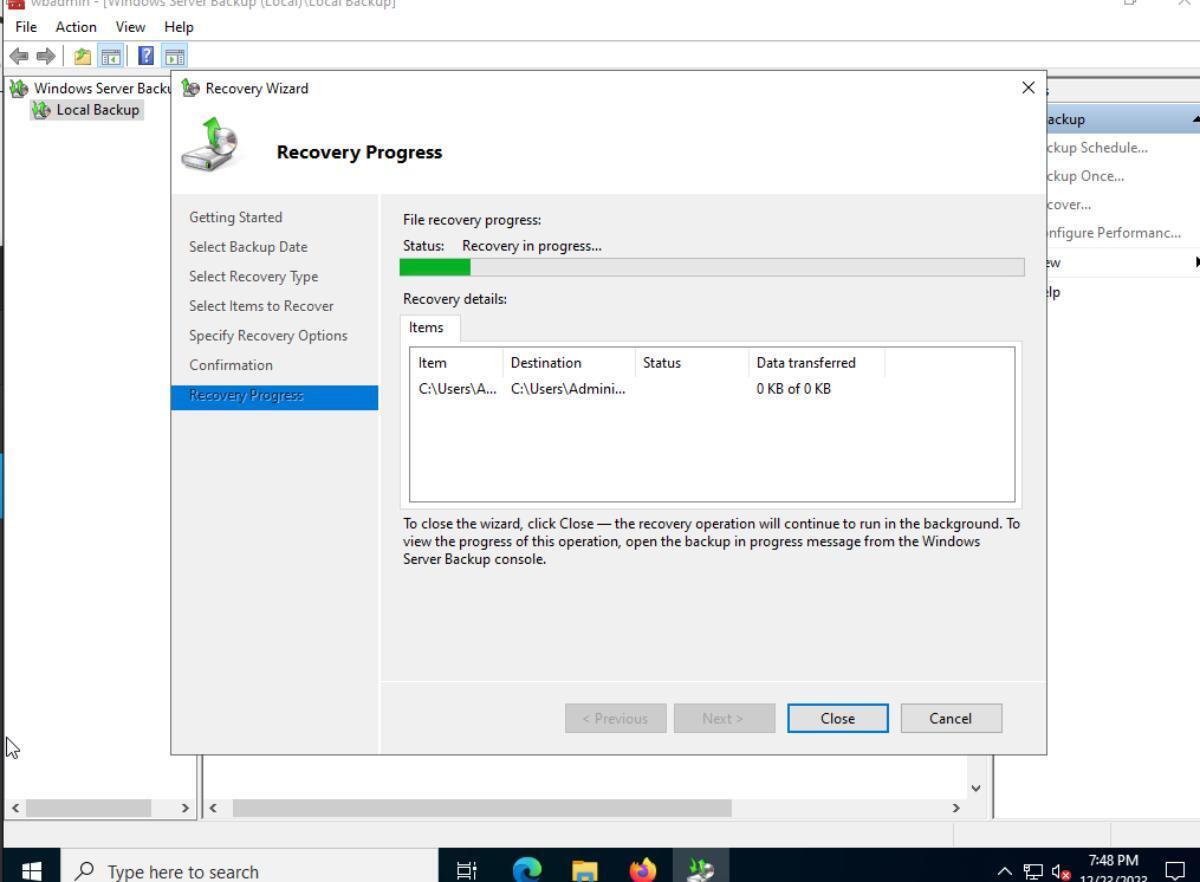
You’ll then need to choose the restore location. For optimal results, select the “Original location” option. This will place your VirtualBox VM backups back to their original location. Alternatively, if you prefer not to restore to the original location, select “Another location.” Click “Next” when finished to initiate the restoration process.
How to automate your VirtualBox VM backups
If you wish to automate your VirtualBox VM backups with Windows Server, follow these steps. First, launch the Windows Server Backup tool. Once open, select “Local Backup”, then locate and select the “Backup Schedule” option in the right-hand sidebar.
Upon selecting the “Backup Schedule” option, the Backup Schedule Wizard window will open. Read the “Getting Started” brief and click “Next” to proceed.

On the following page, you’ll need to choose your backup type. Select “Custom” and click “Next” to continue. Then, on the subsequent page, click the “Add Items” button and browse for the “VirtualBox VMs” folder (C:\Users\YOUR_USERNAME\VirtualBox VMs). Click “Next” after selecting the folder.
After choosing the files for backup, configure your backup schedule. Once configured, click “Next” to advance to the next page.
Now, choose your backup location. Select the option that suits your needs and click “Next” to set it up. After configuring the location, follow the prompts in the UI to initiate your scheduled backup plan.
