Create a Linux development VM on Windows
Have you ever considered setting up a Linux virtual machine on your Windows PC specifically for software development, but weren’t sure how to begin? We’ve got you covered! In this guide, we’ll take you through the process of establishing a Linux development VM on a Windows system. Follow along as we break down the steps to get your Linux virtual environment up and running for your development needs.
How to choose the right Linux OS for your VM
Linux offers a variety of useful operating systems for developers to use in virtual machines. Some notable examples include Fedora Linux, Debian Linux, and Arch Linux, among others. However, when it comes to the best ‘all-around’ Linux OS for developers, Ubuntu stands out.
Why Ubuntu? It’s the most mainstream Linux OS available, which means a wealth of developer tools are readily accessible for it, some even exclusively. Its ease of use in installing and managing developer libraries and tools is unparalleled. These factors make Ubuntu the go-to choice for many.
In this guide, we’ll concentrate on setting up an Ubuntu virtual machine specifically for development purposes. However, if Ubuntu doesn’t meet your needs, there’s no need to worry! There are dozens of other excellent Linux operating systems suitable for a development VM on Windows.
How to install VirtualBox on Windows
There are several methods to create and run virtual machines on Windows computers. Options include the official Microsoft Hyper-V, which is available only for Windows Pro users and higher. There’s also VMware, a suite of excellent paid VM tools, and VirtualBox, Oracle’s free/open-source hypervisor.
In this guide, we will focus on using VirtualBox, primarily because it’s a free, open-source tool. As a hypervisor, it performs very well on Windows, and importantly, it doesn’t require a specific version of Windows.
To download VirtualBox for Windows, begin by visiting the official website. Once there, click on the “Download VirtualBox 7.0” button. This action will redirect you to the official VirtualBox download page.
On the download page, look for “Windows hosts” and click on it. This will initiate the download of the Windows version of VirtualBox. After the download is complete, open the Windows Explorer and navigate to the “Downloads” folder.
In the “Downloads” folder, locate and open the VirtualBox EXE file. Then, follow the on-screen instructions to install VirtualBox on your Windows system. Remember, you will need to reboot your computer after the installation is complete.
How to create your Linux development VM
To set up your Linux development VM, begin by opening VirtualBox on your Windows Desktop. Once VirtualBox is open, look for the “New” button and click on it to initiate the creation of a new VM. Clicking this button will bring up the ‘Create Virtual Machine’ window within VirtualBox.
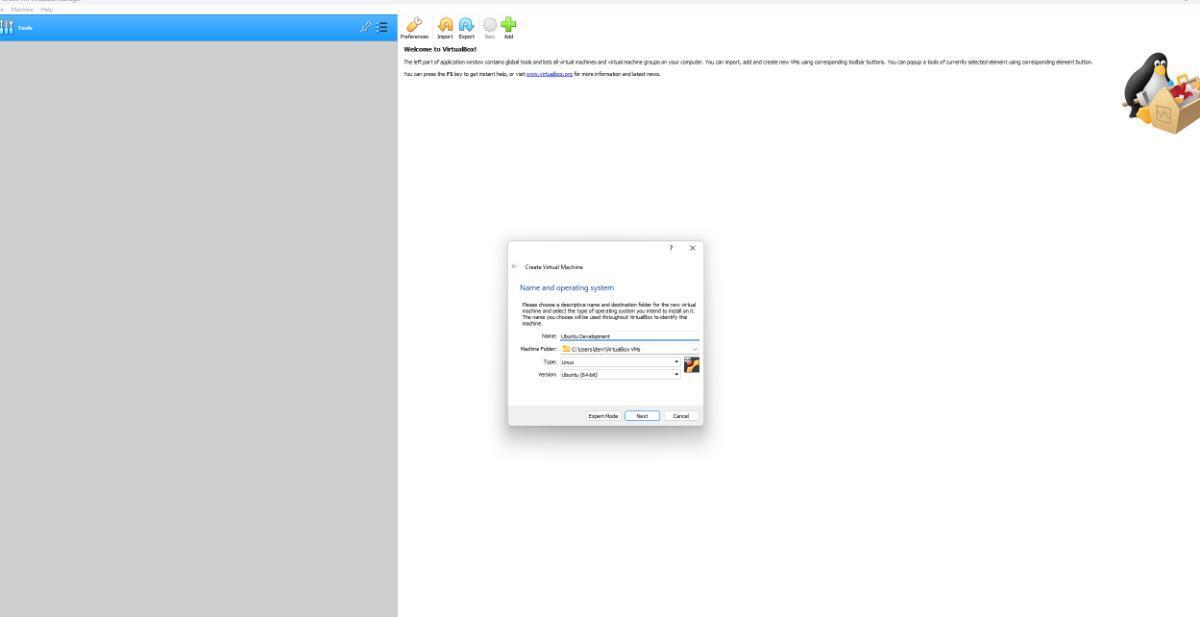
In this window, locate the ‘Name’ field and click on it. Here, type in the name of your virtual machine. For this guide, as we’re focusing on Ubuntu, name it ‘Ubuntu Development’.
After naming your VM, you’ll need to specify where to save it. By default, VirtualBox saves it on your C:/ drive. If you wish to change this location, click on the drop-down menu and browse to select a new location.
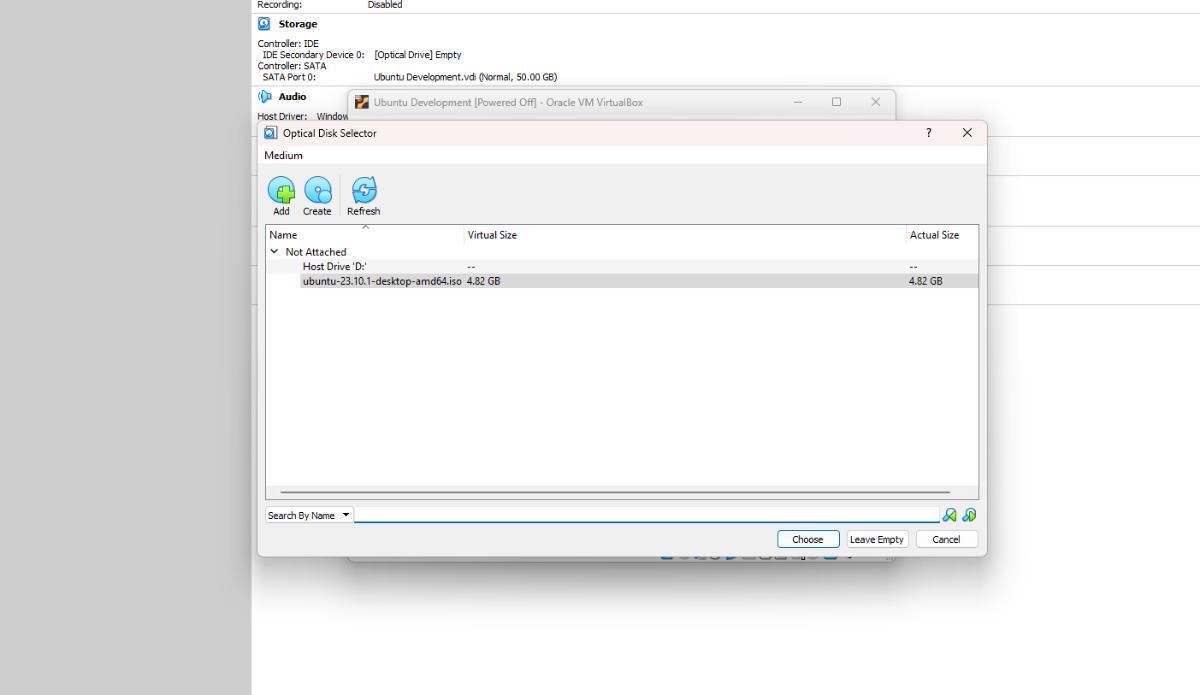
Next, move to the ‘ISO Image’ selection area. Here, browse and select the Ubuntu ISO file you downloaded earlier. Upon selecting the Ubuntu ISO, VirtualBox will automatically detect it as Ubuntu (64-bit). Make sure to check ‘Skip Unattended Installation’ before proceeding. Click the ‘Next’ button to continue.
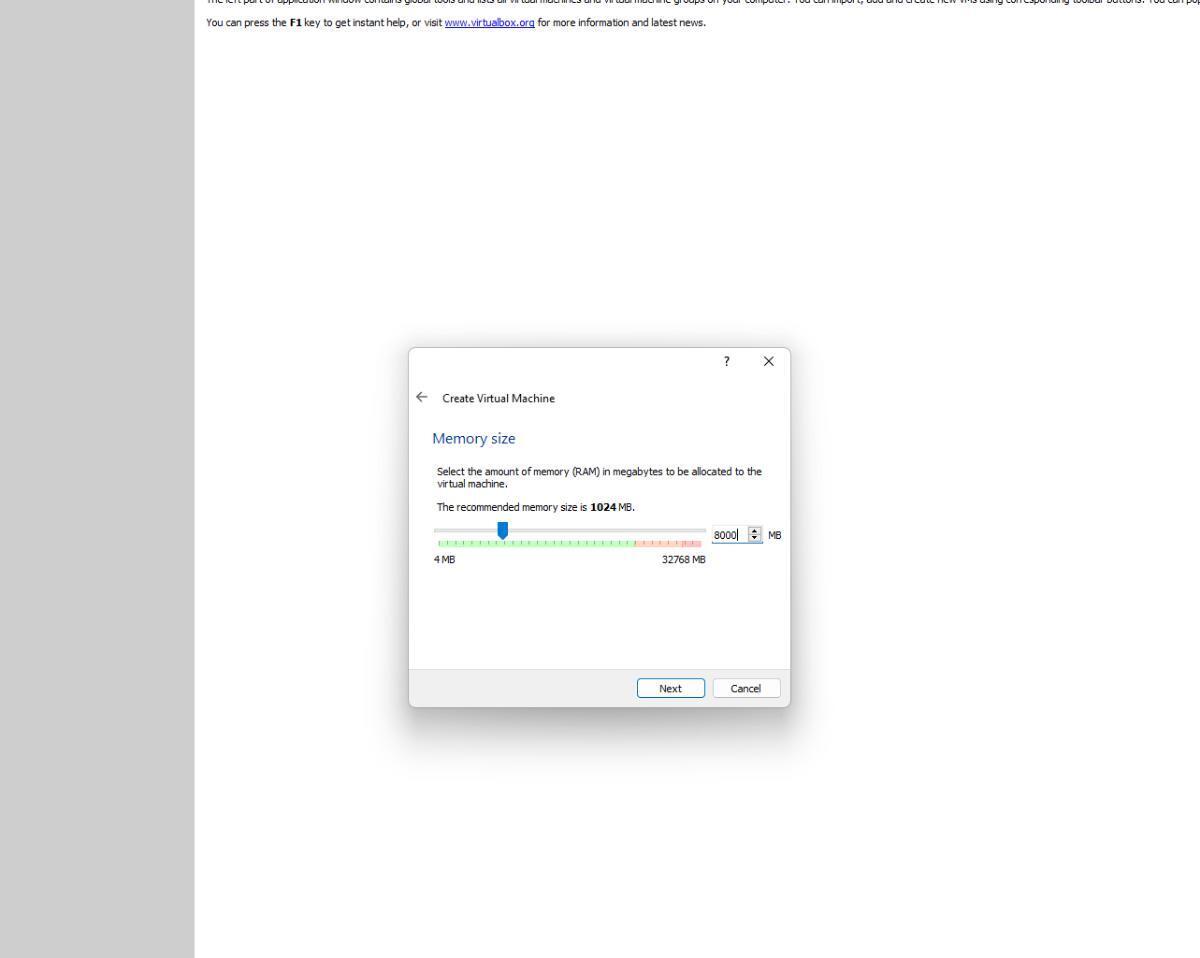
The following steps involve configuring the hardware settings for your VM. Allocate the appropriate amount of RAM, number of CPU cores, and virtual disk space according to your requirements. Complete the VirtualBox VM creation process by clicking the ‘Finish’ button.
Install Ubuntu
After creating your virtual machine, start it up and proceed with the installation of Ubuntu by following the steps provided in the graphical user interface (GUI) installer. This installer is designed to be intuitive and user-friendly, guiding you through the setup process in a straightforward manner.
How to install dev tools in the VM
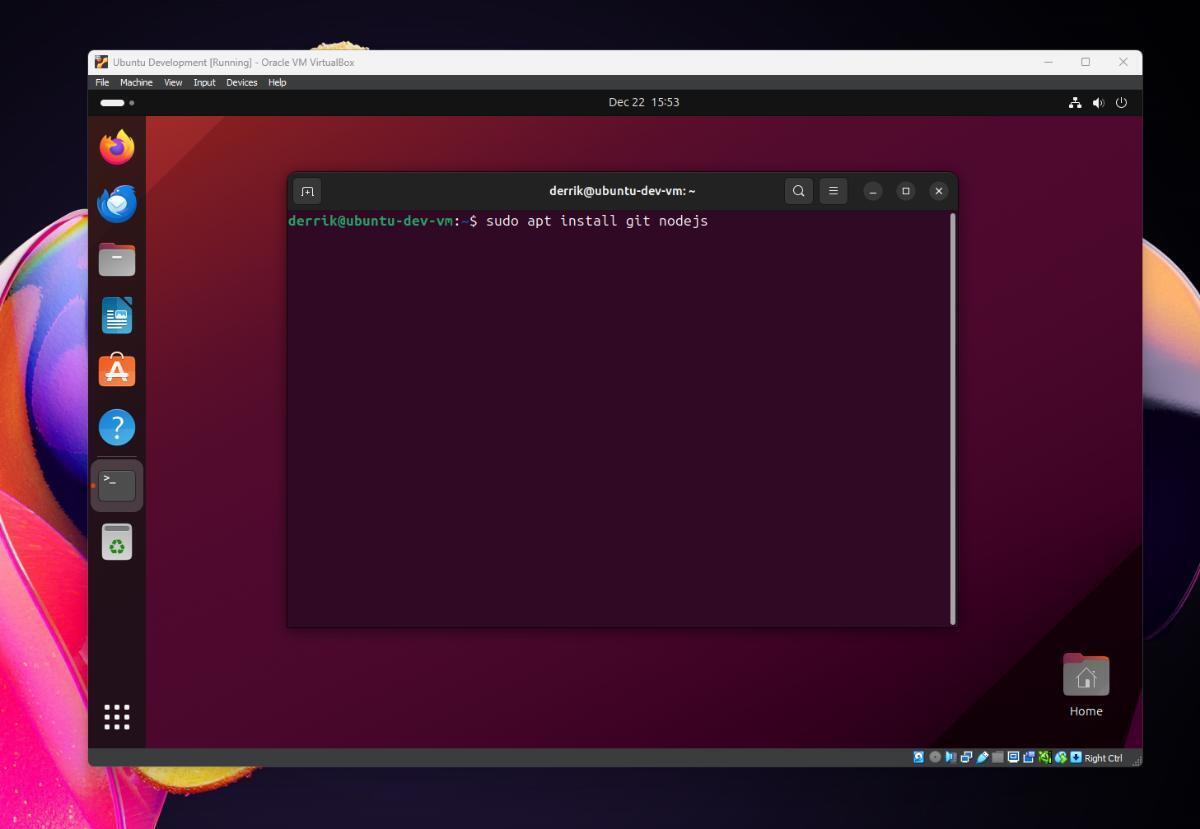
Once you’ve successfully created your Ubuntu VM and installed the operating system, log in using your user account and open a terminal window. This is where you’ll install the essential developer tools for programming.
Basic Tools
To equip your Ubuntu development VM with some fundamental tools, install the following packages:
Build Essentials
For programming that involves compiling software, the ‘Build-essential’ package is crucial. It includes common libraries and packages that aid in the compilation process.
sudo apt install build-essential
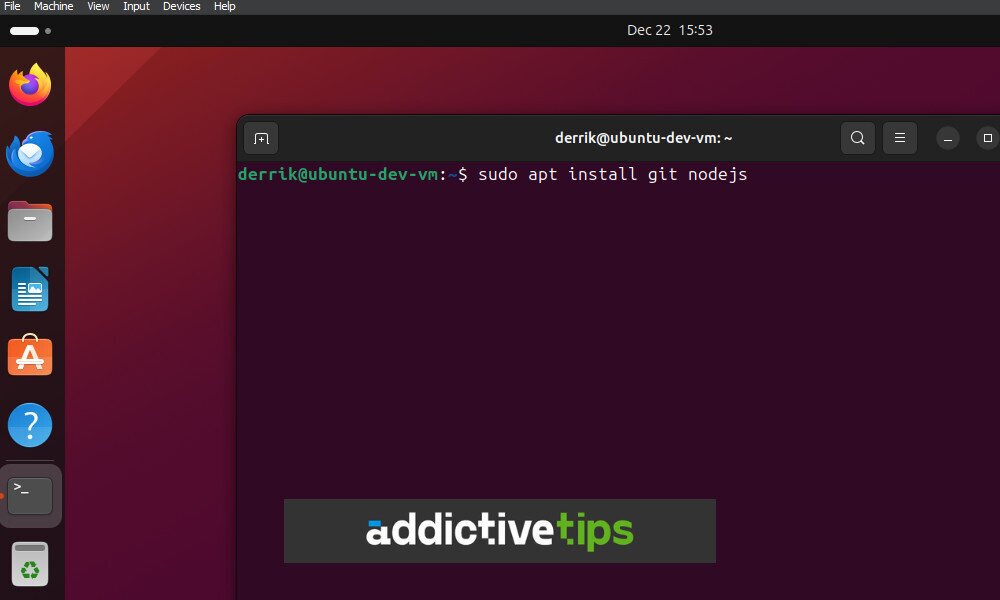
Git
If your work involves Git, installing it on your Ubuntu VM is necessary.
sudo apt install git
Programming Languages
Ubuntu typically comes with Python pre-installed. However, for installing Python packages, Pip is essential.
sudo apt install python3-pip
Java
For Java developers, you can install Java with the following command:
sudo apt install default-jdk
Node.js and NPM
If your development work revolves around NodeJS, installing Node.js and NPM is crucial.
sudo apt install nodejs npm
Follow these commands to ensure your Ubuntu VM is well-equipped for a variety of software development tasks.
