Backup To Azure Blob Storage via Windows Explorer Virtual Network Drive
We covered a way to map Windows Live SkyDrive as Windows Explorer Virtual Network Drive some months back. The app we used was Gladinet and this week they have updated it to support Windows Azure Blob Storage as well, making it easier to access the Windows Azure storage from within Windows Explorer.
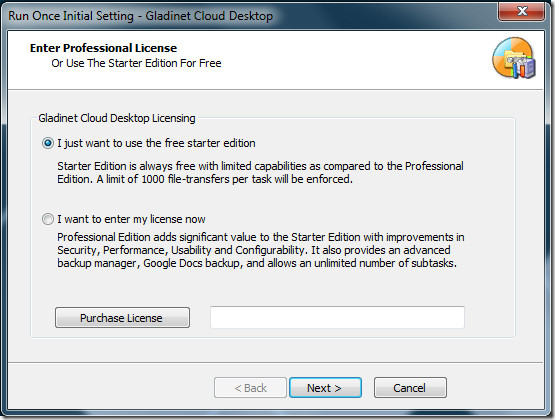
After Gladinet is installed you will be shown a new dialog window to setup the initial setting. Here select ‘I just want to use the free starter edition’ and hit Next.
The Starter edition allows you to transfer a maximum of 1000 files in one go, i.e, per task. This does not mean that you cannot transfer more than 1000 files, you can but if you have more than 1000 files then you will have to break them into multiple tasks.
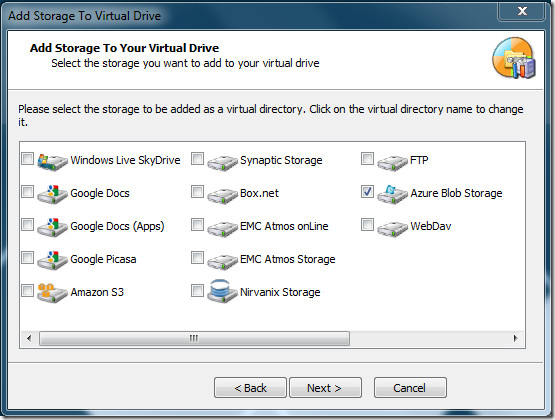
In the next step you have to enter your email address but it is optional. Now it will ask you to select the storage that you want to mount as virtual drive, select Azure Blob Storage and hit Next.
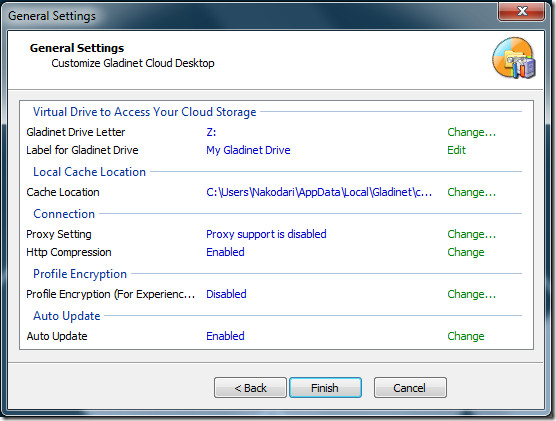
In the final step of the initial setup, it will ask you to verify the settings at the same time allow you to change any setting, such as, Change Virtual drive letter and name, change cache location, enable proxy, etc.
Once you are done with the initial setup, open the Azure Blob Storage folder inside the Gladinet virtual drive. Doing this will open a new dialog window asking for the Azure Blob Storage Account Name(EndPoint) and the Primary Access Key.
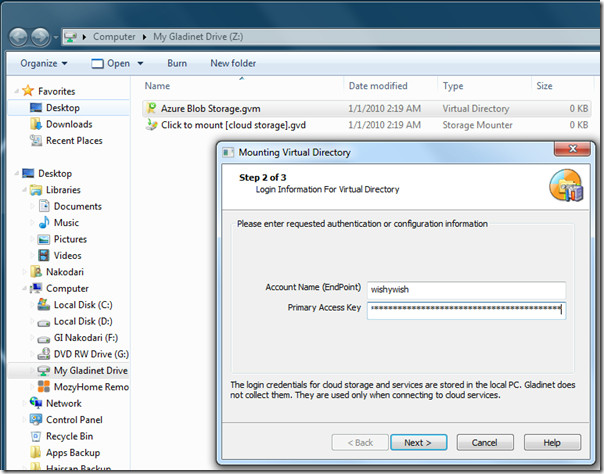
After you have entered the credentials, hit Next and it will download a plugin and automatically set it up. Once the process is complete you will be shown a backup dialog window asking you to backup folders, pictures, music, videos, and documents. If you don’t want to backup anything at the moment, you can cancel it and later create a new task from the system tray menu.
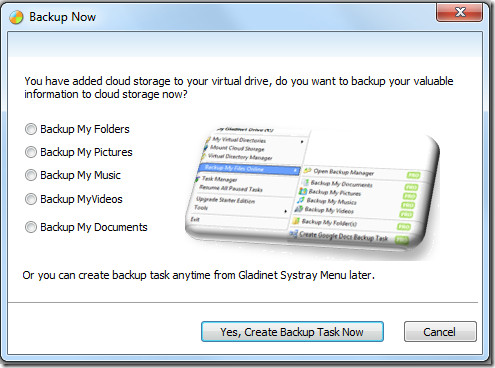
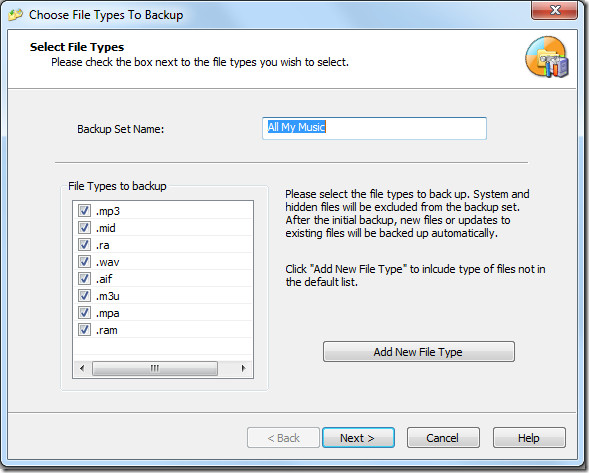
For demonstration, we have selected backup My Music option. In the next step you will be asked the file types that you can way to backup. Since Gladinet is a flexible app it allows you to add any new file type if it is not already included in the list.
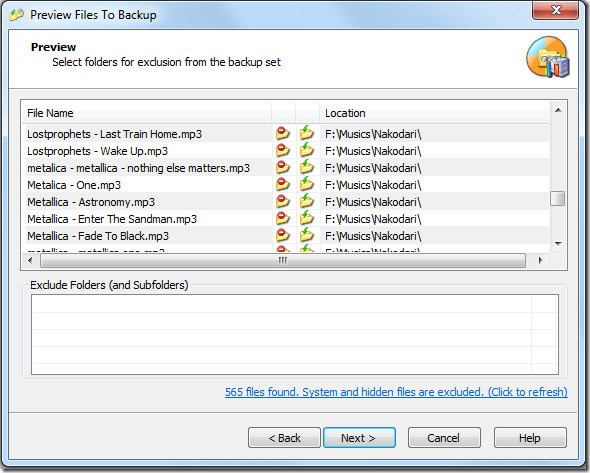
When done, hit Next and you will be shown the preview of all files that will be backed up. You can choose to exclude some folders and their subfolders.
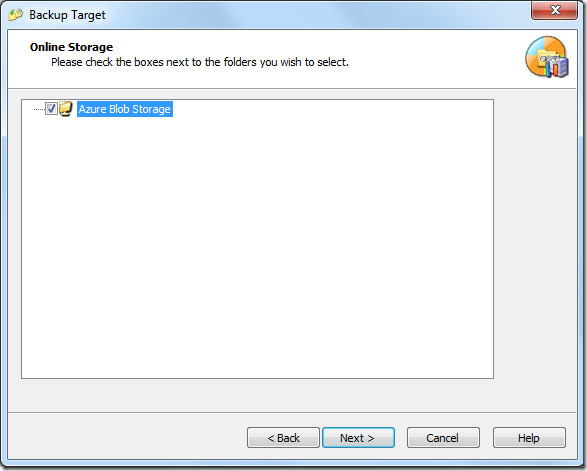
In the next step you will be asked to choose the online storage where you want the files to be backed up. Since we have added only Azure Blob Storage at the time, there is only one option listed below. Check it and hit Next.
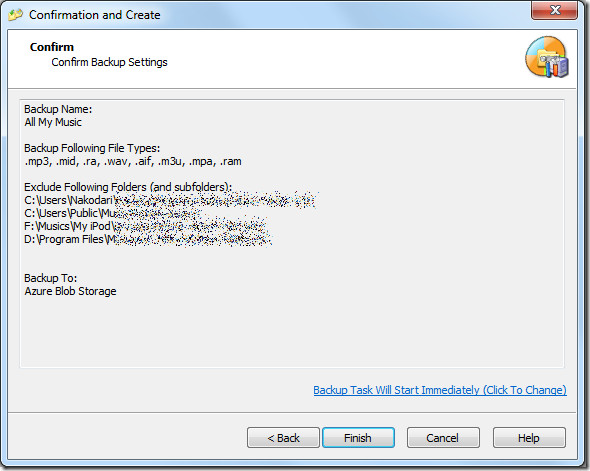
Now in the final step you will be shown the overview of the backup. After confirmation hit Finish and Gladinet will start backing up the files and folders in the background. Gladinet sits in the system tray and allows greater control over the operation.
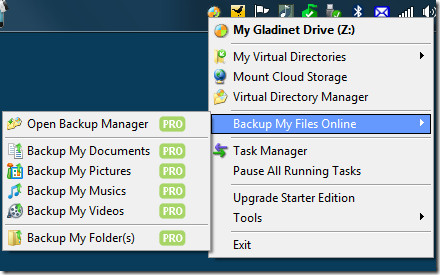
You can always backup your files quickly by selecting Backup My Files Online option from the Gladinet system tray context menu.
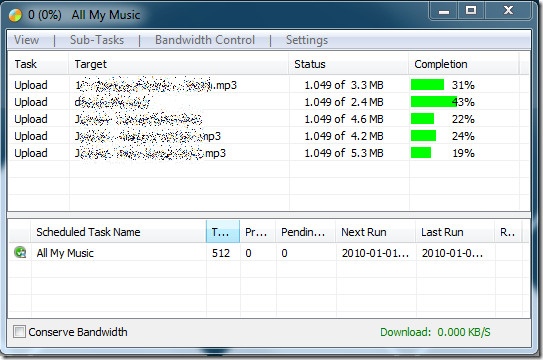
The most important options you will find here are the Task Manager and the option to pause all tasks. Clicking the former will open a task manager showing the activity in progress while the latter allows you to simply pause/resume the tasks.
It works on Windows XP, Windows Vista, Windows Server 2003/2008, and Windows 7. Both 32-bit and 64-bit versions are availabe, make sure you have installed the correct version for seamless and optimal performance.
Download Gladinet Free Starter Edition
