Easily Create A Panning & Zooming Video Animation From A Still Image
Back in April, we reviewed Motion Time Lapser – a Windows application that allows creating a time lapse video from images in a folder. If you like what Motion Time Lapser has to offer, and are a fan of applications that let you create videos from images, you should give KenSentMe a try. The application lets you apply the Ken Burns Effect to an image of choice, which basically involves the zooming into a particular portion of the image and panning around along a user-defined path. In addition, you can add realistic camera shaking and dynamic exposure to compliment the effect.
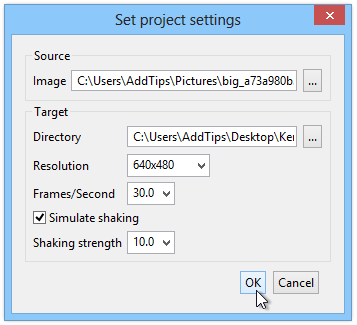
KenSentMe is a Java based app. It’s pretty lightweight, and here’s how it works. When launched, the tool asks you whether want continue any previous project that you worked on. Assuming you’re using the app for the first time, click the No button and KenSentMe will open up a minuscule window where you just need to specify a few things to get started, such as your desired image and destination directory where the output will be created. Next, you need to select video resolution between 320×240 and 1920×1080. You can also specify the framerate in frames per second (30 being default), and optionally simulate shaking, which creates a nice camera shake effect that we mentioned earlier. You can control the amount of shake via the drop down menu. Now click OK to open your image.
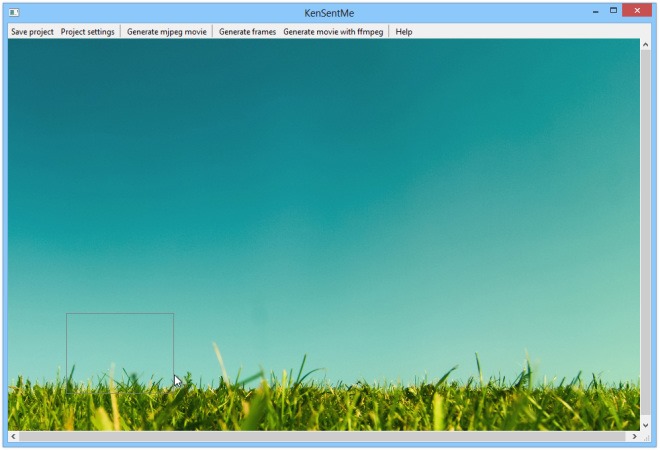
This will bring you to your main workspace. Creating a video is quite simple; just need draw around the area that you want to capture, using the mouse curser. You only need to focus on the direction you’re moving and the rest is automatically done by the app.
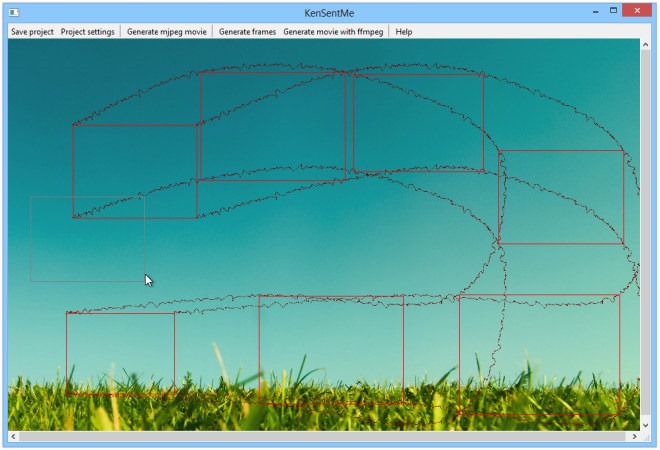
So, for instance, if you start from the left, just keep drawing roughly square nodes on your way to the right, and then up or wherever you want to move the camera. Still facing any confusion? Just refer to the screenshot below, which demonstrates how we drew the boxes in a curved motion. The twisted lines connecting the nodes are automatically created, representing the direction of motion.
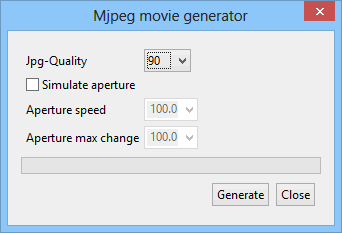
To save output as video, click ‘Generate mpeg movie’ and then specify the JPG Quality of the video. You can also alter aperture speed and max change via enabling ‘Simulate aperture’. Once done, click Generate.
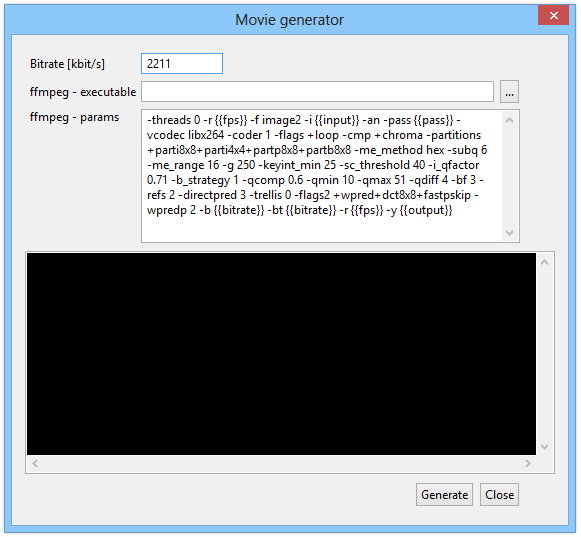
KenSentMe also lets you generate all the frames for the movie as individual pictures to be exported in your specified directory, just like Motion Time Lapser. To do this, just hit the ‘Generate frames’ button. In addition, there’s also the option of using the generated frames along with ffmpeg to generate a video output of your choice, for advanced users who know how to use ffmpeg with advanced parameters. Click ‘Generate movie with ffmpeg’ and you will be presented with the following window, allowing you to specify all your desired parameters in order to generate an output tailored to your requirements.lets you save the output in MPEG and FFMPEG formats.
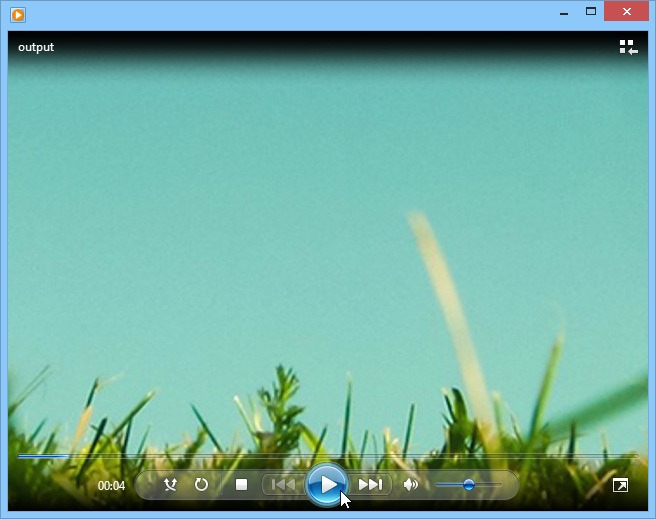
Whichever method you use, the output file can be played in any media player such as Windows Media Player, VLC, KMplayer or GOM etc.
All in all, it’s an excellent app for quickly creating a video out of an image file. Testing of the app was carried out on Windows 8 Pro, 64-bit.
