How to add and delete users in Windows Server
Do you need to add a new user to your Windows Server? Or are you looking to delete an existing one? Don’t know how to do either of these things? We can help! Follow along as we show you how to add and delete users in Windows Server.
How to add a new standard user in Windows Server
To add a new standard user to Windows Server, start by opening up the Windows Start Menu inside the server desktop. With the menu open, type in “users”. Look through the search results for “Add, edit, or remove other users.” Select it to open up the Windows Server user manager.
Inside the user manager, find the “Add someone else to this PC” section, and click the button next to it. When you select this button, the Lusrmgr app will open. In Lusrmgr, find the “Users” folder, and click on it with the mouse.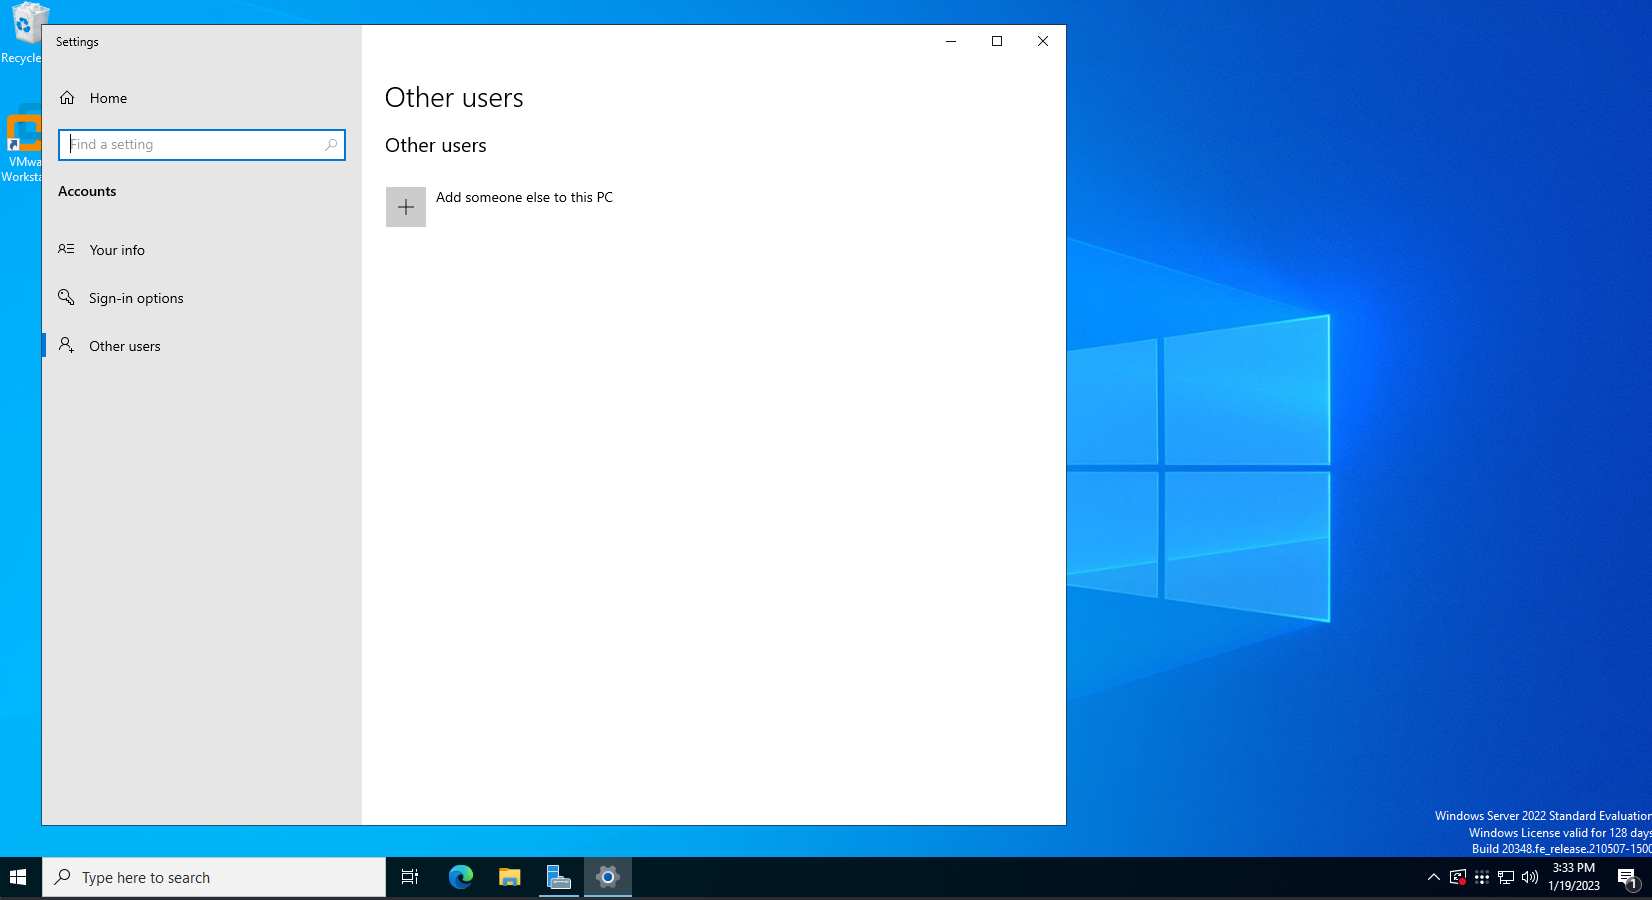
After selecting the “Users” folder, you’ll see a list of users currently set up on your Windows Server system, including Administrator, DefaultAccount, Guest, etc. To create a new standard user account, find the “Action” menu, and select it with the mouse. Then, click on the “New User…” button.
Once you’ve selected the “New User” button, a menu will appear. Enter the new user account name in the “User name” box. Then, enter the user’s full name in the “Full name” box. Finally, enter a description for the user.
Enter the user’s password when you’ve added the user name, full name, and description. Be sure that the box “User must change password at next logon” is enabled, for added security. Click the “Create” button when all information is added to create the user account.
How to add a new administrator user in Windows Server
Unlike on Windows Desktop operating systems, you can’t just select “Administrator” in the user menu to create a new admin account. Instead, you’ll need to create a standard user, then, add it to the “Administrators” group. Adding it to this group will give the standard user elevated privileges on the system.
To elevate a user, do the following. First, you’ll need to create a standard user using the steps in the section above. Be sure to give this user account a secure, and memorable password. If you’re having issues generating a secure and memorable password, check out this password website for help.
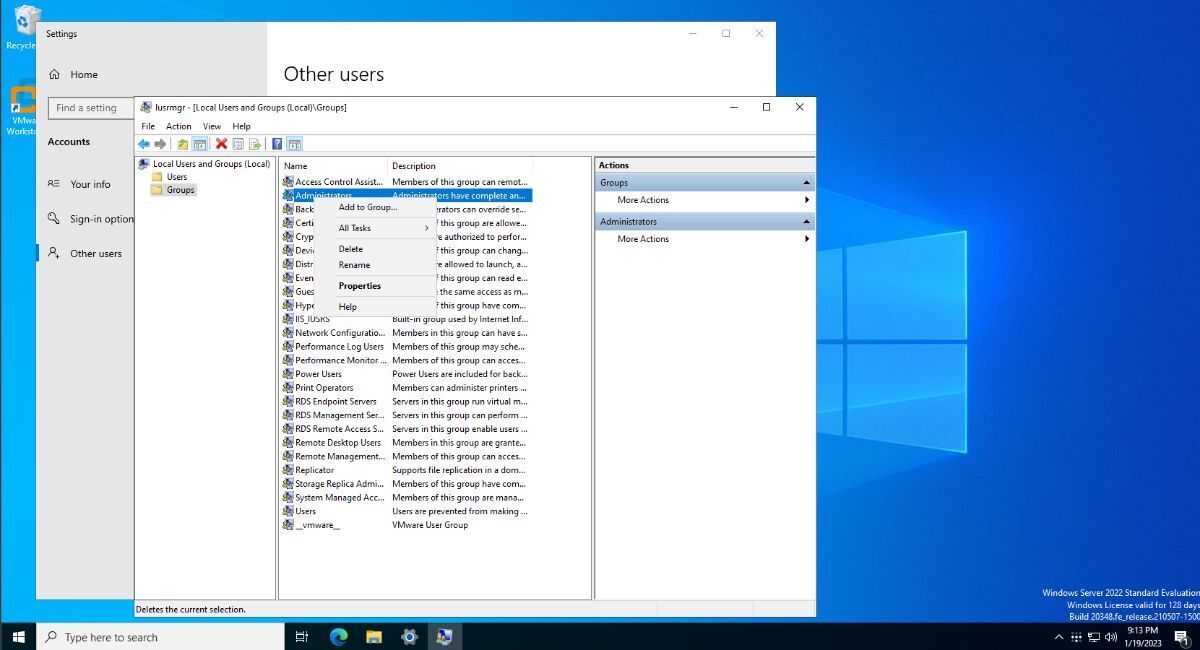
After you’ve created a new standard account, do the following. First, find the “Groups” folder, and click on it. Select “Administrators,” then choose the “Add to group” option. Finally, find the “Add…” button, and select it with the mouse.
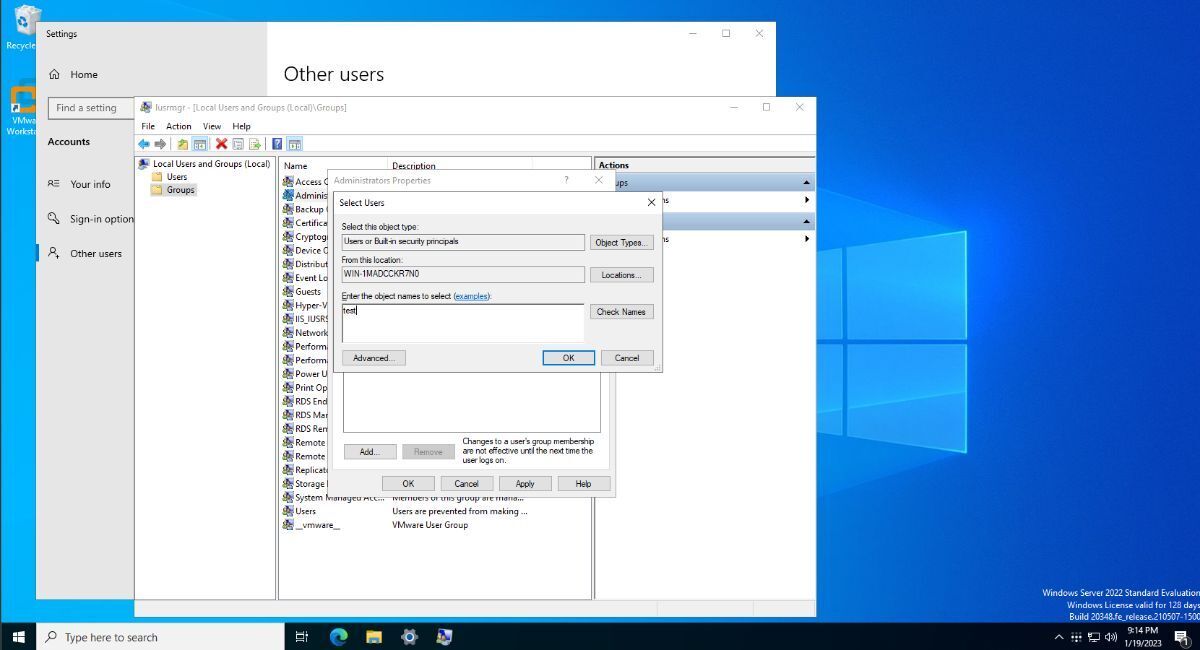
Once you’ve selected the “Add…” button, type in your new user account in the “Enter the object names to select” box. Select the “OK” button to confirm that you wish to add the account to the Administrator group.
How to disable a user account in Windows Server
If you wish to lock a user account in Windows Server, do the following. First, ensure you have the user tool open. If you do not have it open, launch the Windows Start Menu, search for “Add, edit, or remove other users,” and click on it. This should launch the Windows Server user tool.
Inside of the Windows Server user tool, locate the user you wish to lock. Once you’ve located it, right-click on it with the mouse, and select the “Properties” option. Now that you’ve selected the “Properties” button, click on the “General” tab. Then, select the “Account is disabled” option to disable it.
How to delete a user account in Windows Server
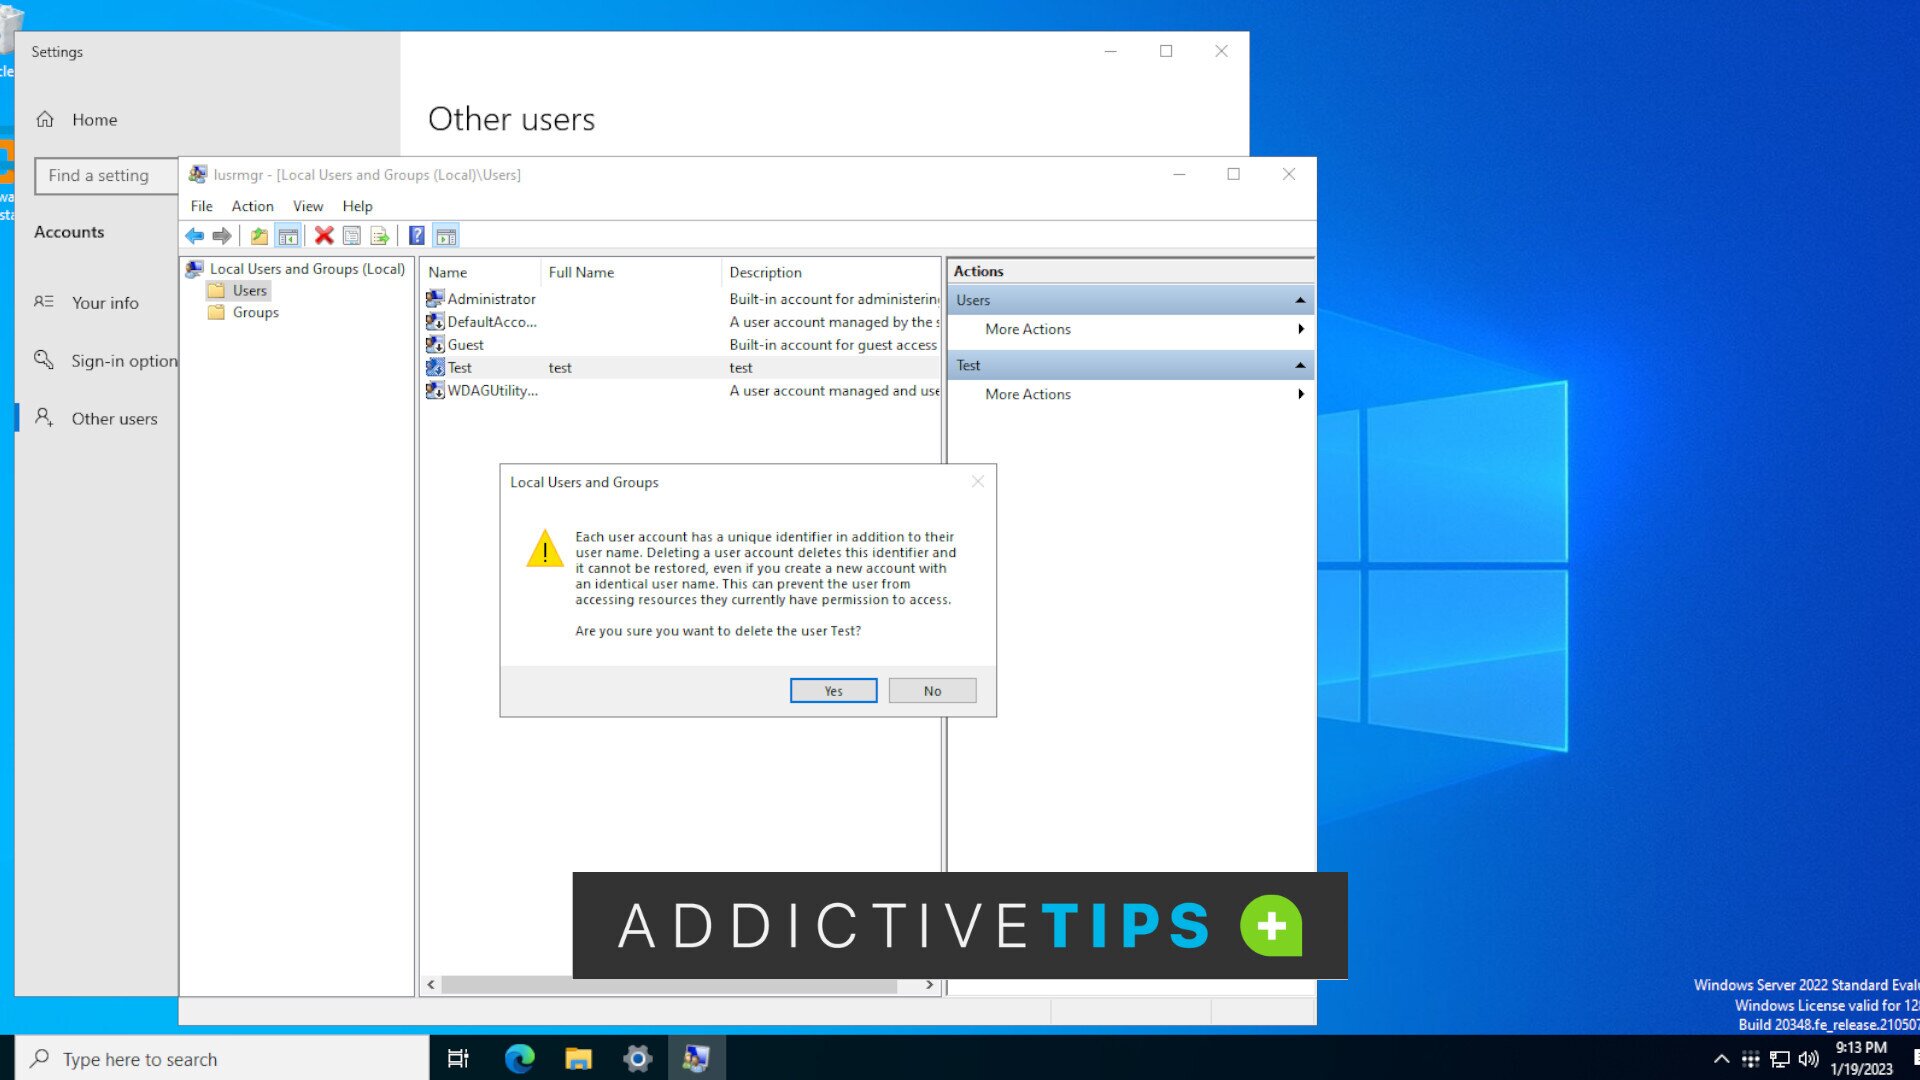
If you need to delete an account, rather than just lock it, do the following. First, open up the user account area in Windows Server. Once it is open, click on the “Users” folder, and locate the user you wish to delete.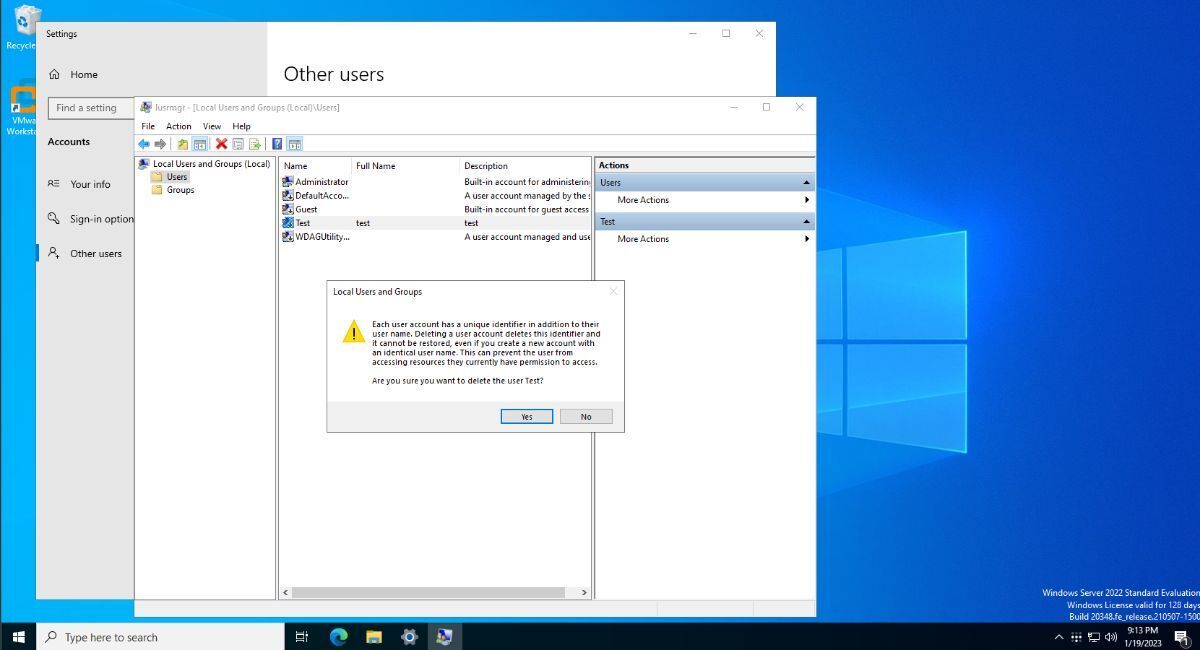
After finding the user you wish to delete, right-click on it with the mouse. Then, locate the “Delete” option, and click on it with the mouse. By selecting this button, you’ll be given a prompt. This prompt will ask you if you’re sure you wish to delete the user account. Click “Yes” to confirm the deletion.
Delete the “Guest” account in Windows Server
The “Guest” account is useful, but if you don’t need it, you can delete it. To delete it, find it in the user list. Once you’ve located the user account, right-click on it. Then, select the “Delete” button. When you click the “Delete” button, the user will be gone.
