How To Screenshot Individual UI Elements [Windows]
Taking screenshots is such a basic need that operating systems include a basic tool for it by default. On top of that, for anyone that needs a screenshot tool to do more than just capture what’s on the screen, there are lots of free screenshot apps to choose from.
The screenshot niche is cluttered and you’d think there isn’t any feature to add to a screenshot tool that hasn’t been added yet. Meet Snipaste, a free Windows app that can screenshot individual UI elements. Much like screenshot tools can detect the current active window, this app can detect and expertly screenshot UI elements like the taskbar or the individual icons in the taskbar or system tray.
Download and run Snipaste. It will add an icon to the system tray. The app has excellent hotkey support and it’s a good idea for you to visit its preferences before you start using the app. Right-click the Snipaste’s system tray icon and select ‘Preferences’ from the context menu.
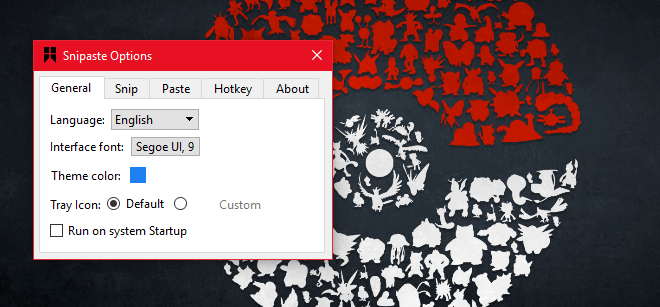
The General tab allows you to select a language, and a theme color for the app, and set it to start on system startup.
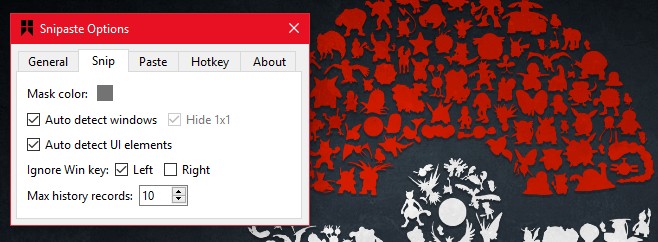
The Snip tab lets you customize the app’s interface when it enters screen capture mode. You can select what color all elements excluded from a screenshot will be masked with, you can enable/disable window and UI element detection. The UI element detection must of course be enabled or it defeats the purpose of the app. Snipaste can be set to ignore the left Windows key (useful for when you’re on an external keyboard).
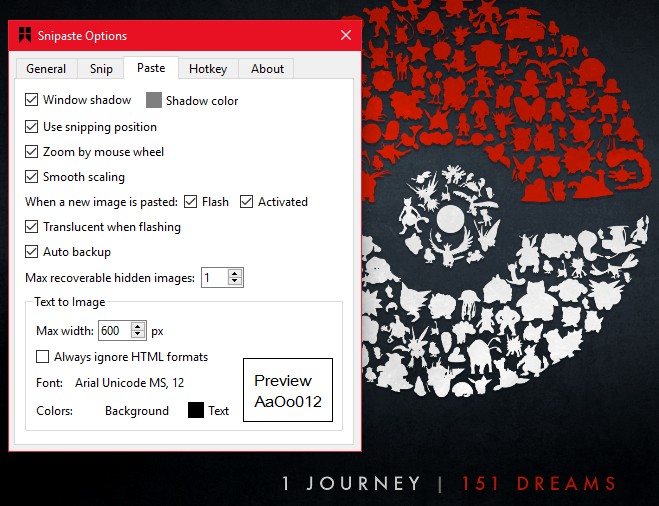
The Paste tab will let you choose whether or not a screenshot should have a shadow, if the area should be zoomed in, and whether or not smooth scaling should be enabled. Snipaste has an image recovery feature too that will recover the last images you took. You can customize how many images it should be able to recover from your history.
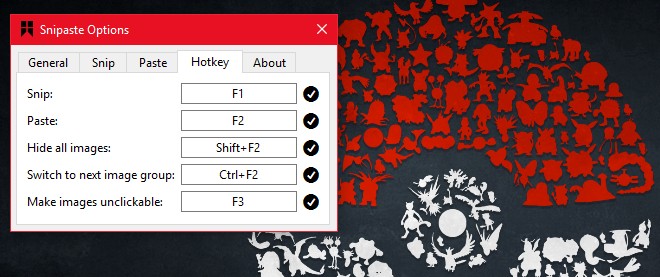
The Hotkey tab is where you can customize the hotkeys. Snipaste will let you switch to the next UI element using keyboard shortcuts. It uses unconventional hotkeys for snipping and pasting i.e. F1 and F2.
To start snipping, opening an app e.g. File Explorer and hit the F1 key to activate Snipaste. As you move your mouse over different UI elements, they will be highlighted and included in the screenshot. Snipaste will let you capture entire windows or just a portion of your screen as well.
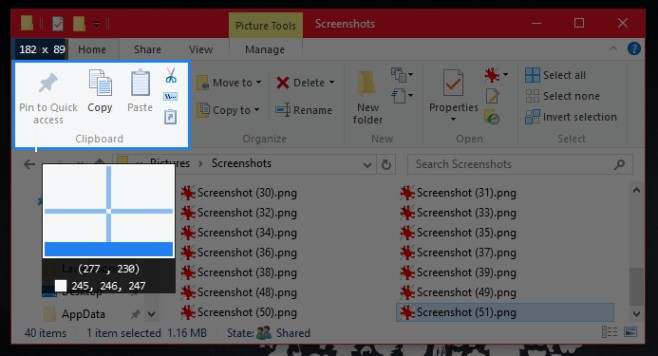
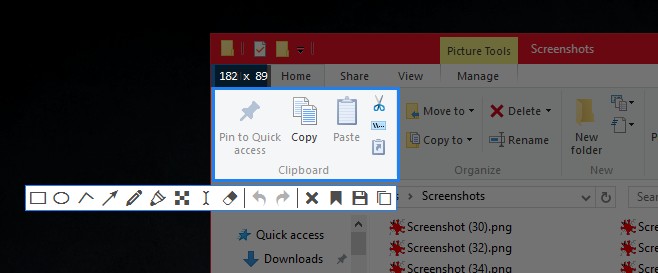
Once the screenshot has been captured, you can save it, draw on it, paste it to your screen as a movable UI element, and even add text to it. Snipaste leaves nothing to be desired for and it is excellent at detecting UI elements on your screen.
We should mention that the app can’t detect HTML elements like buttons and form fields on a web page. It can detect individual tabs and the other buttons in a browser but it can’t differentiate between elements inside a web page.
Snipaste will soon be made available for both masOS and Linux.
