How to Set Default Printer on Windows 10
If you operate different printers at separate intervals, you can set one of them as default under the Device section in the Settings app or Control Panel. Windows 10 is already brilliantly programmed to recognize the printer you use the most/last in your current location and set it as default.
However, if your preferred printer isn’t set, you can manually set it to be your default so that it doesn’t change to another anytime you switch locations. This guide will walk you through everything you need to set default printer in Windows 10.
Use Printer Settings Windows 10
This is the quickest method for you to set the default printer on Windows 10. Just head into the Windows settings app, and you’ll be able to set a default printer anytime you need to change your preferences. Use the following steps:
- Press Windows key + I to launch the Settings app
- Alternatively, click the Windows icon in the bottom-left corner of your screen and select Settings from the menu above it
- On the Settings window, navigate to and select Devices
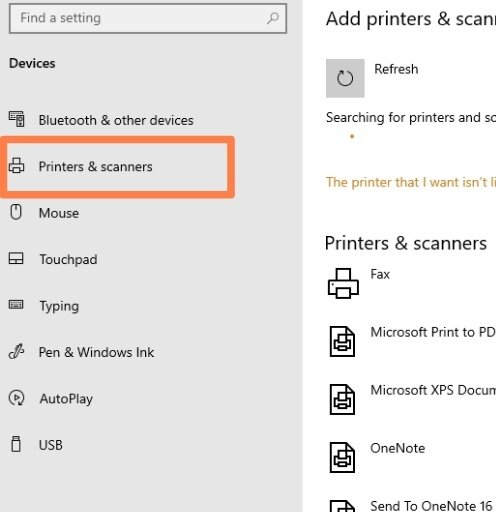
- On the right pane, select Printers & Scanners, and then click the printer name you want to use on the right pane
5. Click Manage from the options under your target printer
6. You’ll arrive on another screen at this point. Navigate to and click Set as Default thereon.
Set Default Printer in Control Panel
If you prefer to use the Control Panel for settings things up on your computer, you can harness it to set the default printer on your PC. To do this,
- Press Windows key + R to launch the Run dialog
- Type Control in the provided search box
- Press Enter on your keyboard or click OK in the box to open Control Panel
- Alternatively, you can use the search box in the Start menu to find Control Panel
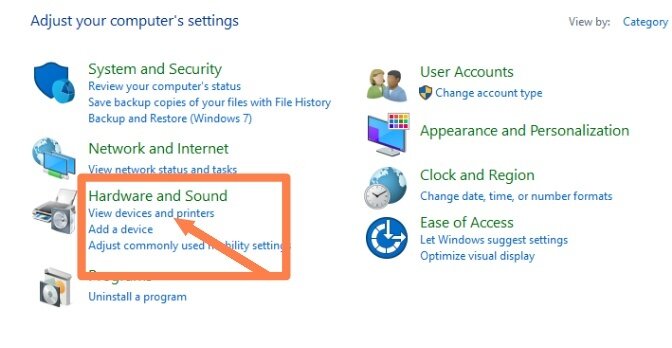
- On the Control Panel window, locate View Devices and Printers under the Hardware and Sound section and click on it
6. You will arrive on a screen where you’ll see all printers connected to your PC
7. Right-click on the one you want to set as default
8. Select Set as Default Printer
And that’s it! The selected printer should automatically print your documents when beckoned.
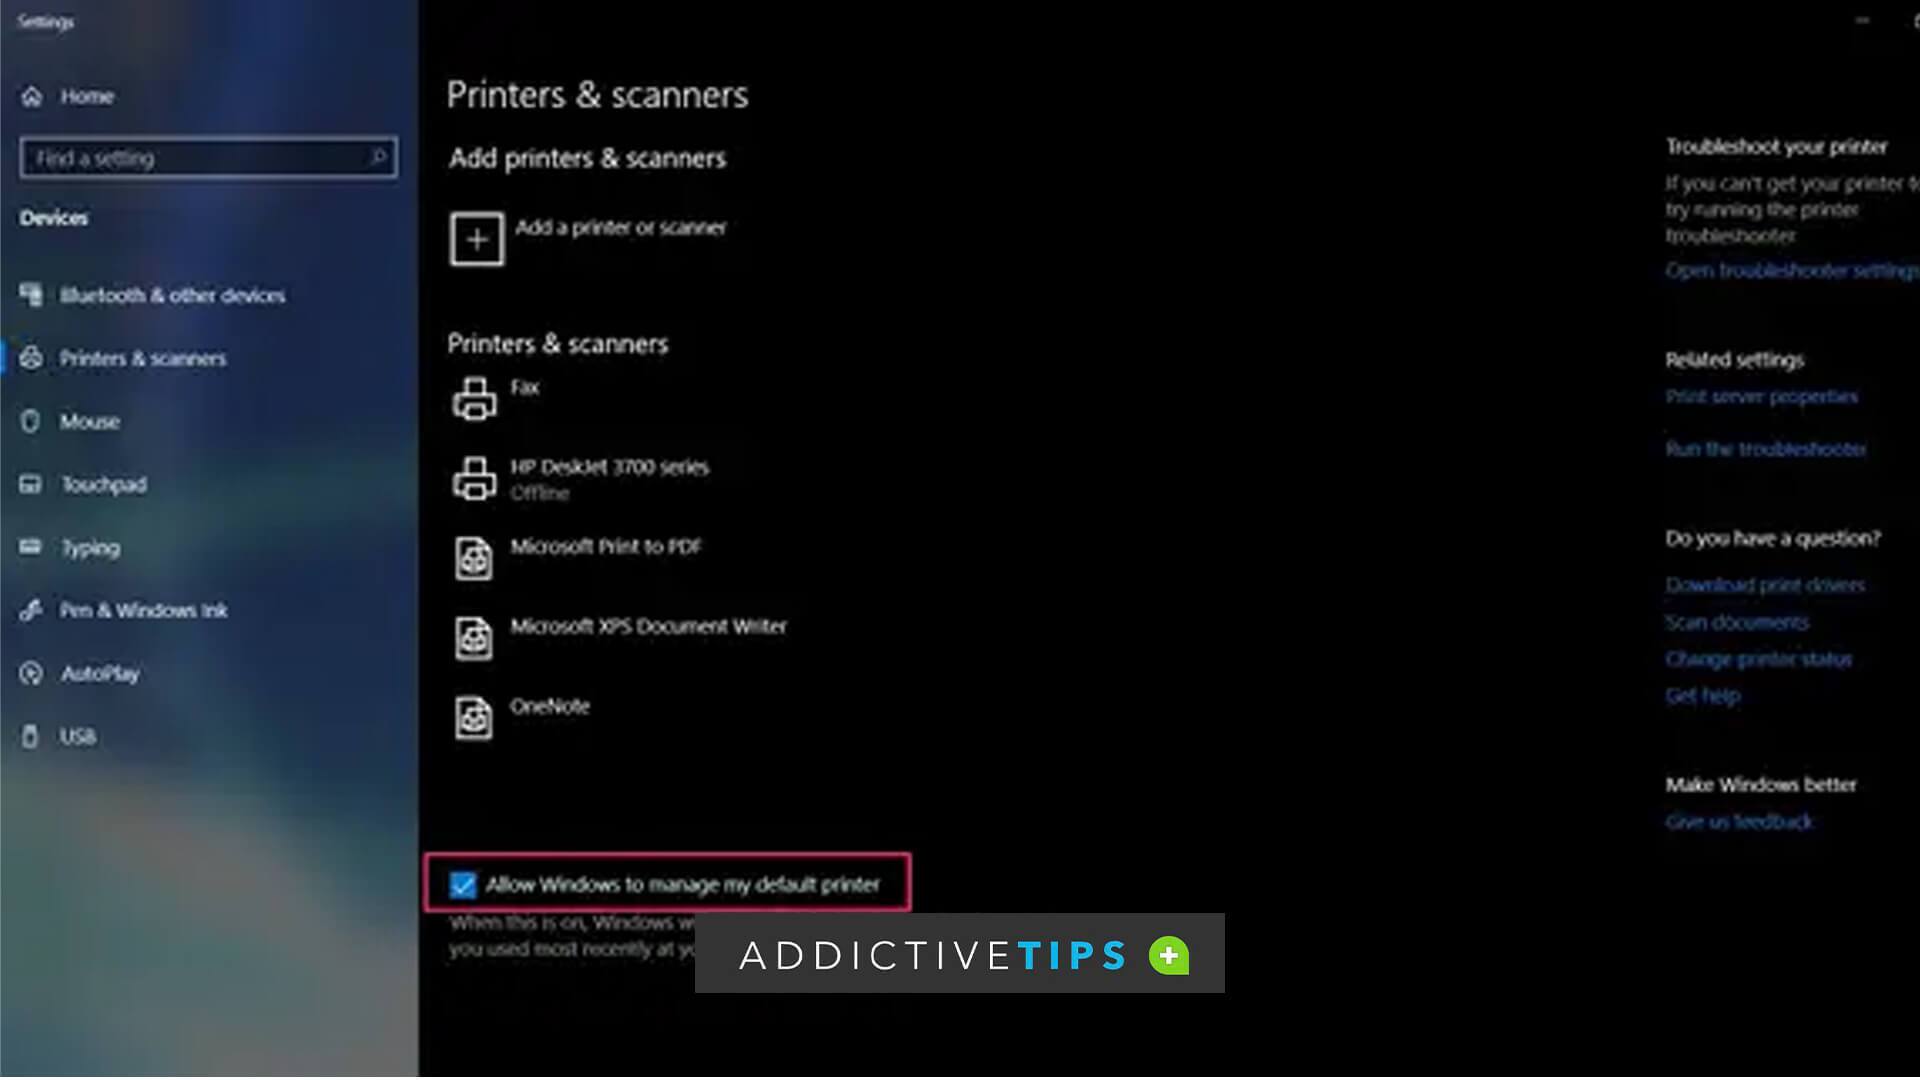
Set Default Printer as Last Used
You’ll find this option handy when switching between your workplace and home. You can set your default printer to the last used in the location. To do this,
- Press Windows key + I to launch the Settings app or click the window icon at the bottom left and then Settings
- Select Devices from the menu
- Click Printers and Scanners on the left pane
- On the right pane, under the list of printers, tick the box for Let Windows Manage My Default Printer
- Close the Settings window
Now, whenever you want to print something, your last-used printer will be the default for printing.
Set as Default Printer Not Showing: What You Should do
Some users have reported not being able to see the Set as Default option when they right-click on their preferred printer under the Settings app or in Control Panel. For some users, it’s an even worse situation as their computers return some error codes when they try to set a default printer.
Whatever the case might be, it’s difficult to tell where the issue stemmed from, but you can employ some workarounds to see the Set as Default Printer option or set your default printer successfully without an error code. They are as follows:
Restart Your PC
A simple restart of your PC might be all you need to see the Set as Default Printer option or stop it from returning an error code. Restarting your PC stabilizes backend files and the utilities required to execute these functions without hiccups.
Update Your Printer Driver
An outdated printer driver is most likely the culprit for not seeing the set as default option or being able to set a default printer. In that case, it’s advisable to update your driver. To do this,
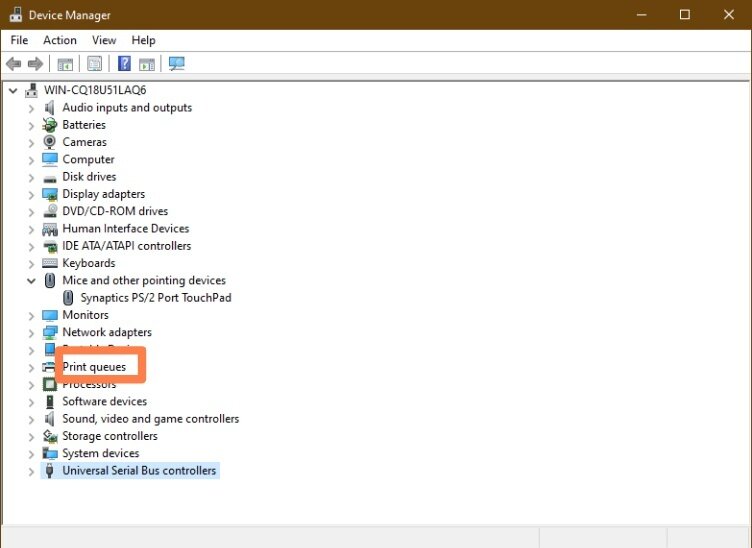
- Type Device Manager in the search box in the taskbar
- Select the category for Printers to expand it
3. Look for your target printer and right-click on it
4. Next, select Search automatically for updated driver software
5. You’ll see an Update Driver option. Click on it
6. If Windows doesn’t find a new driver, check if there is any on the manufacturer’s website
If you don’t find a new driver software, your best bet is to reinstall the driver for your printer. To do this,
- Right-click on the printer in Device Manager
- Select Uninstall from the options
- Restart your PC
Don’t fret. Windows will automatically reinstall the driver uninstall. Now, check if the problem persists.
Update Windows
Your Windows 10 build might hinder the set as default option from showing. Go to the Settings app yet again and check if you have any pending updates. If there’s any, download and install it. Then, wait for your PC to reboot and see if the problem persists.
Related: How to fix Windows cannot connect to the printer
Final Notes
And that’s all you need to set the default printer on Windows 10. It’s relatively easy to set up if you diligently follow the steps in this guide. You should also check our guide on how to fix “Windows cannot connect to the printer.” Enjoy it!
