How to set up NetBird on Windows Server
NetBird is a secure and high-performance, WireGuard-powered peer-to-peer networking tool. It facilitates the seamless connection of your servers and workstations, creating a robust virtual network. Here’s how to get it working on your Windows Server system.
How to Install Chocolatey on Windows Server
Chocolatey is a package manager for Windows, streamlining the setup of tools like Netbird significantly. With Chocolatey, you can instruct Windows (in PowerShell) to install a package directly, eliminating the need to search for it via Edge or any other browser on Windows Server.
This guide will briefly cover setting up Chocolatey on Windows Server to facilitate the quickest possible installation of Netbird. Begin by opening a PowerShell window.
Once the PowerShell window is open and ready for use, run the following command. Note, that you must have the ability to execute commands as an Administrator. Without this capability, installing Chocolatey or Netbird will not be possible.
Set-ExecutionPolicy Bypass -Scope Process -Force; [System.Net.ServicePointManager]::SecurityProtocol = [System.Net.ServicePointManager]::SecurityProtocol -bor 3072; iex ((New-Object System.Net.WebClient).DownloadString('https://community.chocolatey.org/install.ps1'))
Executing this command in the terminal initiates the download and setup of Chocolatey. It will prompt you to press “Y” to confirm running the installation script. Do so, and Chocolatey will be installed.
To verify Chocolatey’s installation on Windows Server, run the choco --help command in PowerShell. If executing choco --help yields no response, you may need to reinstall Chocolatey.
How to Install Netbird on Windows Server
To install Netbird on Windows Server, begin by launching a PowerShell window on the desktop. With PowerShell open, execute the command choco install netbird to install the Netbird package through Chocolatey.
For those who opt not to use Chocolatey, Netbird can be obtained directly from its official website.
choco install netbird
Following the command above, Chocolatey will prompt you to confirm if you wish to run the installation script. Press “Y” to agree if you trust it and wish to proceed with installing Netbird.
Setting up Netbird on Windows Server
To initiate NetBird setup, begin by creating a new account if you haven’t already. Visit the official website and click on the “Try for free” button to sign up. You have the option to create an account using Google, Microsoft, GitHub, or your email.
After setting up your account, the next step is to add a peer. Make sure you’re logged into the default browser on your Windows Server. Then, start the NetBird application on the Windows Server.
Once the NetBird application is running, right-click on its icon in the system tray on the Windows Server desktop. Choose the “Connect” button. Clicking “Connect” opens a new tab in your default browser.
In this new tab, log into NetBird if you haven’t done so already, and link the Windows Server’s NetBird application to your account. After successfully connecting your Windows Server to your NetBird account, your server will be displayed in the “Peers” section on the NetBird website.
How to use Netbird on Windows Server
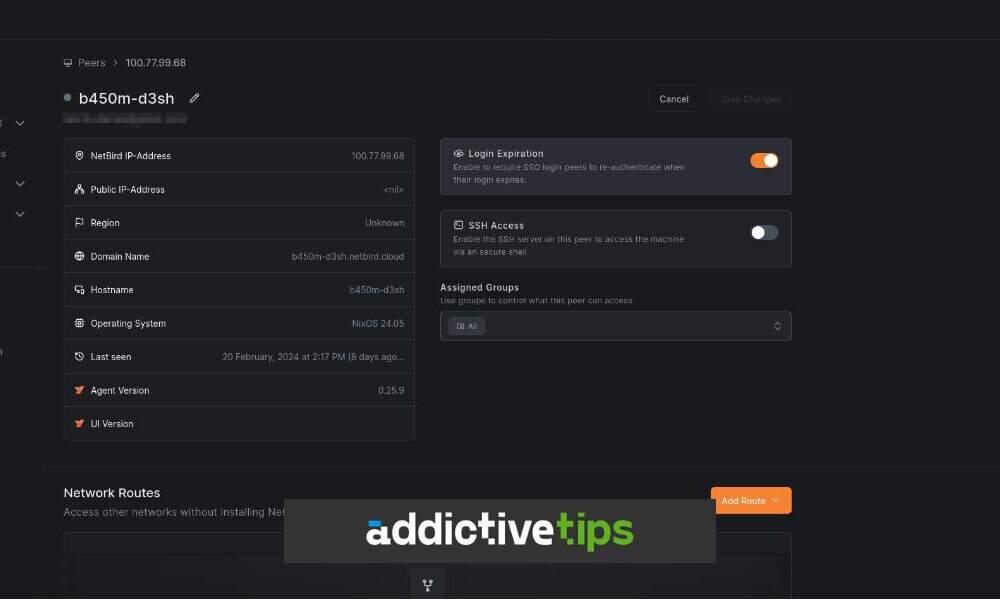
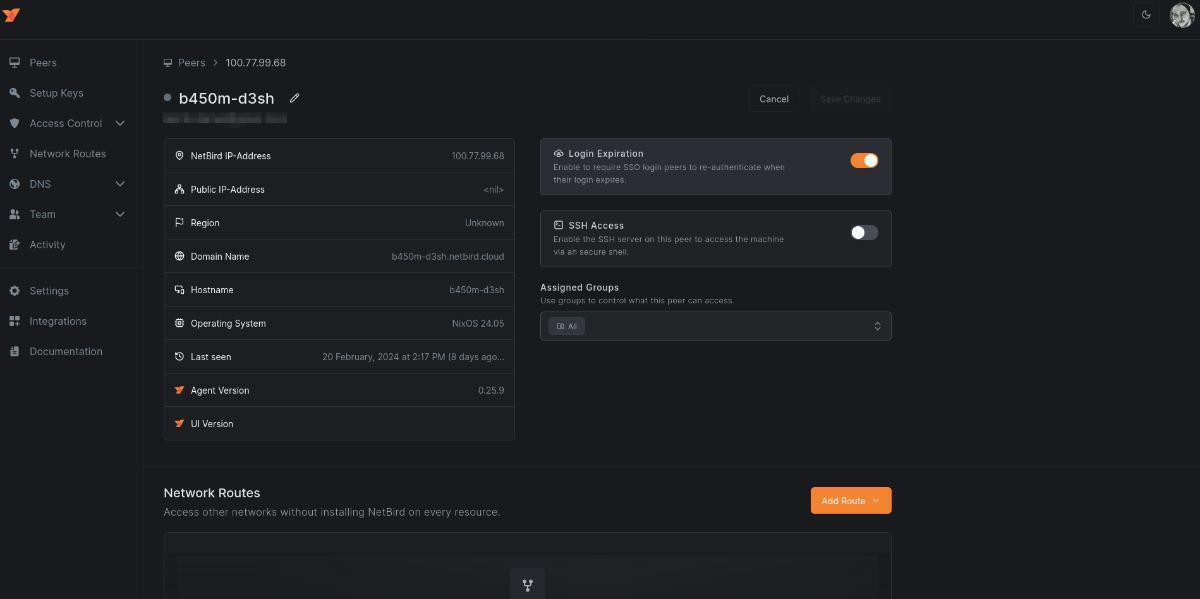
Netbird offers a user-friendly approach to networking. Begin by confirming that all devices, including your Windows Server, are connected to Netbird. Then, access the Netbird website and go to the “Peers” page.
Once on the “Peers” page, locate your Windows Server among the devices connected to your Netbird network. This step enables you to leverage Netbird for server management or access. Ensure your Windows Server’s connection status is set to online, facilitating access over the Netbird network for various purposes such as file sharing, remote desktop sessions, and accessing services hosted on the server.
DNS
Netbird offers the flexibility to configure custom DNS settings across your network, which can be adopted by peers within your NetBird network.

Begin by navigating to the “DNS” option in the sidebar. Next, locate and click on “Nameservers.” Upon selecting “Nameservers,” look for the “Add Nameserver” button and click on it. This action will prompt a pop-up window to appear, where you have the option to select from Google DNS, CloudFlare DNS, or Quad9 DNS for your DNS nameservers. If you prefer to use specific DNS settings, choose “Custom DNS.”
After choosing your DNS nameservers, identify the group to which you want to apply these DNS settings. Once you’ve completed your configurations, finalize the process by clicking the “Add Nameserver” button, thereby applying your DNS settings to the selected group.
