Audiobookshelf Windows Download: Step-by-Step Guide
Audiobookshelf is a powerful, self-hostable Audiobook and Podcast management tool compatible with Windows, Mac, and Linux. It enables you to manage and monitor your audiobooks within your network. Here’s a guide on setting up Audiobookshelf on your Windows Server.

How to download Audiobookshelf
Downloading Audiobookshelf on Windows Server is accomplished through the project’s public GitHub page, specifically on the release page. To access the latest version of Audiobookshelf for Windows, begin by navigating to the official Audiobookshelf GitHub page.
Once you arrive at the official GitHub page, locate the “Releases” section in the right-hand sidebar and select it to proceed to the releases page. From there, download the latest Windows EXE file to your Windows Server Desktop. Upon completion of the download process, the file will be available in the “Downloads” folder, accessible via the Windows Explorer application.
Alternatively, if you prefer to download the EXE file using PowerShell, you can do so by executing the following command. However, this command requires command execution to be enabled for your user.
$downloadPath = [System.Environment]::GetFolderPath([System.Environment+SpecialFolder]::MyDocuments) + '\Downloads\AudiobookshelfInstaller.v2.7.2.1.exe'
Invoke-WebRequest -Uri "https://github.com/mikiher/audiobookshelf-windows/releases/download/v2.7.2.1/AudiobookshelfInstaller.v2.7.2.1.exe" -OutFile $downloadPath
Installing Audiobookshelf on Windows Server
To install Audiobookshelf on Windows Server, follow these steps. First, open the Windows Explorer application. Once open, navigate to the “Downloads” folder and find the EXE file.
Locate the Audiobookshelf EXE file and double-click it. This action will initiate the Audiobookshelf installation process. The installer’s first page will prompt you to choose the installation location. After selecting the desired location, click “Next” to proceed.
Next, decide where Audiobookshelf will store its data. The default location is “C:\USERNAME\AppData\Local\Audiobookshelf”. You can either keep the default setting or choose a new location by clicking the “Browse” button.
After selecting the data storage location for Audiobookshelf, opt to create a desktop shortcut by checking the corresponding box, then click “Next”. The following page will present a summary of your choices. Review the summary and click the “Install” button to finalize the installation of Audiobookshelf on Windows Server.
Configuring Audiobookshelf on Windows Server
With Audiobookshelf software installed, you’ll need to set up the server. Begin by navigating to the Windows Server system tray. In the tray, right-click on Audiobookshelf and select “Open Audiobookshelf…” to launch Audiobookshelf’s UI in the default web browser.
Next, create the root user. Enter a secure password for the root account under “Password,” and confirm it in the “Confirm Password” box. After inputting the root user’s password, click “Submit” to proceed.
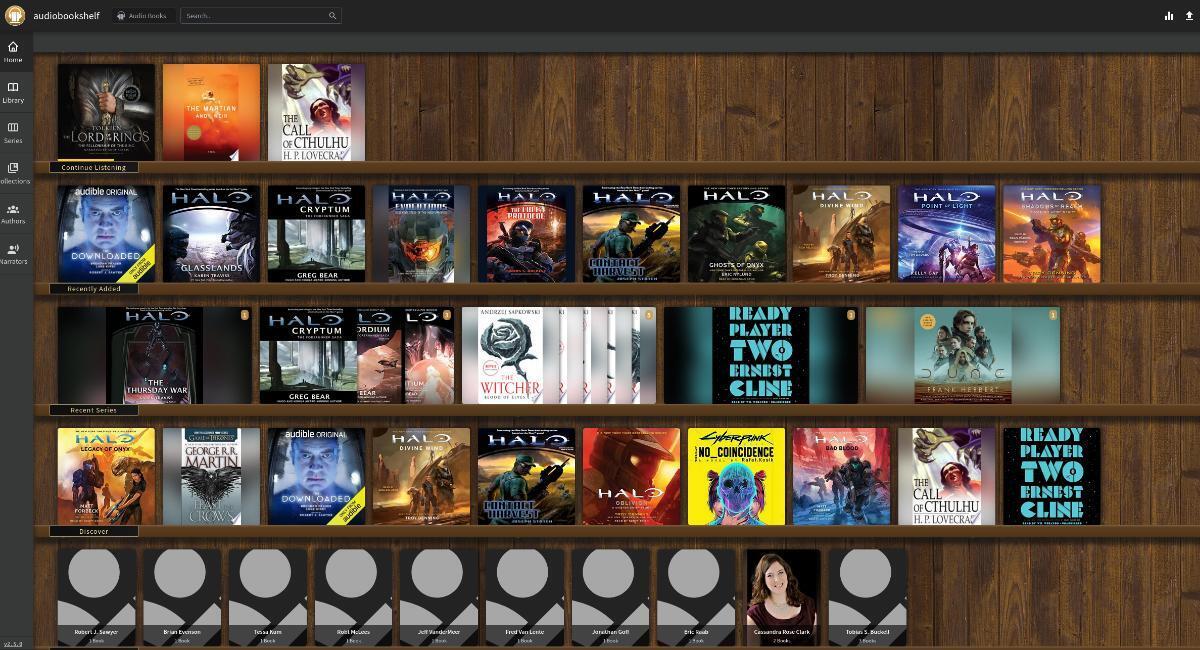
Once the root account is established, log in by entering “root” as the username and the password you created. After logging in, go to “Libraries” and select “Add your first library” to set up a new library.
When adding your first library, select your media type—either “Books” or “Podcasts.” Name your library by filling in the “Library Name” box. Then, locate your audiobook files on your Windows Server by clicking the “Browse for Folder” button.
After choosing your Audiobook folder, click “Create” to establish your new library. Note that creating the library may take some time, especially if processing a large number of books.
How to create users
Creating dedicated users for listening is advisable instead of using just the root account in Audiobookshelf. To add a new user, follow these steps:
First, locate the gear icon in the top-right corner and click it to enter the Audiobookshelf settings area. Then, in the “Settings” sidebar, find and click on “Users.”
In the “Users” section, look for the “Add User” button and click it. This action will open the option to create a new account for Audiobookshelf. You can repeat this procedure as often as necessary to create additional users.
Accessing Audiobookshelf
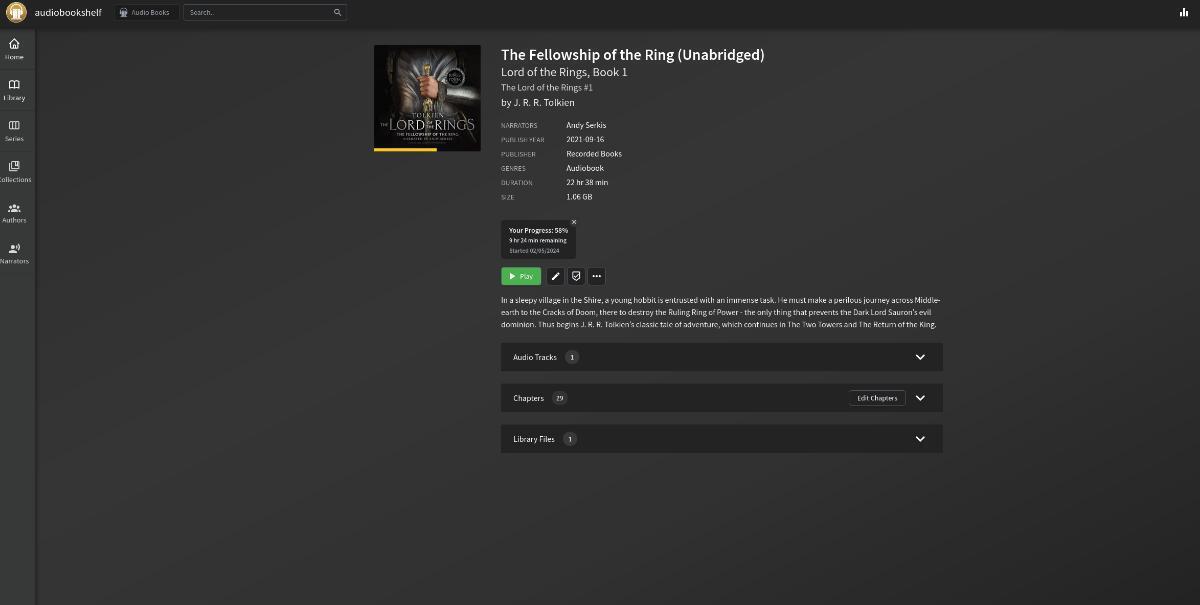
Accessing Audiobookshelf can be achieved through their Android app or a web browser. To access it via a web browser, navigate to the URL and log in with your Audiobookshelf user account:
http://WINDOWS_SERVER_IP_OR_HOSTNAME:13378
Alternatively, you can download the official Android app. Note that you will still require the server URL, as it must be entered into the app to access your books.
Remote Connectivity
To access your Audiobookshelf server from any location, consider configuring Tailscale on your Windows Server. This setup enables you to reach your books from anywhere over the internet, providing convenient remote access.
