How To Turn Off Snap Suggestions In Windows 10
Snapping is an awesome Windows feature and thankfully, it has stood the test of time and Microsoft’s attempts at innovating and reinventing their OS. In Windows 10, the snapping feature comes with several new improvements one of which is that it now suggests what other windows to snap when you snap the current window. The suggestions will show you the last three windows you used of all the ones that are open. It does confuse you at first since you don’t immediately know how to return to the desktop but if it continues to bother you, you can turn the suggestions feature Off. Here’s how.
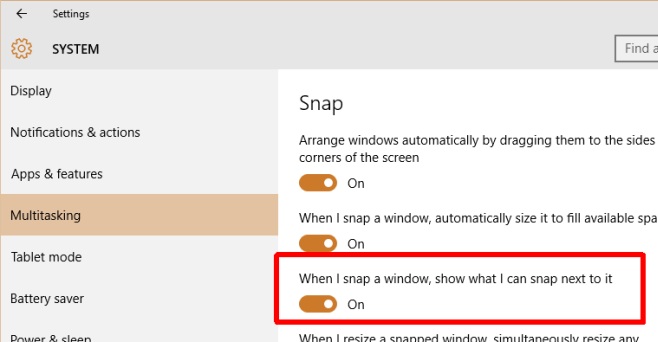
Open the Settings app and go to the System group of settings. Inside, go to the Multitasking tab and under the Snap section, look for the option, ‘When I snap a window, show what I can snap next to it’. Turn this option Off and you will no longer see suggested windows appear next to a freshly snapped one.

This option should be present even if your Windows 10 is on the earliest stable build and not the latest 1511 version. The change takes effect immediately and you don’t have to restart or logout of Windows. The changes don’t affect all users, just the current one.
If you’d like to keep the option On and are simply trying to find the right way to exit the suggestion screen, the answer is to click anywhere that’s empty. This can be on the taskbar or on the empty space between the suggested windows.
