RecImg Manager: Backup And Restore System Snapshots In Windows 8
One of the very handy features Windows 8 comes with, is Refresh, which is quite useful should something go wrong and you need to restore Windows 8 to its default state without erasing your personal data (well, to some extent). Back in March, we featured an article detailing how the Refresh feature works, and how you can create a custom snapshot via integrated Windows 8 RecImg command-line tool. However, using RecImg is mainly targeted at power users, and folks who are looking for a rather simple and easy way to backup and restore system snapshots can give RecImg Manager a try. The Metro-interfaced app is developed by Slimware Utilities, and holds a minimalistic design. What makes it stand out from Refresh (or Reset, for that matter), is its ability to backup and restore user applications as well, along with system settings. However, all your personal files, like music, videos, photos and documents etc, remain intact. What’s more, the application also allows you to create backup schedules, which, in turn, automatically create snapshots according to the defined settings. Read on for more details.
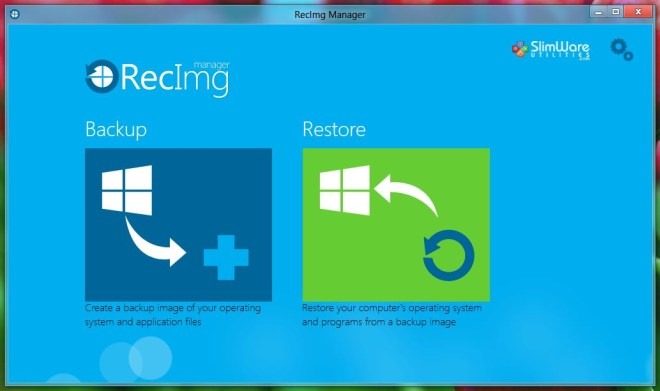
The application itself sports a very neat and elegant look, and is fully compatible with touch devices. Its main screen contains Backup and Restore buttons, along with a Settings button at the top right. Creating a backup image is easy as pie. First off, select Backup on the home screen.
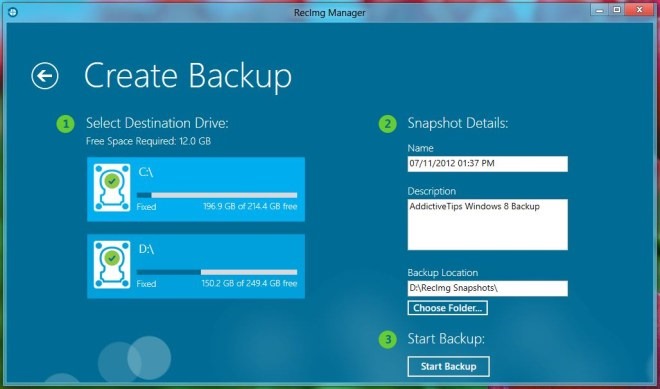
Now, you will be presented with Create Backup screen, similar to the one in the screenshot below. Here, you can select your backup directory under Select Destination Drive. Next, you may input custom name for the backup folder, along with a mini description. Lastly, under Backup Location section, choose the target directory in the selected drive. Once everything’s in place, click Start Backup to begin the process.
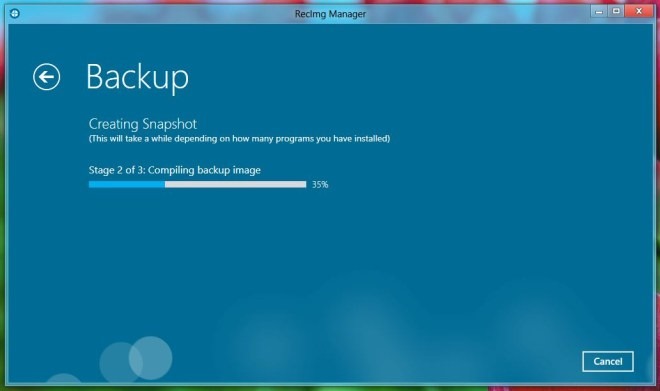
It should be noted that the backup process may take up to several minutes, so sit back and wait for the process to complete, which comprises a total of three stages.
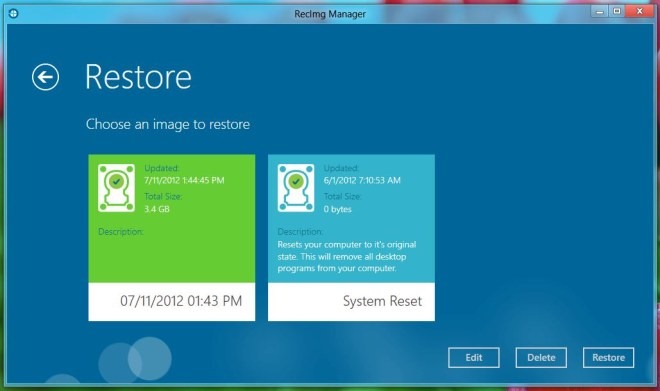
Restore, on the other hand, also works like a charm. To restore the snapshot, click Restore on the main screen. The application will display all the available images that you ever created, including the name of the file, size, description and the date at which the snapshot was created. Simply select the image you want to restore, and hit Restore button at the bottom right. Furthermore, Restore screen also lets you perform the aforementioned System Reset from within the app. However, proceed with caution here, as Windows will revert back to its factory settings, which will remove all your applications.
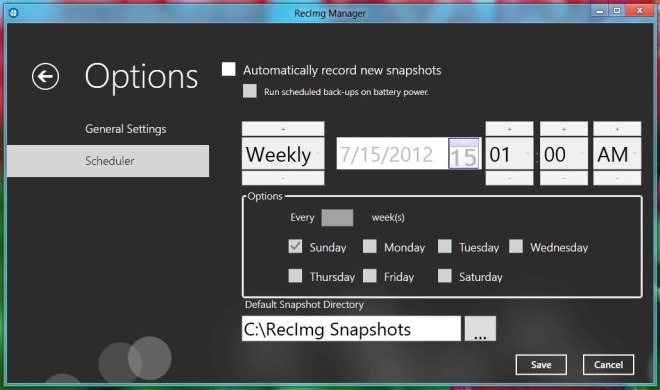
Select Options from the main screen, which will take you to the configuration panel. Under General Settings, the application lets you specify total number of snapshots that it can reserve. You can also automate the backup process by defining custom settings under Scheduler.
The application only works on Windows 8, and supports desktop as well as tablets, including Microsoft Surface.
