How to Delete a Page in Word: A Step-by-step Guide
Learning how to delete a page in Word is a skill every Microsoft Word user eventually needs. Word is a powerful productivity tool, but it has a habit of creating unnecessarily lengthy, space-stealing whitespace in your document — especially when you insert items such as tables and graphs.
The whitespaces sometimes take an entire page, leaving you with no option but to delete them for a cleaner look. For some people, it’s a text-filled page that’s no longer relevant that needs deleting.
Whatever the case, you’ll find out how to quickly delete a page in Word with the guide in this article, so keep reading.
How to Delete a Page in Word That Is Filled With Text
Deleting a Word page filled with texts or graphics is relatively easy. The following steps will guide you in that regard:
Step 1
Click anywhere on the page you want to delete.
Step 2
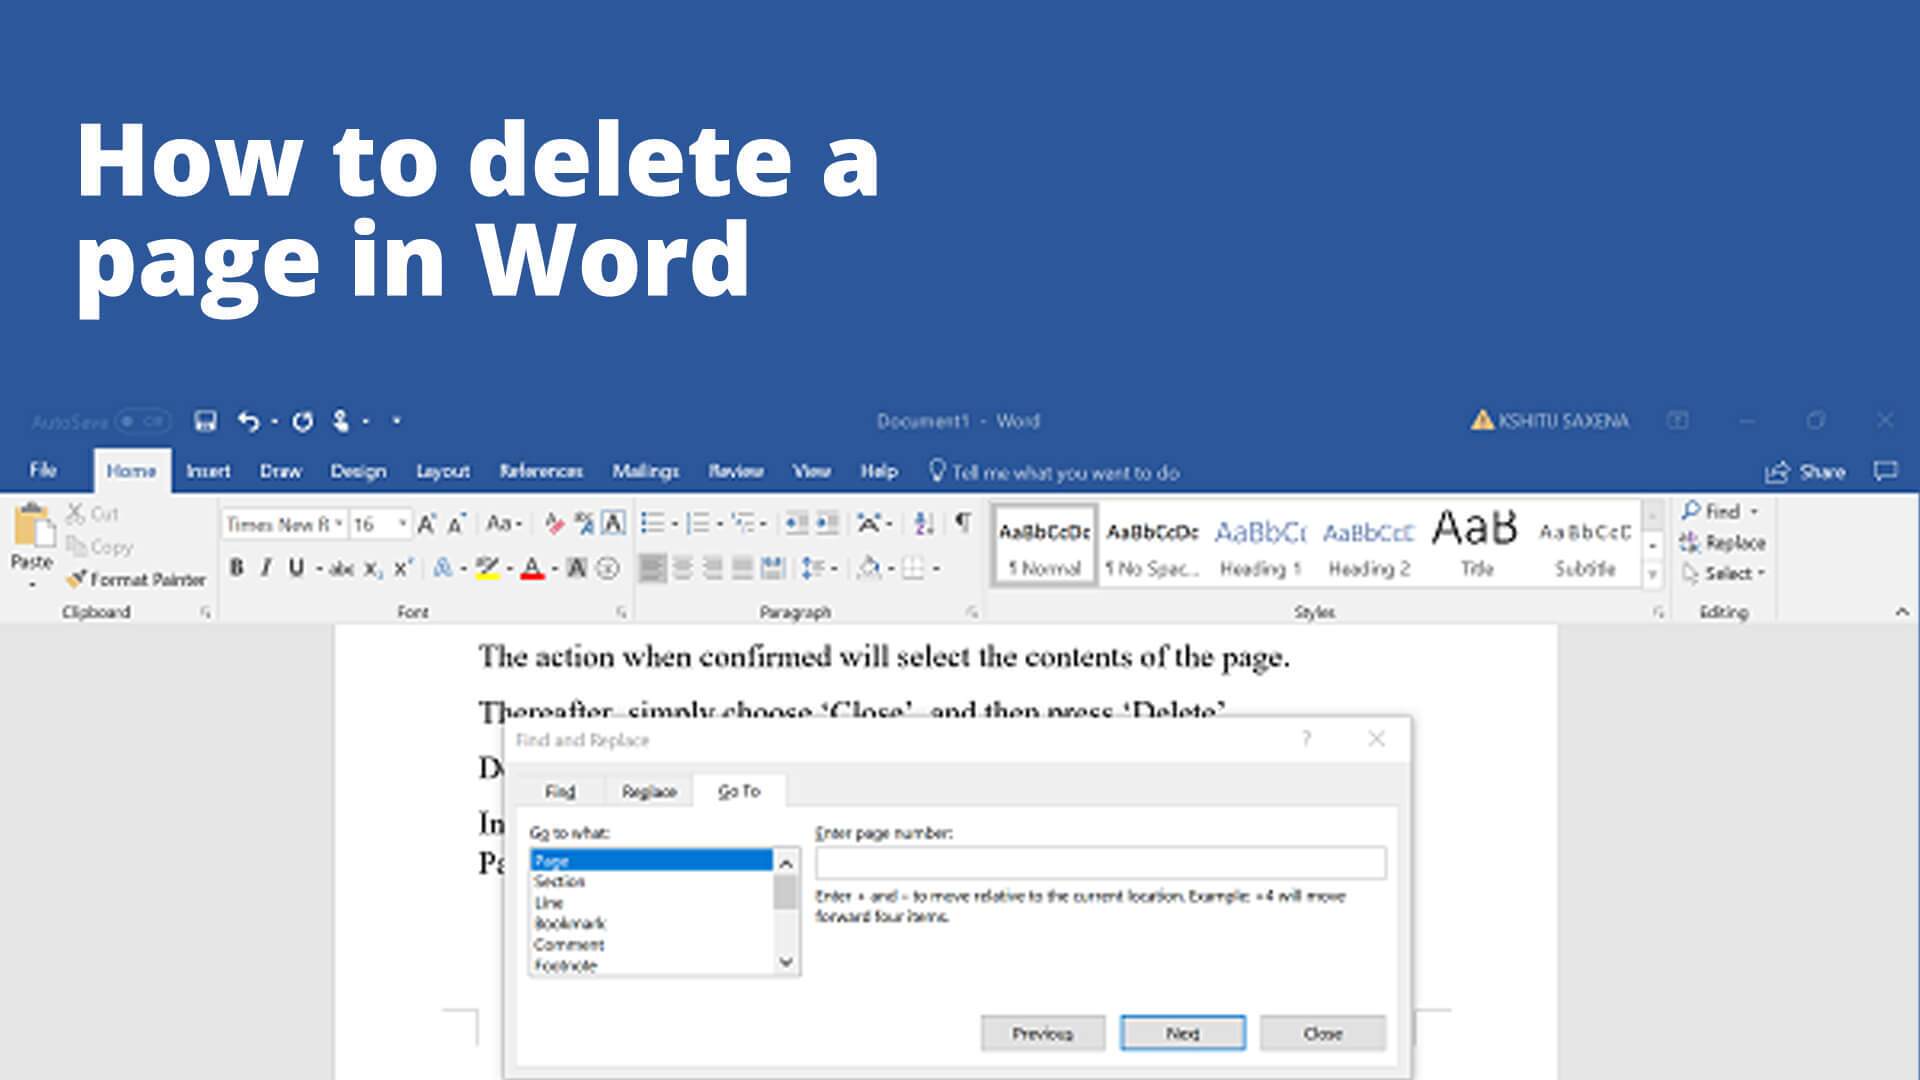
Open the Go To dialog using the keyboard shortcut for your platform. On Windows, press Ctrl + G. On Mac, press Option + Command + G. When the dialog opens, click into the Enter page number box, type \page, and press Enter. Then click Close. Word will automatically select all the content on that page.
Step 3
Confirm that the page content is highlighted, then press Delete on your keyboard to remove it.
All the selected content should be gone at this point, causing the page to shrink or disappear entirely. Word does not have a visible Delete Page button, but the built-in Go To command gives you a fast, reliable way to select an entire page for deletion without touching the rest of your document.
Quick Note: While dragging the cursor across the content as in Step 2, ensure you do so down to the very bottom of the page, even if it’s empty. Whitespaces stem from unnecessary paragraphs and spaces.
How to Delete a Page in Word That Is Blank or Empty
Blank pages in Word are almost always caused by one of four things: extra paragraph marks, a manual Page Break, a Section Break (Next Page, Odd Page, or Even Page), or the required final paragraph that Word inserts after a table. According to Microsoft’s official Word support documentation, the first step in fixing any of them is turning on Show/Hide formatting marks, because it reveals exactly what is creating the extra page so you know which fix to apply.
Step 1
Find blank pages and whitespaces by opening up the navigation pane. To do this, go to the View tab and ensure the navigation box is check-marked.
Step 2
When the sidebar comes up on the left side of your screen, click Pages to see all the pages in your document.
Step 3
Scroll through the list of pages and double-click the one you want to delete.
Step 4
Enable Paragraph Marks by pressing Ctrl + Shift + 8 on Windows or Command + 8 on macOS.
Step 5
Click the paragraph marks so that they are highlighted.
Step 6
While the paragraph marks are highlighted, go to the Home tab, input 1 in the Font Size box, and press Enter on your keyboard to apply the changes.
This method should shrink the paragraphs and fit them on the last page. You can then press the key combo in step 4 again to hide the paragraph marks. If the page still remains, you may need to delete section breaks first.
If that still does not clear the blank page, use the formatting marks you turned on in Step 4 to identify which of the following issues is causing it and apply the matching fix:
If you see a Page Break
Place your cursor directly before the Page Break marker and press Delete, or place it directly after the marker and press Backspace. Either approach removes the break and pulls the following content back onto the previous page.
If you see a Section Break (Next Page, Odd Page, or Even Page)
Click directly before the Section Break marker and press Delete to remove it entirely. If deleting the break would disturb the formatting of the surrounding sections, change it to a Continuous section break instead: go to Layout > Breaks > Continuous. A Continuous break keeps the section formatting intact without forcing a new page.
If the blank page appears after a table at the end of the document
Word always requires at least one paragraph mark after a table, and if that paragraph falls past the last line of the page it creates a blank page that cannot simply be deleted. To fix it, select the paragraph mark immediately after the table and set the font size to 1 pt in the Home tab.
If the page persists, also open the Paragraph dialog (right-click > Paragraph), set line spacing to Exactly 1 pt, and confirm. As a last resort, select that same paragraph mark, open the Font dialog (Ctrl + D on Windows, Command + D on Mac), and check Hidden under Effects. This hides the required paragraph so it no longer pushes onto a new page — it is typically the only reliable fix when the last page seems impossible to remove.
Related: Check out our detailed guide on removing section breaks, paragraphs, and other hidden formatting options in Word. If you need to create multiple copies of the same page, learn how to duplicate a page in Word.
Final Notes
Now you know how to delete a page in Word, whether it’s an empty page caused by stray paragraph marks and breaks, or a text-filled page you no longer need. Both methods are straightforward once you understand what’s causing the extra page in the first place. Need further assistance? Use the comments section below. I’ll be glad to help.
