EarthCam add-on for Kodi – Installation Guide to See the World
Today, we’re having a look at the EarthCam add-on for Kodi. And while it might be difficult to categorize this add-on as it is quite unique, it’s both interesting and weird. In a nutshell, this add-on lets you access live feeds from cameras installed it all sorts of places throughout the world. Some will see it as a way to travel virtually from the comfort of your home, some will think of it as somewhat “voyeuristic”. I, personally, find it kind of fun. It’s just an entertaining way to kill some time.
In this article, we’ll show step-by-step how to get and install the add-on. We’ll also take you through a tour if its main features and “attractions”. And if you like live cams, we’ll let you know about some other options for live cameras.
For Your Protection When Using Kodi – Use a VPN
Your Internet provider could be monitoring your activity to ensure you don’t violate their terms and conditions. And if they suspect you do, they might react by throttling down your speed, sending you copyright infringement notices or worse, interrupting your service. To avoid these annoyances, we strongly suggest you use a VPN whenever you’re using Kodi. A VPN encrypts your data in a way it can’t be read by anyone, protecting your privacy. As a bonus, a VPN will let you access geo-blocked content by masquerading your location.
There are quite a few VPN suppliers to choose from, making the selection a daunting task. There are several important factors to consider when choosing your VPN supplier. Among them, a fast connection speed to avoid buffering, a no-logging policy to further protect your privacy, no usage restrictions to access any content at full speed and software that is available for your device.
The Best VPN for Kodi: IPVanish

We, at Addictive Tips, have tested several VPN and the one we recommend for Kodi users is IPVanish. With servers throughout the world, no speed cap or throttling, unlimited bandwidth, unrestricted traffic, a strict no-logging policy and client software available for most platforms, IPVanish has all you need.
IPVanish offers a 7-day money back guarantee which means you have a week to test it risk-free. Please note that Addictive Tips readers can save a massive 60% here on the IPVanish annual plan, taking the monthly price down to only $4.87 per month.
Installing the EarthCam Add-on on Kodi
Like most Kodi add-on, installing EarthCam is an easy task, especially if you follow our detailed, step-by-step instructions. It requires a few steps. After making sure Unknown Sources are enabled, we’ll configure a file source where the appropriate repository can be installed from. We’ll move on to installing the repository and then install the actual EarthCam add-on from the repository.
Making sure Unknow Sources are enabled
By default, Kodi won’t let you install add-ons from sources other than those they control and/or approve. With most add-ons coming from third-party developers you need to ensure that the Unknown Sources are enabled in your Kodi add-on settings. Here’s how it’s done:
From the Kodi home screen, click the Settings icon. It’s the small gear at the top left of the screen.
![]()
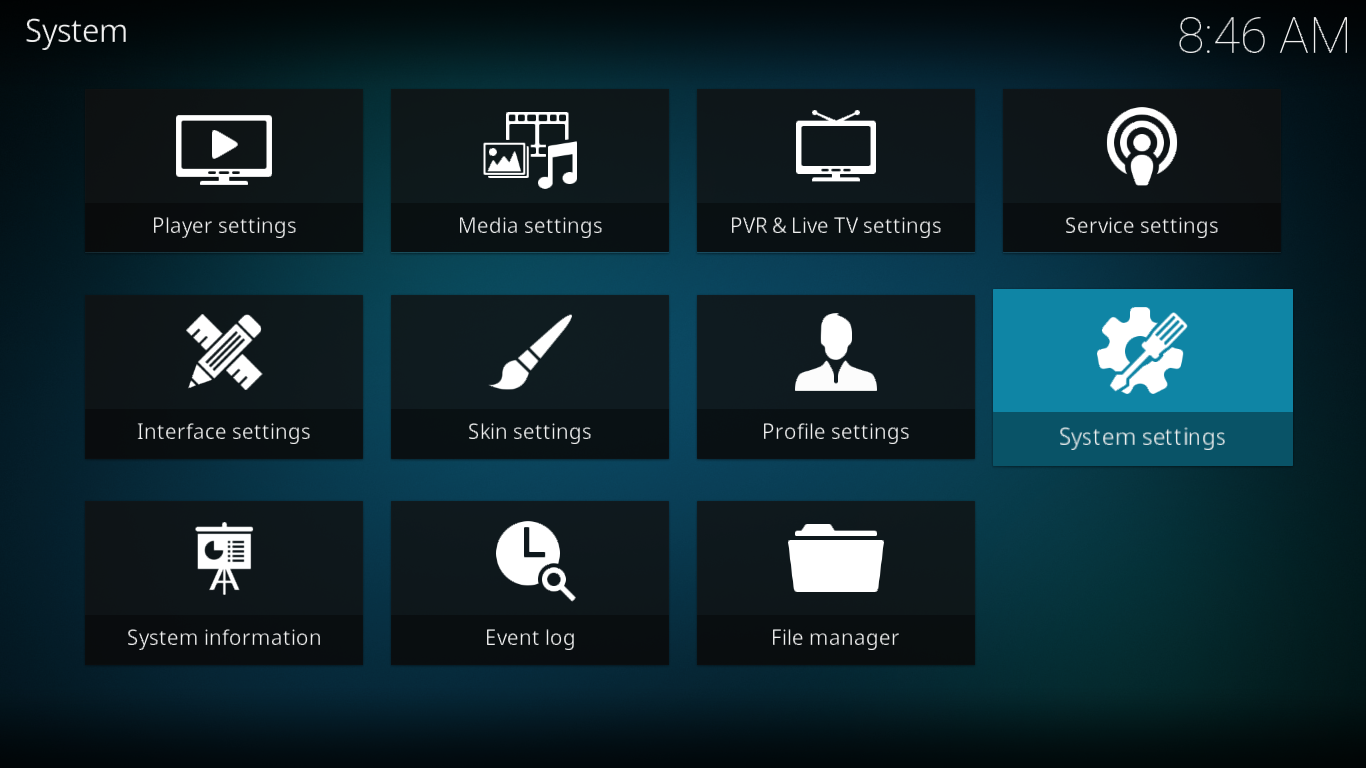
Click the System settings tile from the settings menu.
From the System settings screen, click add-ons on the left pane and make sure that the switch next to Unknown Sources is On. When it is, its toggle will be white and on the right side (as it is in the image below).
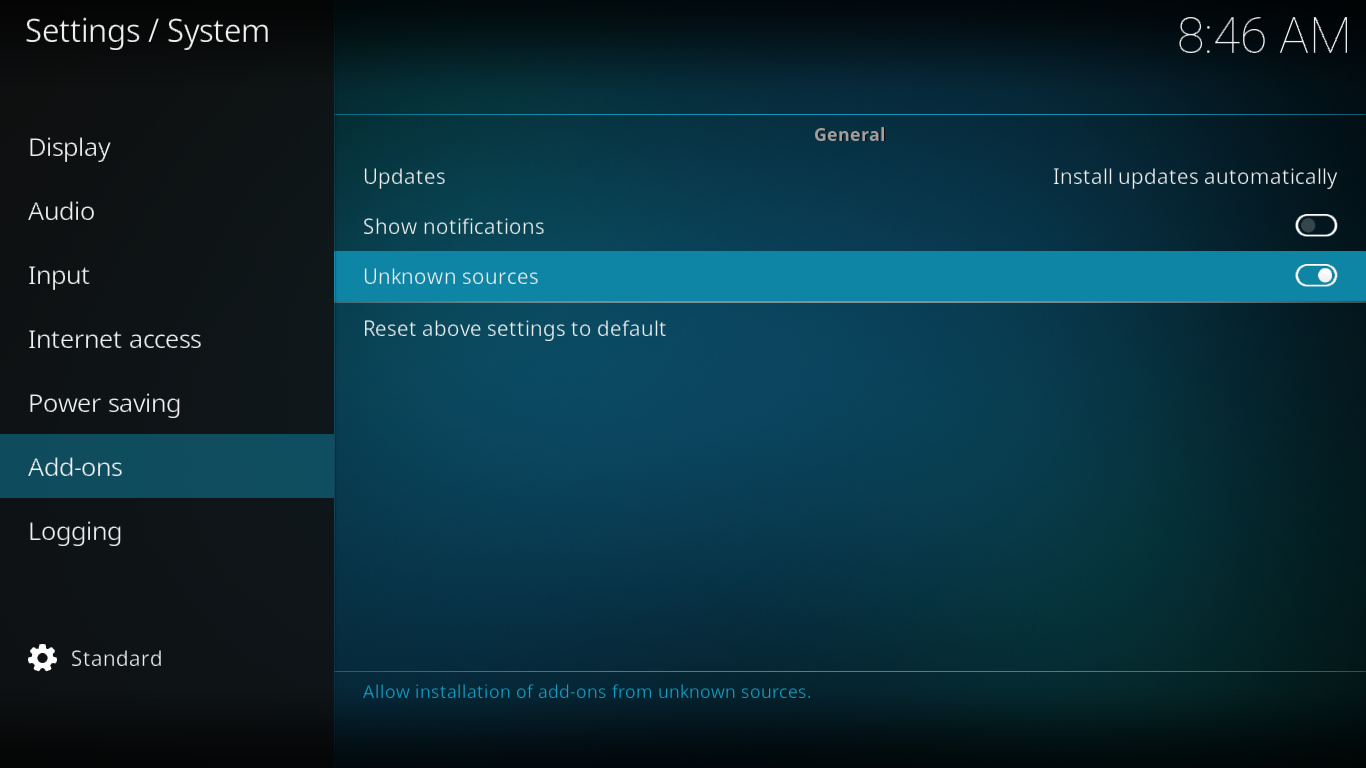
If they are not enabled, make sure you click the little switch to turn it on.
Adding the Repository Installation Source
The repository source is the location from which you’ll install the repository. Configuring that is easy.
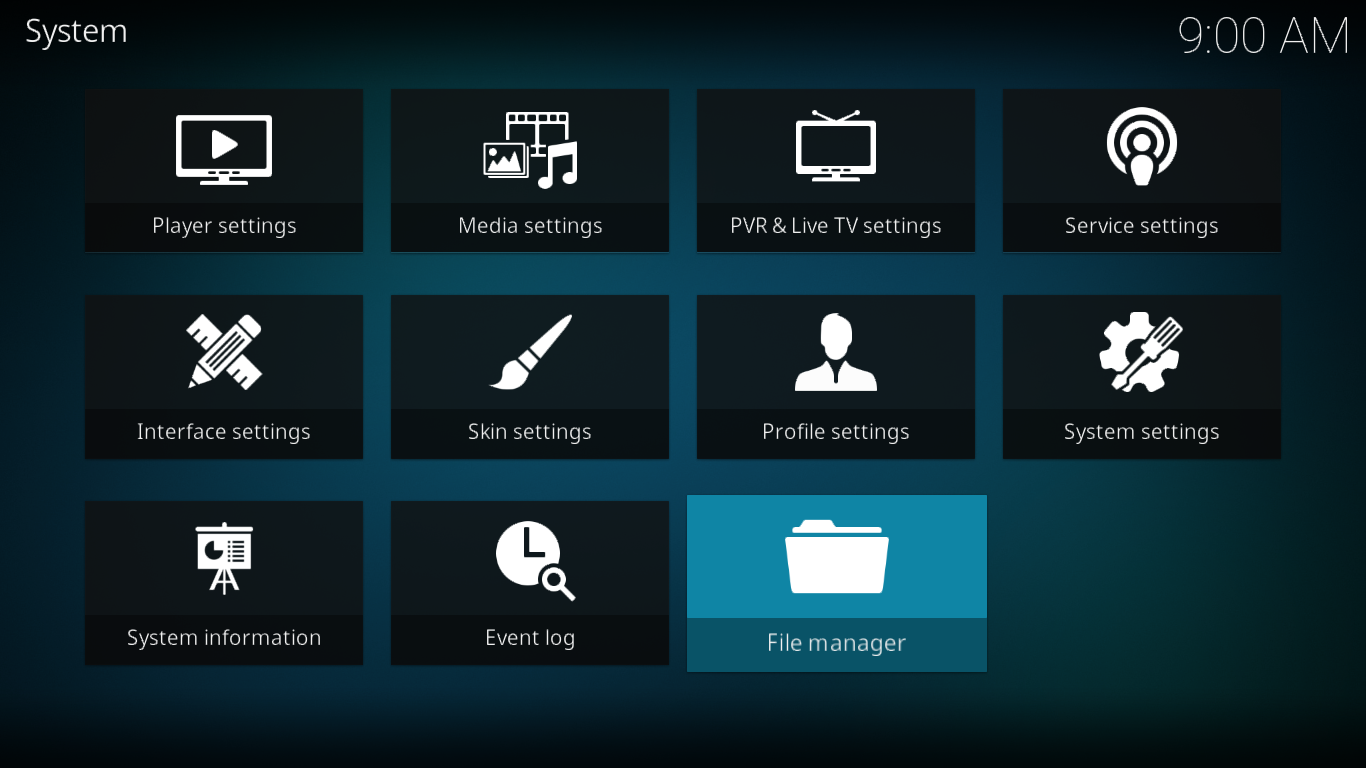
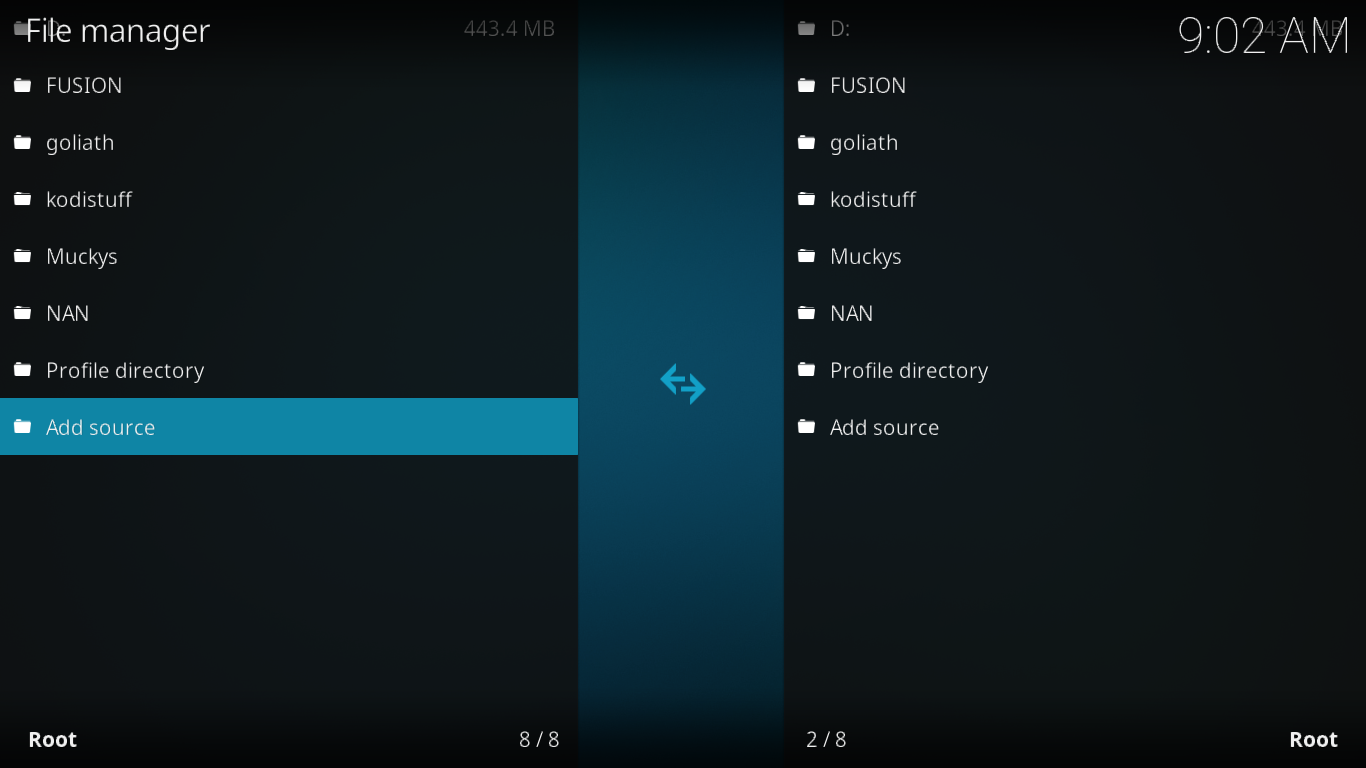
From the Kodi home screen, click the Settings icon once more. Then, from the setting menu, click File manager.
From the File manager screen, double-click Add source on the left pane.
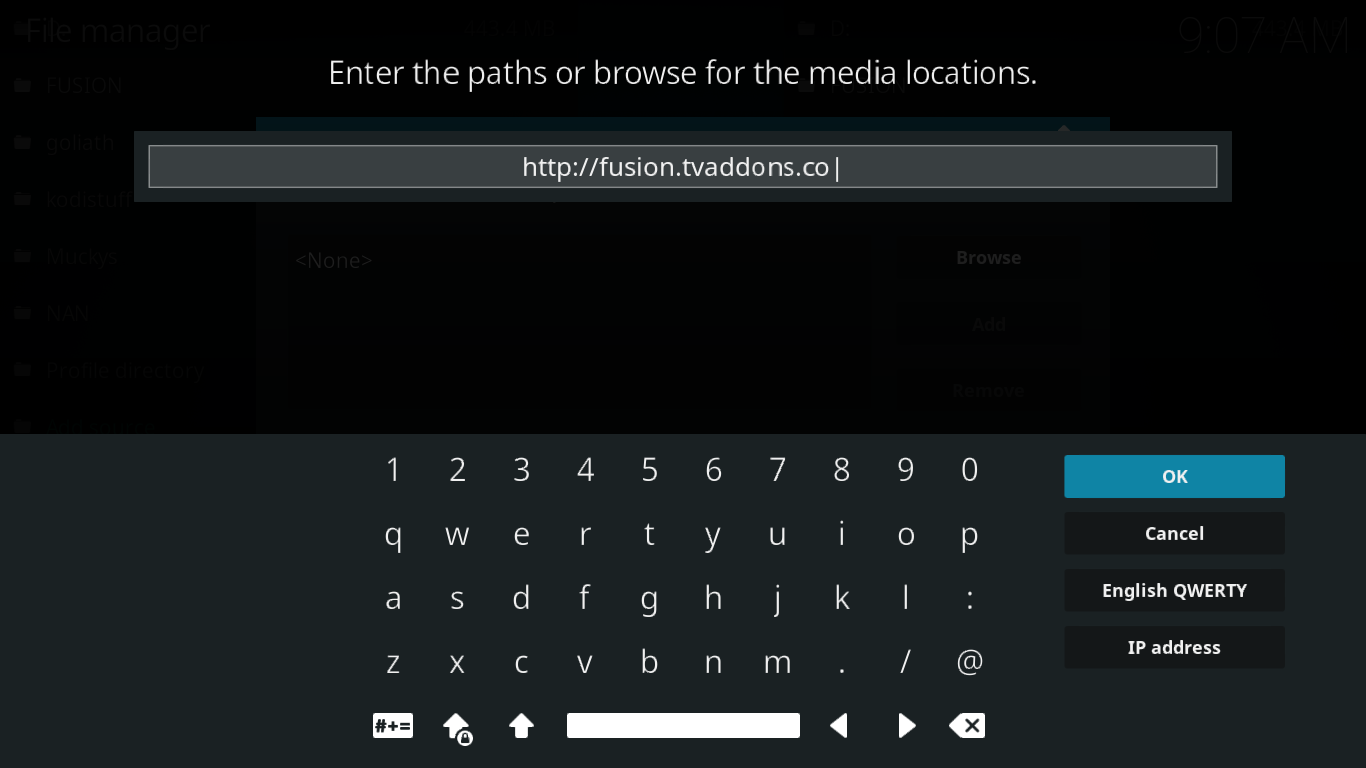
In the box that opens, click <None>. You’ll be prompted to enter the source’s path. Type it in is exactly as follows: https://fusion.tvaddons.co then click OK at the bottom right.
Back to the file source dialog box, select the field below “Enter a name for this media source” and type in a name. We’ve named it FUSION but you can use any name you want, as long as you remember it for the next steps.
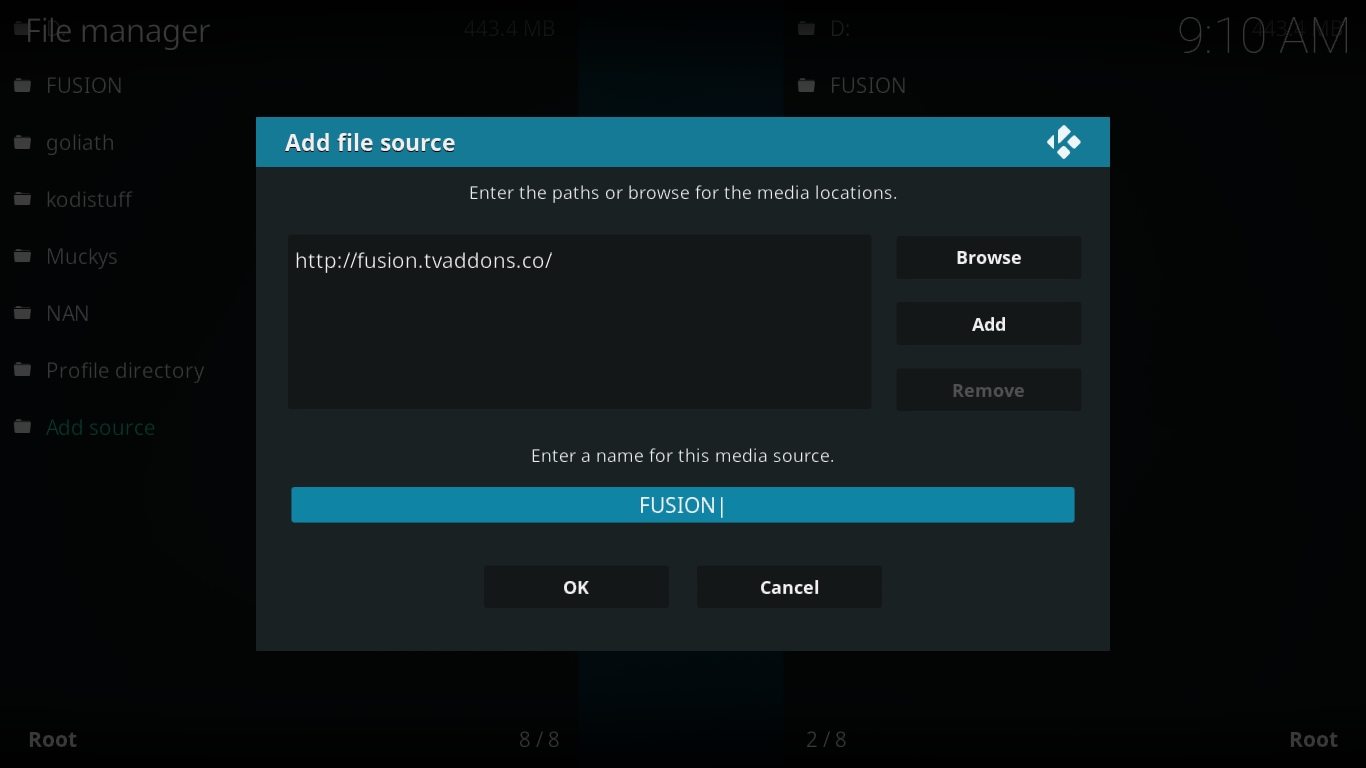
Once you’ve named the source, click the OK button at the bottom of the dialog box.
The source is added, we’re ready to move to the next step.
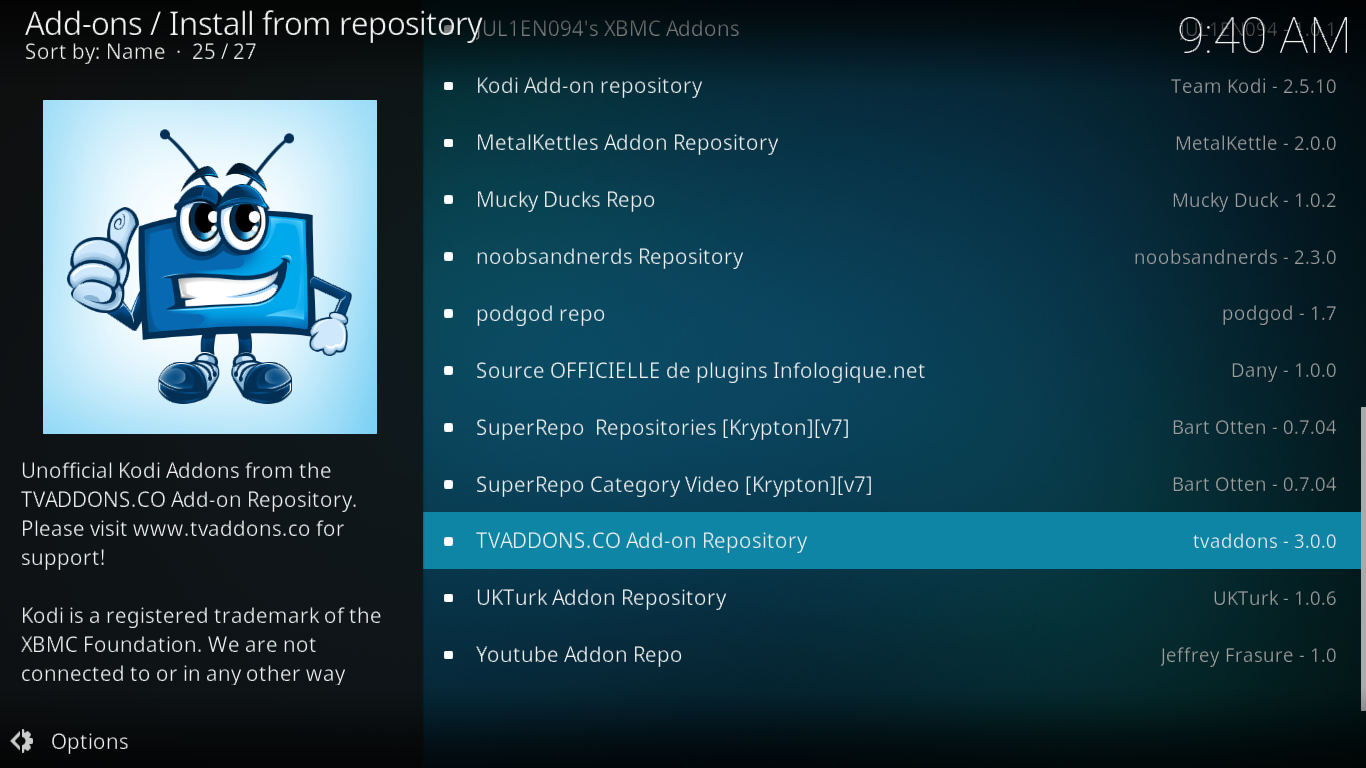
Installing the TVADDONS.CO Repository
A Repository is a place from which add-ons are installed. It is much more than just a warehouse, though, and it provides some very useful services. When installing an add-on from a repository, the installer will also take care of installing any required dependencies. With so many add-ons relying on other add-ons to operate correctly, this is a necessity. Another use of repositories is keeping add-ons updated. Whenever a new version of an add-on is released by its developer, the repository will ensure that it is pushed to your installation. This update process can either be manual or automatic, requiring no intervention on your part.
To install the TVADDONS.CO repository, from the Kodi home screen, click Add-ons on the left pane. Then, click the Add-on browser icon at the top left of the screen. It’s the icon that resembles an open box.
![]()
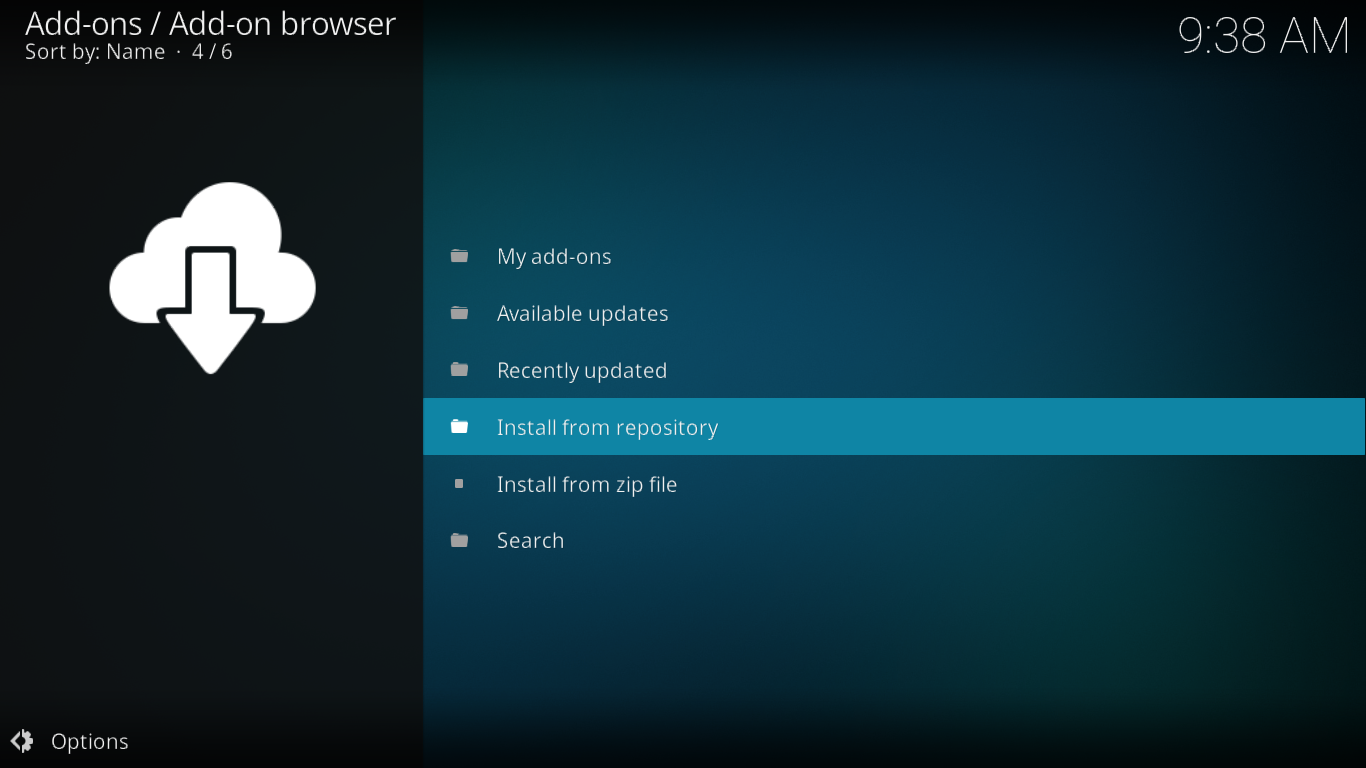
From the Add-on browser screen, click Install from zip file. In the next dialog box, click the source you just added in the previous step. We called it FUSION.
Navigate to the repository by clicking kodi-repos, then english and then repository.xbmchub-X.X.X.zip.

After a short delay, a message at the top left of the screen will confirm the successful installation of the TVADDONS.CO repository.
Installing the EarthCam Add-on
Now that we’ve gone through all the preliminary steps, we’re ready to install the actual add-on. Let’s go!
You should still be on Add-on browser screen so just click Install from repository.
Form the list of available repositories, find and click TVADDONS.CO Add-on Repository.
From the repository’s menu, click Video add-ons and then find and click EarthCam from the list of available add-ons.
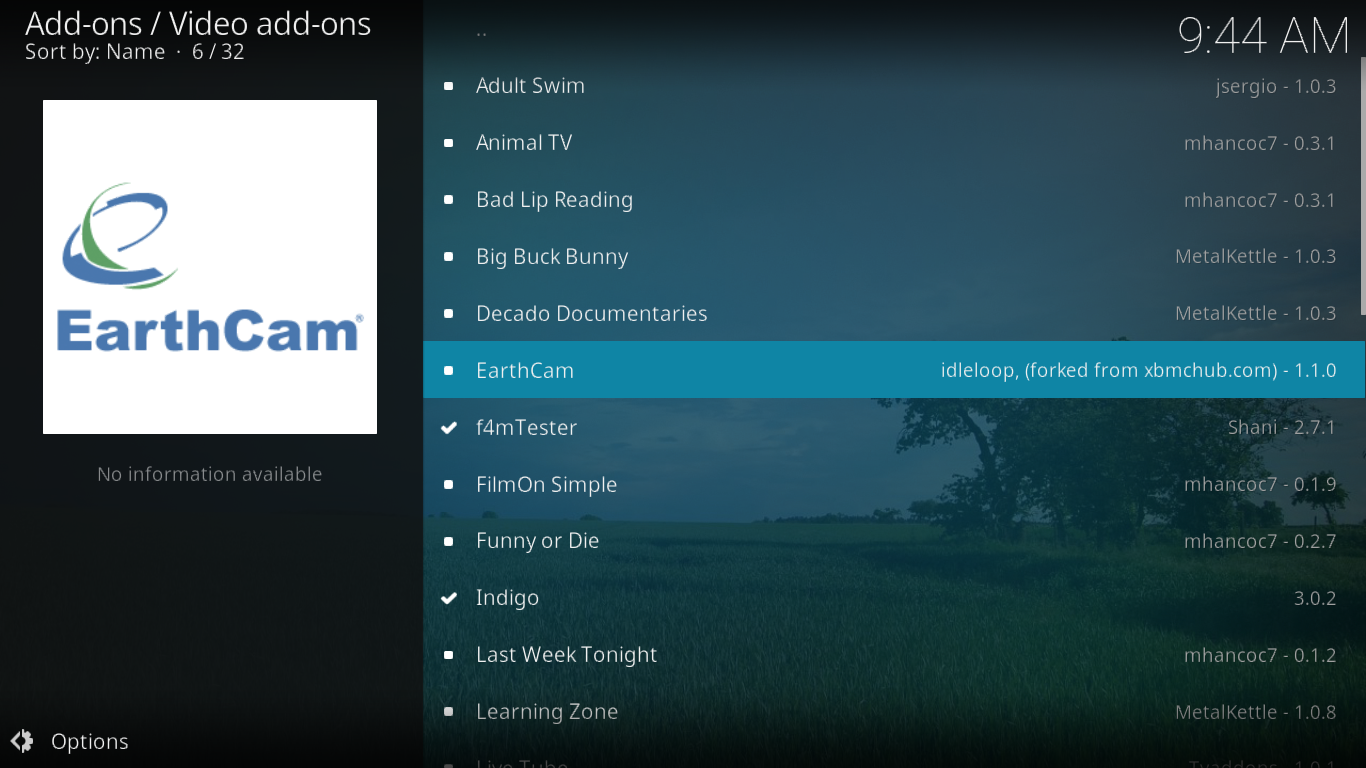
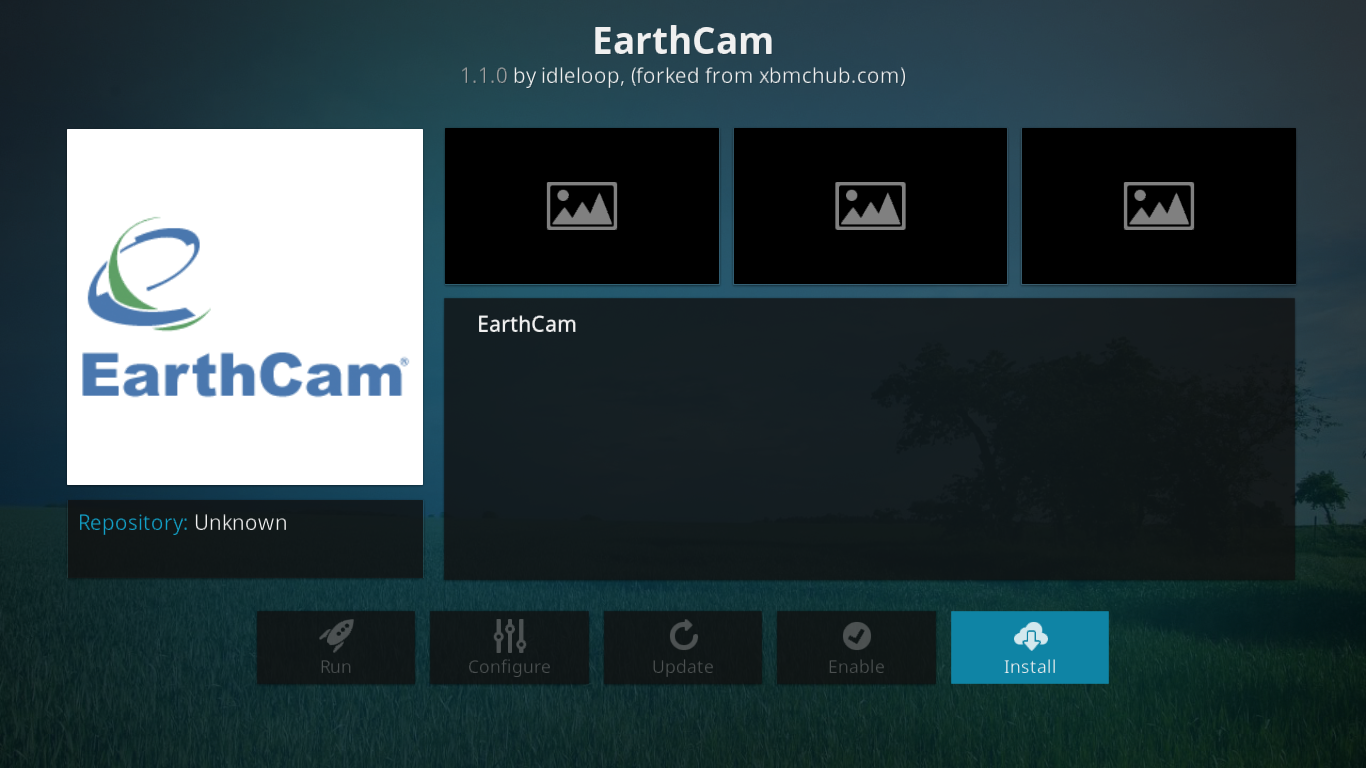
The EarthCam add-on information screen will open. Simply click Install at the bottom right.
After a little while, a message at the top right of the screen confirms the successful installation of the add-on.
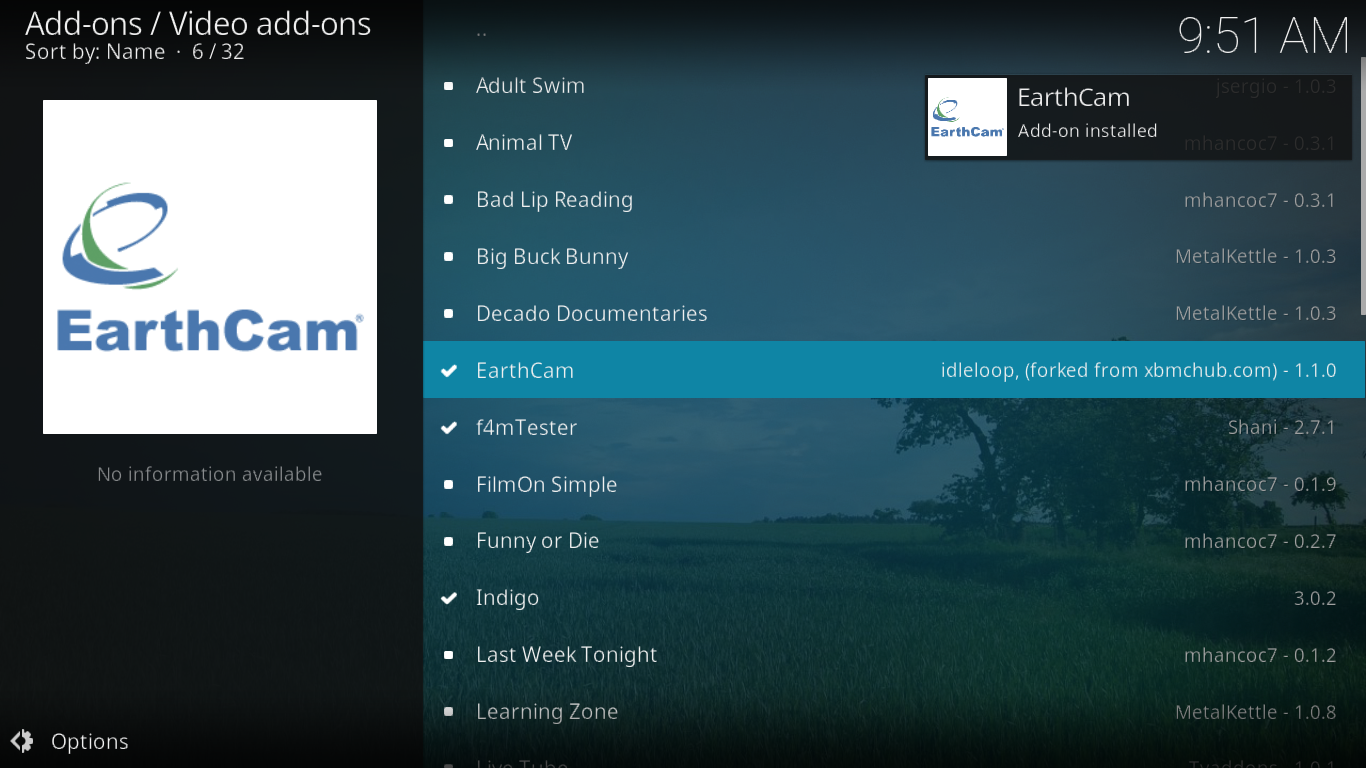
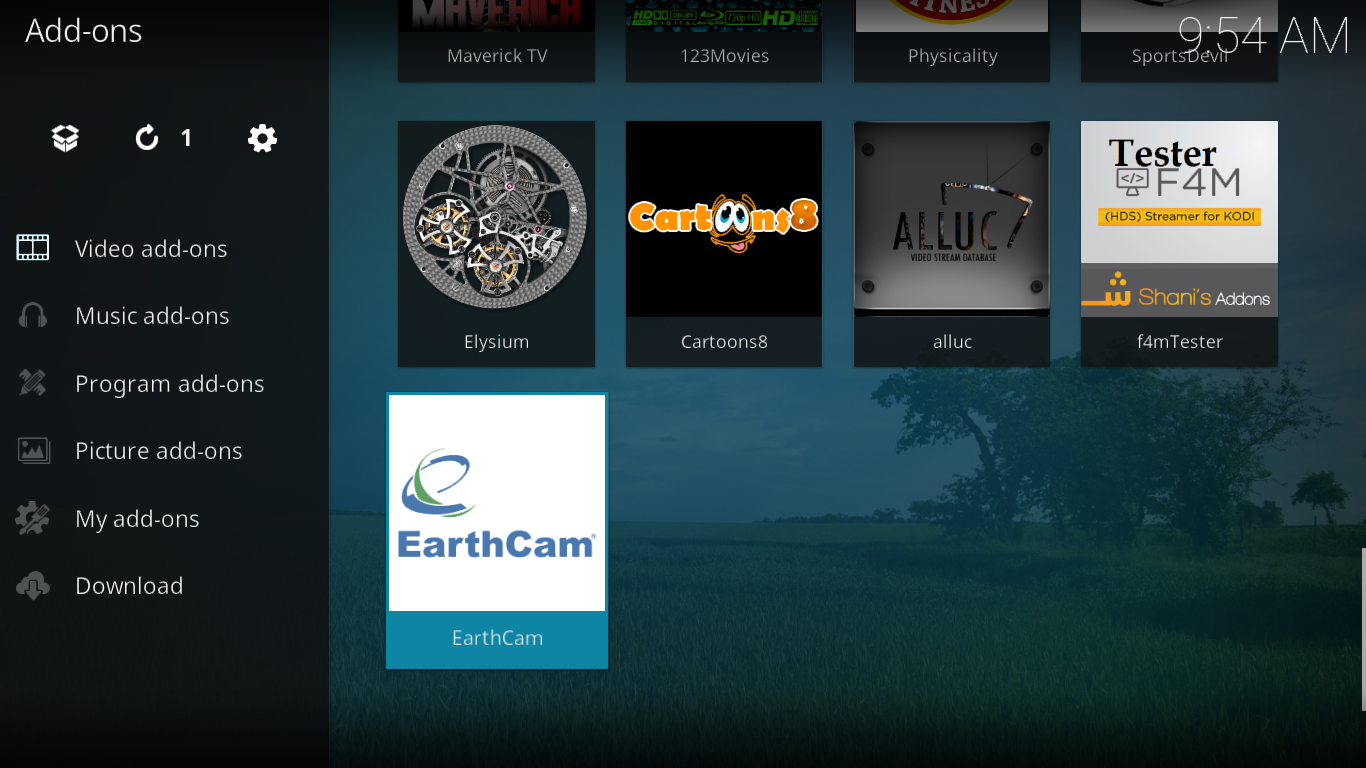
If you head back to Add-ons->Video add-ons from the Kodi home screen, your newly installed add-on should be there, at the end of the list. Just click it to start the add-on.
A Tour of the EarthCam add-on
With only three entries, the EarthCam add-on main menu could hardly be simpler.
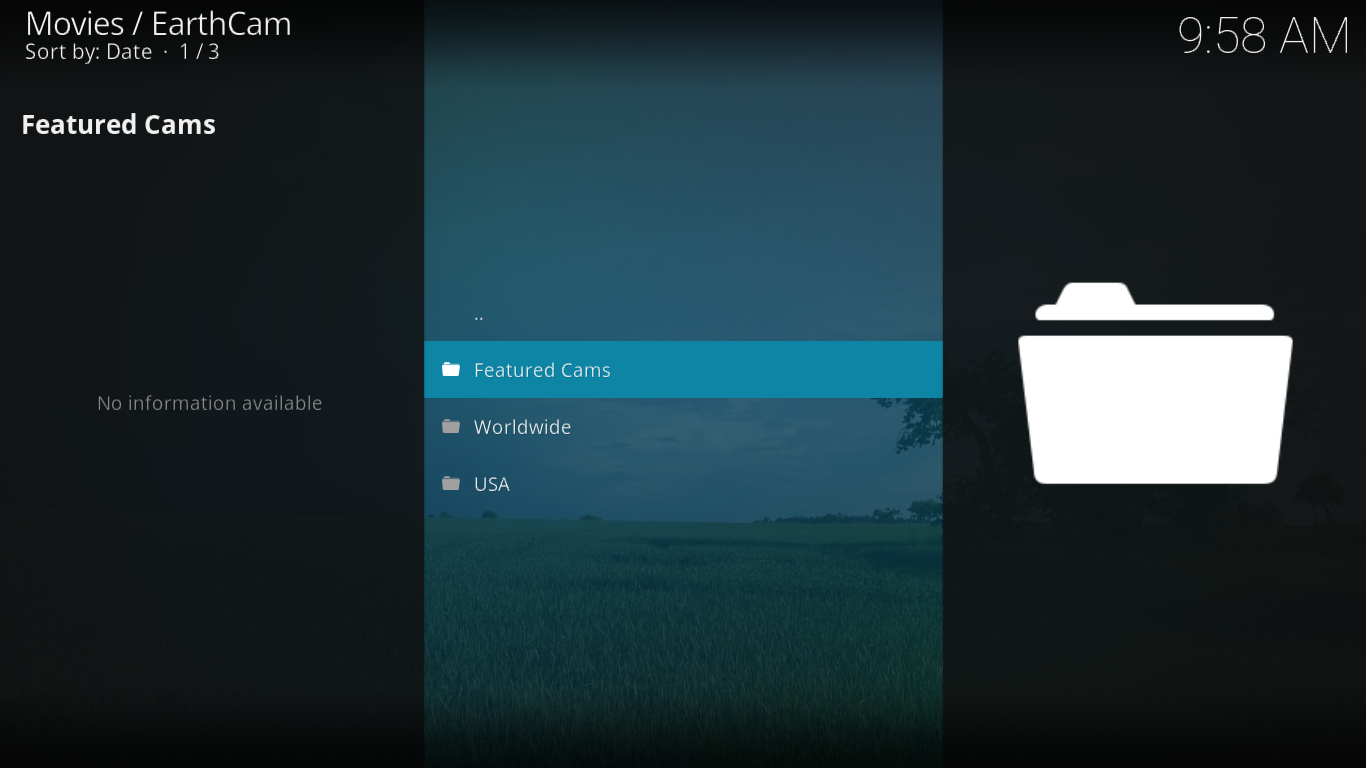
Let’s see what each selection has to offer.
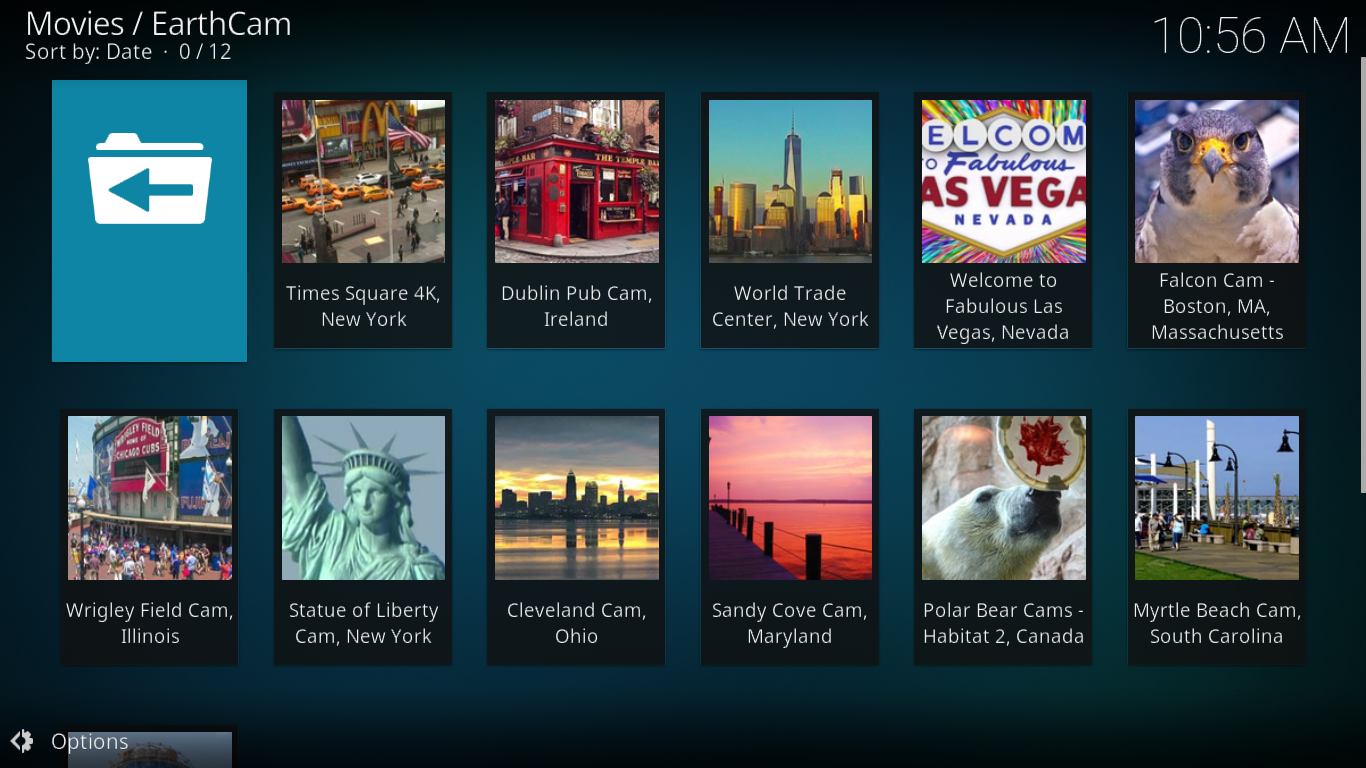
Featured Cams
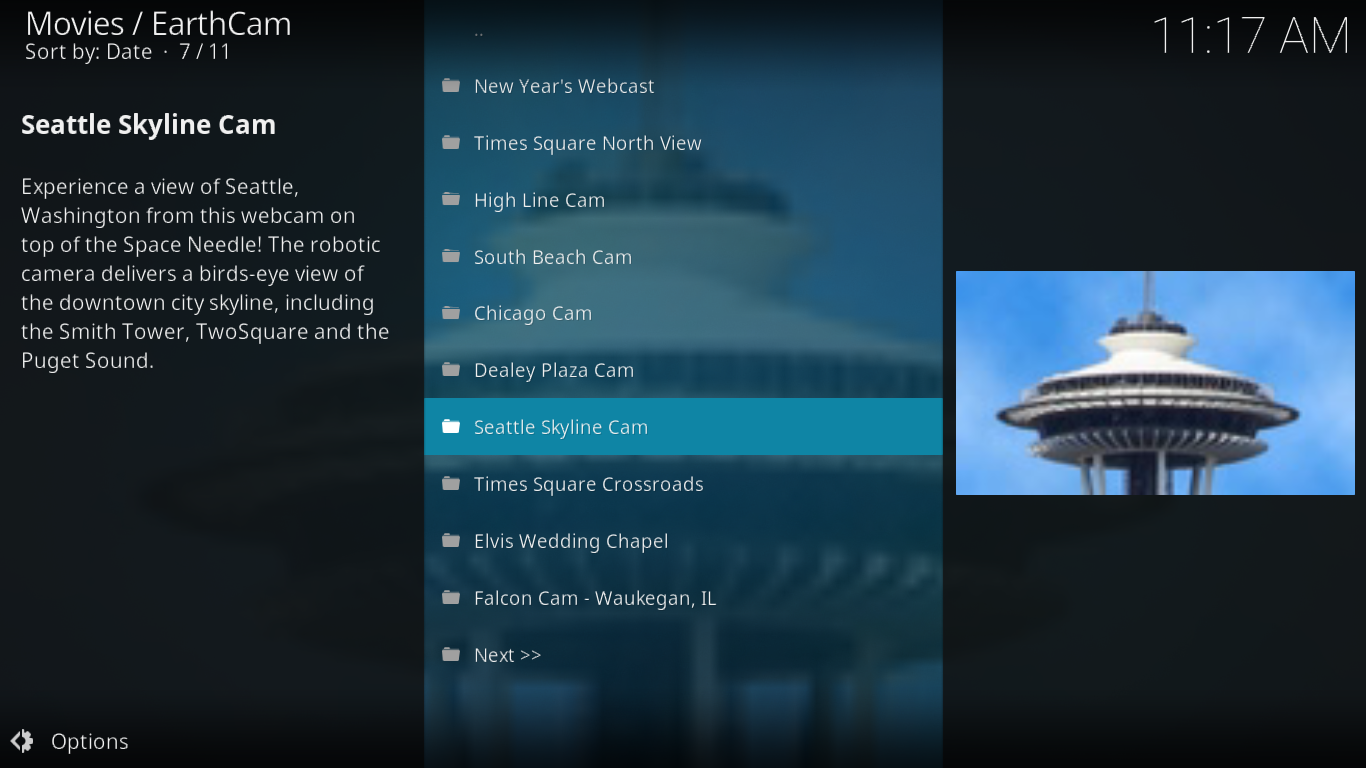
The Featured Cams section of the EarthCam add-on proposes a dozen cameras from around the world, picked amongst the other sections of the add-on. Here’s What it looked like at the time of this writing.
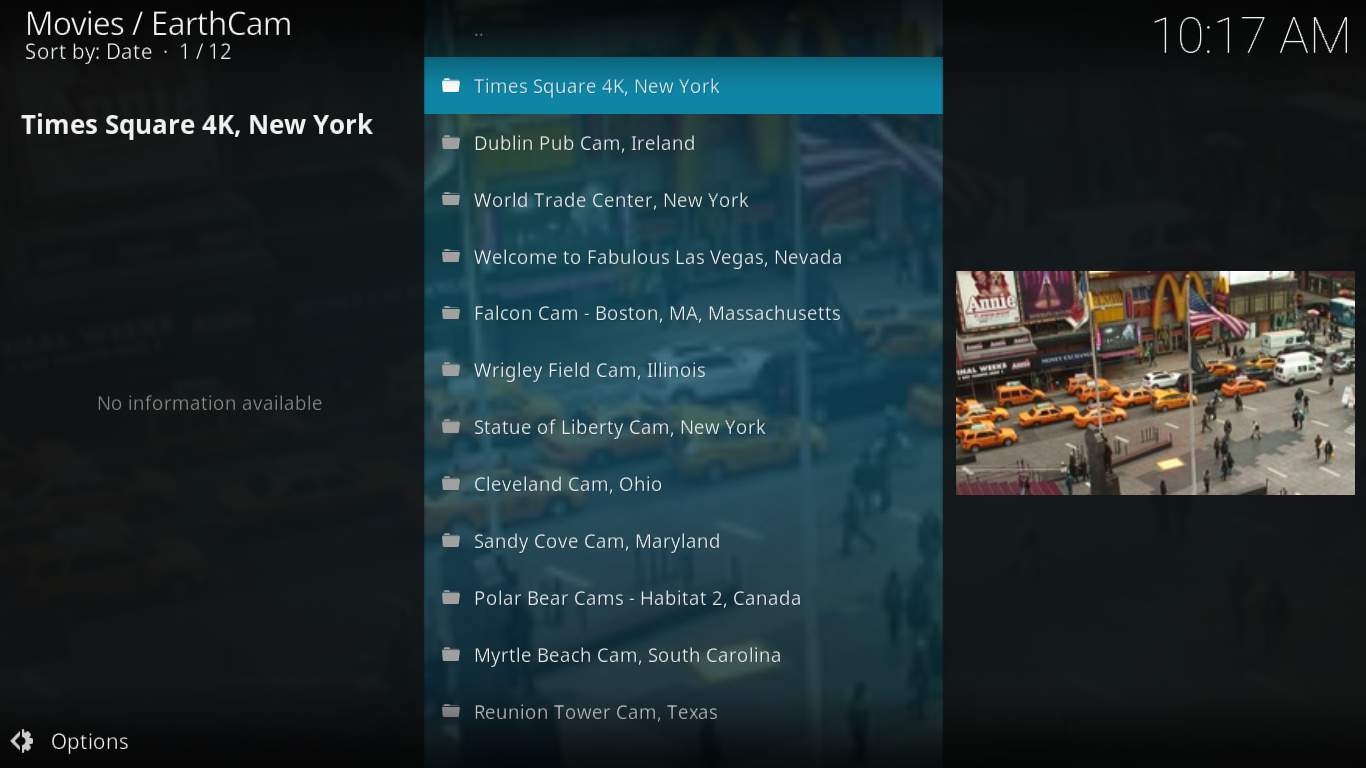
Of course, the selection you will see might be different from mine There is no information available as to how the featured cams are selected and if and when the list is updated.
Most of these feeds rely on some publicly available cameras that have been installed by different individuals or organizations for different purposes. There is consequently no guarantee that any camera will be functioning at any given time. Unfortunately, I’ve seen occurrences of unresponding cams that caused my Kodi installation to completely stop responding. I had no choice but to kill Kodi and restart it. Generally speaking though, the feeds are working fine and the dead ones seem to be the exception.
Also worth noting is that some of these cameras also feature sound and you can not only see but also hear the live action.
Worldwide
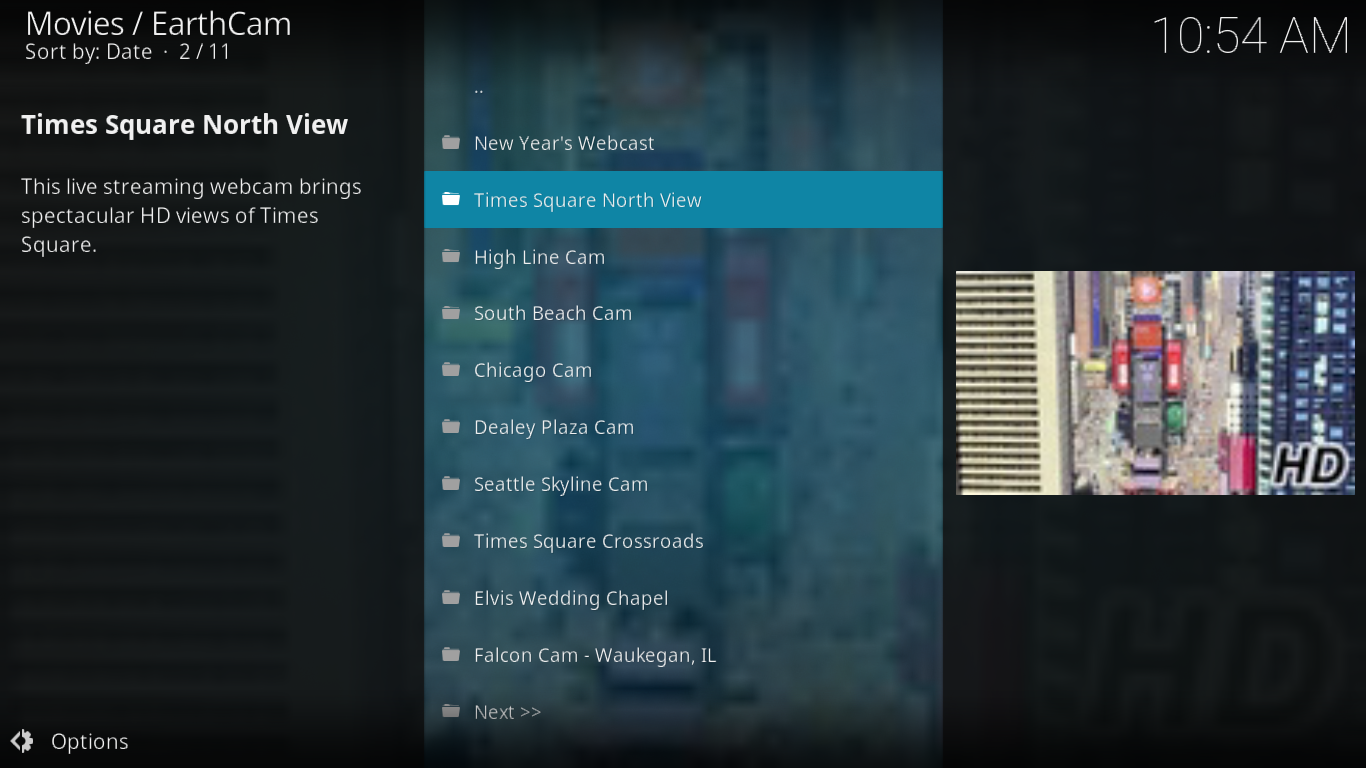
The Worldwide section, as its name implies, features cameras from around the World. Oddly enough, all the USA cameras appear to be on that list too. Then again, the USA is part of the World so maybe they should be there. There are far too many options to describe them all and since they don’t appear to be organized in any way, shape or form, you’ve no option but to browse pages after page to find something you fancy.
It’s kind of a shame that the cameras are not organized as there are certainly some interesting feeds in there. The lack of a search feature does nothing to help either. And if you browse the huge and find something you like, you should definitely take good note of where you’ve found it if you want to be able to return to it.
There’s a way around this limitation. If you find something you like and want to be able to get back to it easily, right-click it or select it and hit “C” to show its context menu. Then, simply click Add to favourites. And when you want to get back to it, you don’t even need to start the EarthCam add-on. From the Kodi home screen, just click Favourites from the left pane and your saved camera will be right there.
USA
The last section, USA is very similar to the Worldwide section with the only difference that all of its content is from the USA. It looks like most–if not all–selections from the USA section are also listed under Worldwide.
There is a mix of cameras targeting famous places an/or tourist attractions as well as very ordinary places. For instance, there’s a University of Vermont cam that shows a view from the top of one of the campus’ buildings. There is nothing out there of any particular interest unless perhaps to a student of UVM at Burlington.
A Few Suggestions for Live Cameras Fans
If you like looking at live Camera feeds, EarthCam is not your only option. We’ve searched the web and found a few other ways you can look at publicly available camera feeds.
The first one we found is an add-on called UK Turk Playlists. Although this add-on’s primary purpose is definitely not live cameras, it has such a section, aptly named CCTV that has almost 300 live cameras feeds from around the world. This add-on also has great recorded and live IPTV content with a focus on UK and Turkey content, as you may have guessed from its name.
The UK Turk Playlists add-on was recently featured in one of our articles: “Install UK Turk Playlists Add-on for Kodi, Working Sources and Repos“. Read the article to discover this great add-on
Another add-on we’ve found that has a live camera section if the Wolfpack add-on which, along with Documentaries, Kid’s Content, Live TV, Movies, Standup Comedy, TV Shows and UFC sections also has a Live Cams section with over 70 cameras. Their selection offers a great variety including puffins in the Arctic, sharks, big cats playing in the wild and baby pandas in a zoo.
Read our recent article “Wolfpack Kodi Add-on – How to Install the Wolfpack Add-on and Repository” for all the details about what this add-on has to offer and how to install it.
Conclusion
The EarthCam add-on is a peculiar one and probably the only one totally devoted to live cameras. It has a lot of content and if you’re patient enough to go through all the selections, you’re bound to find something that will at least tickle your curiosity. And for some, it can be a feed to their hometown while they are away, allowing them to stay connected, at least virtually.
How about you? Did you try the EarthCam add-on? And if you did, what are your favourite feeds? Also, have you had any issues installing or using the add-on? Please, share your thoughts with us using the comments below.
Don't miss this great deal
